 Buy Now →
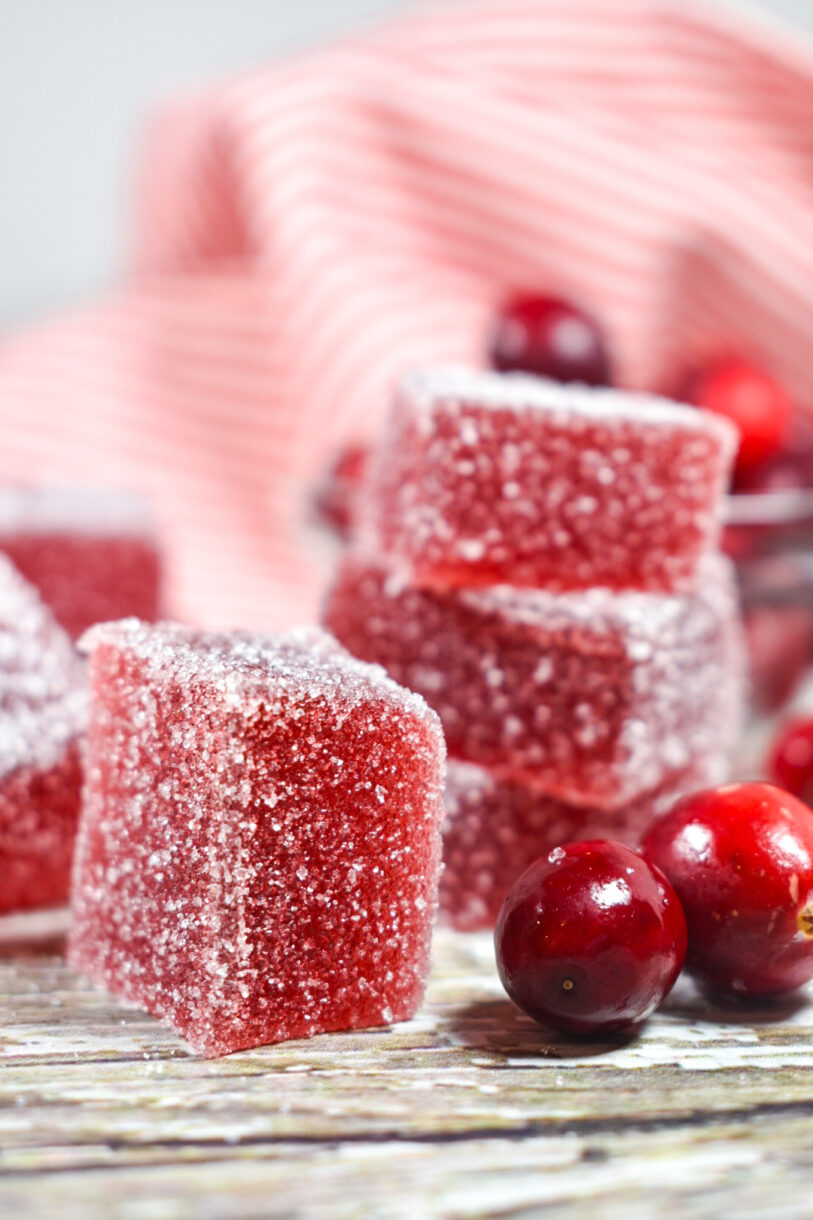
Festive Cranberry Jelly Candies
- Total Time5 hours (plus 1-2 days drying time)
- Yield50-60 squares 1x
Cranberry jelly candies made with gelatin, granulated sugar, and real cranberry juice.
Ingredients
Nonstick spray, for greasing tin and knife
240 milliliters cold cranberry juice (1 cup)
35 grams powdered gelatin (five 7-gram packets, or about 3 1/2 tablespoons)
650 grams granulated sugar (about 3 1/4 cups, plus more for coating candies)
180 milliliters boiling cranberry juice (3/4 cup)
Instructions
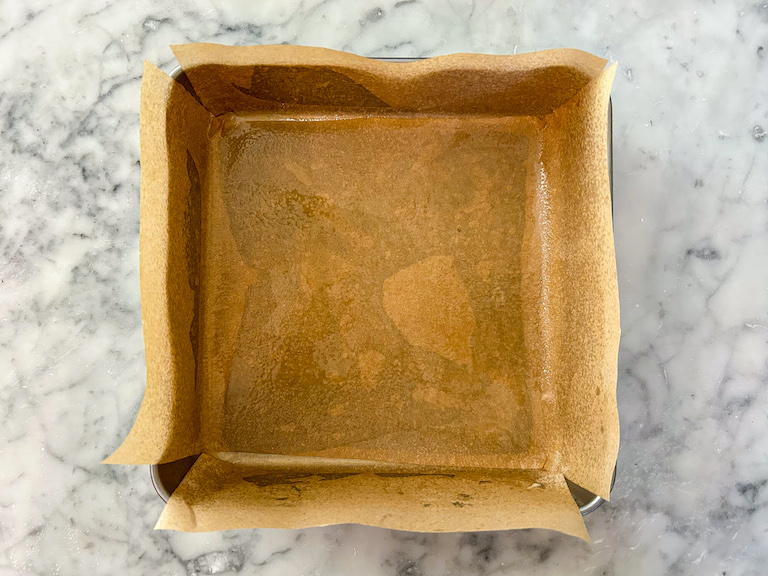
Line an 8×8-inch square tin with parchment in a criss-cross pattern, allowing a 1-inch overhang on all sides. Grease generously with nonstick spray. Set aside.
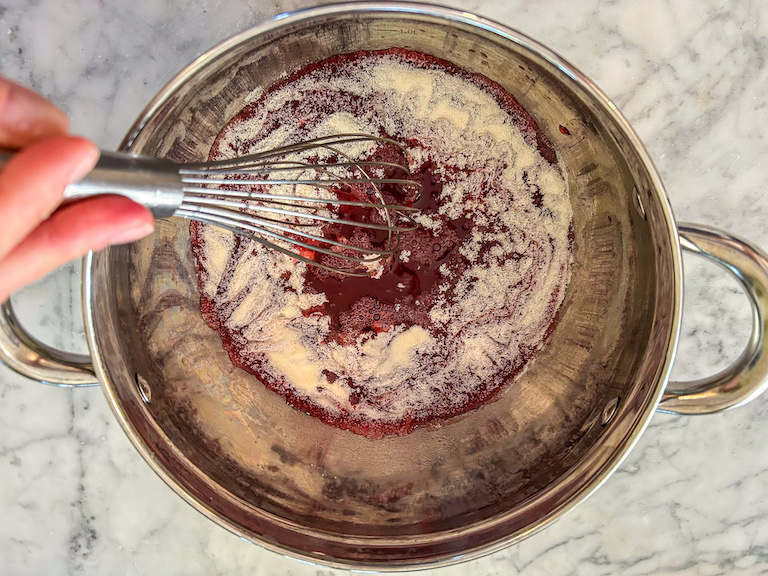
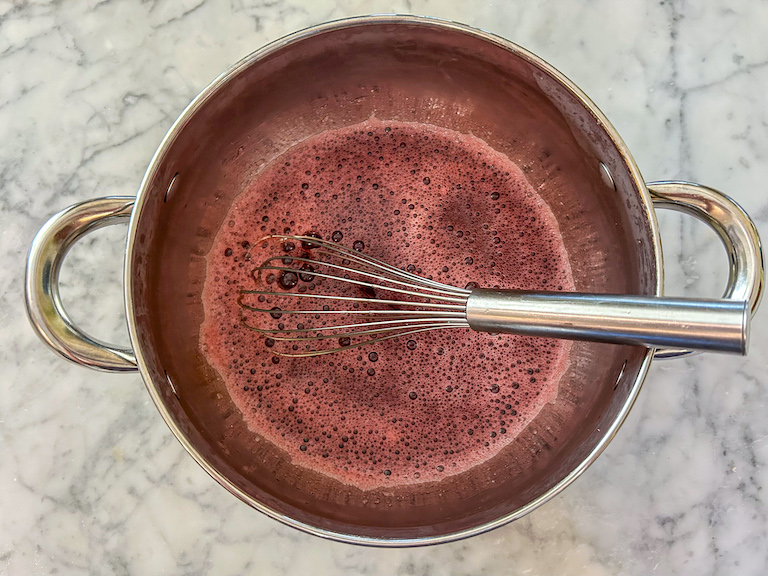
Add the cold cranberry juice to a large stock pot. Sprinkle gelatin over top. Whisk to combine.

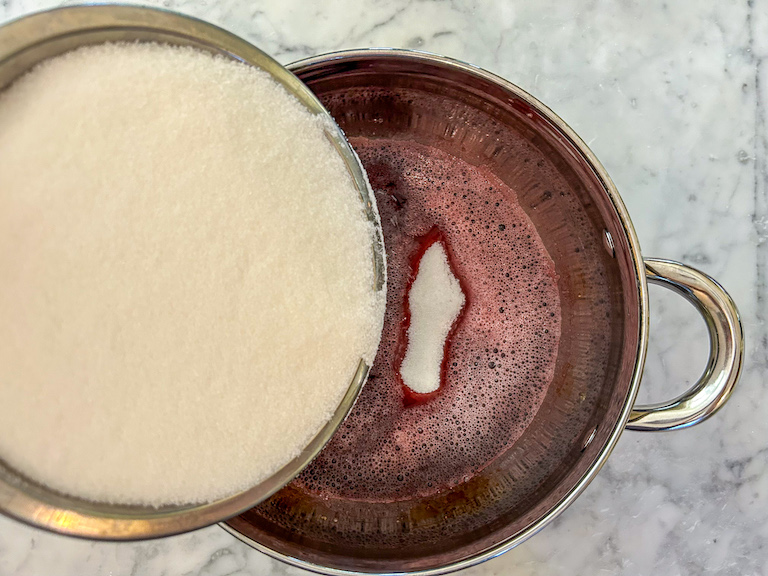
Add the boiling cranberry juice and granulated sugar and whisk to combine.
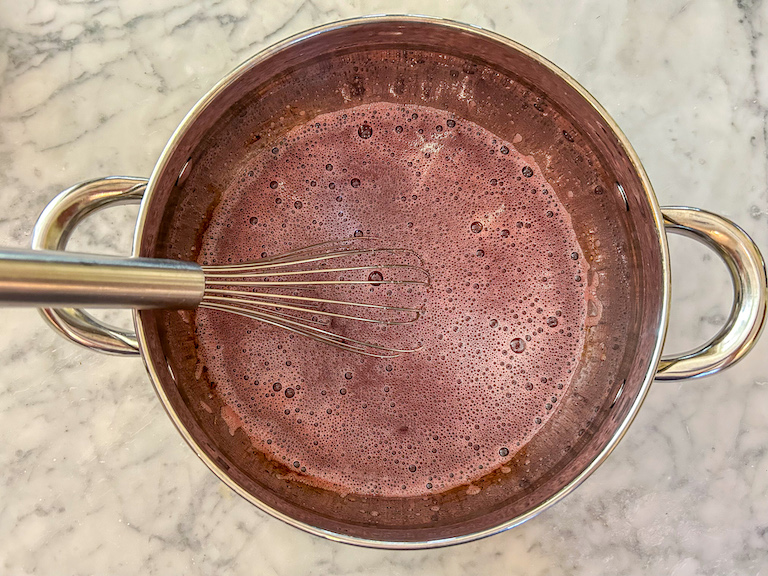
Bring mixture to a boil over high heat, about 5 minutes. Reduce heat to medium and simmer, stirring occasionally with a heat resistant spoon, until mixture reaches 107° C / 225° F on a digital thermometer. (This will take 20-25 minutes or more, so be patient!)


Remove from heat. With a skimmer or fine mesh strainer, gently remove any large bubbles.
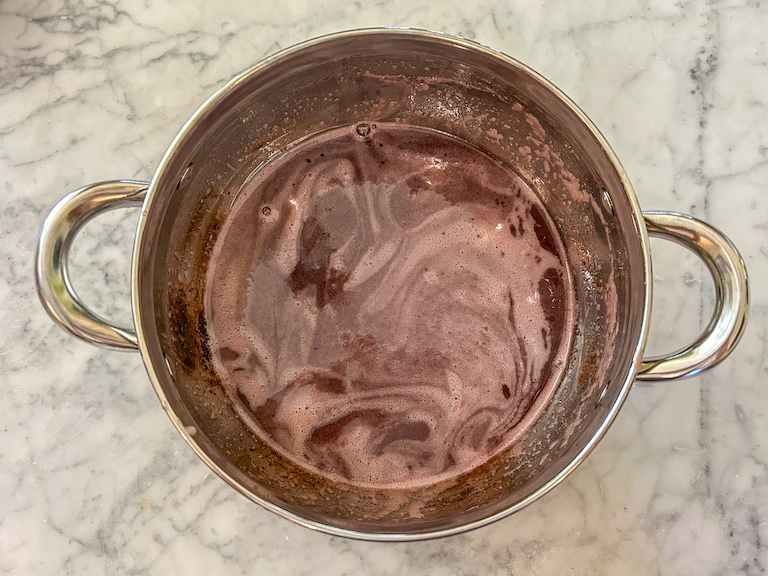
Pour mixture into prepared pan. (Don’t worry if you still see some bubbles, white streaks, or “foamy” spots. You won’t see these once you coat the candy in sugar.)

Refrigerate until firm, at least 4 hours or overnight.

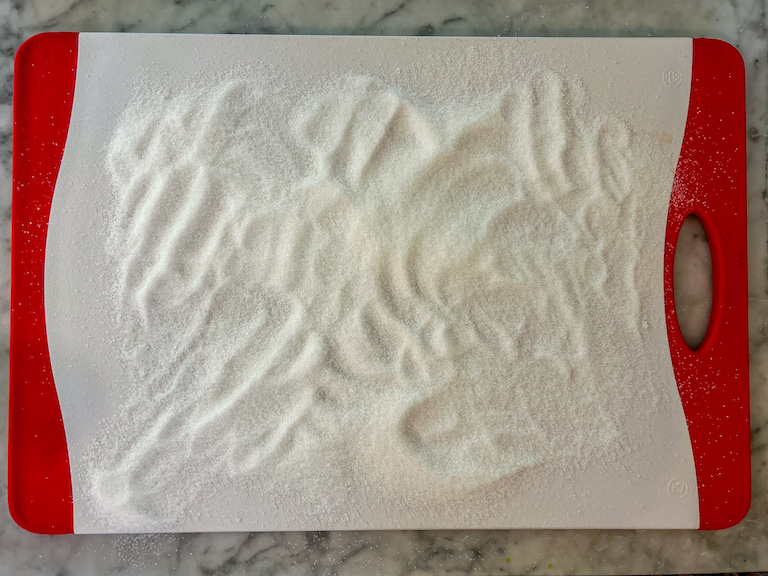
Line a large tray with parchment or a silicone baking mat. Coat a large chopping board with 2-3 scoops of granulated sugar.
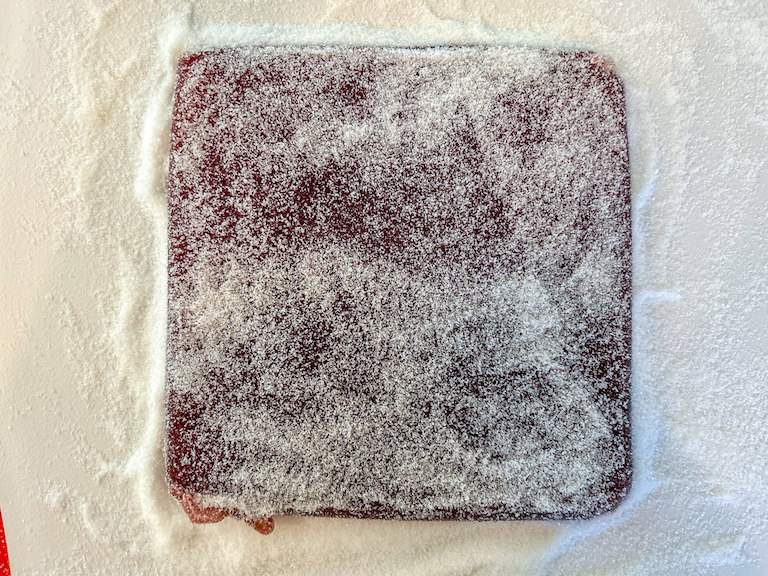
Flip cranberry slab out onto sugared chopping board. Peel away the parchment.

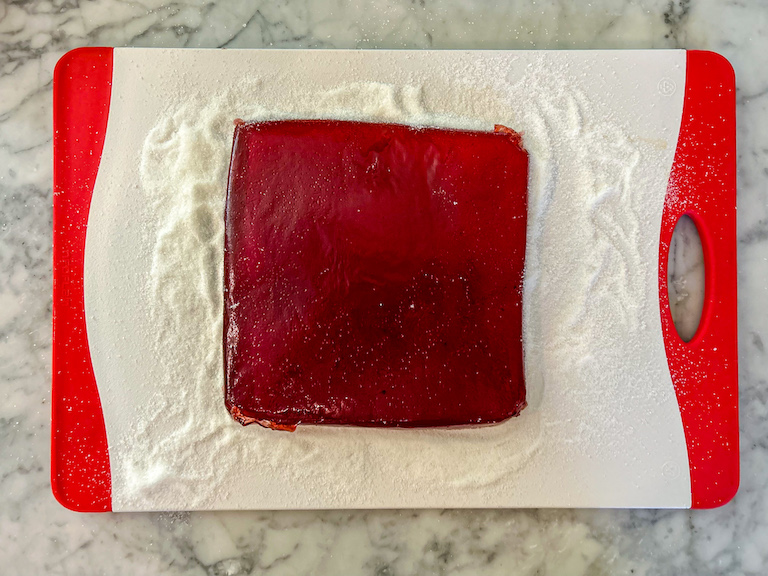
With your hands, spread the sugar over the slab until completely coated on both sides.
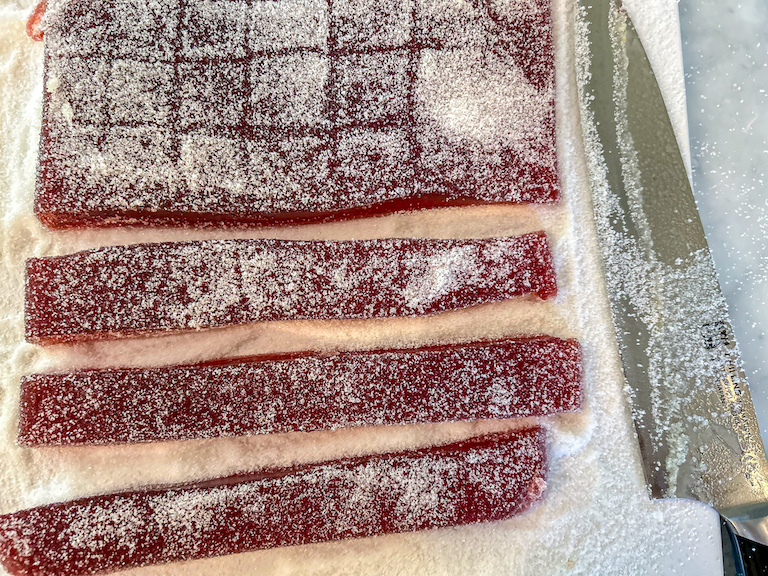
With the back of your knife, lightly mark squares as a guide for cutting. You can create 7 x 7 rows (for 49 candies) or 8 x 8 rows (for 64 candies).

With a sharp, well-oiled chef’s knife, cut the slab following the guidelines created above.
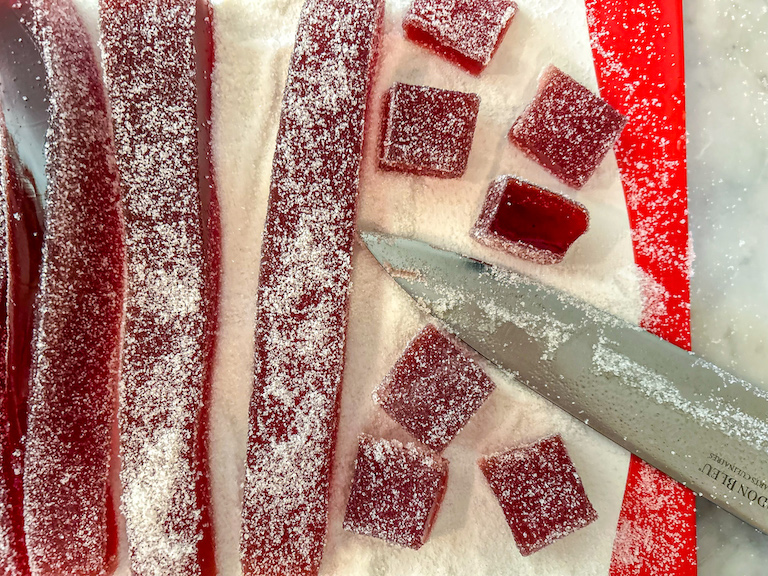
Roll each square in sugar, completely coating all of the sticky sides.
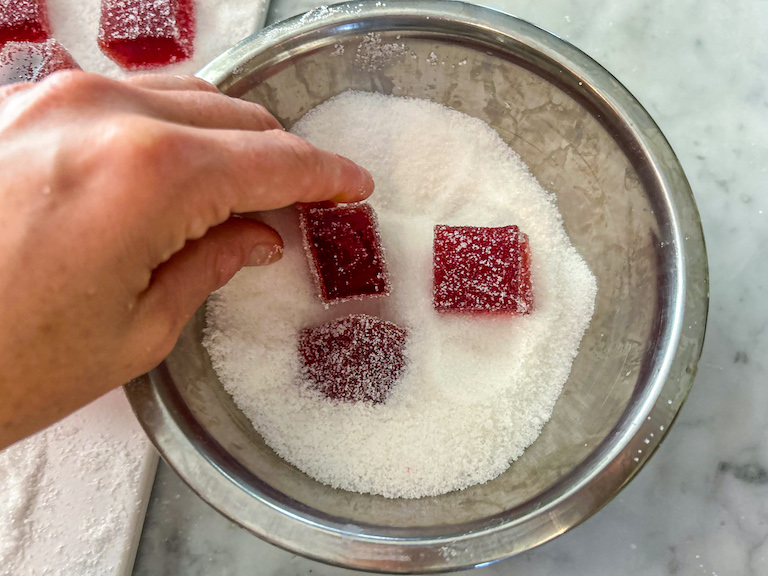
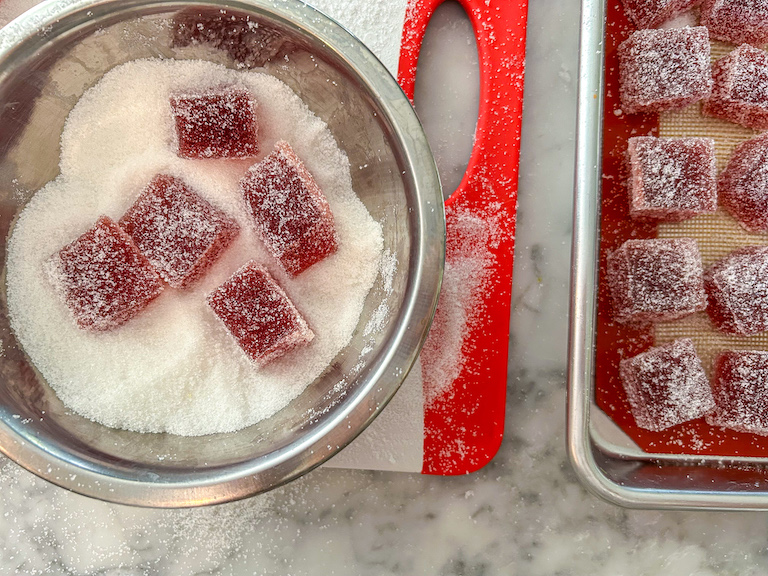
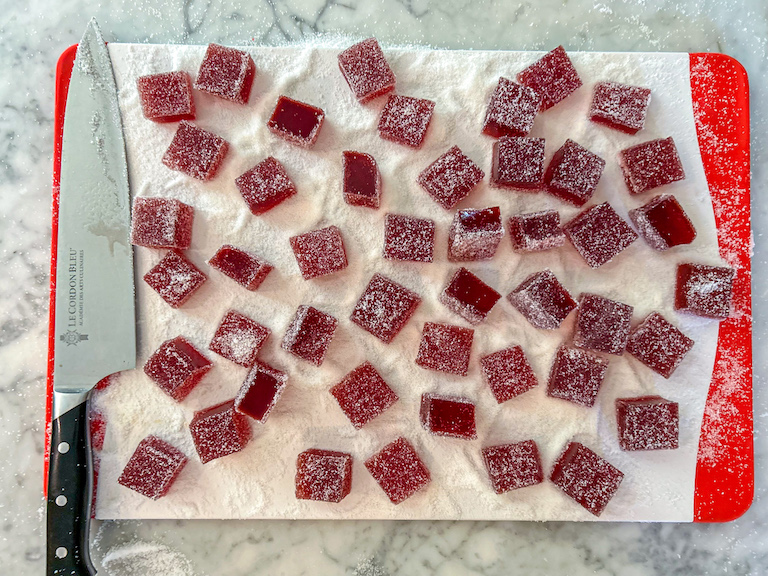
Arrange coated candies on prepared tray, making sure they do not touch.
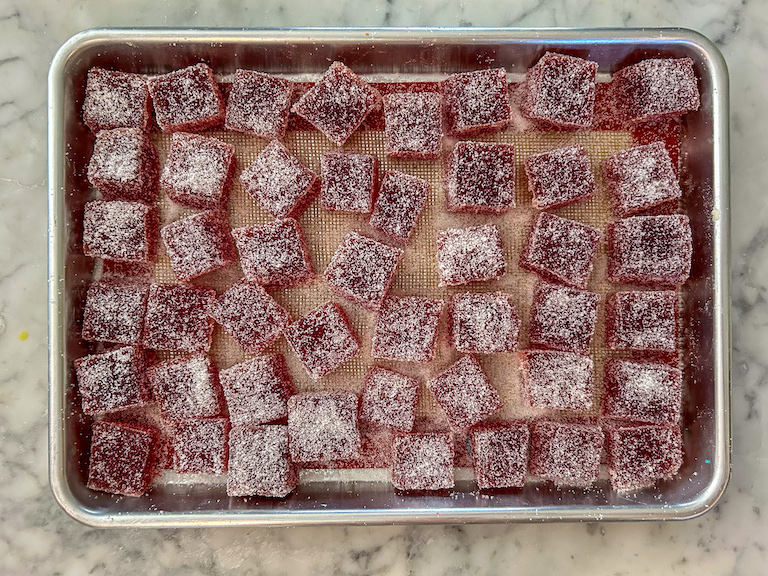
Set aside and allow to dry at room temperature, uncovered, for 1-2 days, or until sugar crystallizes and candy develops a crunchy coating.
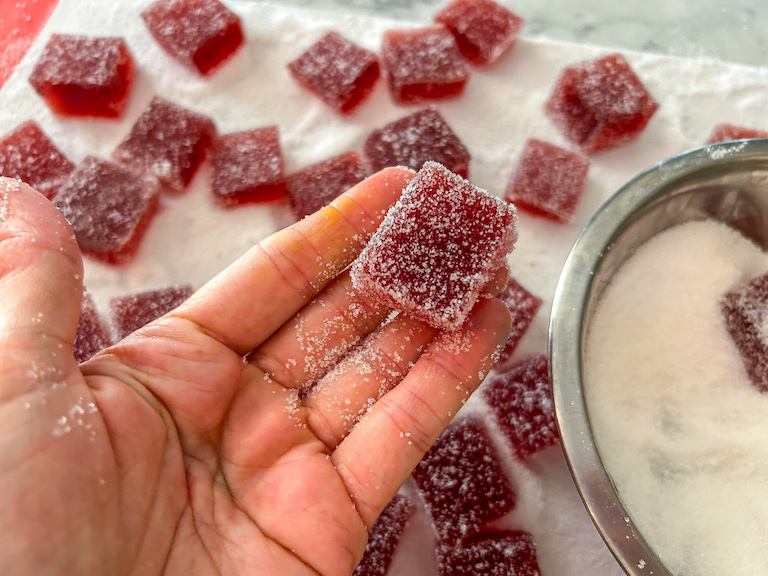
Layer cranberry jelly candy between sheets of parchment. Store in an airtight container at room temperature for up to 1 month.

Notes
For best results, use 100% cranberry juice for this recipe, rather than cranberry juice cocktail. The added sugar in a cocktail or juice blend will make your finished candies too sweet.
You will need a digital thermometer for this recipe. You can use a standard probe, or a thermometer that clamps to your pot to free up your hands for stirring.
Although I prefer to work with leaf gelatin, I used powdered gelatin in this recipe. Here is a helpful post outlining the difference between gelatin leaves and powder, and how to convert between the two.
Plan ahead! After cutting and coating, the candy must sit at room temperature for 1-2 days in order to develop the crunchy coating.
- Prep Time: 30 minutes
- Cook Time: 30 minutes
- Category: Candy and Confectionery
- Method: Stovetop
- Cuisine: Sweets
Find it online: https://bastecutfold.com/festive-cranberry-jelly-candies/