
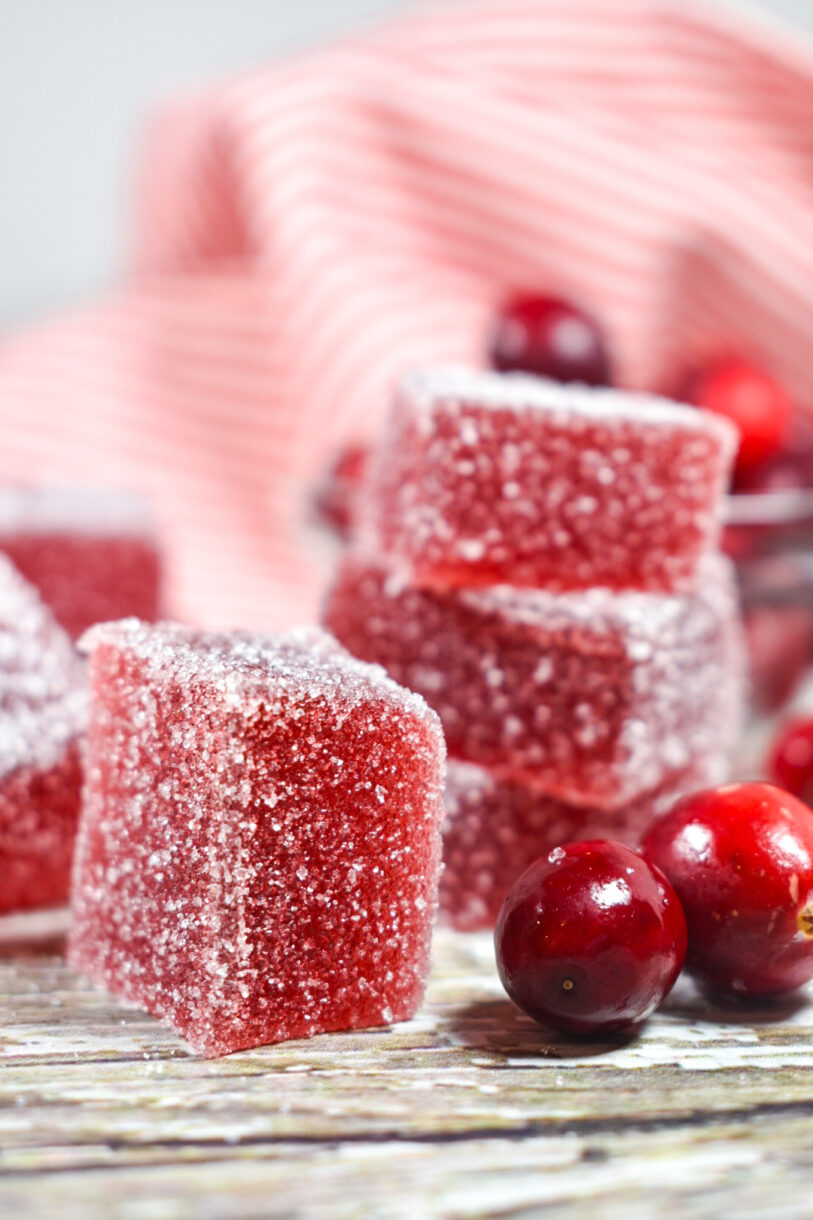
Festive Cranberry Jelly Candies
This post may contain affiliate links. Please read the disclosure policy to learn more.
Thank you for supporting this blog!
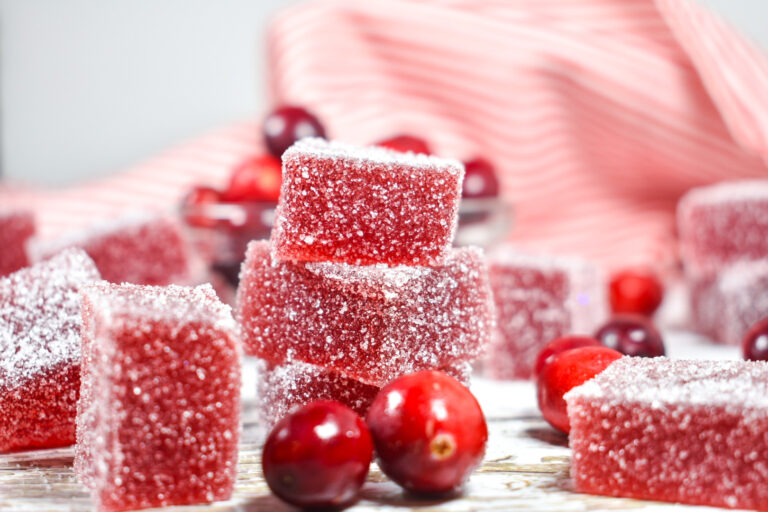
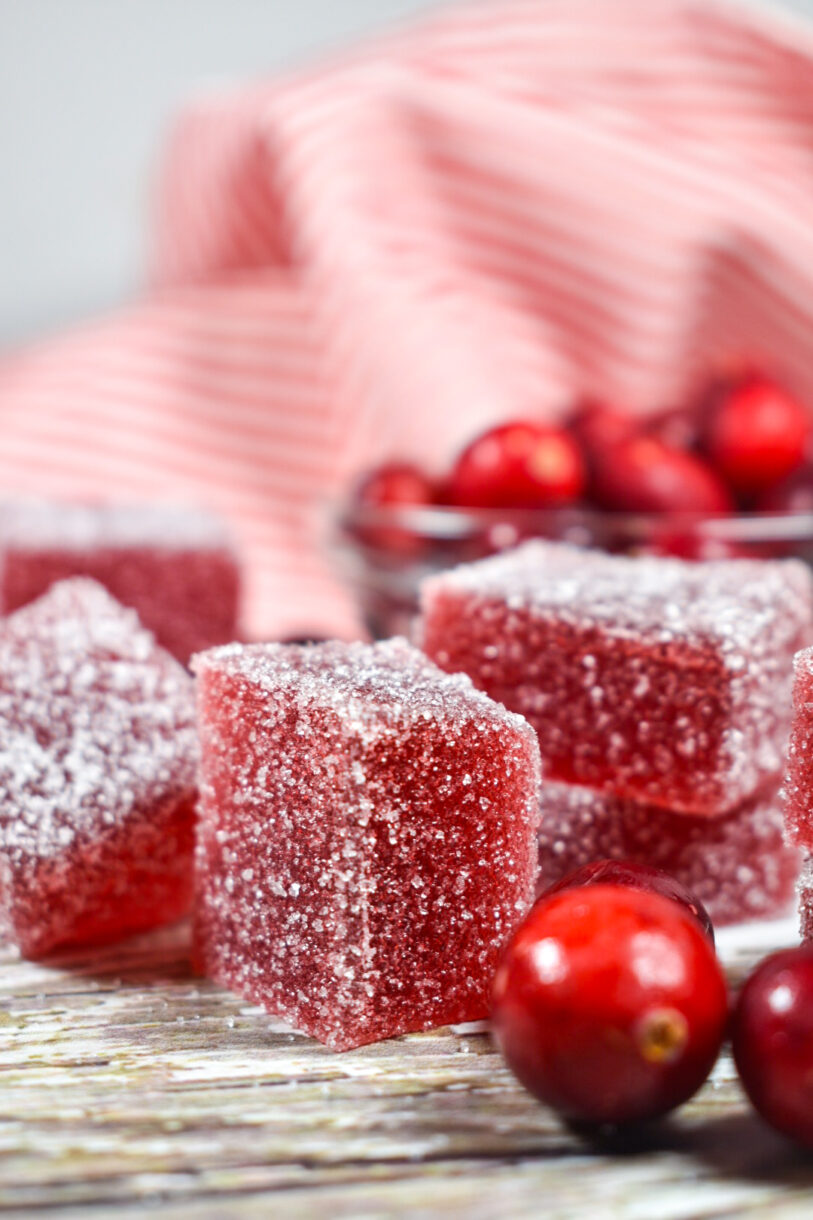
Made with gelatin, granulated sugar, and real cranberry juice, these festive cranberry jelly candies are easy to make, ship well, and feature a vibrant (natural) shade of Christmas red. The best cranberry jelly candy recipe for holiday gifting!
Why Make These Cranberry Jelly Candies?
I’m generally not the biggest fan of “sugary” candies. If given the choice, I’ll always pick chocolate truffles, marshmallows, rocky road, or chewy caramels over gummy bears or hard candy. I’m also not the biggest fan of fruit in desserts. Strange, then, that one of my favorite confections is the sugary, fruit-based pâte de fruits.
Pâte de fruits is a traditional French confection made from fruit purée, pectin, and sugar, cooked down to a jelly-like consistency, poured into molds (or sliced into squares) and finished with a sugary coating. I first learned to make these classic French candies while studying for my chocolatier’s certificate, and during my pastry training at Le Cordon Bleu London we made a mango-coconut version which quickly became a staple in my candymaking repertoire.
These festive cranberry jelly candies are not pâte de fruits. Pâte de fruits recipes generally call for pectin as the thickening agent and are made with a fresh fruit purée; my cranberry candies use powdered gelatin and cranberry juice instead. But these jelly candies are easier to make, and they taste just as good.
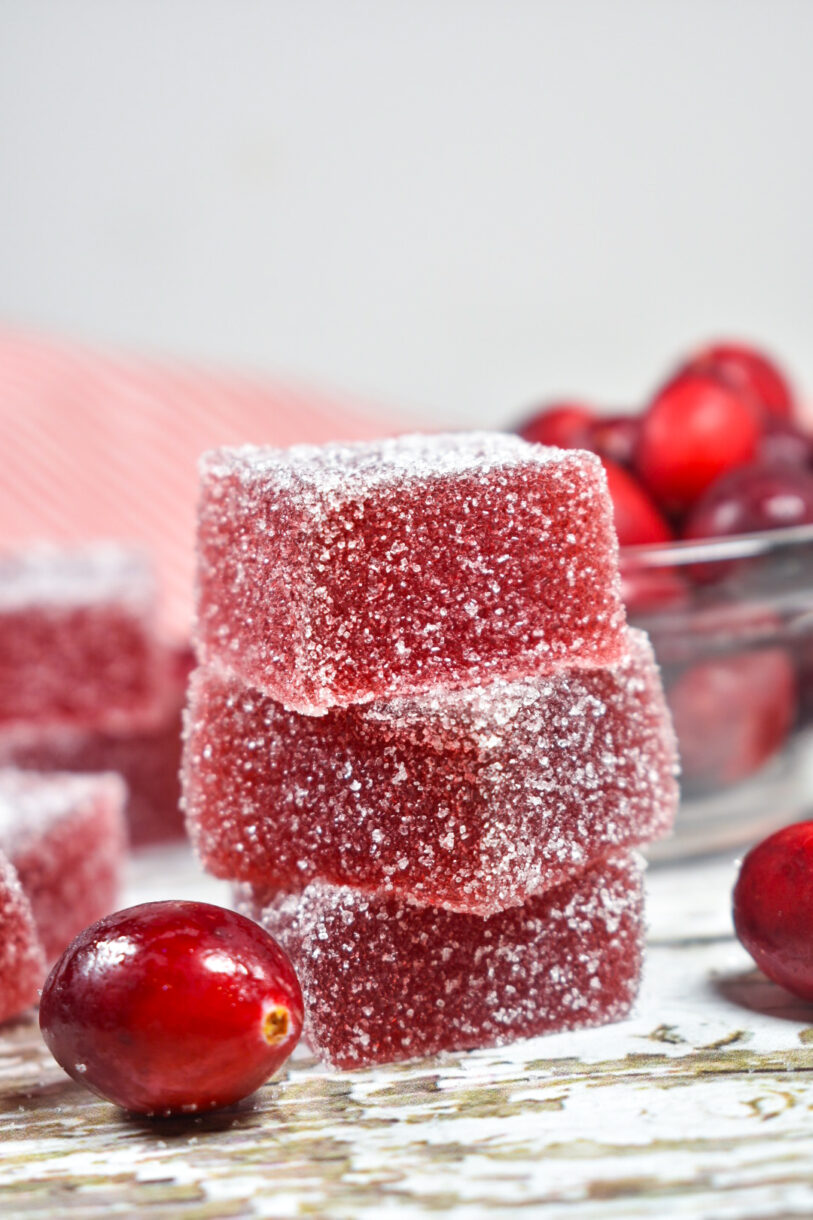
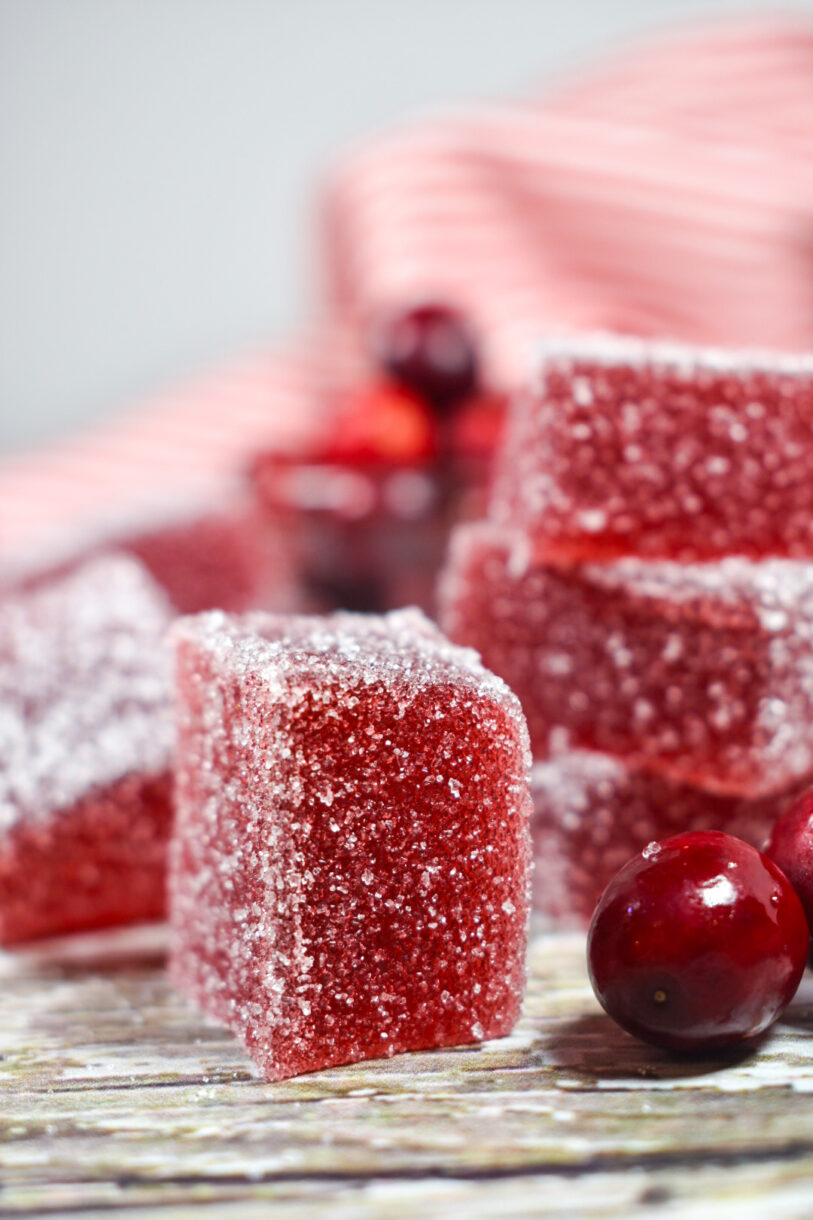
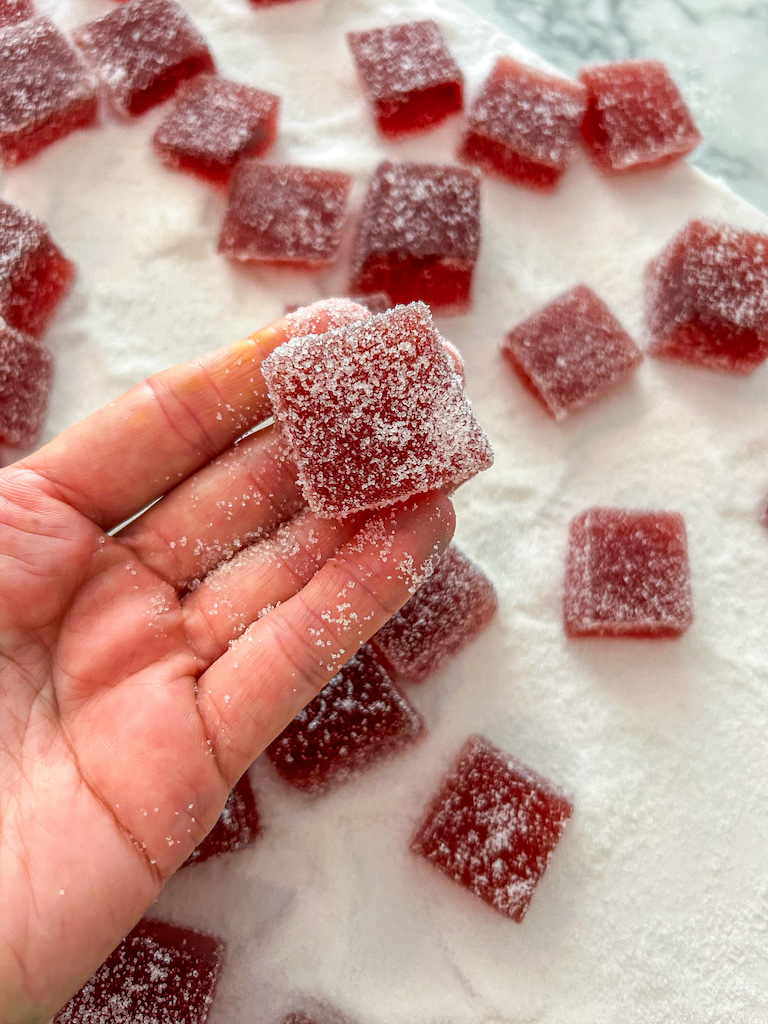
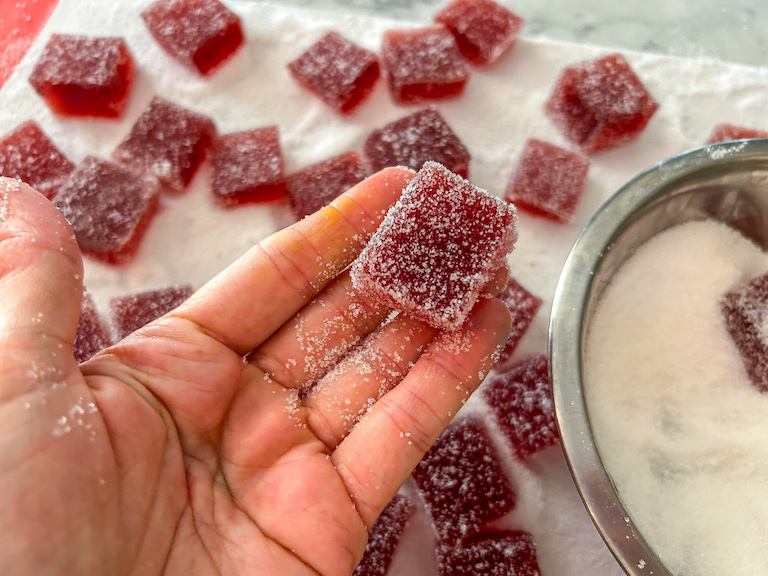
Featuring a tart-meets-sweet jelly candy in the middle and a sugary, crunchy coating, my cranberry jellies will please even the most reluctant gummy candy fan. The vibrant red color comes from cranberry juice rather than dye or food coloring, offering a solid option for those who prefer a natural approach to candymaking. And because these sweets keep well at room temperature for a month or longer, they’re ideal for gifting and serving throughout the Thanksgiving and Christmas season.
Ingredients for Making This Cranberry Jelly Candy Recipe
These cranberry gummies require just four ingredients—and one of them is water! Start by gathering the following:
- Cranberry Juice – You’ll need to divide the juice into two portions: Cold cranberry juice for blooming the gelatin, and boiling juice for activating its setting properties. Choose pure cranberry juice for this recipe. Do not use cranberry juice cocktail, which contains added sugar and will make the candies too sweet. And if you have some juice left over, save it to make a festive cranberry Christmas punch!
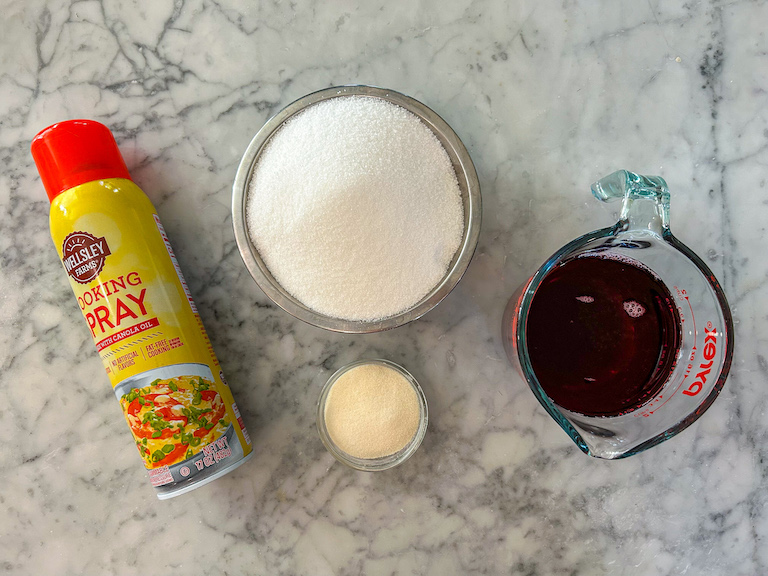
- Granulated Sugar – Granulated sugar forms the base of this sweet and chewy candy recipe, while rolling the pieces in sugar and air-drying for 1-2 days creates the signature crunchy coating.
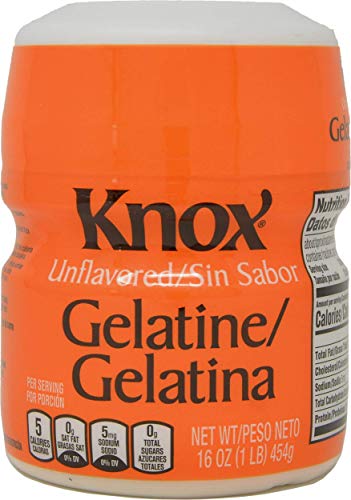
- Gelatin – Although I generally prefer to work with leaf gelatin, I used powdered gelatin in this recipe. (Here is a post I wrote about the differences between the two, and how to convert gelatin sheets to powder.) Also, most gelatins contain beef, pork, or fish, so keep this in mind if preparing cranberry candies for friends with allergies or dietary preferences.
- Oil – You’ll need canola, vegetable, or another neutral oil or nonstick spray to grease the tin, the knife, and (if using one) the cutter. Don’t skip the greasing step—it will make your life so, so much easier!
Special Tools and Equipment
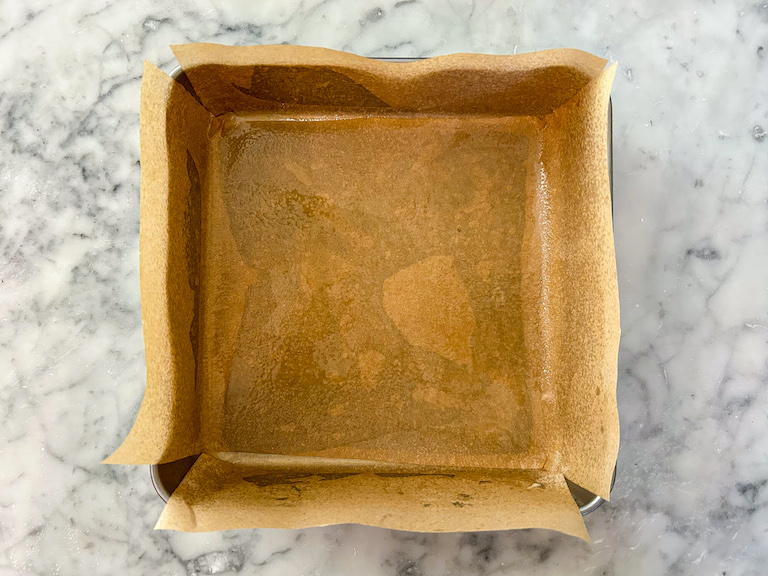
To start, you’ll need an 8×8-inch square metal tin, along with parchment for lining. Do not make this recipe in an unlined tin, and do not use wax paper—it will adhere to the candy, leaving you with a sticky, papery mess.
You will need a digital thermometer for this recipe. I use a handheld thermometer, but if you’re new to candymaking (or just want to make the process easier), consider a thermometer which clamps to your pot (or hangs over the side). This style frees up your hands, with no need for constant manual temperature checks with a probe.

I use a wire whisk for blending the gelatin into the cranberry juice, and a heat resistant spoon for stirring the hot candy mixture. Do not use cheap novelty spoons or spatulas; the plastic can melt into your candy and quickly ruin an entire batch!
A sharp, well-oiled chef’s knife is a must for cutting the jelly slab. If you want, you can skip the knife and use a mini cookie cutter to cut the slab into hearts, stars, or other shapes. (See my rose marshmallows for a similar example.) Just keep the cutter well-oiled, and stop periodically to clean it between cuts. And for cutting, you’ll also need a large, sugar-coated chopping board.
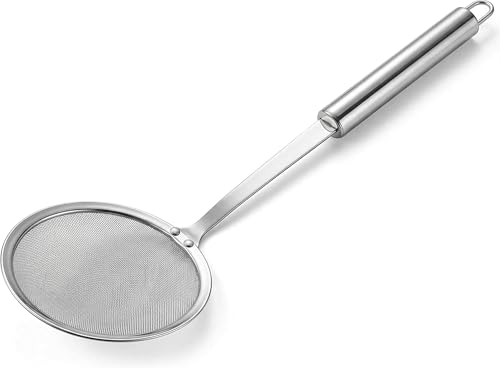
Finally, I recommend using a wire skimmer or mesh strainerto remove any bubbles or white foam that forms as the mixture cooks. (See my notes on bubbles below!)
Cranberry Candy Tips and Tricks
Grease everything. Use plenty of nonstick spray or canola oil to grease the tin, the parchment, the knife, and even your fingertips. Keeping your equipment well-oiled will make the entire process much less frustrating.
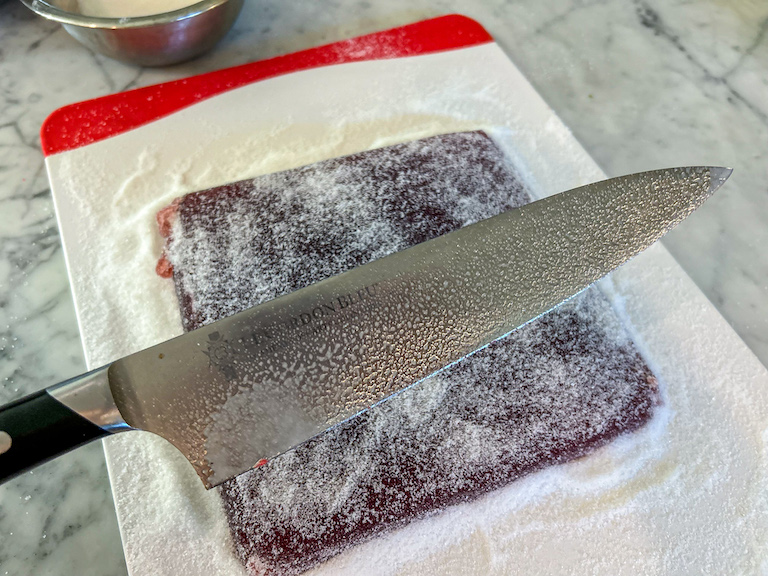
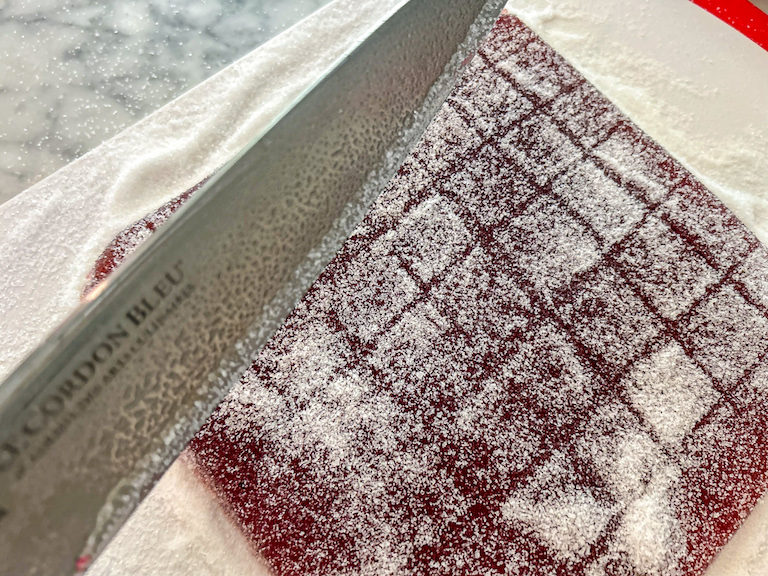
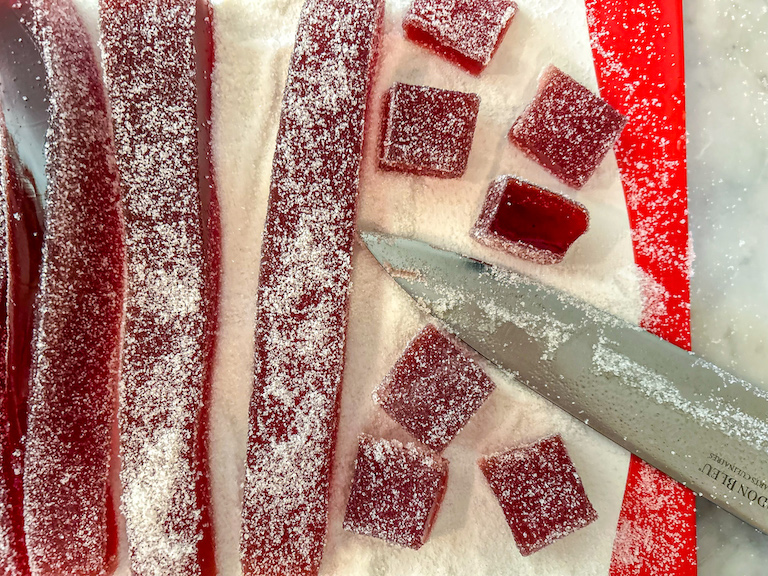
Pre-mark the slab before cutting. This isn’t mandatory, but I like to use the back of my knife to mark my cuts (thanks to the sugary coating, they’ll be very easy to see) before slicing. This allows me to double-check my sizes, keeping all of the candy squares roughly equal.
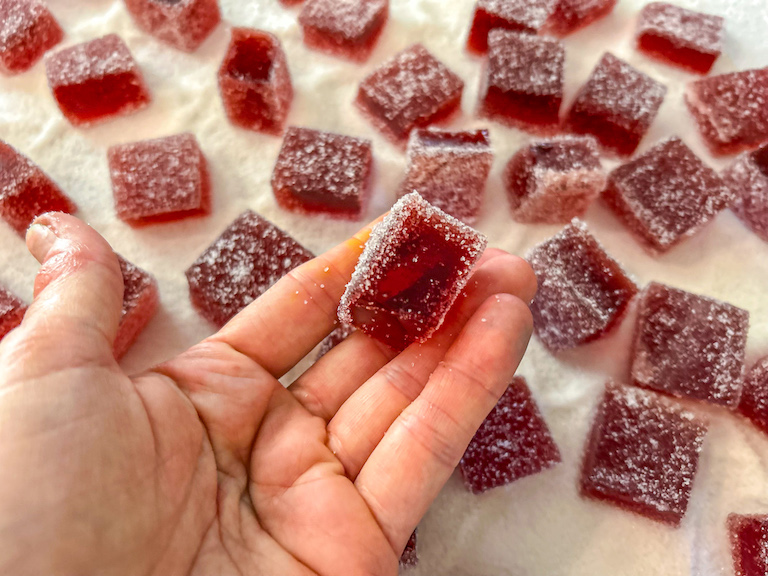
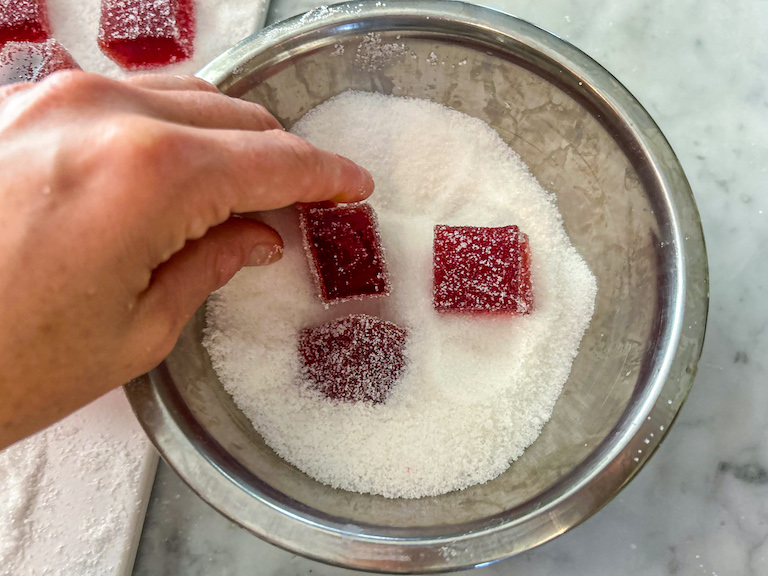
Use plenty of sugar. Take time to toss each square in sugar, and make sure all sides are well-coated, with no bright red sides remaining.
Plan ahead. While the candy itself comes together fairly quickly, you’ll need to allow about 4 hours for the slab to set in the fridge, plus another 1-2 days for the candies to crystallize after cutting and coating.
Notes on Bubbles
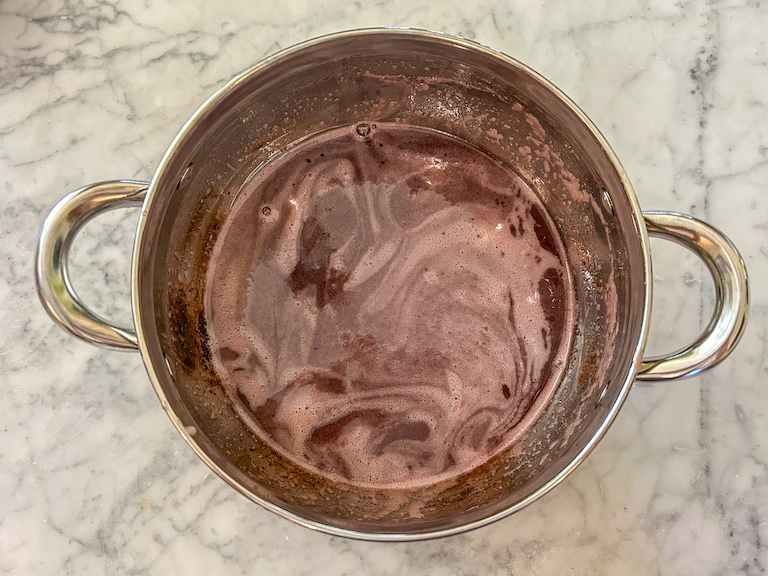
As you cook the cranberry mixture, you’ll notice some white foam, streaks, or bubbles forming on the surface. This is normal.
After cooking and before pouring the hot cranberry mixture into the prepared tin, use a fine mesh strainer, wire skimmer, or slotted spoon to gently skim away the bubbles. But don’t worry if a few streaks or white spots remain—they’ll be well-hidden by the sugary coating.
Gifting Cranberry Candies
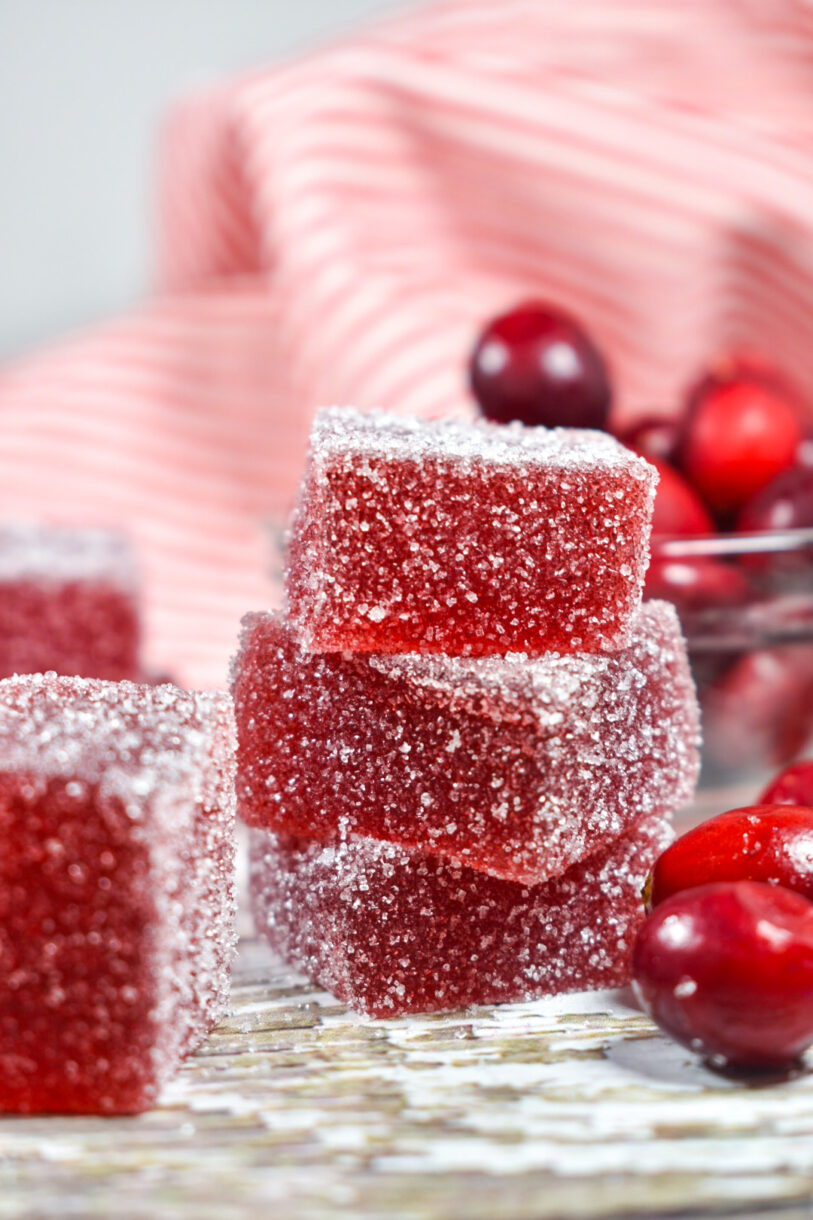
Thanks to the addition of cranberry juice, the finished cranberry jelly candies develop a beautiful (and natural) shade of Christmas red, adding a ‘pop’ of color to candy trays or holiday gift baskets. You could also package your homemade gummies in a pretty, holiday-themed cello bag, accompanied by a big red bow!
Make-Ahead and Storage Suggestions
The slab must chill for about 4 hours before cutting, and the cut jelly candy needs to sit at room temperature for 1-2 days in order to develop its signature crunchy coating. Plan your timeline accordingly.
Layer squares of cranberry jelly candy between sheets of parchment and store in an airtight container at room temperature for up to 1 month.
Other Christmas candy recipes you might enjoy:
Soft Christmas Peppermints
Chocolate Peppermint Lollipops
Candy Cane Truffles
Old-Fashioned Hard Candy
Christmas Candy Corn
If you’re a cranberry lover, try my cranberry simple syrup, cranberry curd tart, or cranberry compote recipes, too!
And if you do make these, or any of my recipes, don’t forget to tag me @bastecutfold or use the hashtag #bastecutfold on Instagram. I always love to see what you’re making!
Festive Cranberry Jelly Candies
- Total Time5 hours (plus 1-2 days drying time)
- Yield50-60 squares 1x
Cranberry jelly candies made with gelatin, granulated sugar, and real cranberry juice.
Ingredients
Nonstick spray, for greasing tin and knife
240 milliliters cold cranberry juice (1 cup)
35 grams powdered gelatin (five 7-gram packets, or about 3 1/2 tablespoons)
650 grams granulated sugar (about 3 1/4 cups, plus more for coating candies)
180 milliliters boiling cranberry juice (3/4 cup)
Instructions
Line an 8×8-inch square tin with parchment in a criss-cross pattern, allowing a 1-inch overhang on all sides. Grease generously with nonstick spray. Set aside.
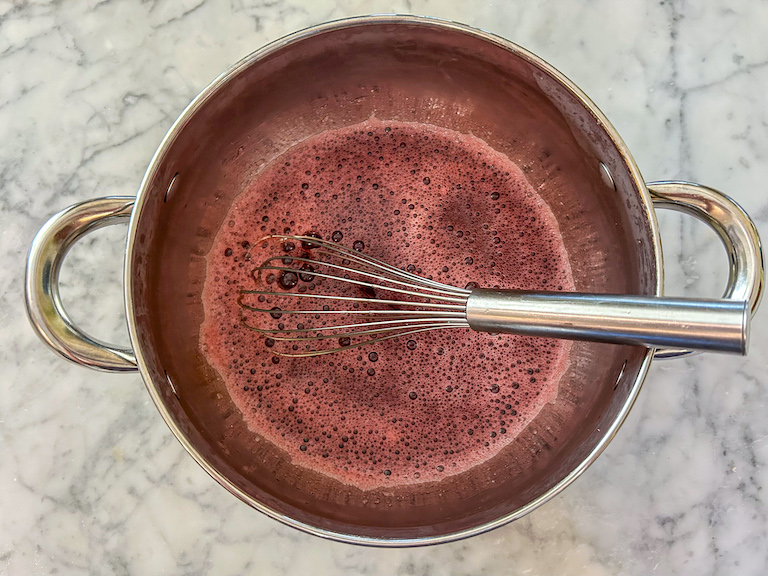
Add the cold cranberry juice to a large stock pot. Sprinkle gelatin over top. Whisk to combine.

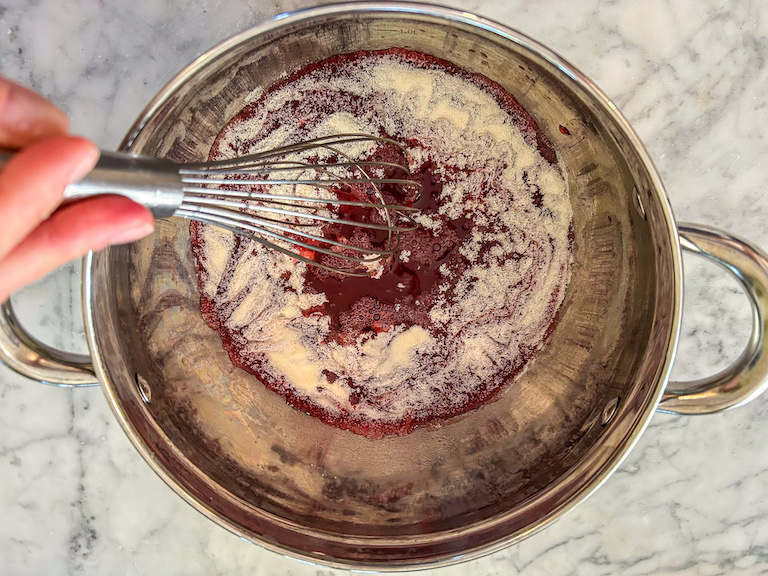
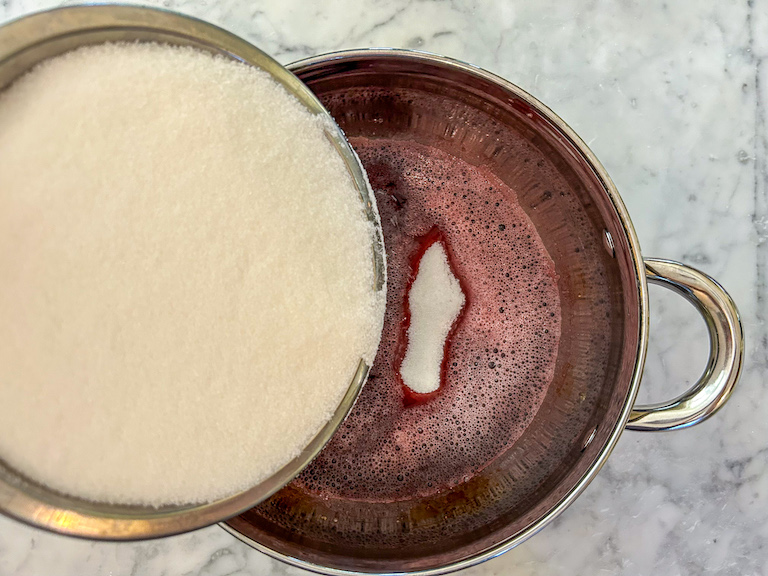
Add the boiling cranberry juice and granulated sugar and whisk to combine.
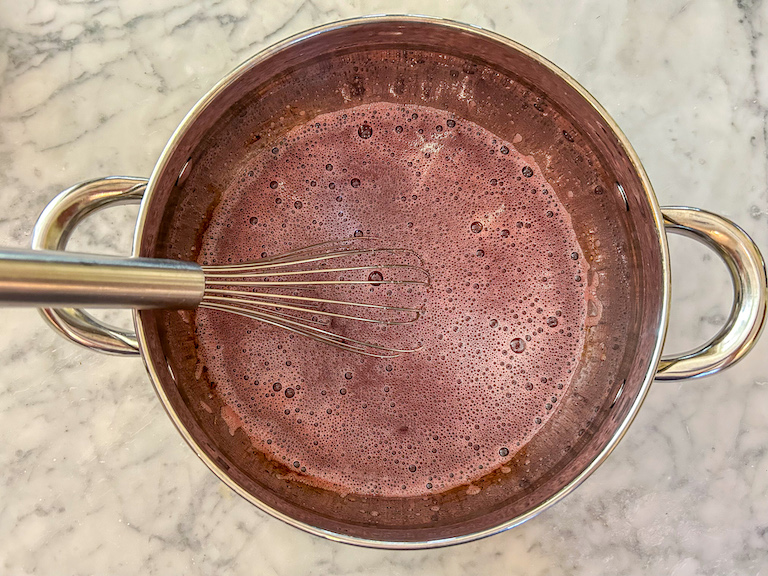
Bring mixture to a boil over high heat, about 5 minutes. Reduce heat to medium and simmer, stirring occasionally with a heat resistant spoon, until mixture reaches 107° C / 225° F on a digital thermometer. (This will take 20-25 minutes or more, so be patient!)

Remove from heat. With a skimmer or fine mesh strainer, gently remove any large bubbles.
Pour mixture into prepared pan. (Don’t worry if you still see some bubbles, white streaks, or “foamy” spots. You won’t see these once you coat the candy in sugar.)

Refrigerate until firm, at least 4 hours or overnight.

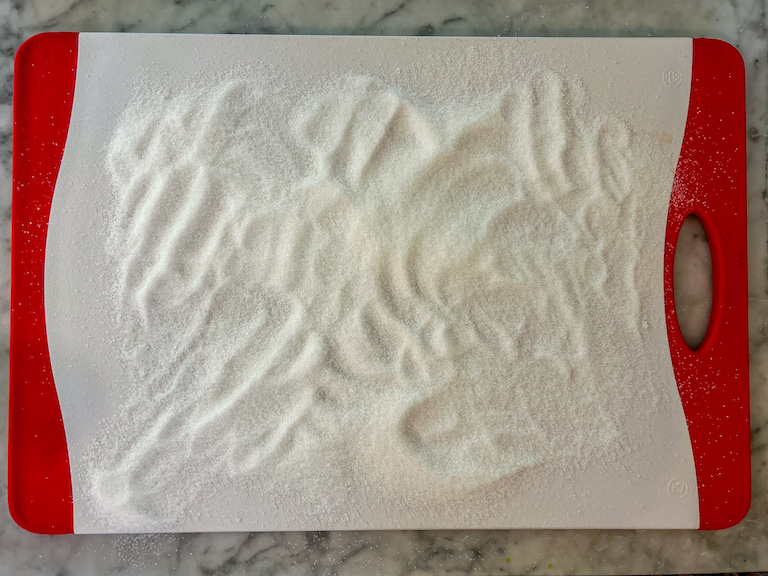
Line a large tray with parchment or a silicone baking mat. Coat a large chopping board with 2-3 scoops of granulated sugar.
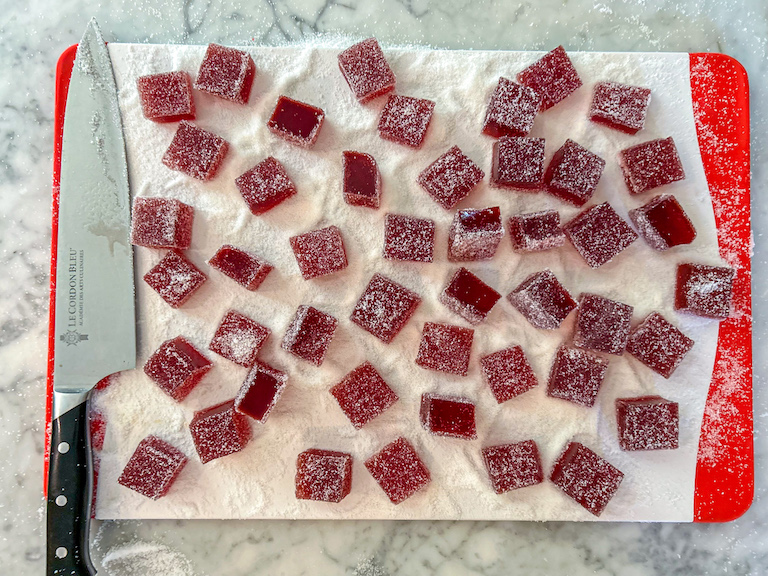
Flip cranberry slab out onto sugared chopping board. Peel away the parchment.

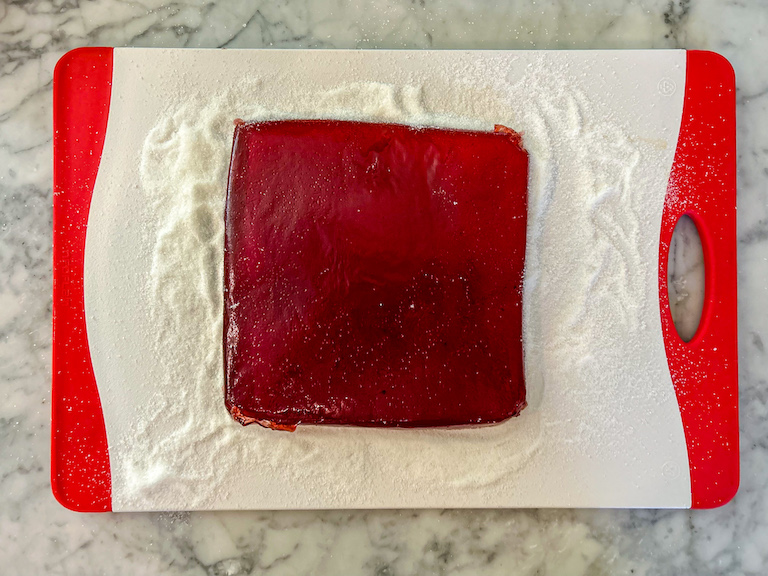
With your hands, spread the sugar over the slab until completely coated on both sides.
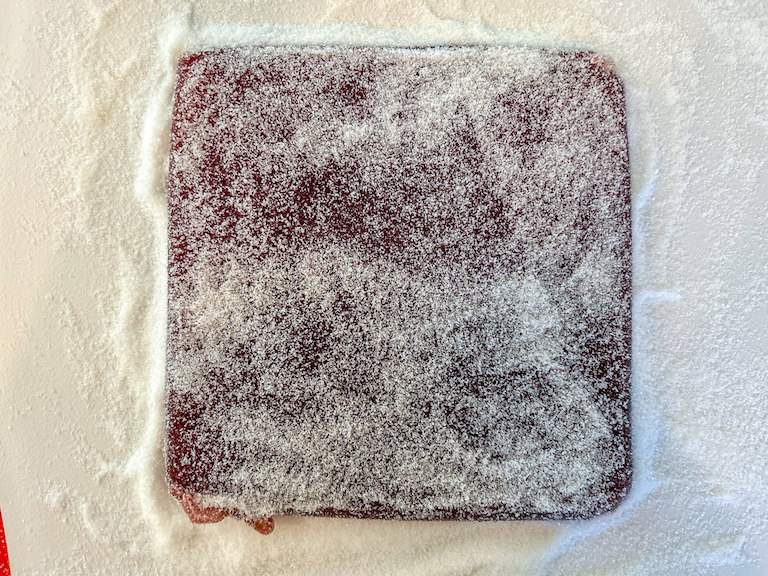
With the back of your knife, lightly mark squares as a guide for cutting. You can create 7 x 7 rows (for 49 candies) or 8 x 8 rows (for 64 candies).

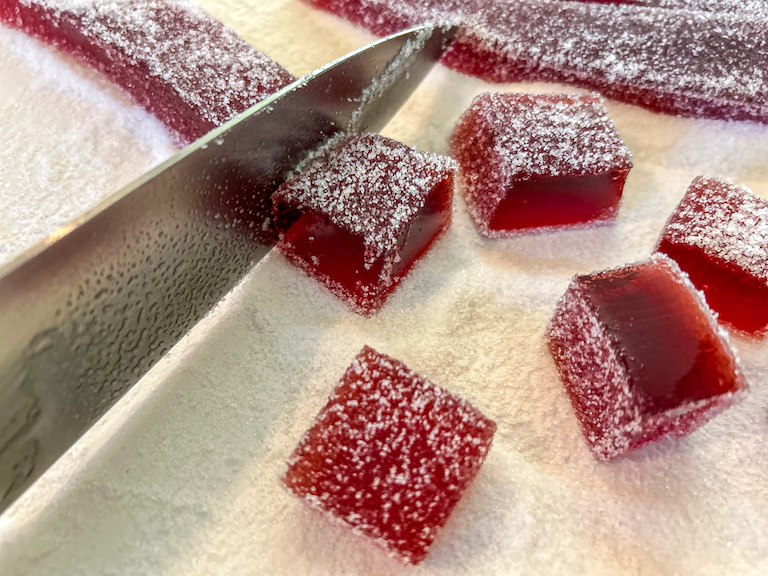
With a sharp, well-oiled chef’s knife, cut the slab following the guidelines created above.
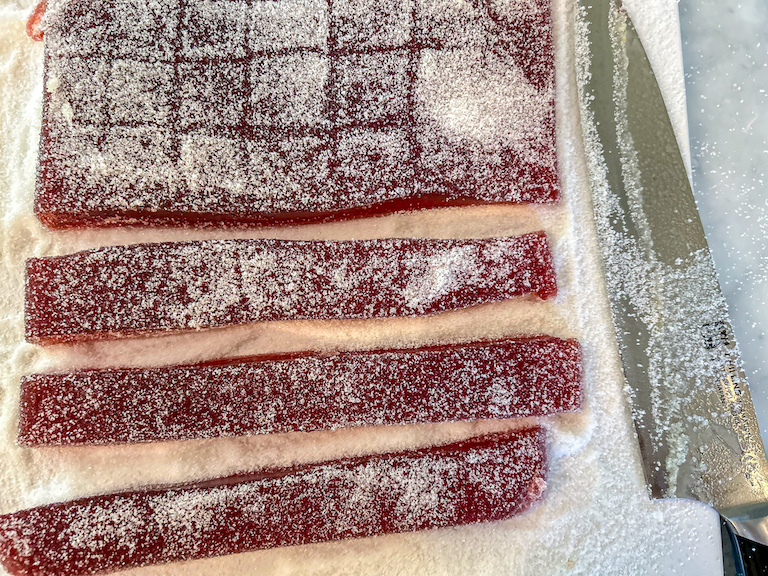
Roll each square in sugar, completely coating all of the sticky sides.
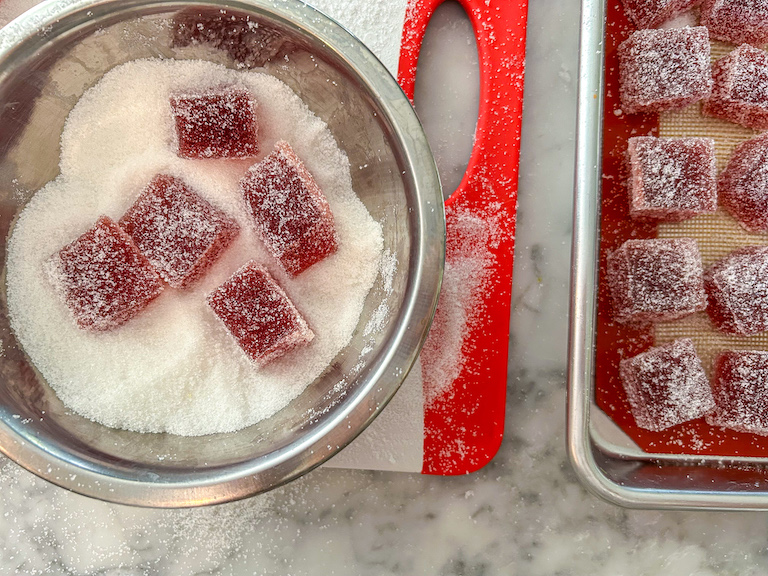
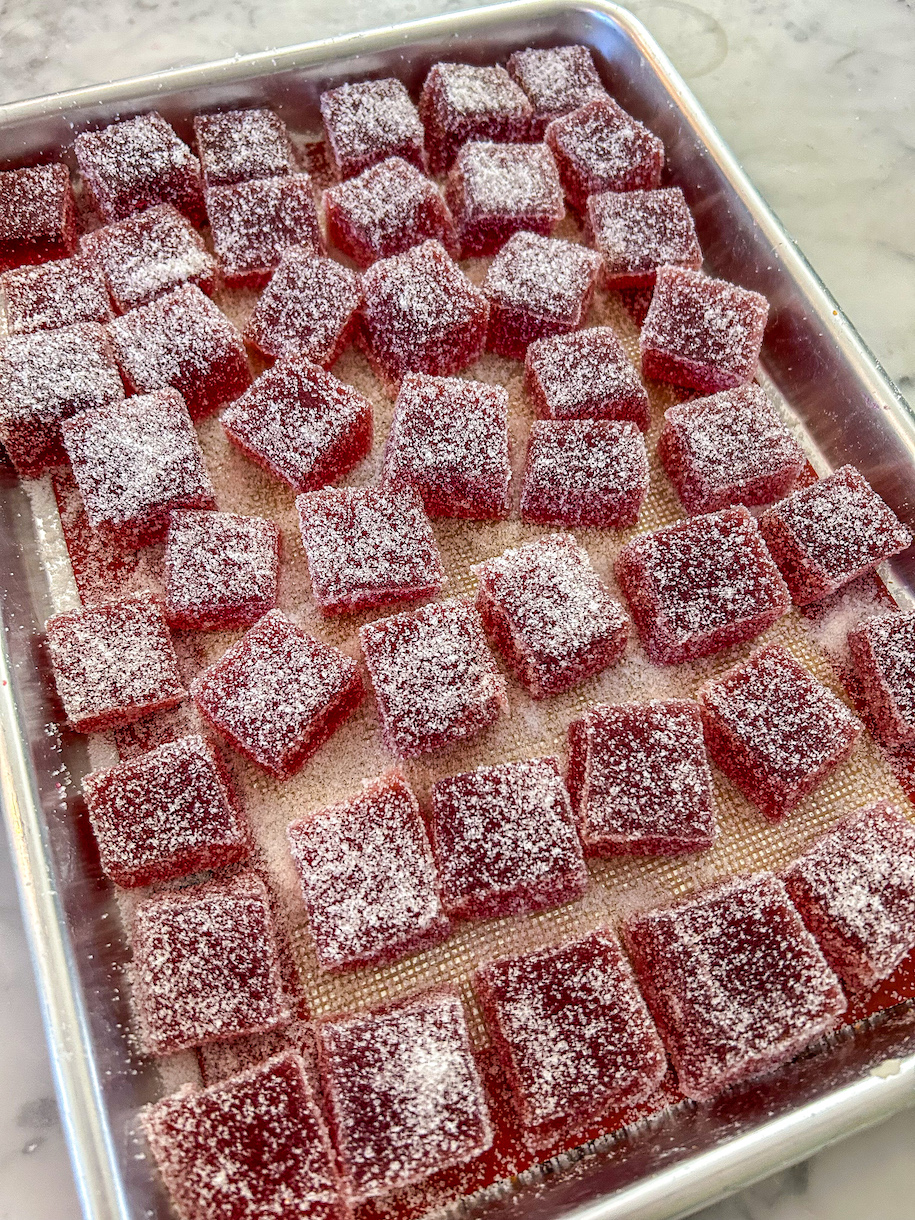
Arrange coated candies on prepared tray, making sure they do not touch.
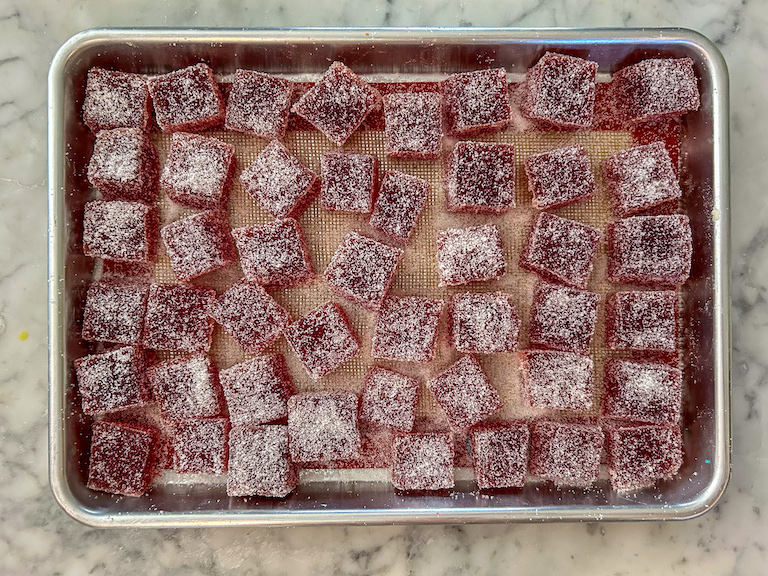
Set aside and allow to dry at room temperature, uncovered, for 1-2 days, or until sugar crystallizes and candy develops a crunchy coating.
Layer cranberry jelly candy between sheets of parchment. Store in an airtight container at room temperature for up to 1 month.


Notes
For best results, use 100% cranberry juice for this recipe, rather than cranberry juice cocktail. The added sugar in a cocktail or juice blend will make your finished candies too sweet.
You will need a digital thermometer for this recipe. You can use a standard probe, or a thermometer that clamps to your pot to free up your hands for stirring.
Although I prefer to work with leaf gelatin, I used powdered gelatin in this recipe. Here is a helpful post outlining the difference between gelatin leaves and powder, and how to convert between the two.
Plan ahead! After cutting and coating, the candy must sit at room temperature for 1-2 days in order to develop the crunchy coating.
- Prep Time: 30 minutes
- Cook Time: 30 minutes
- Category: Candy and Confectionery
- Method: Stovetop
- Cuisine: Sweets


I love this recipe, and it’s been a phenomenal hit as a Christmas gift. Thanks so much for sharing it!
I did cut the sugar to 300 g and still found them more than sweet enough (and yes, this is with pure, unsweetened cranberry juice), so for those looking for that perfect sweet tart cranberry experience, know you can safely cut the sugar way back and get great results.
Thank you for your feedback! So glad you enjoyed this recipe.
I’m adding this to my “try recipe”; it looks easy to make. Thank you for sharing.
I made this for the first time and it was a super easy recipe to follow with a really really yummy outcome. I thought I bought 100% Cranberry Juice, but it was a juice blend so the flavor wasn’t what I wanted it to be. I then tried it with a high quality cherry juice and a squirt of lemon juice (rolled in sugar and citric acid) and its like a store bought candy (think sour gummy worms / sourpatch kids). I plan to continue to experiment with some different juices. Thank you so much. One question, how do you get the foam layer off? Carefully stirring it isnt helping all that much (should I try removing it, or is there a way to distill it back into the candy mixture while its hot)?