
Carrot Candy Recipe
This post may contain affiliate links. Please read the disclosure policy to learn more.
Thank you for supporting this blog!
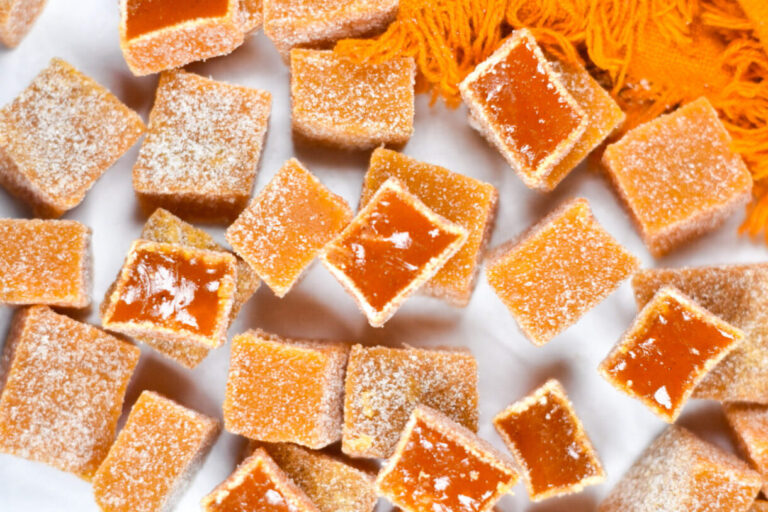
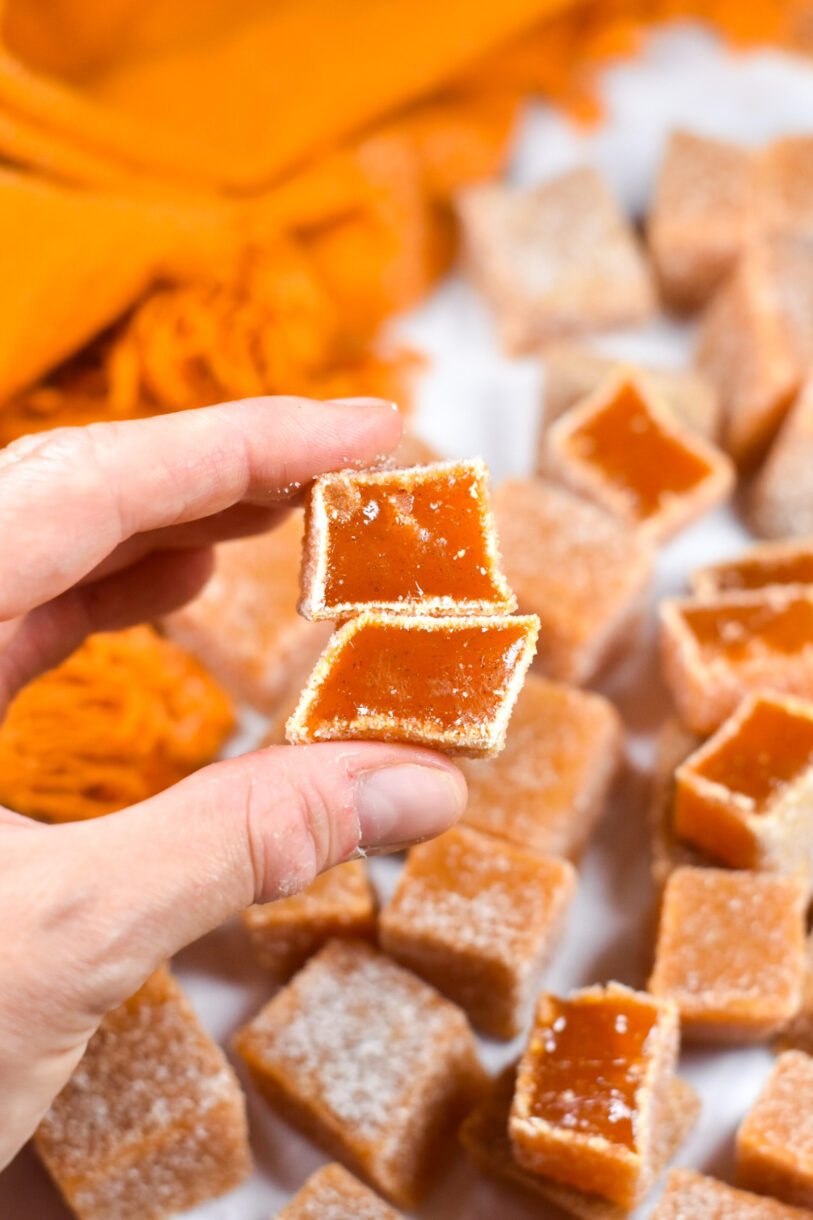
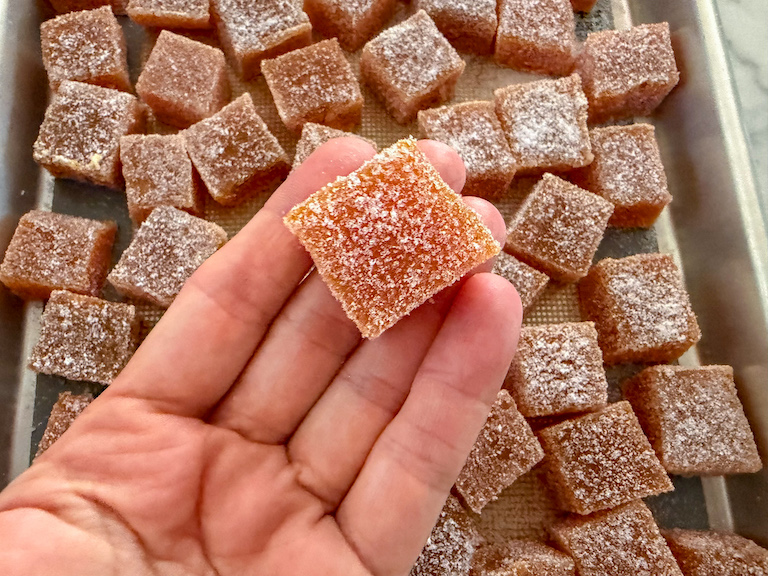
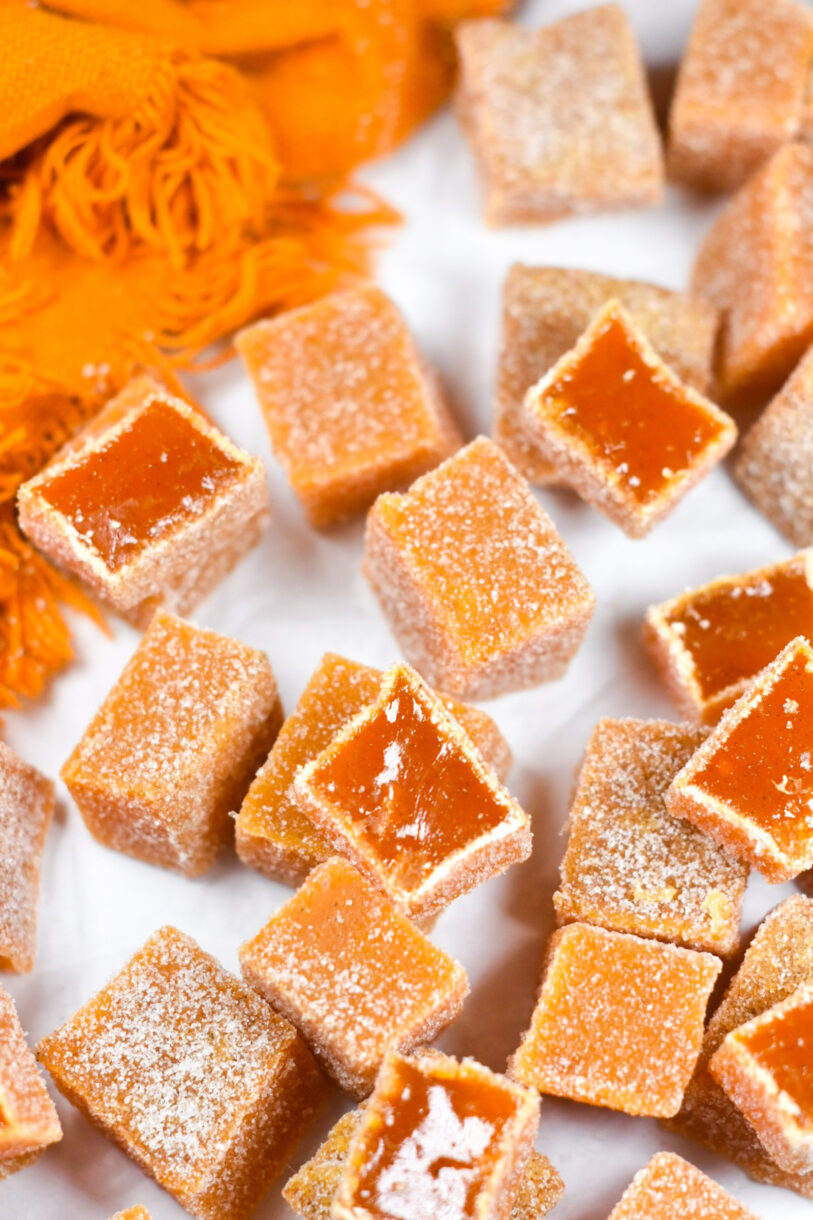
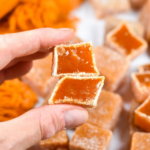
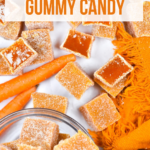
A gummy carrot candy recipe made with real carrot juice, gelatin, and autumn spices, plus a crunchy sugar coating.
What Inspired Me to Make This Carrot Candy Recipe?
One of my favorite things about autumn baking is the wide range of seasonal flavors. Not just pumpkin spice (obviously!) but all of the other classics, like apple, pear, coffee, and chai. Somehow I feel like I’ll never run out of new combinations. And while carrot might not be not an iconic “fall flavor” like the ones I’ve just mentioned, and I know that not everyone loves the idea of “vegetables for dessert” (my parsnip cookies and butternut squash pudding would beg to differ, though…) with the right blend of spices, I think that carrot cake encapsulates those cozy fall feelings just as well as a pumpkin spice latte or a mug of hot buttered brandy. And I swear that this carrot candy tastes just like a slice of carrot cake, but in gummy candy form.
Carrot Candy Ingredients
- Carrot Juice – Bottled carrot juice forms the base of this recipe. Carrot juice might sound a bit unusual, and it’s certainly not as popular as orange or apple juice, but most grocery stores carry it in the bottled juice aisle. And if it’s not there, look in the refrigerated section for fresh, cold-pressed carrot juice. You’ll only need a small amount (240ml/1 US cup) of juice, so purchase a single serving bottle unless you enjoy drinking carrot juice, or plan to double the recipe.
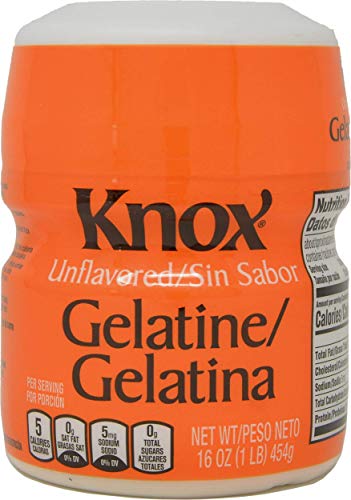
- Powdered Gelatin – Gelatin gives the candy its gummy texture. Although I generally prefer to work with leaf gelatin, I used the powdered version in this recipe. Feel free to visit this post to learn more about how to convert gelatin leaves to powder, and vice versa. Note that I have not tested this recipe with leaf gelatin. And save the rest! You can make homemade marshmallows, gummy hearts, or cranberry jelly candy.
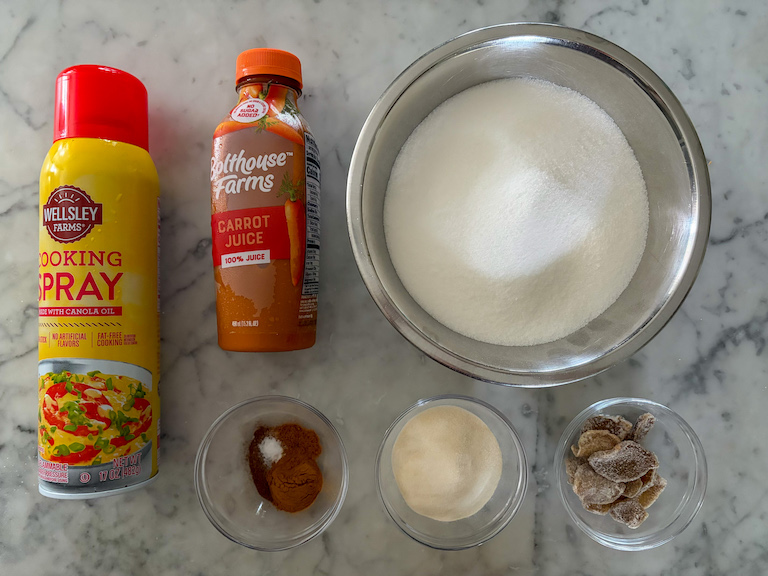
- Granulated Sugar – You’ll need plenty of granulated sugar to make the candy, plus more for creating the crunchy coating. Although in most of my recipes granulated and caster sugar will work interchangeably, granulated is better for this one. The finer texture of caster sugar is too smooth to make the coating; you need the larger grains of granulated sugar to produce the thick outer layer and satisfying crunch.
- Spices – You’ll need ground cinnamon, ground nutmeg, ground allspice, and kosher salt. Or, use homemade pumpkin pie spice to flavor your candy instead. I also added pieces of finely minced candied ginger. You can use a store-bought candied stem ginger, or make your own candied ginger from scratch. Or, omit it if you prefer a smoother jelly candy.
Tips and Tools
- Use a candy thermometer. A digital one is best (I’m partial to this Taylor thermometer), since the infrared style just takes the temperature of the top of the boiling mixture. You might also consider a thermometer that clamps to your pot (or hangs over the side) to free up your hands and avoid having to check the temperature constantly. When inserting the probe in the hot sugar syrup, try to avoid touching the bottom or sides of the pan, which can lead to an inaccurate reading.
- Double up. Accuracy is very important with this recipe. If you don’t cook the sugar long enough, you’ll end up with a runny mess, and if you overcook it, you’ll have carrot hard candy. So precision is key! Using two thermometers is a trick I picked up at pastry school, and one I always employ when working with chocolate, sugar, or other temperature-sensitive recipes.
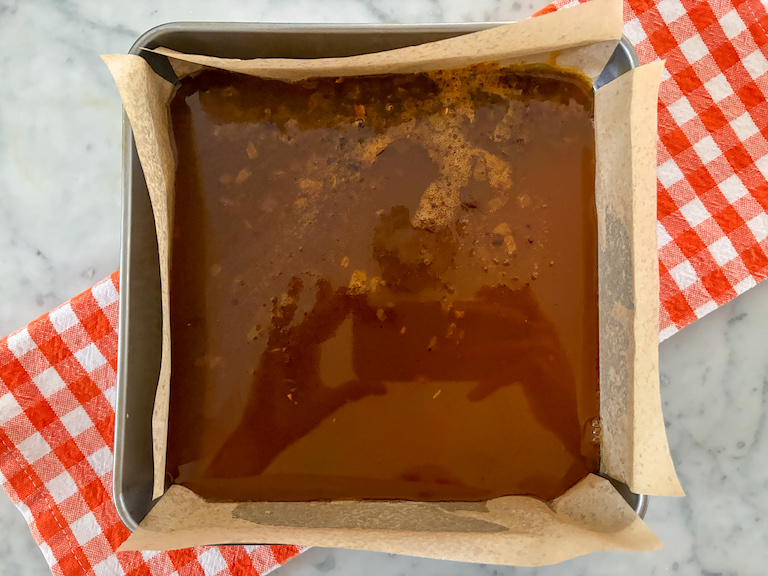
- Line the tin. You’ll need an 8×8-inch square metal tin, along with parchment for lining. Do not make this recipe in an unlined tin, and do not use wax paper—it will adhere to the candy, leaving you with a sticky, papery mess.
- Skim the surface. As the carrot mixture cooks, you might notice some white foam, streaks, or bubbles forming on the surface. This is normal. Before pouring the hot juice into the prepared tin, use a fine mesh strainer, wire skimmer, or slotted spoon to gently skim away the bubbles. But don’t worry if a few streaks or white spots remain. They’ll be very well hidden by the white, sugary coating.
- Cut cute shapes. If desired, you can use a metal cookie cutter to cut the slab into cute shapes, such as hearts or stars. If using a cutter instead of a knife, coat it with plenty of canola oil or other nonstick cooking spray. Use a paper towel to clean the cutter between cuts, adding more oil periodically to prevent the candy from sticking to the cutter.
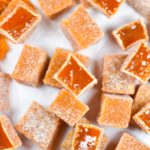
Carrot Ginger Gummy Candy
- Total Time5 hours (+ 1-2 days to crystallise)
- Yield50-60 candies 1x
A carrot gummy candy recipe with a spiced carrot ginger filling and crunchy sugar coating.
Ingredients
Nonstick spray, for greasing tin and knife
240 milliliters cold carrot juice (1 cup)
35 grams powdered gelatin (five 7-gram packets, or about 3 1/2 tablespoons)
650 grams granulated sugar (about 3 14 cups), plus more for coating the candies
180 milliliters boiling carrot juice (3/4 cup)
1 teaspoon ground cinnamon
1/4 teaspoon ground nutmeg
Pinch ground allspice
Pinch kosher salt
30 grams candied ginger, minced (2 tablespoons)
Instructions
Line an 8×8-inch square tin with parchment in a criss-cross pattern, allowing a 1-inch overhang on all sides. Grease generously with nonstick spray.
Add the cold carrot juice to a large stock pot. Sprinkle gelatin over top and whisk until thoroughly combined.
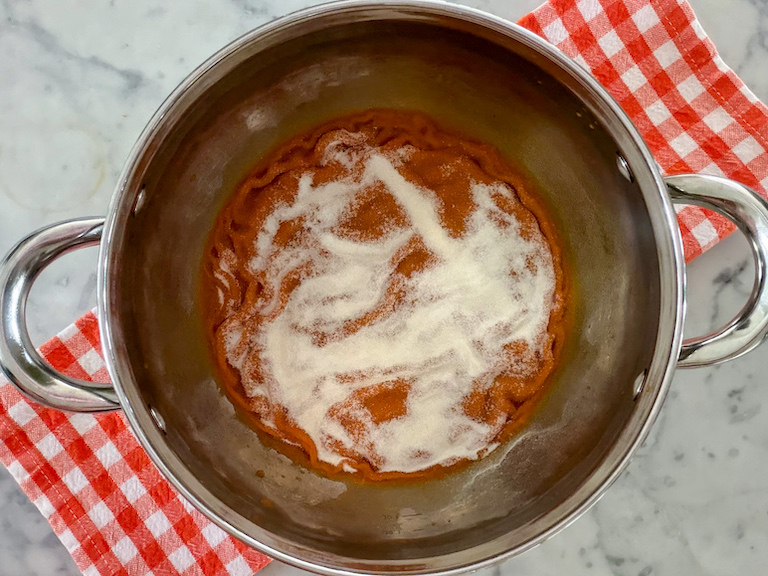
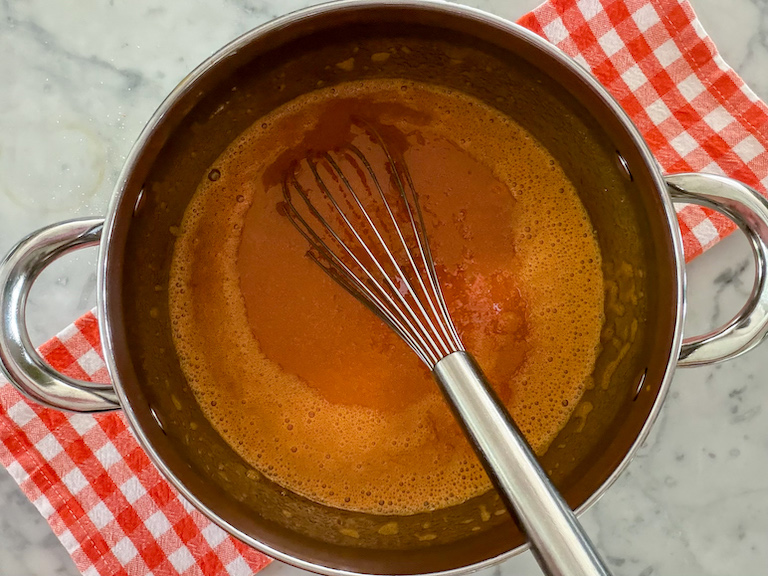
Add the boiling carrot juice and granulated sugar, whisking until sugar dissolves.
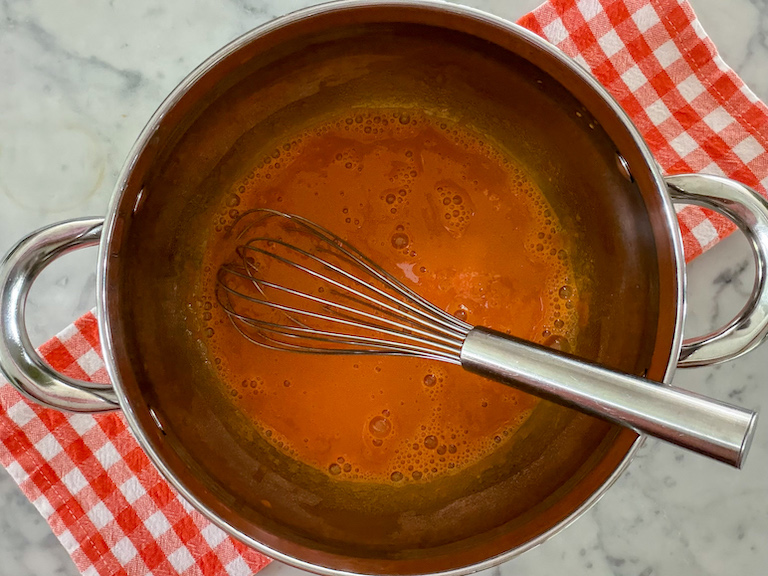
Bring to a boil over high heat, about 5 minutes. Reduce heat to medium and simmer, stirring occasionally with a heat resistant spoon, until mixture reaches 225° F (107° C) on a digital thermometer, about 25 minutes.
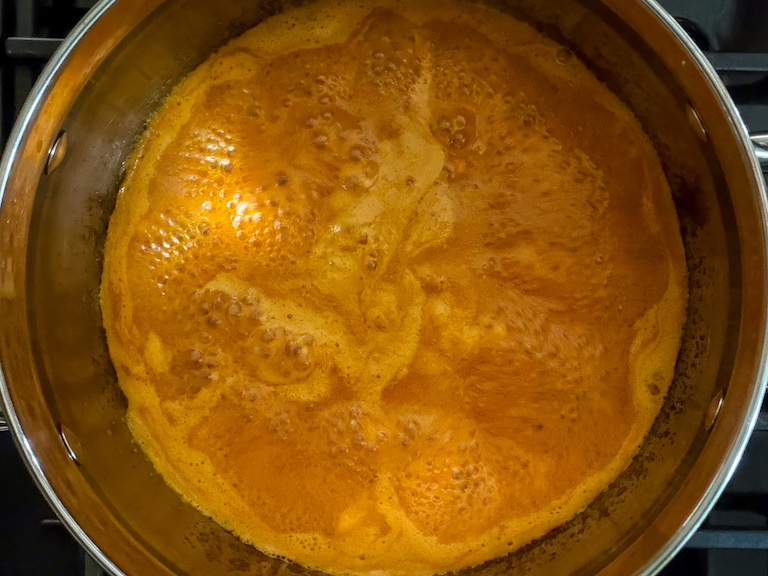
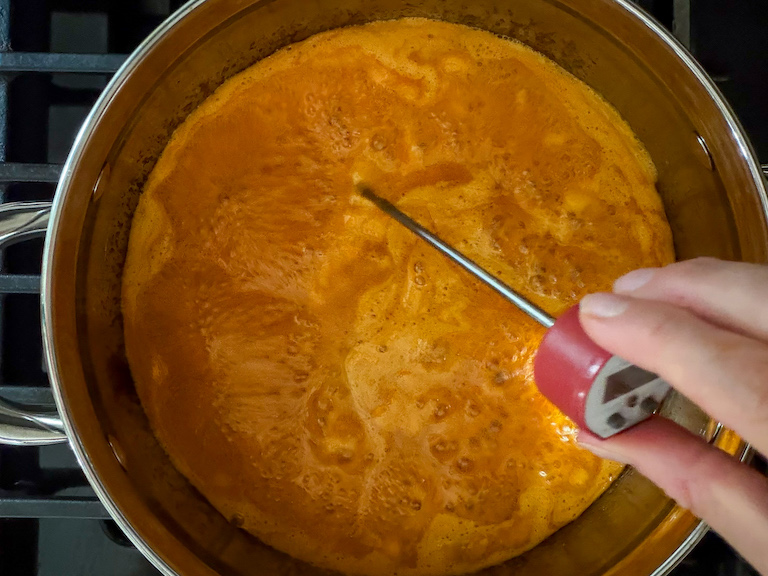
Remove from heat. Stir in ground spices and candied ginger.
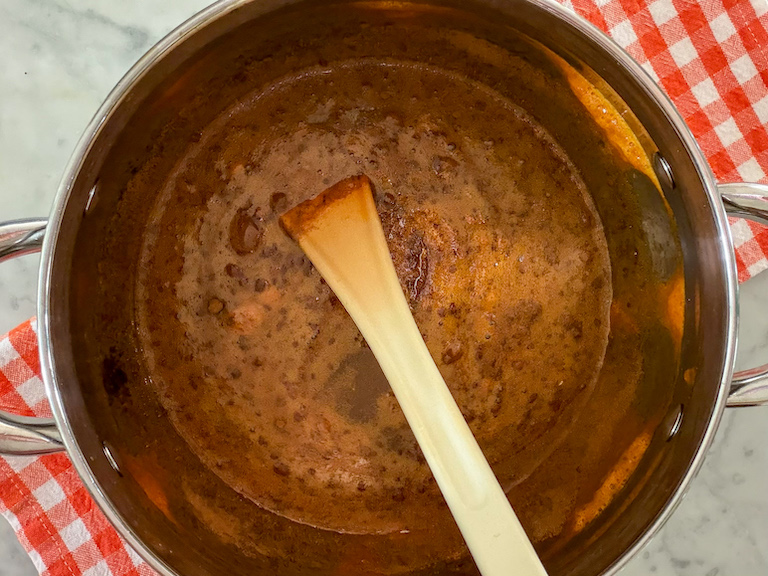
With a skimmer or fine mesh strainer, gently remove any large bubbles. Pour mixture into prepared pan.* Refrigerate until firm, at least 4 hours or overnight.
Line a quarter sheet tray with parchment or a silicone baking mat. Set aside.
Generously coat a large chopping board with 2-3 scoops of granulated sugar. Flip candy onto sugared chopping board. Peel away the parchment. With your hands, coat candy in sugar until completely covered on both sides. With the back of your knife, lightly mark squares as a guide for cutting. You can create 7 x 7 rows (for 49 candies) or 8 x 8 rows (for 64 candies).
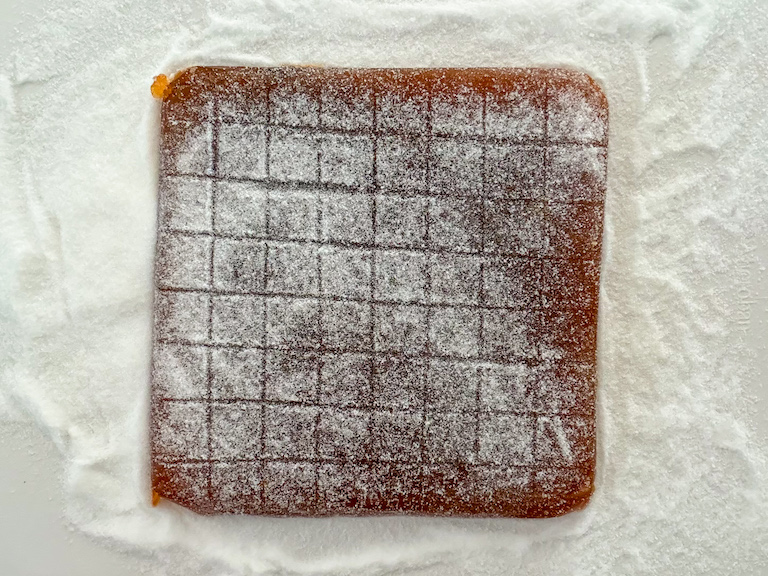
With a sharp, well-oiled chef’s knife, cut the candy following the markings you just created.
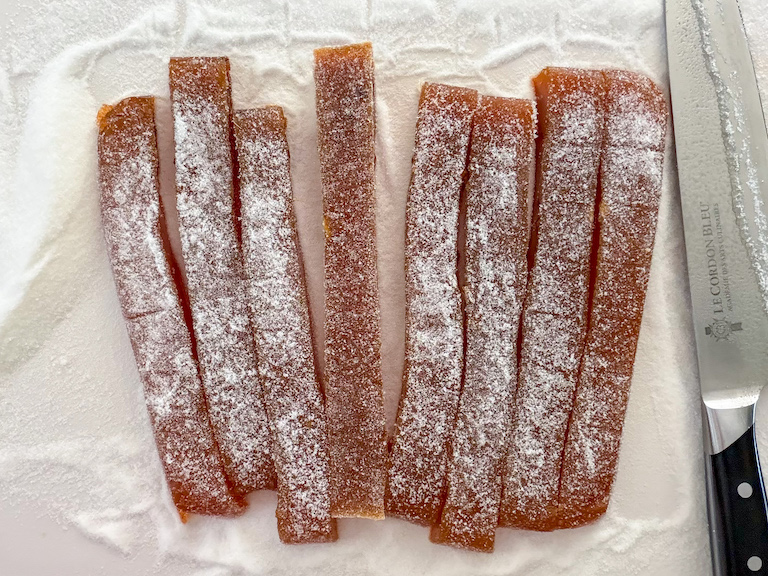
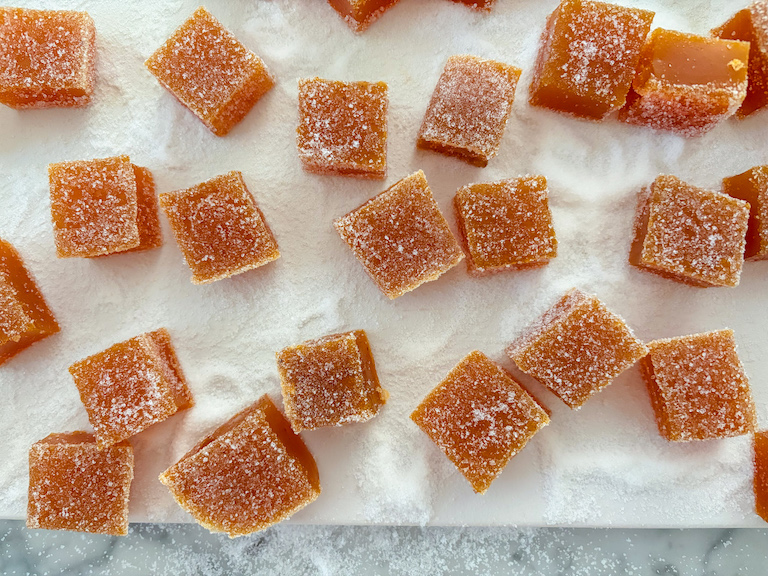
Roll each square in sugar, completely coating all of the sticky sides.
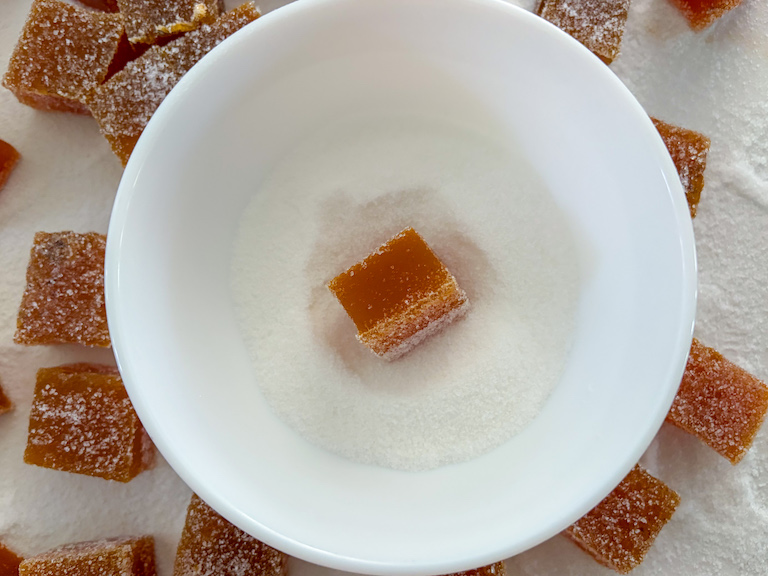
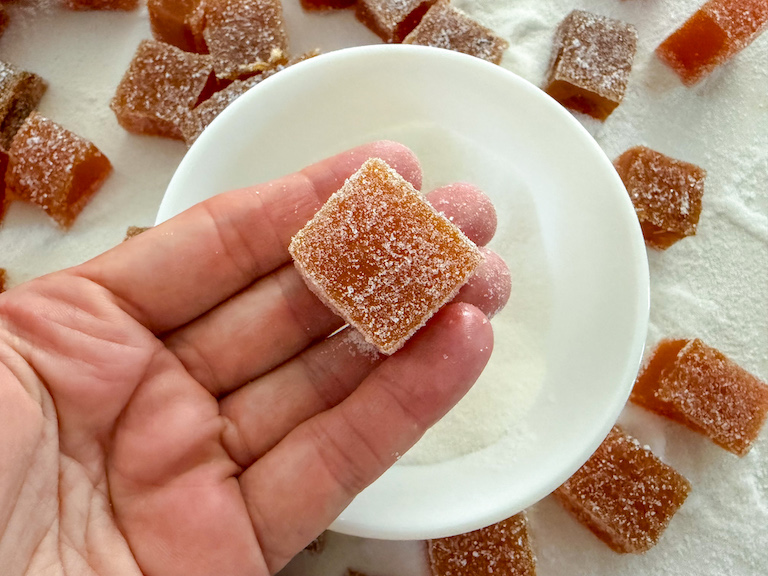
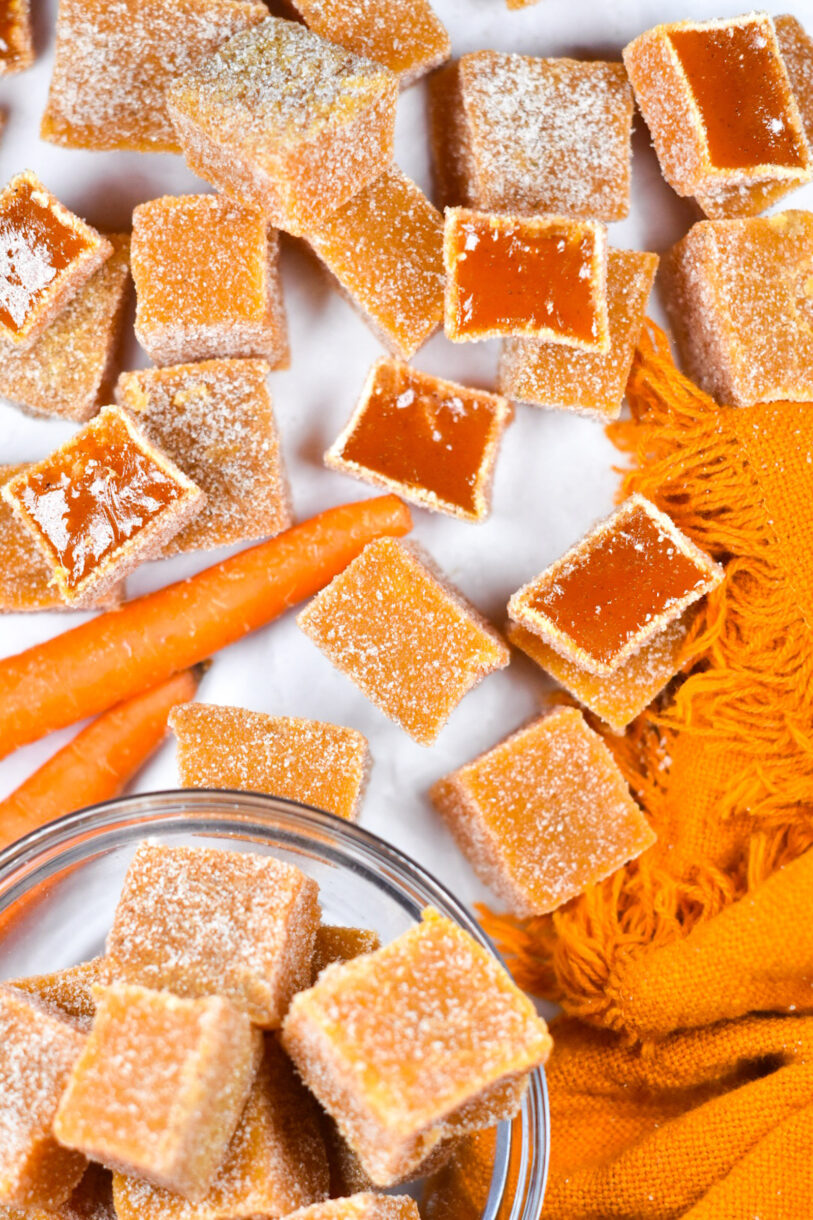
Arrange coated candies on prepared tray, making sure they do not touch. Allow to dry at room temperature, uncovered, for 1-2 days, or until sugar crystallizes and candy develops a crunchy coating.
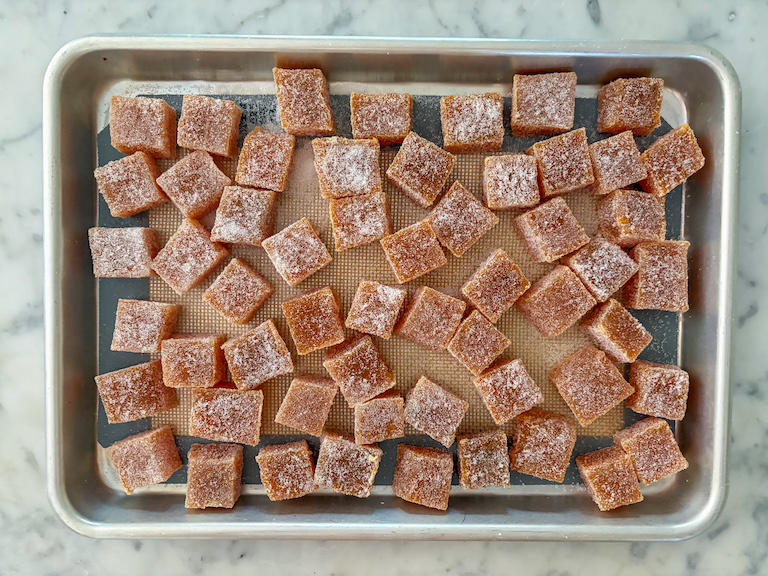
Layer carrot candy between sheets of parchment. Store in an airtight container at room temperature for up to 1 month.


Notes
Don’t forget to plan ahead! These candies need time to sit at room temperature for 1-2 days, in order to develop their crunchy coating.
*Don’t worry if you still see some bubbles, white streaks, or “foamy” spots. You won’t see these once you coat the candy in sugar.
- Prep Time: 10 minutes
- Chilling Time: 4 Hours
- Cook Time: 30 minutes
- Category: Candy and Confectionery
- Method: Stovetop
- Cuisine: Sweets
Make-Ahead and Storage Suggestions
When making this recipe, be sure to plan your time accordingly. The candy requires at least four hours to set in the pan (I usually allow mine to rest overnight), plus an additional 1-2 days to crystallize and develop its signature crunchy coating.
These carrot ginger candies are perfect for gifting. When packaged in a sealed cello bag or an airtight container, they’ll easily last for a month or longer at room temperature. Which makes them great for sending through the mail, too!
Other Candy Recipes You Might Enjoy
Festive Cranberry Jelly Candy
Easy Gummy Bear Recipe with Jello
Heart-Shaped Gummy Candy
Rainbow Gummy Candy Bark
And for other unique carrot recipes, try my carrot fries and my carrot cake overnight oats, too!
And if you do make these, or any of my recipes, don’t forget to tag me @bastecutfold or use the hashtag #bastecutfold on Instagram. I always love to see what you’re making!


One Comment