This post may contain affiliate links. Please read the disclosure policy to learn more.
Thank you for supporting this blog!
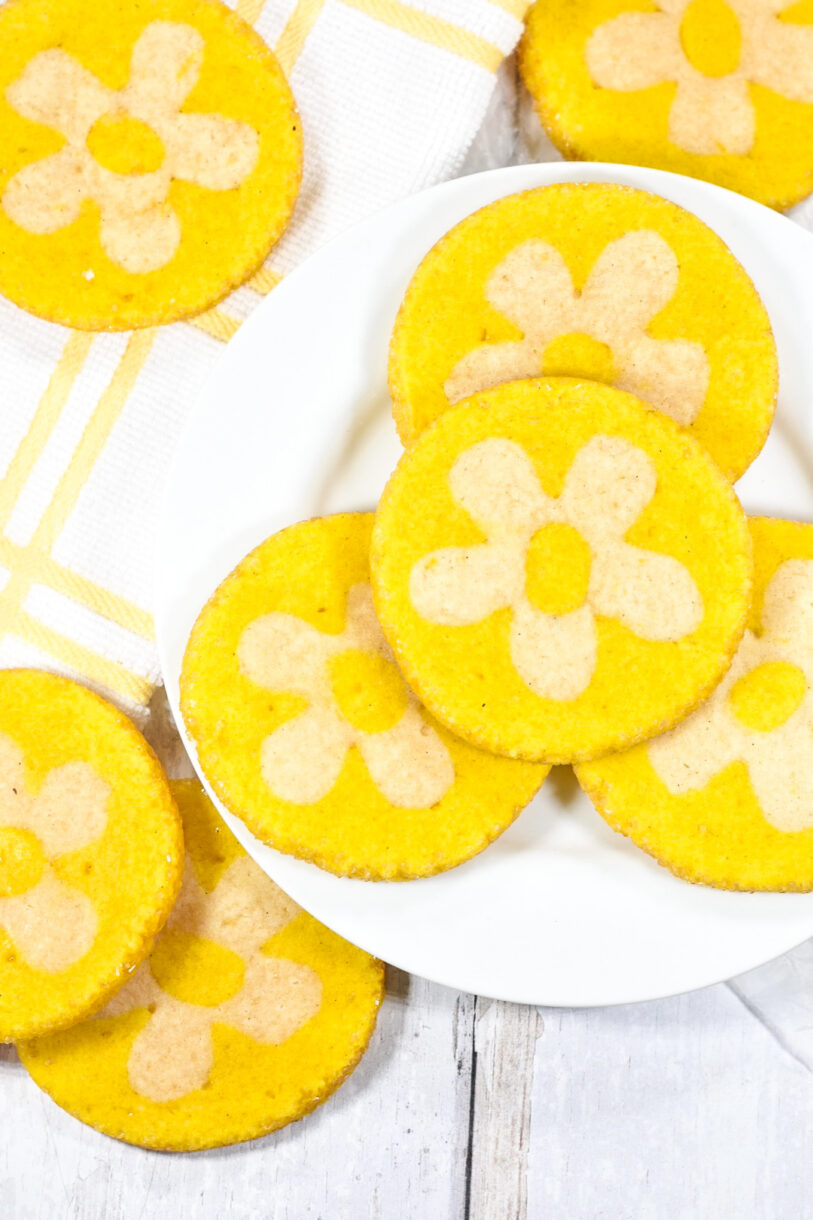
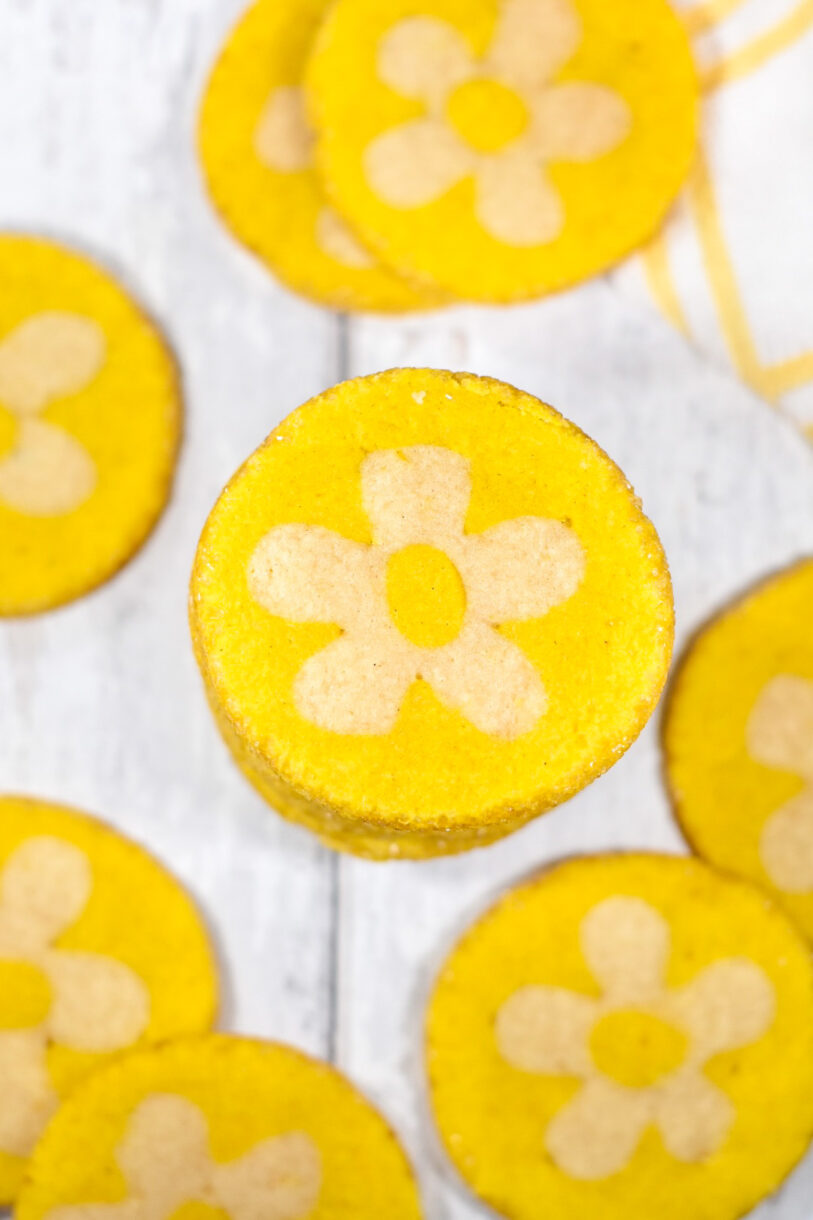
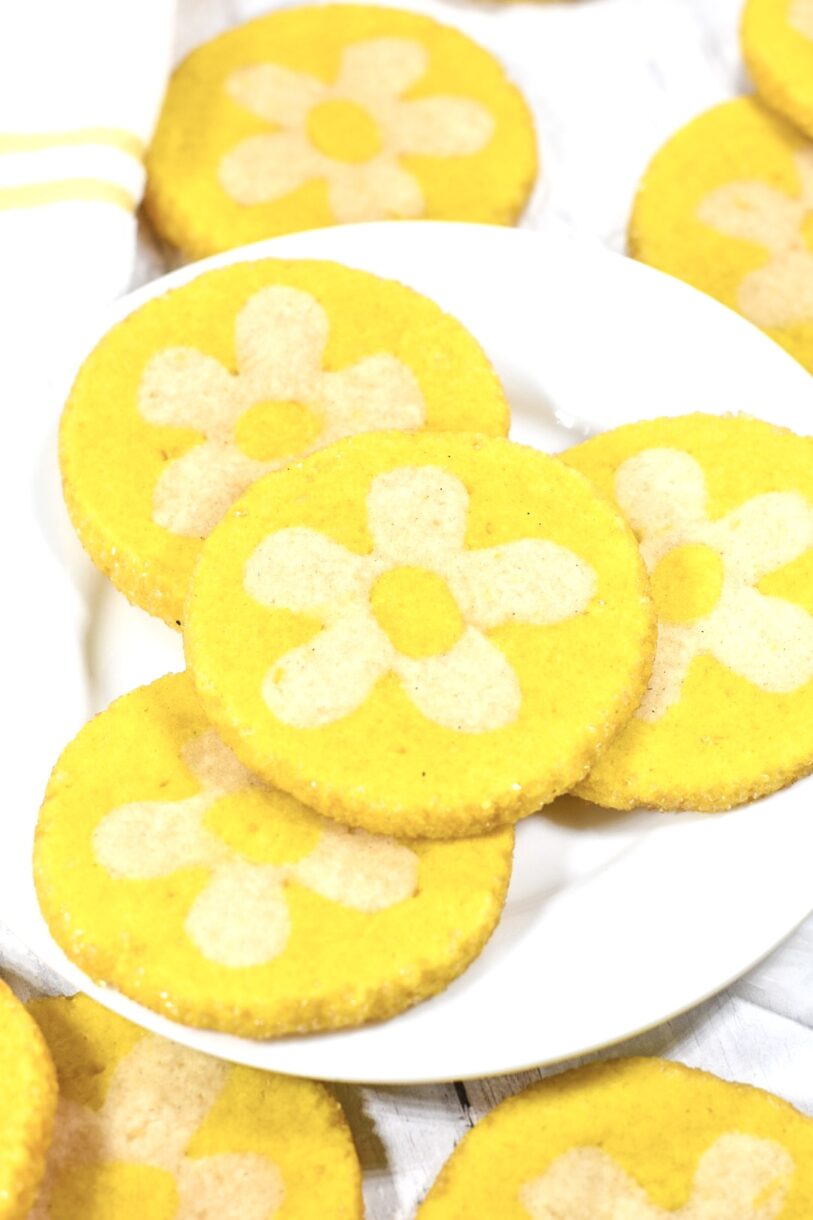
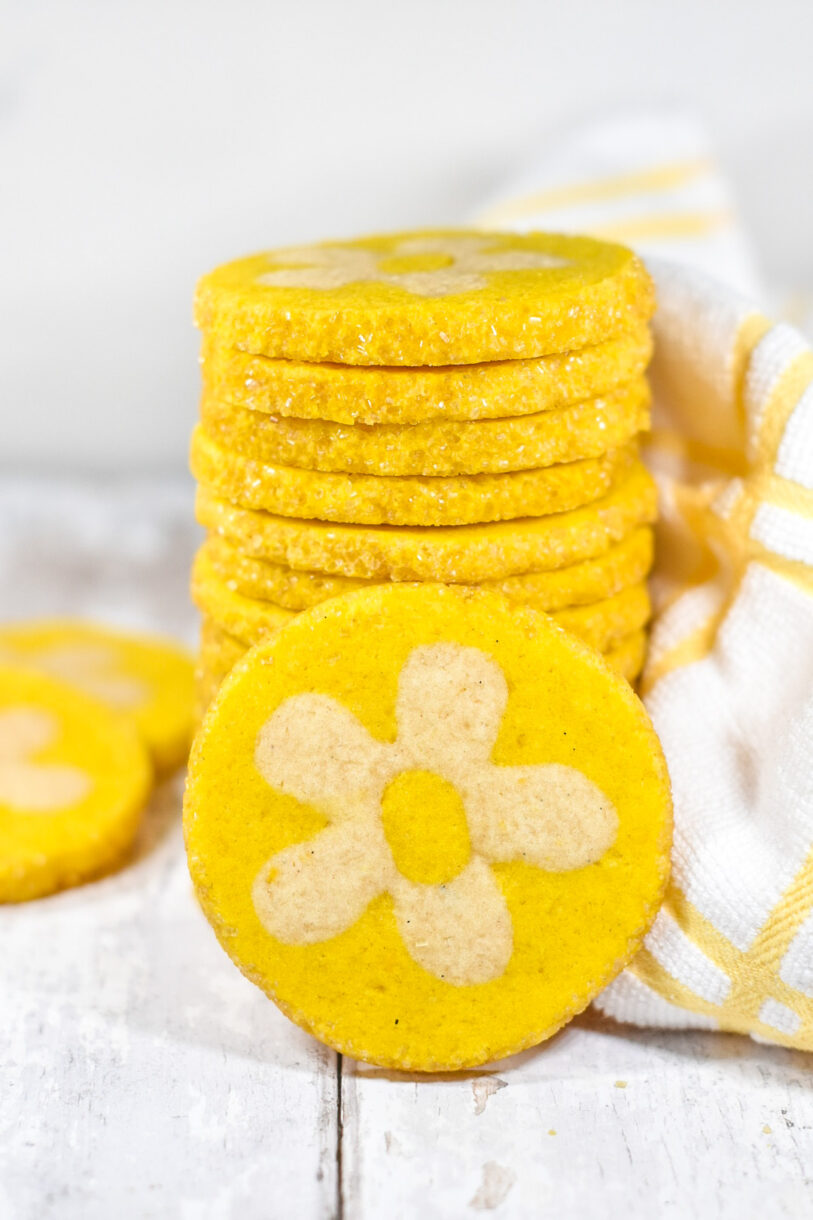
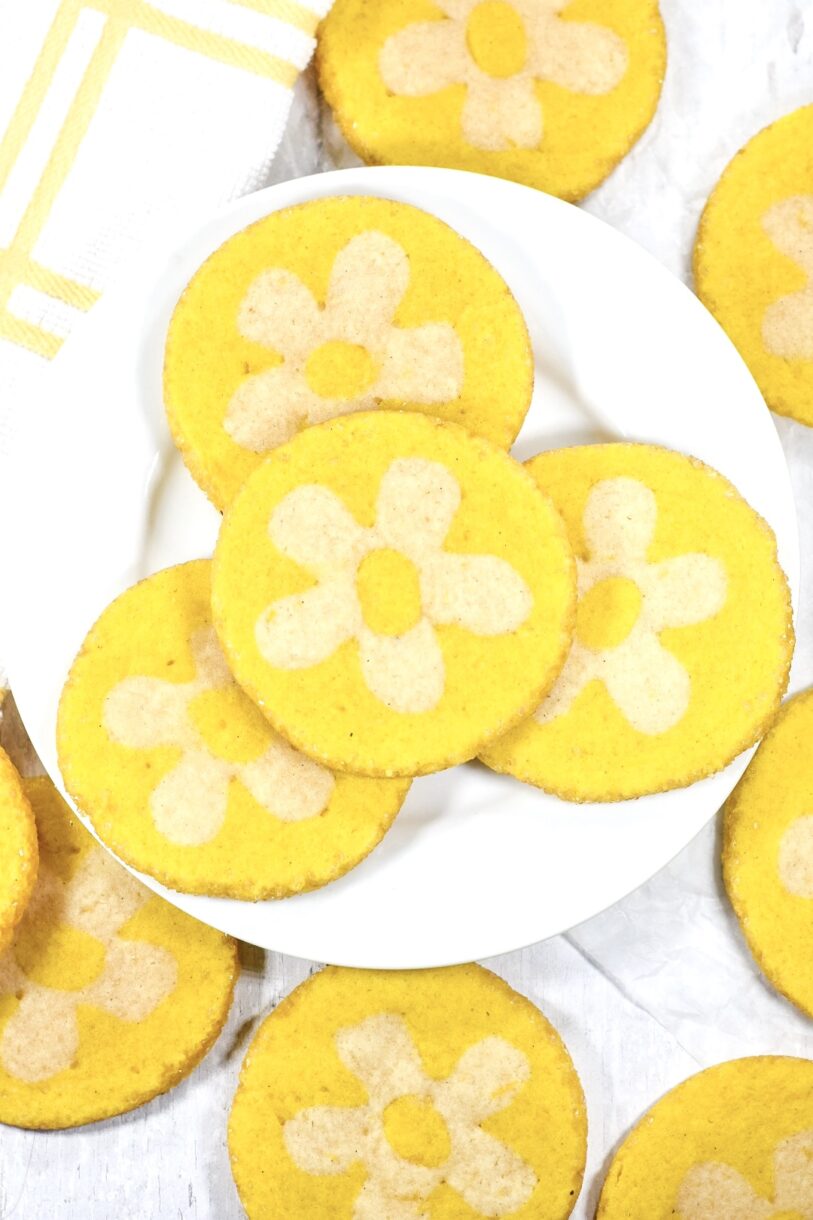
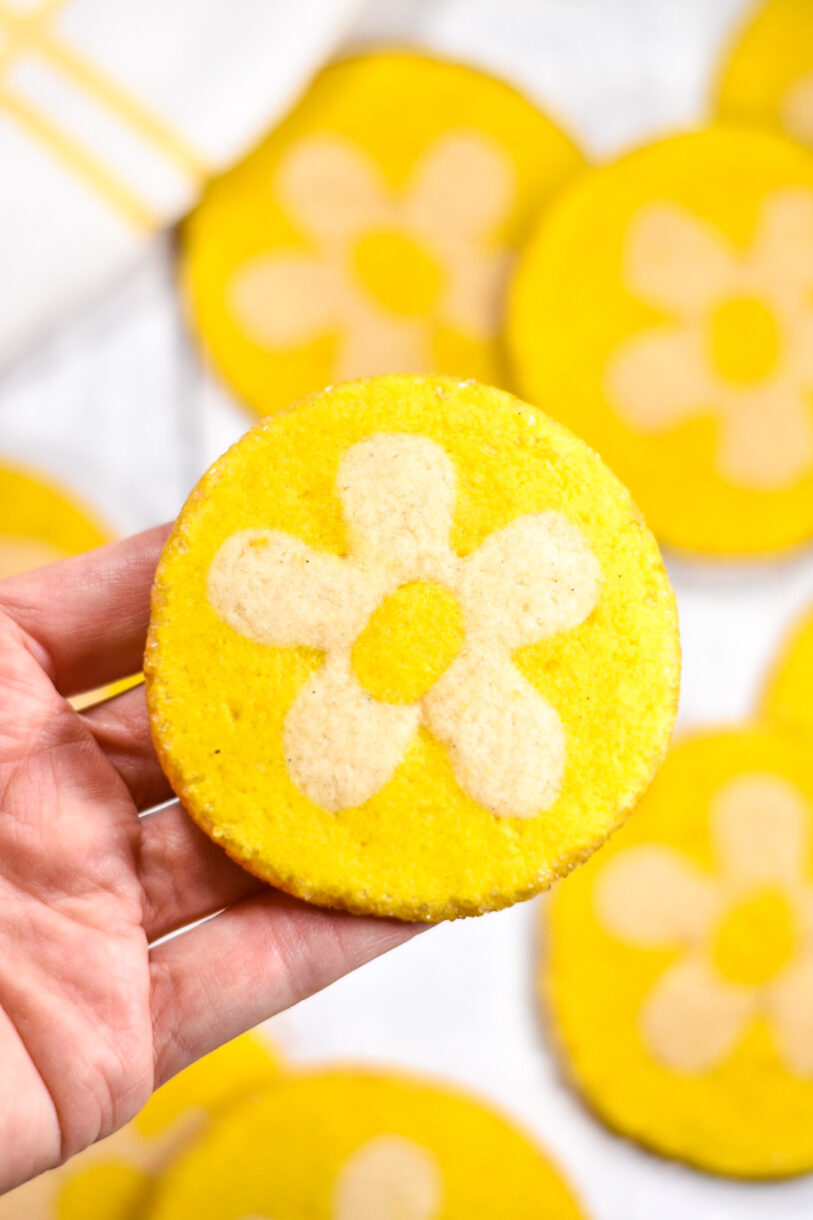
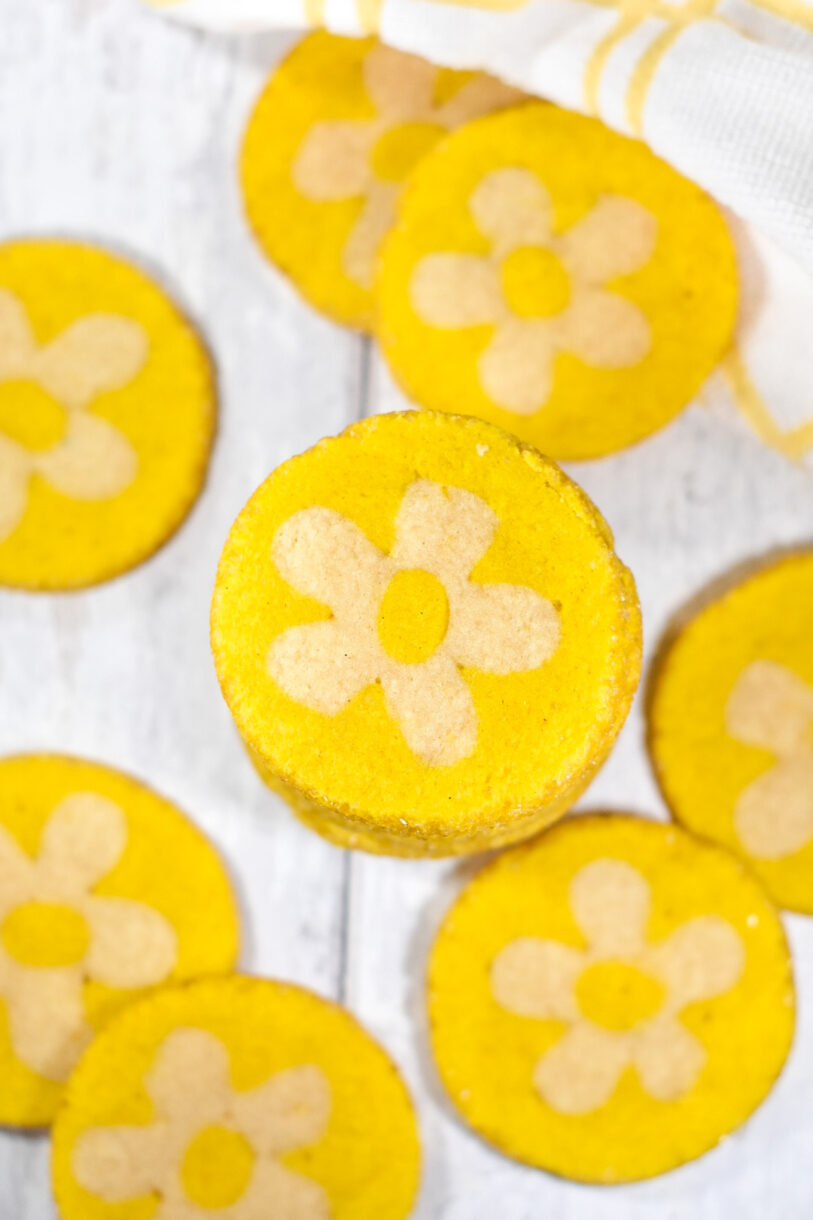
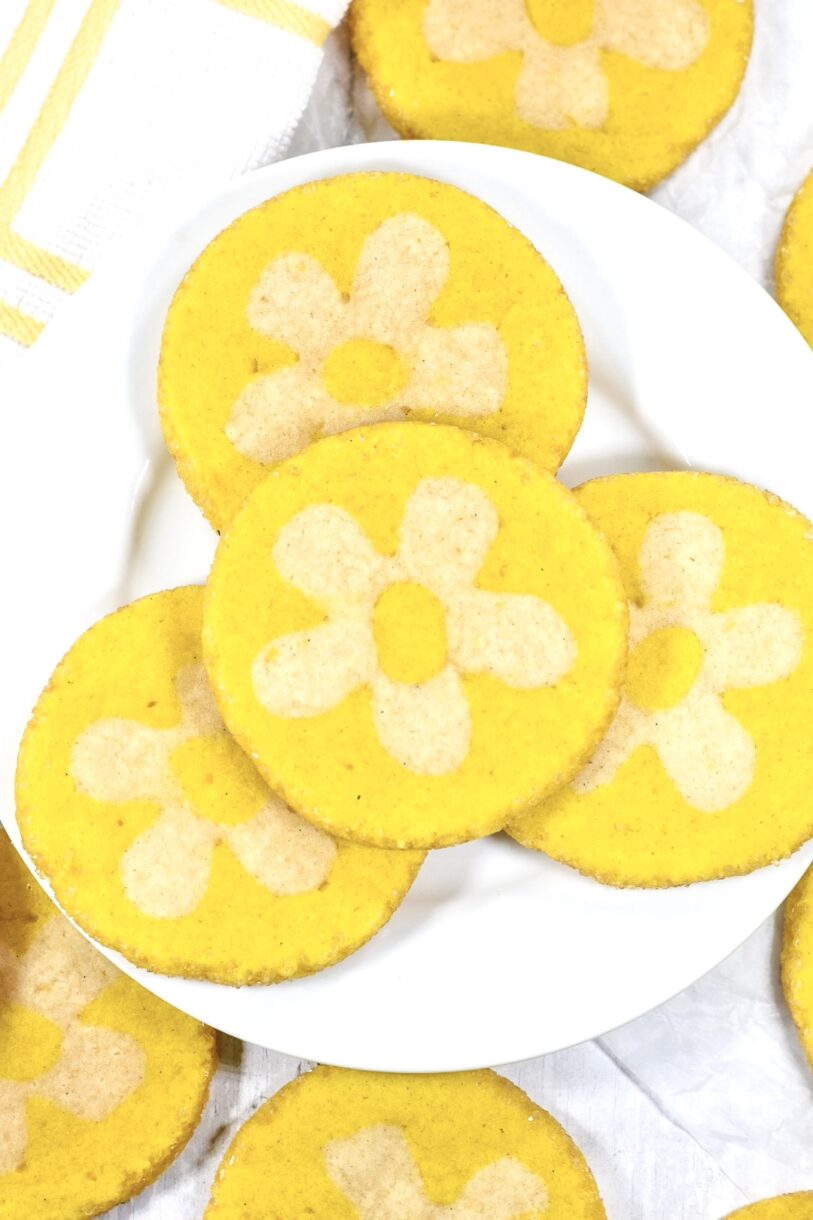
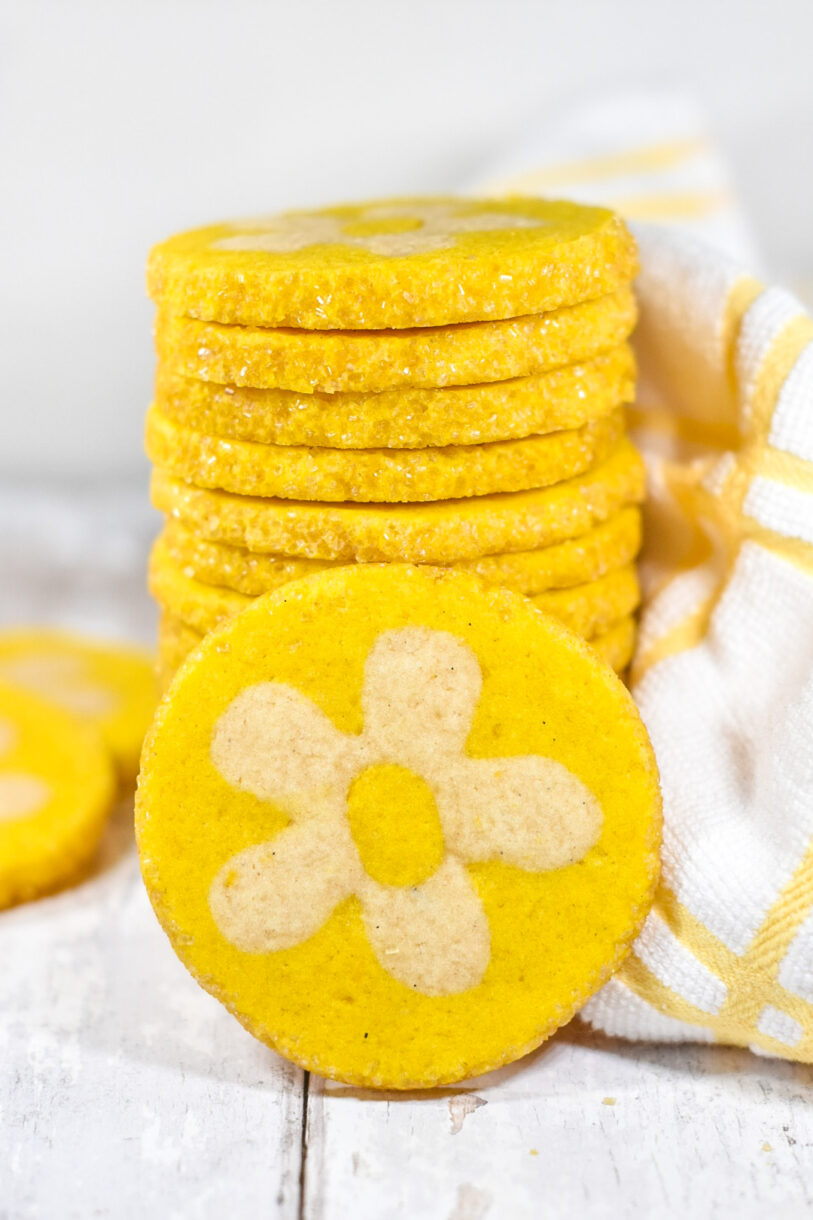
Made with lemon juice, zest, and oil, this spring-inspired lemon daisy slice and bake cookie recipe features a vibrant yellow color, zesty lemon flavor, and a fun cut out flower surprise in the middle!
A Slice and Bake Cookie Recipe Inspired by Spring!
Here in London the calendar says late April, and with the tulips, cherry blossoms, and wisteria in full bloom, it’s beginning to look an awful lot like spring:


Unfortunately British weather still feels a bit too much like early March for my liking, and most days it is cold and rainy enough that I can’t abandon my winter coat just yet. I’m definitely looking forward to warmer, sunnier days ahead!
Perhaps it’s because I’m craving sunshine that I felt inspired to bake something bright and sunny, hence this slice and bake cookie recipe. With the addition of yellow gel coloring, these cut out lemon sugar cookies certainly taste as taste as cheerful as they look!
This slice and bake recipe features a classic sugar cookie dough flavored with the perfect amounts of lemon oil and lemon juice, plus a zing of fresh lemon zest. With the daisy surprise in the center creating a fun flower power (or should I say flour power?) vibe reminiscent of the 1960s, these cookies will bring a smile to just about any face.
Baking Your Lemon Sugar Cookies
I won’t lie, this slice and bake cookie recipe requires some serious time and elbow grease. These aren’t difficult to make, but there are quite a few steps in the process. The actual sugar cookie dough preparation takes about 90 minutes, maybe less if you work quickly. However, there is a lot of chilling to do along the way, so plan your timeline accordingly. It’s not a bad idea to have a book nearby, or another project to work on while waiting for your dough to chill.
Chilling is crucial in this recipe, and there isn’t an easy way to speed up the process. Do not try to skip the chilling steps. If your dough does not stay cold enough, or if your slices aren’t chilled before baking, you’re likely to end up with smushed blobs rather than delicate daisies.
Make-Ahead Suggestions
If you want to make these daisy cookies for a specific event, I suggest doing the legwork in advance. You can mix the dough, form and slice your log, and stack the slices between squares of parchment and freeze until ready to use (see further instructions below). If desired, you can also wrap the log and freeze it whole, then slice and bake at a later date.
The actual baking part of this slice and bake cookie recipe is incredibly fast (about 12-14 minutes per tray) so it’s very easy to remove these from the freezer and pop in the oven on the morning of (or evening before) your event.
Tools and Equipment for Making Slice and Bake Cookies
You’ll need two metal cutters to create the flower portion of the cookie: A flower cutter, approximately 2 inches / 5 centimeters in diameter, and a tiny round cutter, approximately 1/2 inch / 1 1/2 centimeters in diameter. If you can’t find a tiny round cutter, you can improvise by using the cap from an appropriately-sized bottle (extracts and flavor oils are good for this!), or even a wide metal straw.
Some household “tools,” such as a chopstick, skewer, or toothpick/cocktail stick, can help with packing the yellow dough around the flower pieces, and guarantee that you’ve maneuvered the dough into every crack and crevasse. You might also need the chopstick to “pop” the yellow dough pieces from the tiny round cutter.
You’ll definitely want to have a roll of baking parchment on hand for this recipe. You’ll need it at several points, including when rolling the dough and for stacking your sliced, unbaked cookies.
Slice and Bake Cookie Recipe Variations
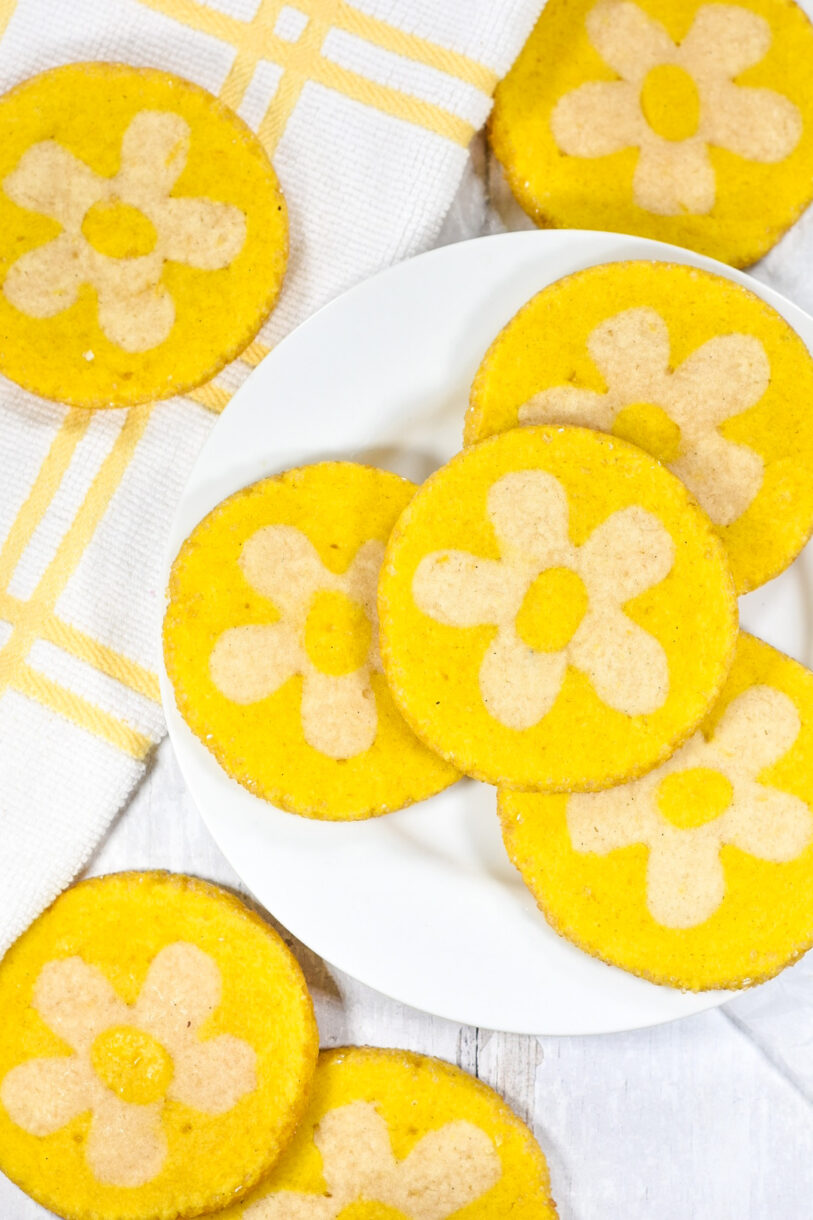
You can make these daisy cookies in any color combination you’d like! I chose yellow because it’s bright and spring-like, and because it works nicely with the lemon flavor. But feel free to switch it up depending on the occasion. You can even add a third color instead of repeating the center color around the outside edge. Just be sure to divide and color your doughs accordingly.
If you don’t have Demerara on hand, you can roll your dough log in white nonpareils, yellow sprinkles, or white or yellow sanding sugar instead.
Try to use a good-quality lemon oil (I prefer the LorAnn brand) for this recipe, rather than an extract. If using an extract you’ll need to increase the amount, as extracts are weaker than oils.
If you don’t like lemon, feel free to substitute another citrus fruit, such as orange, grapefruit, or lime. You can also omit the zest and oil from the recipe and increase the vanilla bean paste if you prefer a straightforward vanilla sugar cookie.
Tips and Tricks for Making Daisy Sugar Cookies
Do not roll your dough too thin. Approximately 1/4-inch is perfect, but slightly thicker than that is fine, too. You’ll be stacking the pieces together to form a log so the exact thickness doesn’t matter, but try to keep things uniform. This will be important when merging the white flowers with their yellow centers.
When in doubt, chill! During cutting and assembly, you might notice your dough becoming soft, sticky, or difficult to work with. If this happens, return it to the refrigerator or freezer and allow it to chill for a few minutes, then continue from wherever you left off. Cold dough is key to making sure the flowers retain their shape, and to prevent your cookies from spreading in the oven.
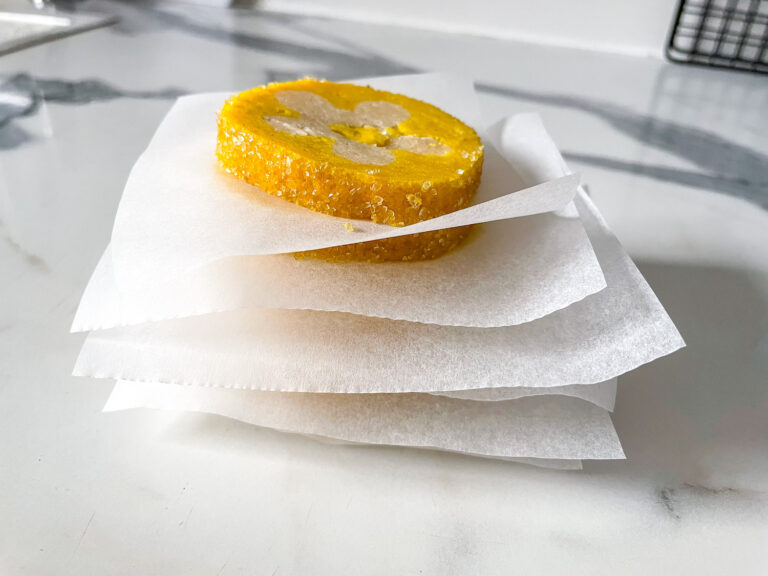
If you want to bake your cookies at a later date, I suggest placing slices between small squares of parchment, then placing the stack in a ziploc bag (or wrapping in clingfilm/plastic wrap) and chilling until ready to use. Because this recipe requires a few hours of preparation, this is a good approach if you’re making these for an event where you won’t have much time on the day of.
Immediately after removing your tray from the oven, I suggest using a round disc cutter (just slightly larger than the cookies) to gently reshape your cookies into perfect circles.
Other spring cookie recipes you might enjoy:
Apricot and Rosemary Shortbread
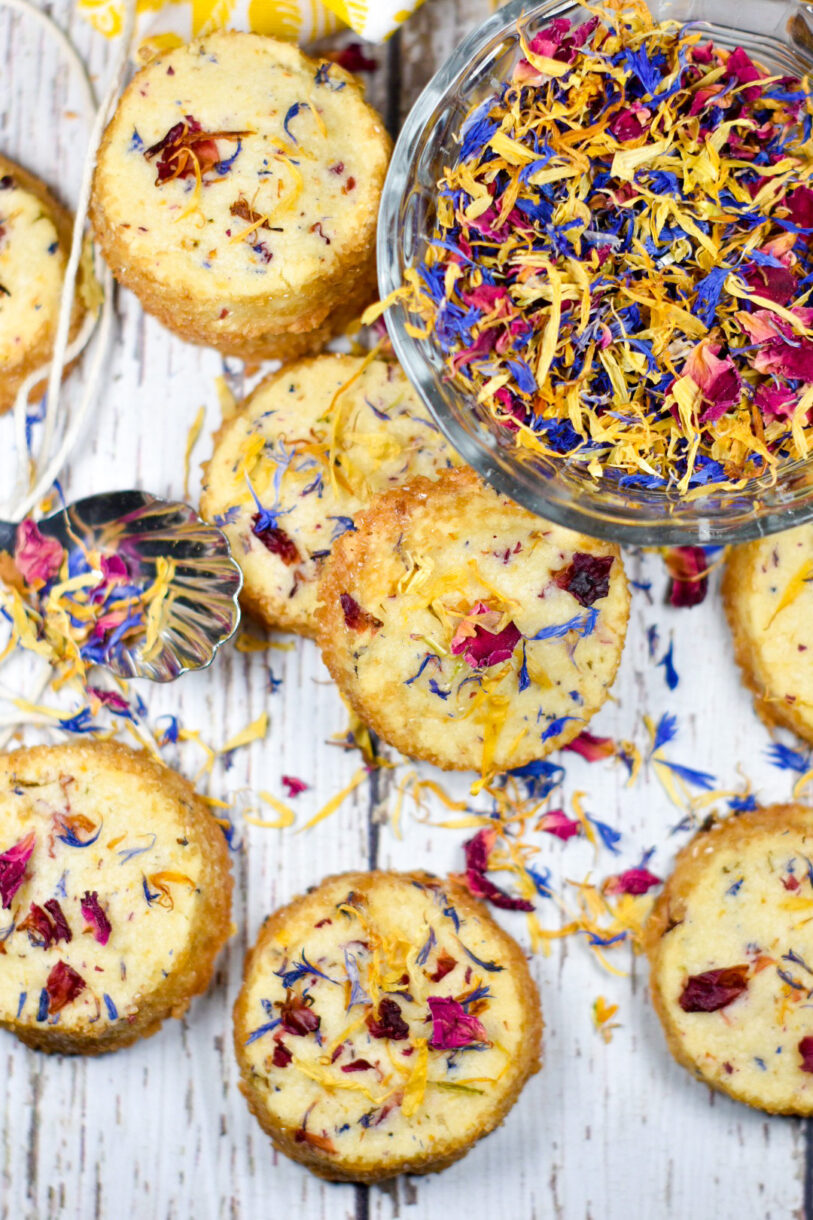
Slice and Bake Shortbread with Spring Flowers
And if you do make these, or any of my recipes, don’t forget to tag me @bastecutfold or use the hashtag #bastecutfold on Instagram. I always love to see what you’re making!
Print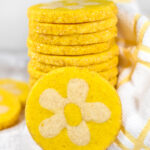
Lemon Daisy Slice and Bake Cookies
- Total Time: 4 hours, 40 minutes (including chilling time)
- Yield: 16-18 (7 cm / 2.75 in) cookies 1x
Description
These cheerful lemon daisy slice and bake cookies feature a sunny yellow sugar cookie dough, plus a fun daisy surprise in the middle!
Ingredients
230 grams all purpose flour (1 3/4 cup), plus one additional tablespoon, reserved
1/2 teaspoon baking powder
1/4 teaspoon salt
113 grams unsalted butter, softened (1/2 cup / 1 stick)
120 grams caster sugar (2/3 cup)
1 egg
Zest of one lemon
15 grams (1 tablespoon) lemon juice
1/2 teaspoon vanilla bean paste
1/4 teaspoon lemon oil
Yellow gel food coloring
Demerara sugar, for rolling
Instructions
Line a baking sheet with a silicone baking mat. Line a second baking sheet, or a large plate, with baking parchment. Set both aside until ready to use.
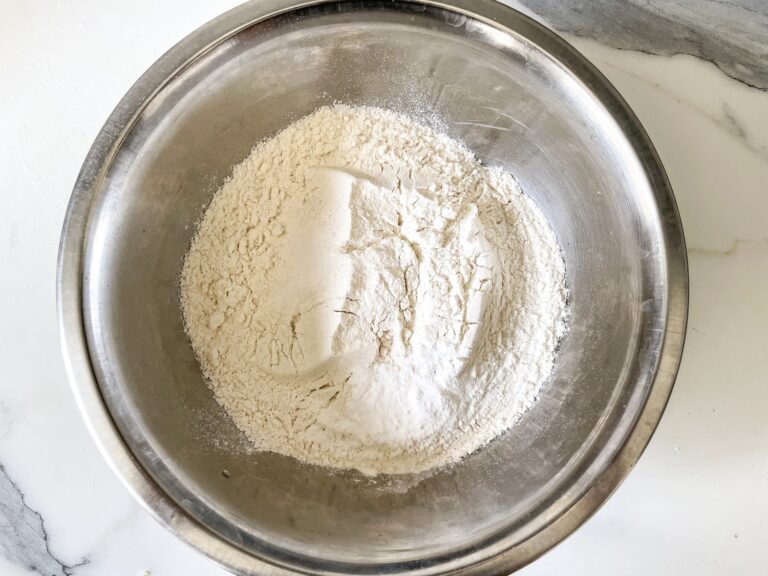
In a large mixing bowl, whisk flour, baking powder, and salt. Set aside.
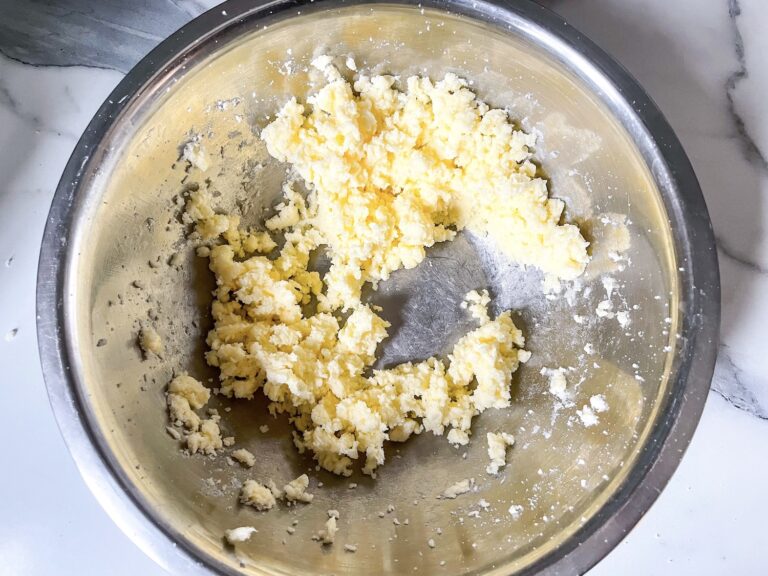
In a separate bowl or the bowl of a stand mixer, add butter and sugar and beat until light and fluffy.
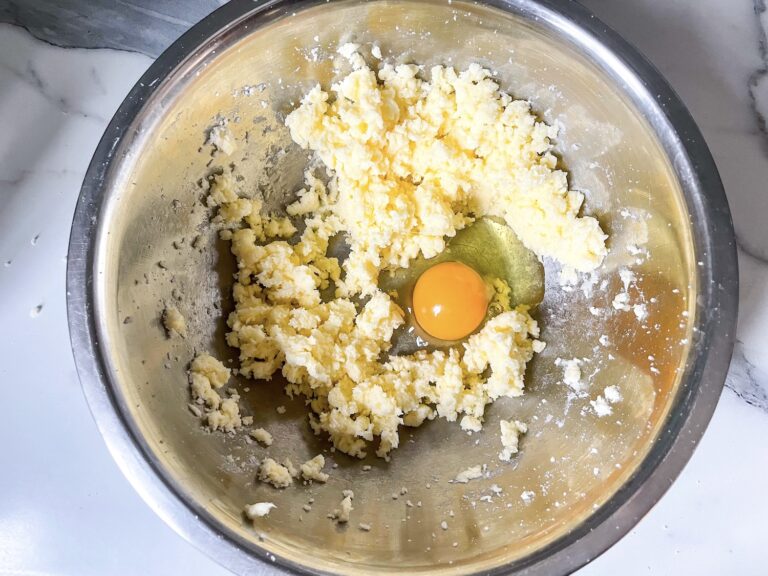
Beat in the egg.
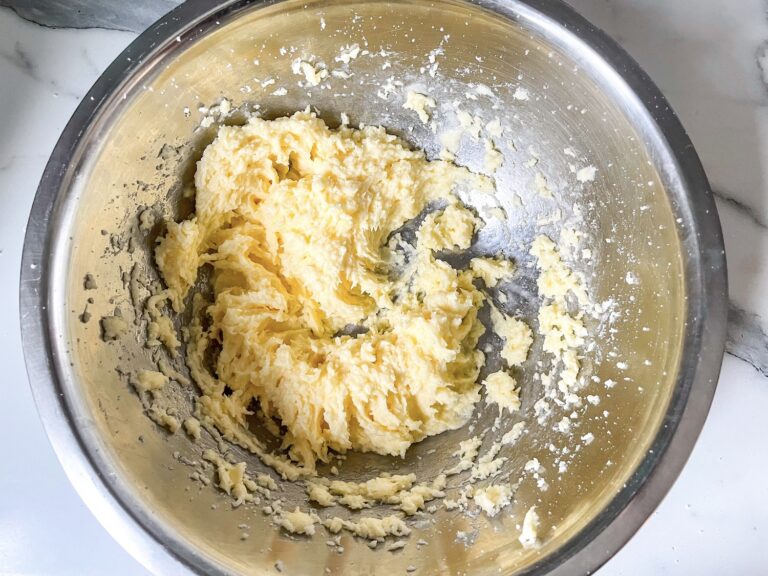
Beat in the lemon zest, lemon juice, vanilla bean paste, and lemon oil.
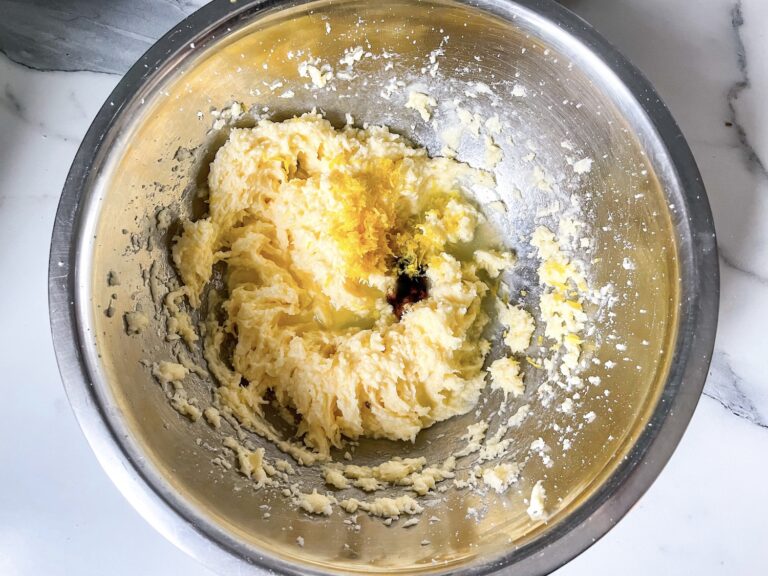
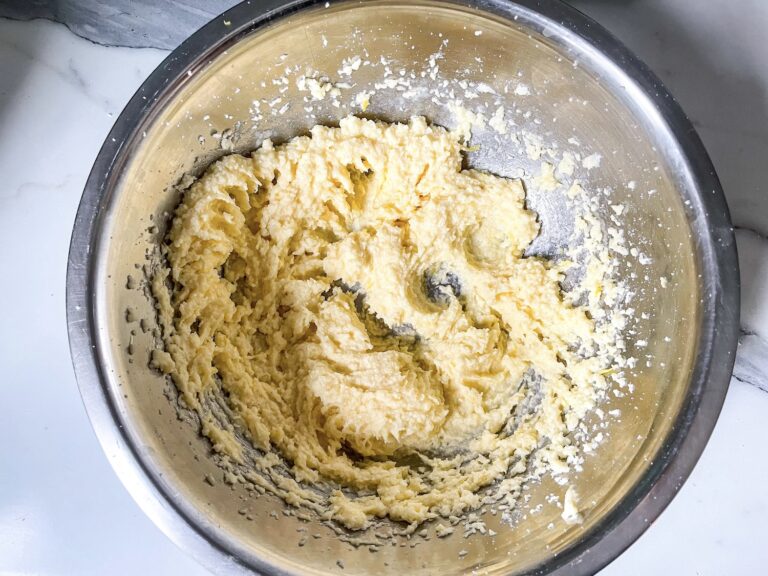
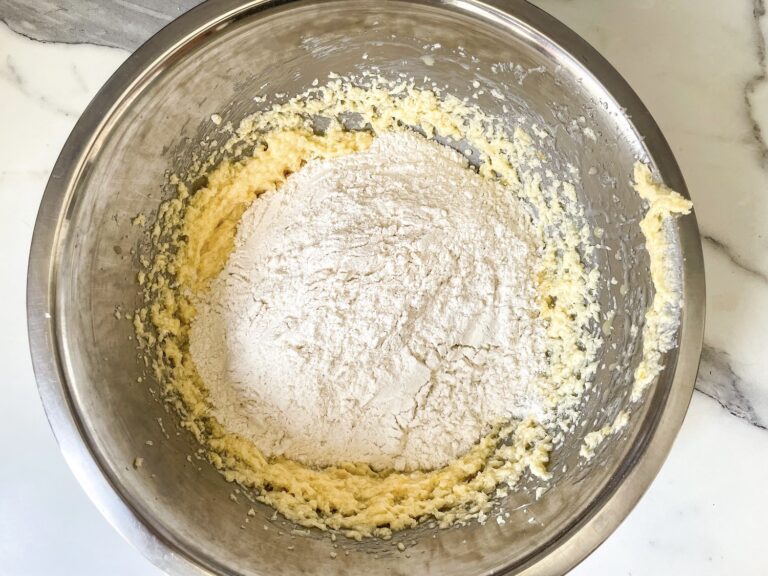
Add dry ingredients and mix until just combined. Do not overmix.
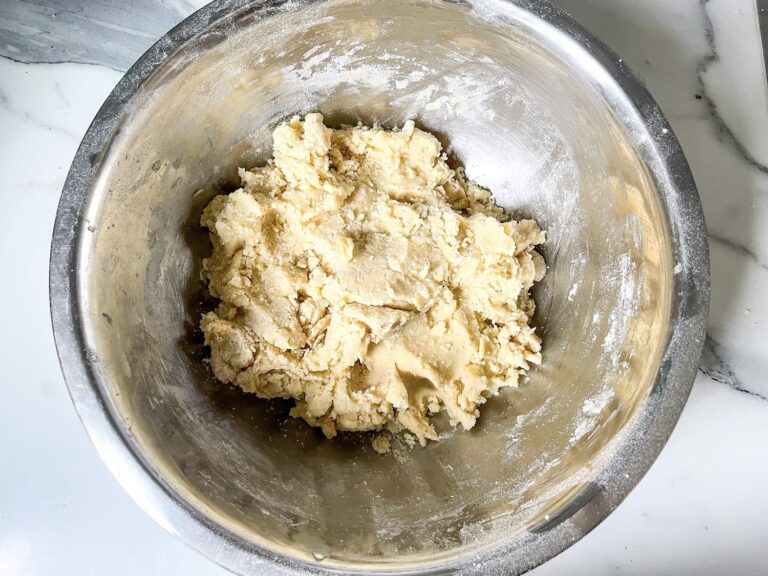
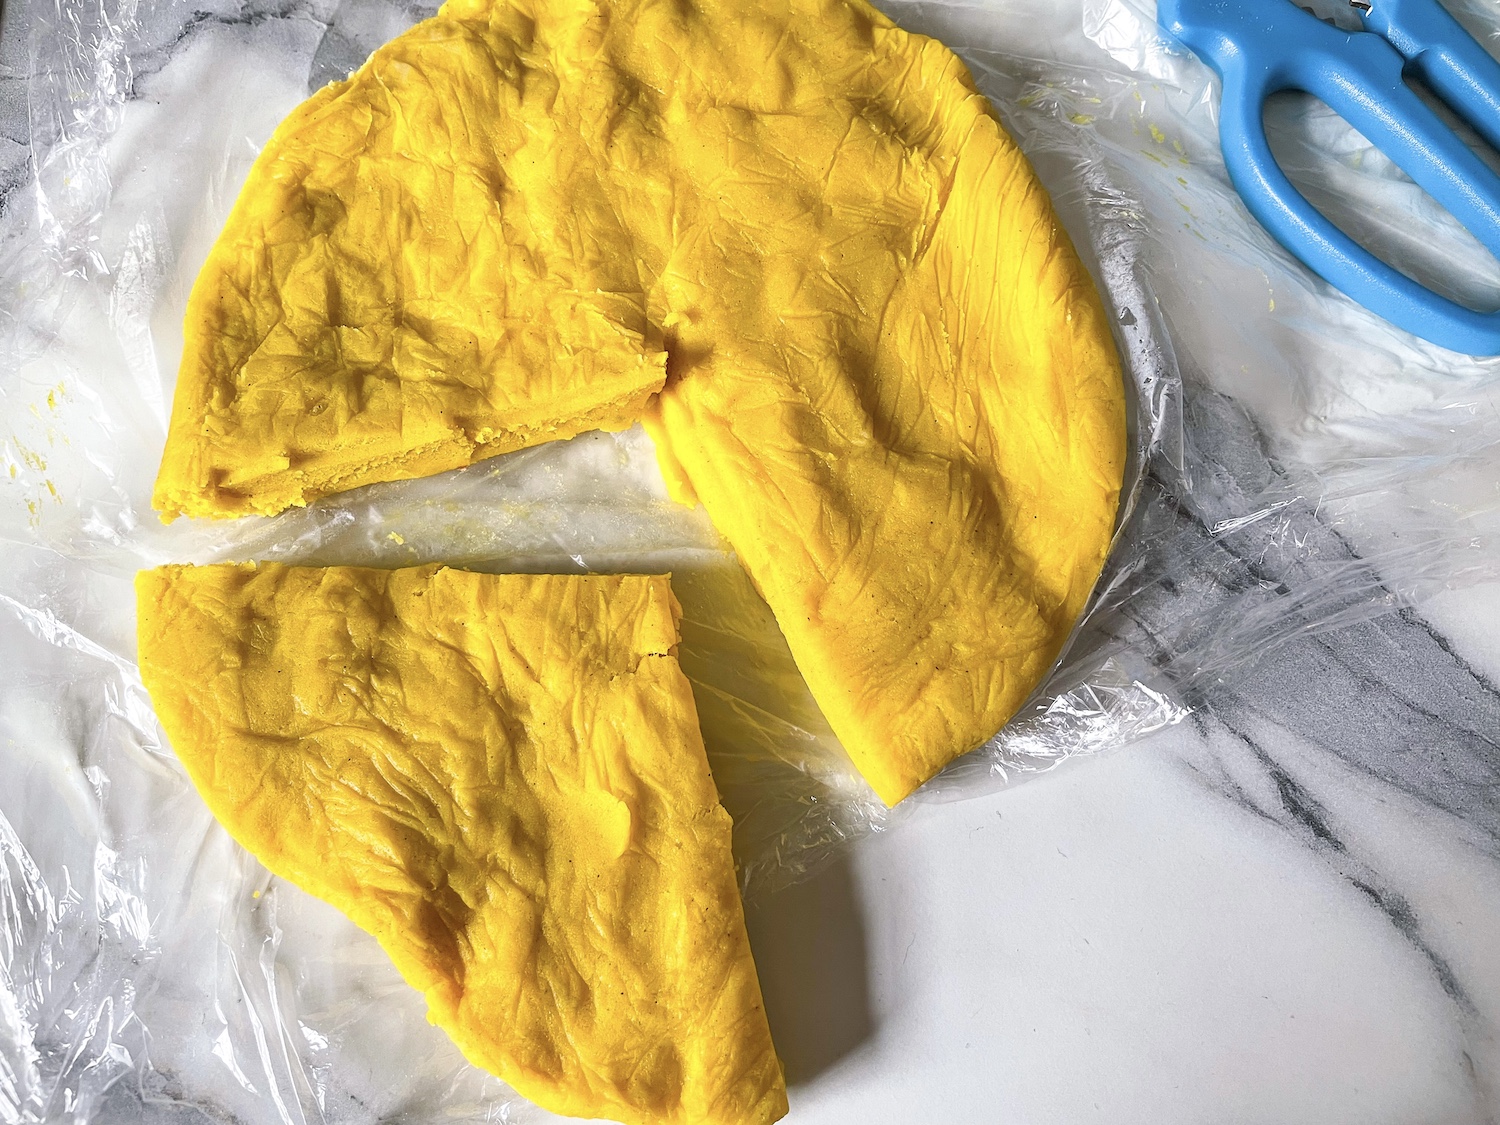
Remove 1/3 of the dough. Flatten into a disc, wrap in clingfilm, and transfer to the refrigerator to chill.
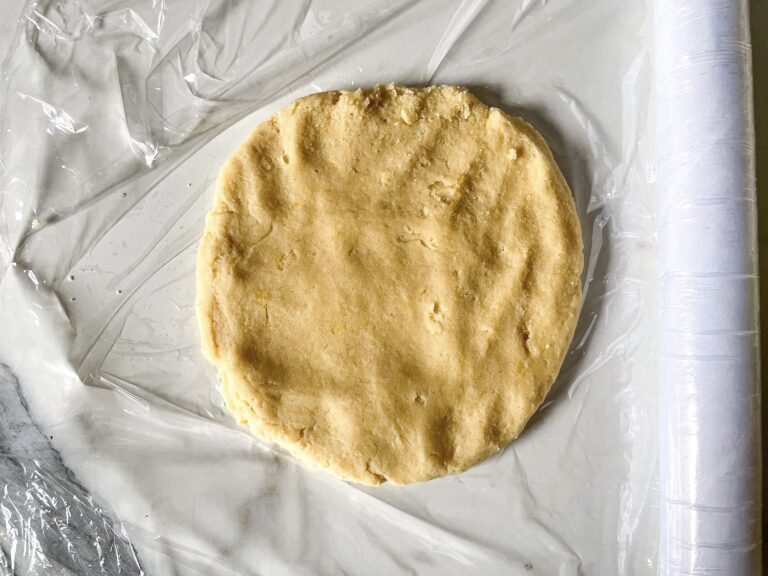
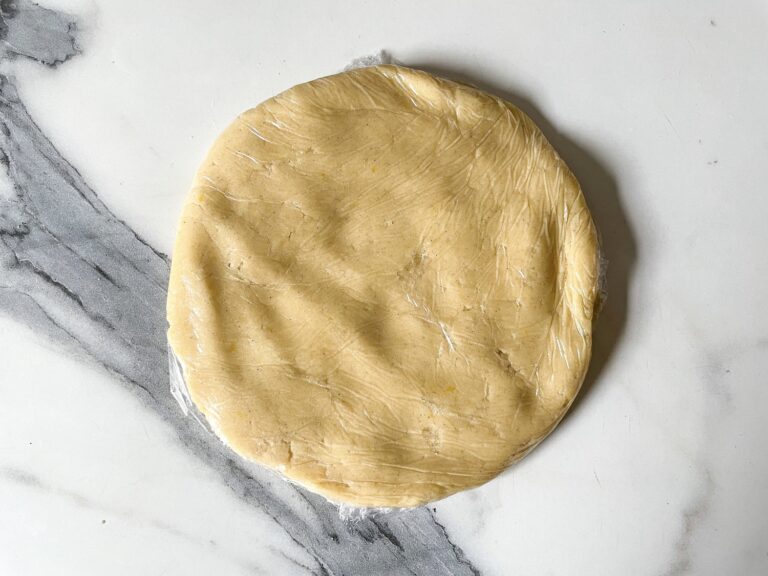
Add yellow gel food coloring to the remaining dough, continuing to add 1-2 drops at a time until desired shade is reached. If the mixture seems sticky, add the reserved tablespoon of flour to the dough.
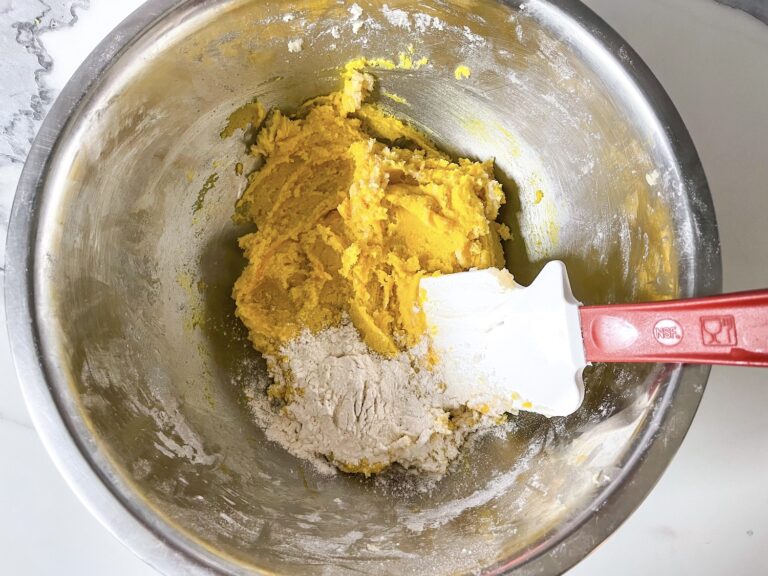
Flatten yellow dough into a disc, wrap in clingfilm, and transfer to the refrigerator to chill.
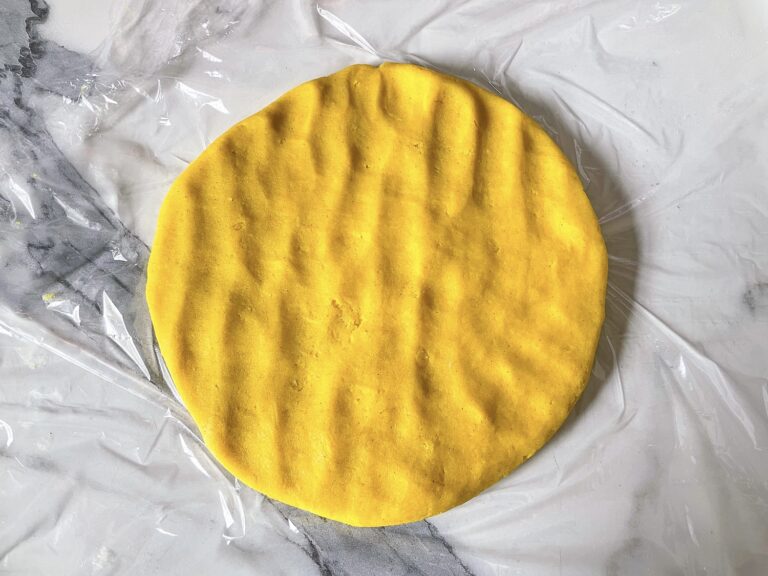
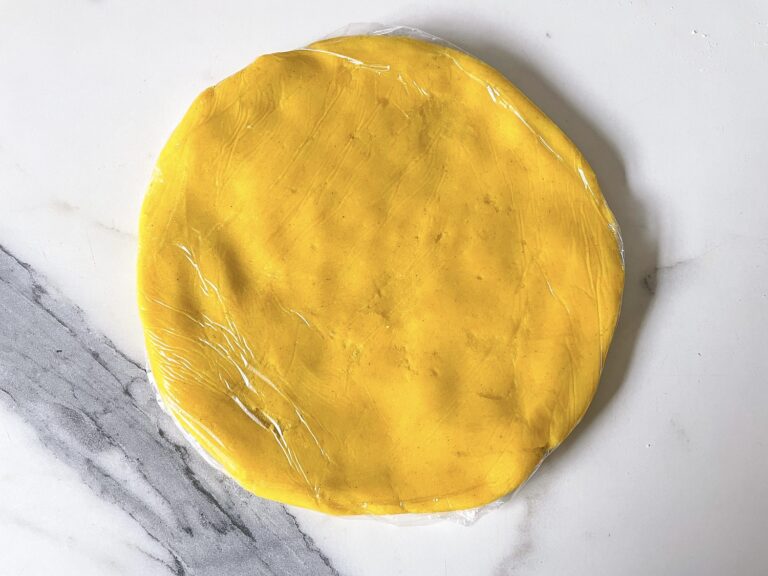
Chill both discs for at least one hour.
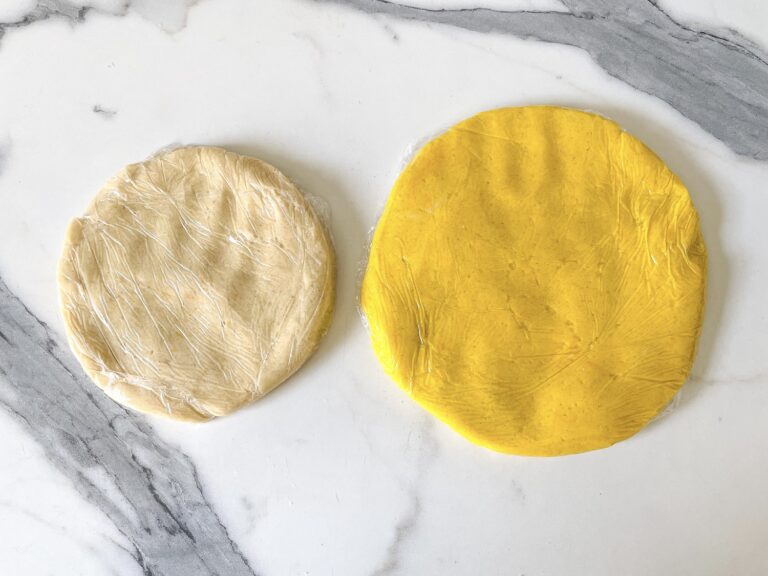
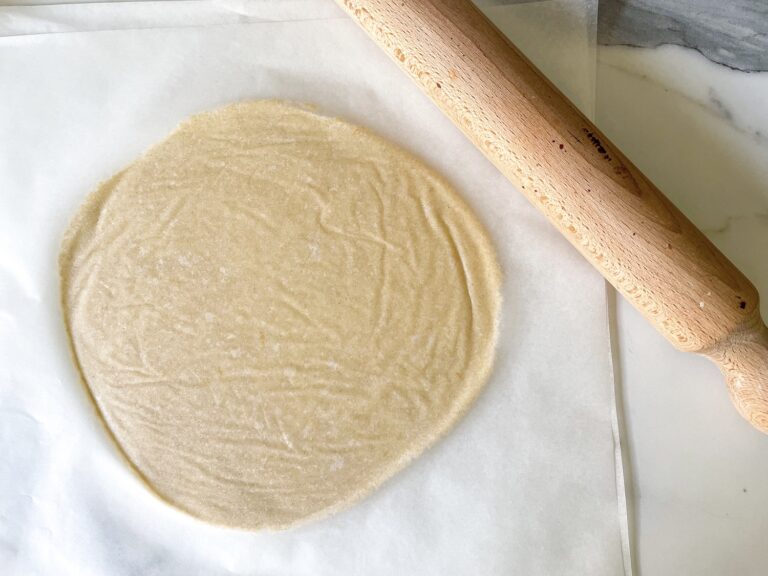
Once doughs have chilled, remove the white dough from the refrigerator. Remove the clingfilm and place disc between two sheets of parchment. Roll dough to 1/4″ thickness.* Return to the fridge to continue chilling while you roll the yellow dough.
Remove 1/4 of the yellow dough. Re-wrap the rest in clingfilm and return it to the fridge.
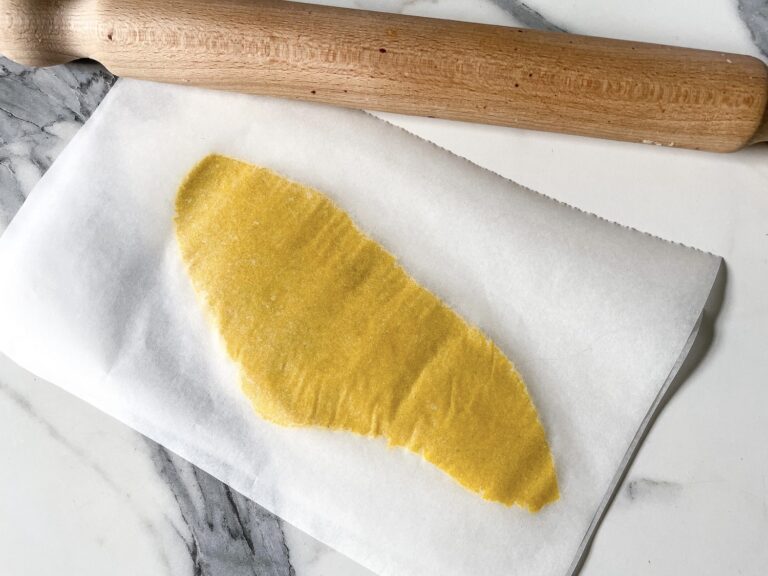
Roll the quarter of yellow dough between parchment to 1/4″ thickness. Return to the fridge to chill, at least 15 minutes. (To speed up the process, you can pop the rolled dough in the freezer for 5 minutes instead.)
Once chilled, remove white dough from the refrigerator. Use flower cutter to cut the dough into flowers. Transfer to prepared parchment-lined plate, and place plate in the fridge to chill.
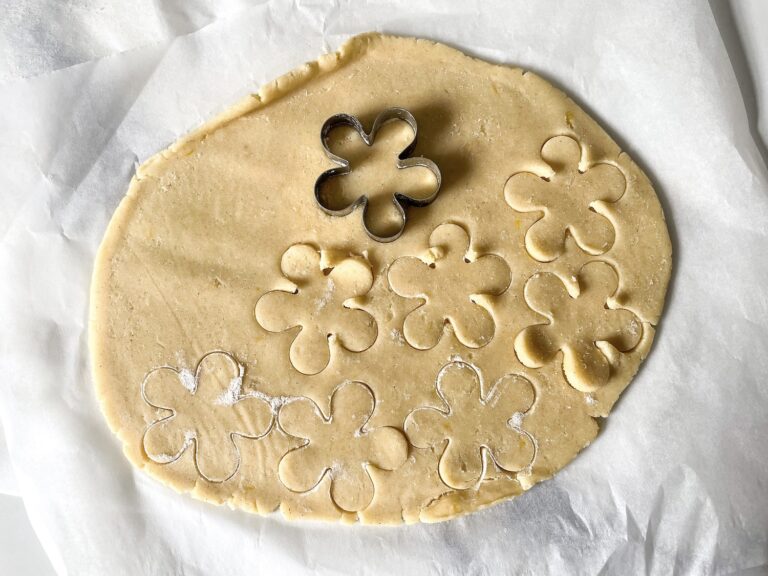
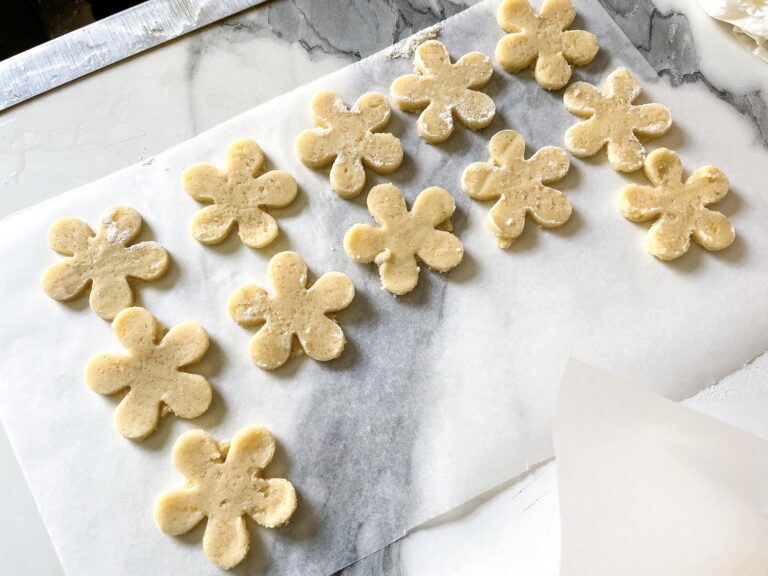
Re-roll the scraps of white dough between fresh sheets of parchment, and cut additional flower pieces. Continue this process until you have used all of the white dough, chilling periodically if the dough becomes too soft.**
While white flowers continue to chill, remove the rolled portion of yellow dough from the refrigerator and cut discs with the smaller cutter. These will be the centers of your daisies. You’ll need the same number of yellow circles as you have flowers (I had 25). Return any leftover yellow dough to the refrigerator.
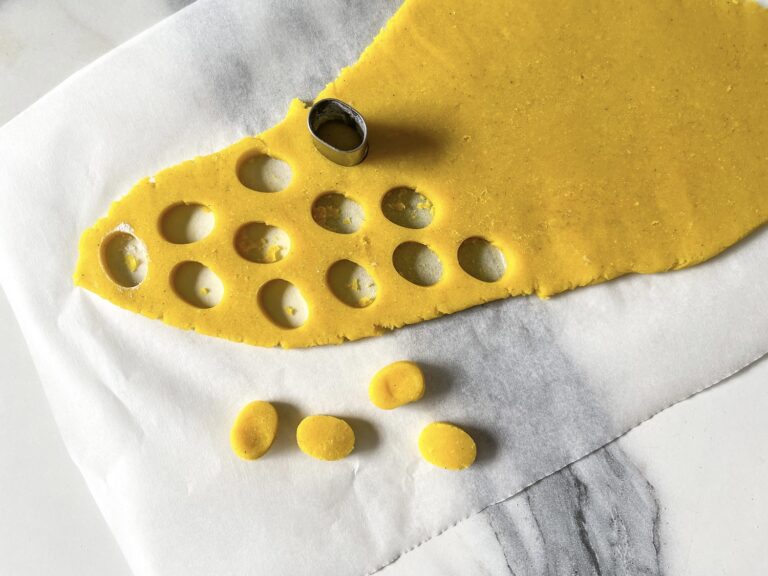
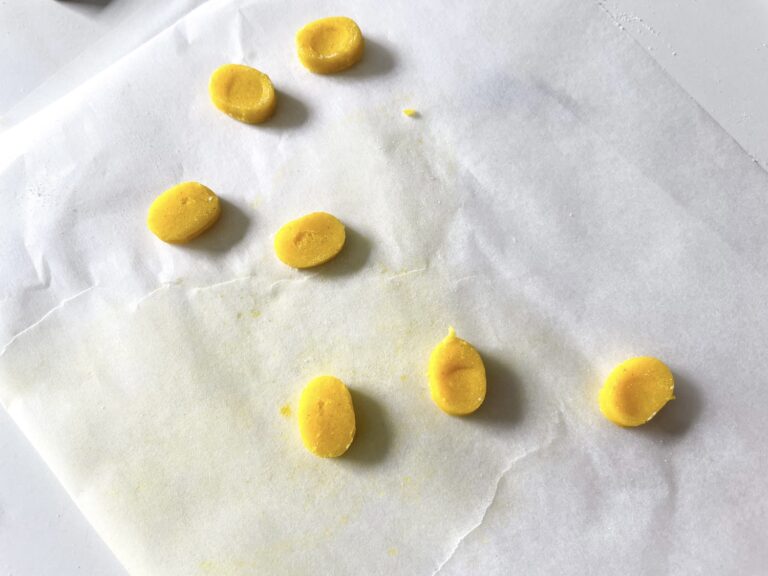
Add yellow discs to the parchment-lined plate and chill 10 minutes more.
Once all pieces have chilled (they should be cold and firm, and should not bend when you pick them up) you are ready to assemble your flowers.
Remove plate from the refrigerator. Use the smaller cutter to cut a circle in the middle of each flower, then place a yellow disc in the center of each flower.
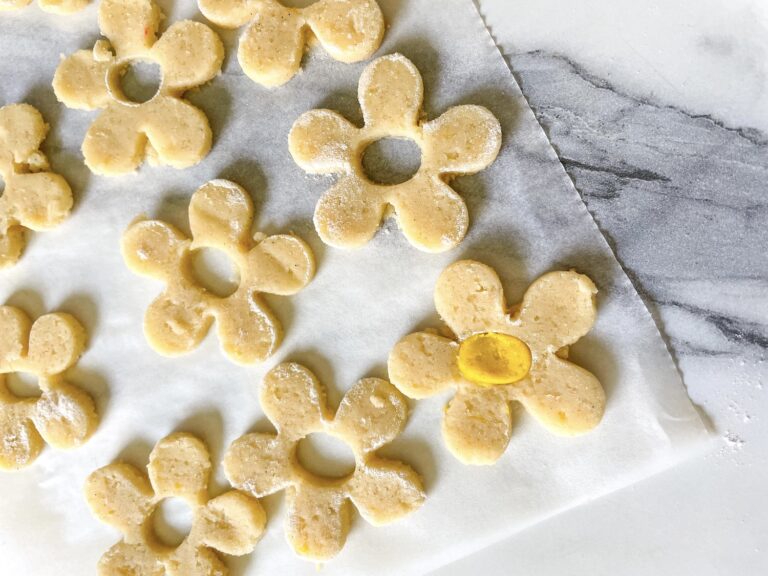
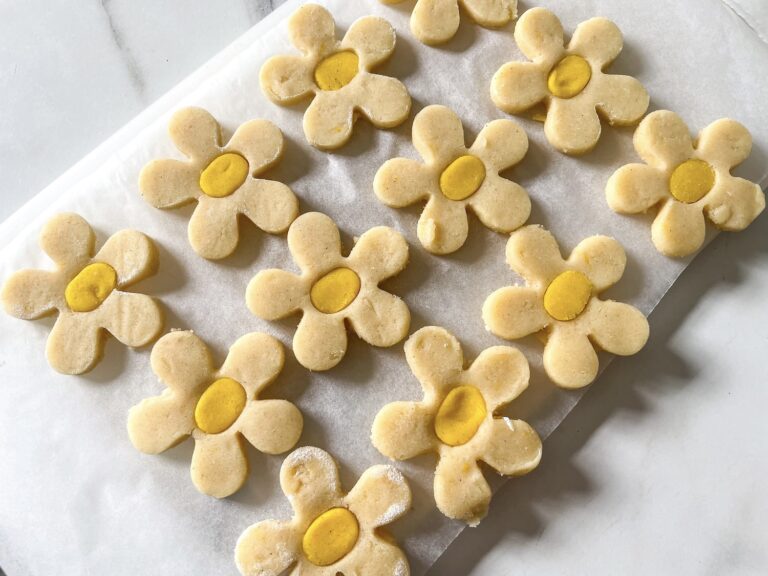
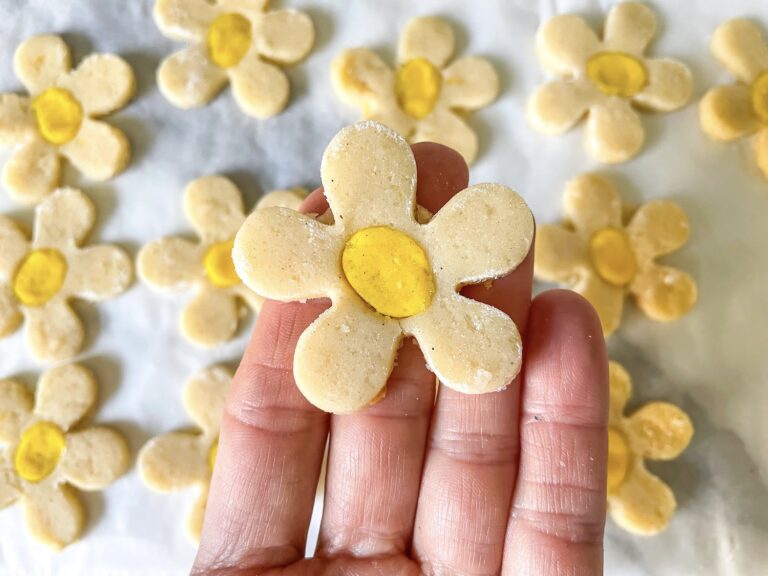
Next, stack the assembled flowers on top of each other, making sure the petals line up. Press down gently on the top of the stack. (You want to press firmly enough to make sure the pieces adhere to one another, but not so firmly that you squish them or cause them to lose their shape.)
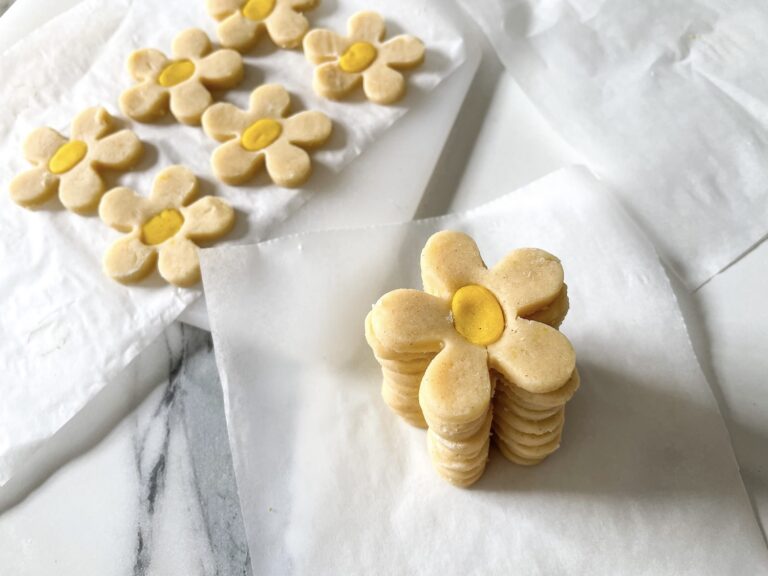
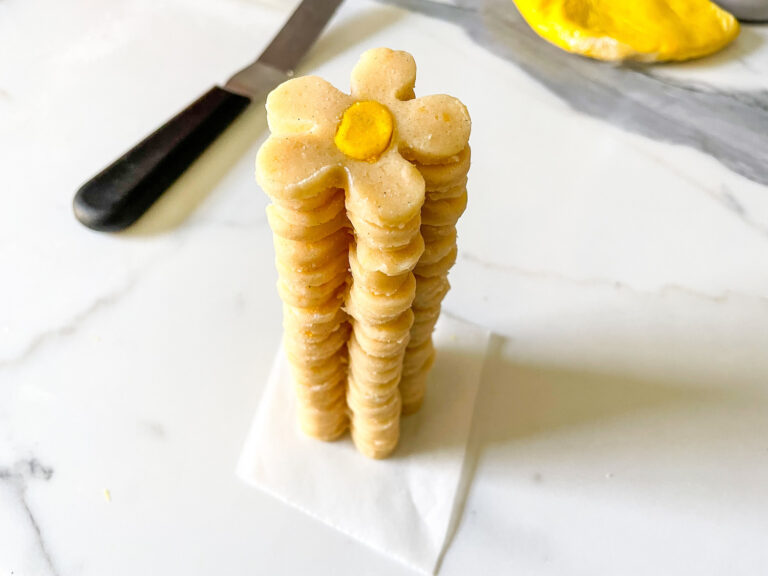
Wrap your flower stack in clingfilm or parchment (or place on parchment-lined tray) and freeze for at least 15 minutes, or until very cold and solid. While flower stack chills, remove all remaining yellow dough from the refrigerator and allow it to soften slightly.
Remove flower stack from the freezer. Pack yellow dough around the stack, making sure you fit it into all of the open spaces. Use a chopstick*** to push the yellow dough into all cracks and crevasses. (If you don’t do this carefully, there may be small gaps or holes in your finished cookies).
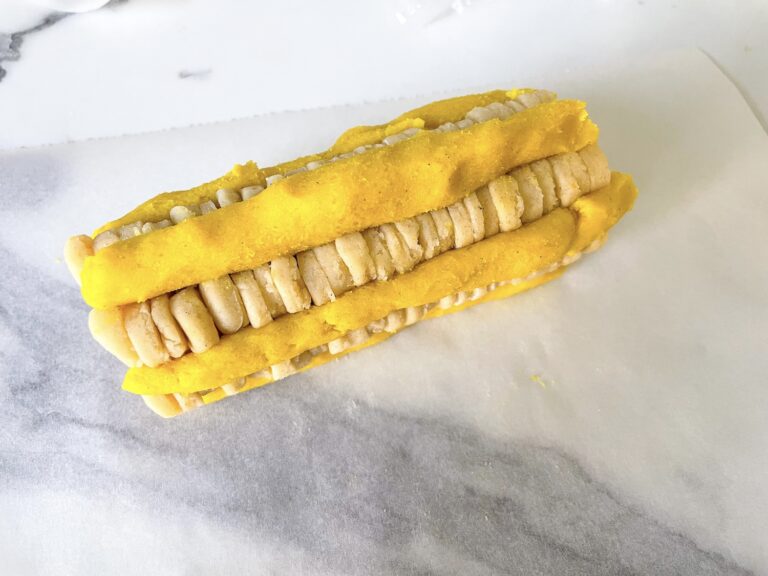
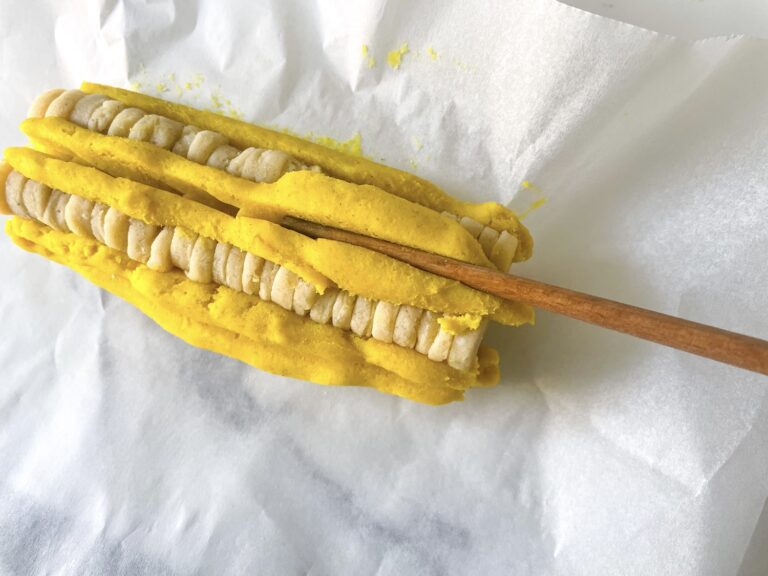
Continue packing yellow dough around the log until all dough has been used and all white has been hidden, aside from the two ends of the log.
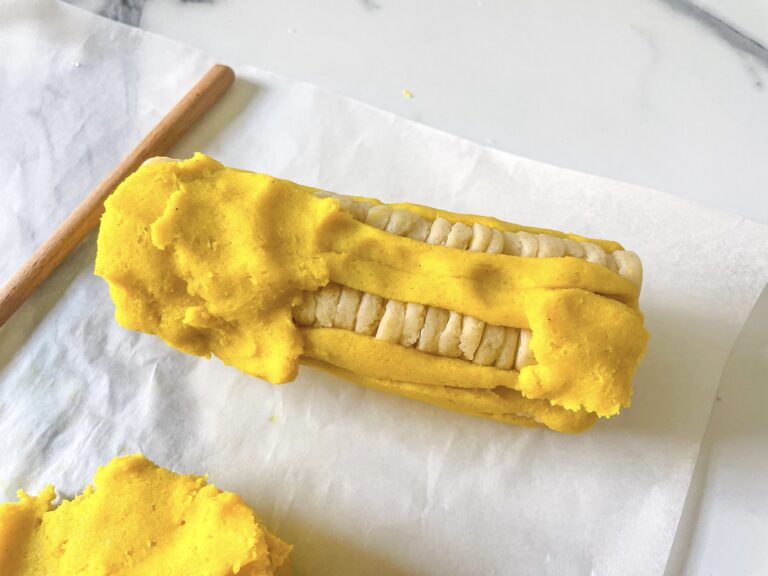
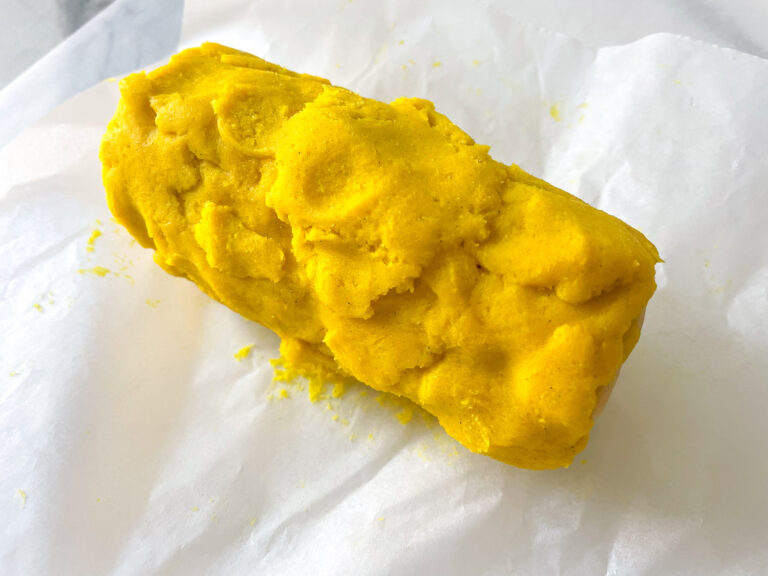
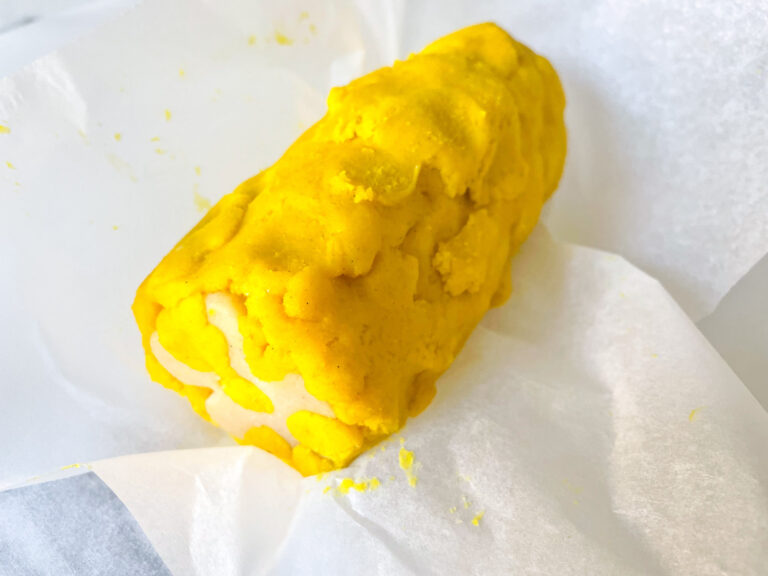
Roll gently to smooth the yellow dough, lengthening slightly in the process. The smooth, finished log should be approximately 6 inches (15 centimeters) in length.
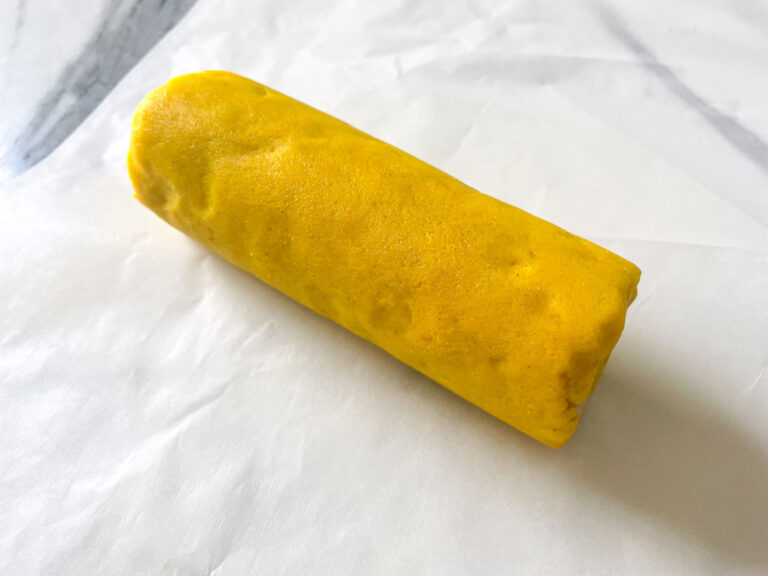
Once white dough is completely covered and log is smooth, roll the log in Demerara to coat.
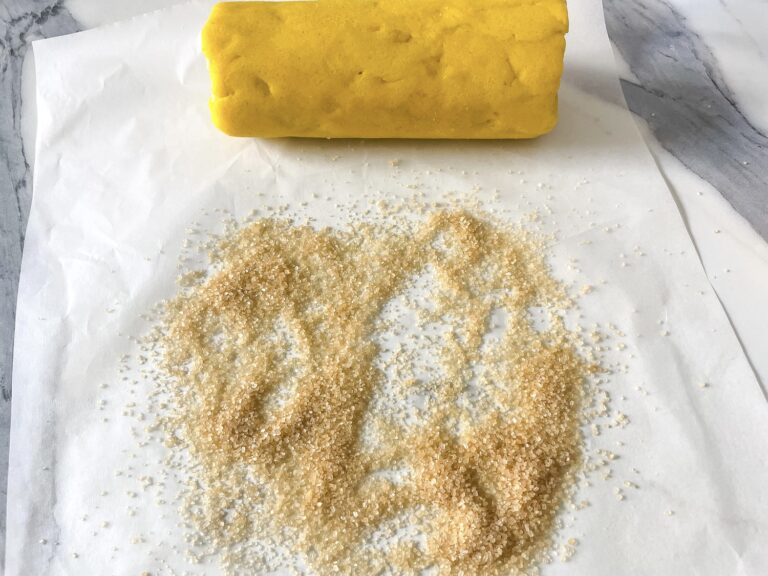
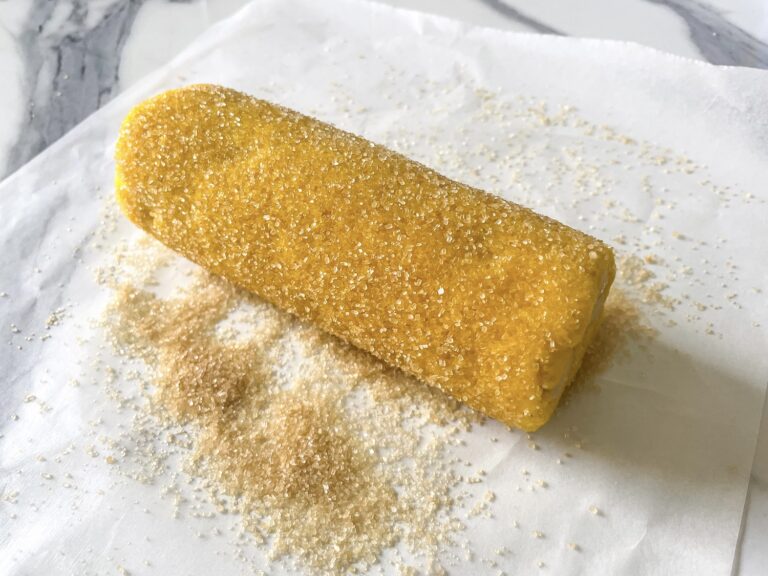
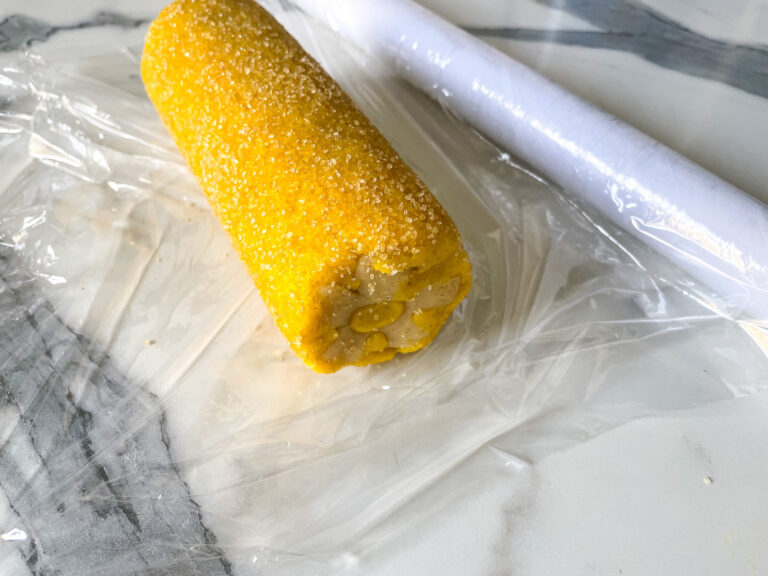
Wrap log in clingfilm and freeze for at least one hour, or overnight.
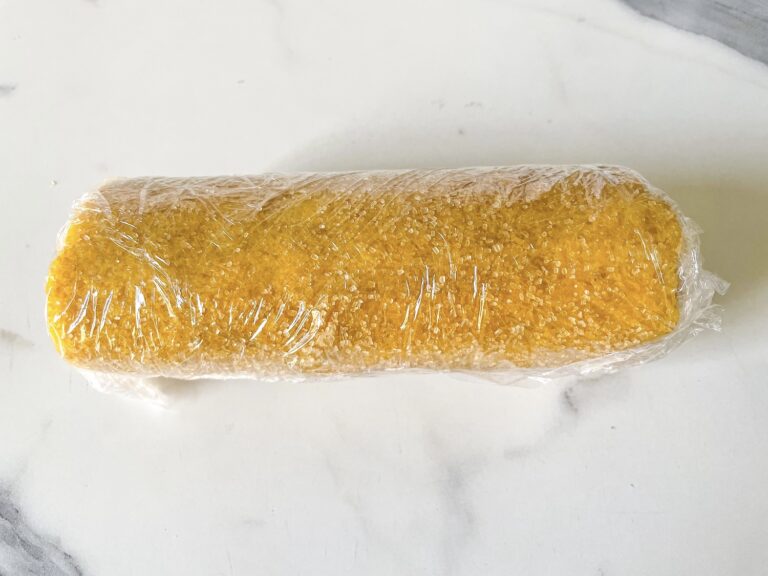
When ready to slice, remove log from the freezer and unwrap. Place on a cutting board. Trim the ends and discard.
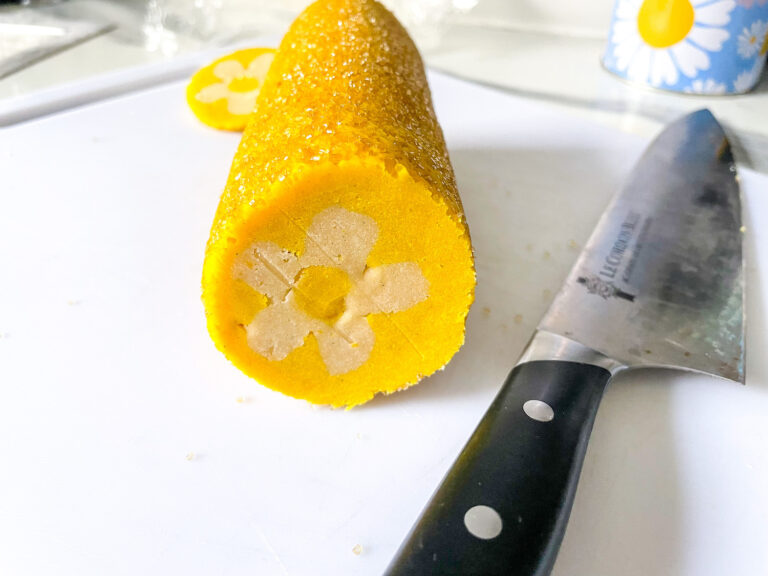
Using a sharp knife, slice into 1/4″ thick pieces. Once finished, you should have 16 – 18 cookies.
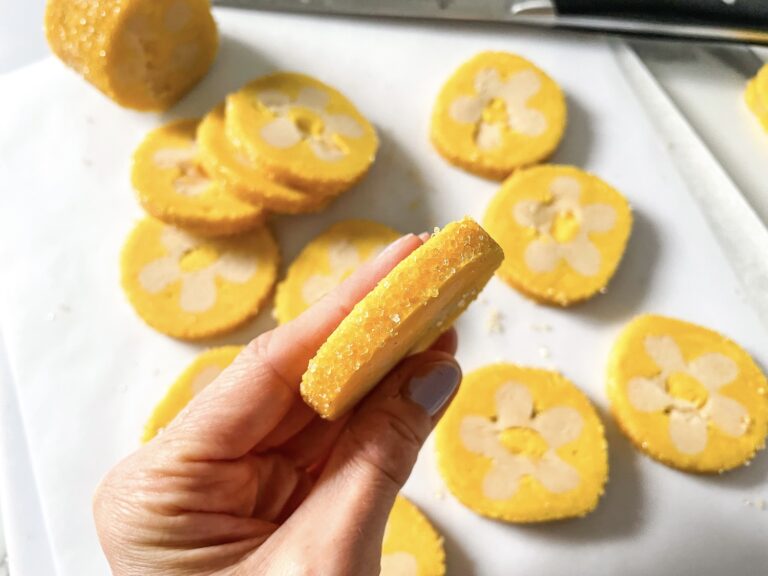
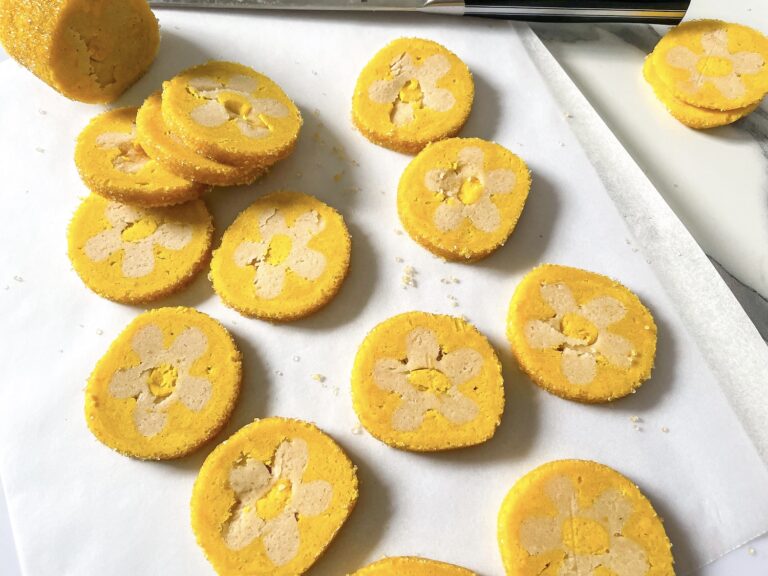
If you notice small cracks or gaps in the dough (there will probably be a few!) simply use your fingertips to gently smooth these over; this will make for a prettier finished product.
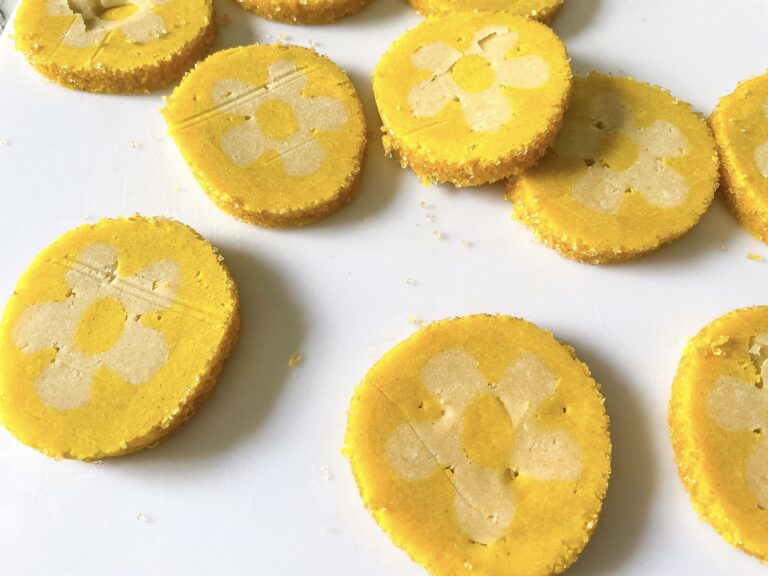
Stack cookies between small squares of parchment and freeze for 15 minutes. (Alternately, if you have a large freezer you can place your cookies directly on your silpat-lined baking sheet, allowing a few inches of space in between each cookie, and place the tray in the freezer. When it comes time to bake, simply transfer the tray directly to the oven.) Do not skip this freezing step, as it will prevent the cookies from spreading as they bake.
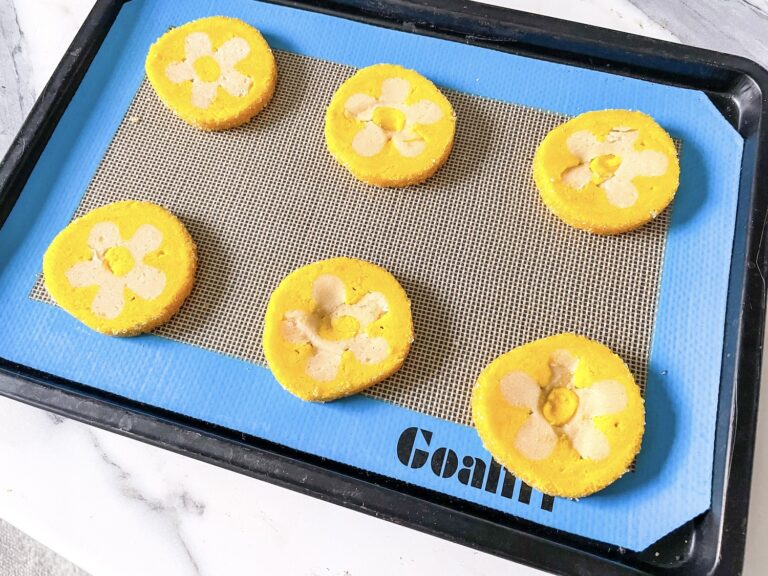
Place sliced chilled cookies on silpat-lined tray, allowing a few inches between each.
Bake for 12 – 14 minutes. Cookies should look matte and not glossy or doughy, but should not be starting to brown.
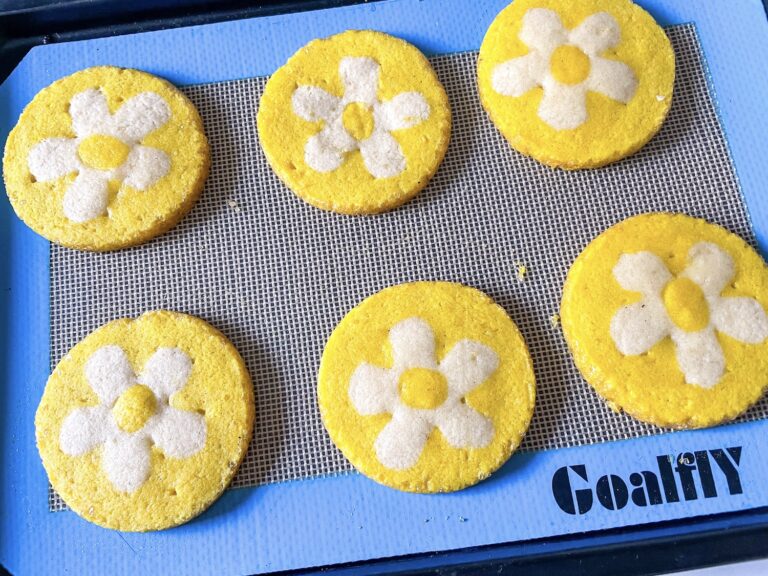
Immediately after removing tray from the oven, use a round cookie cutter to gently reshape the hot cookies. (This is entirely optional, but will make your finished cookies rounder and more uniform in appearance.)
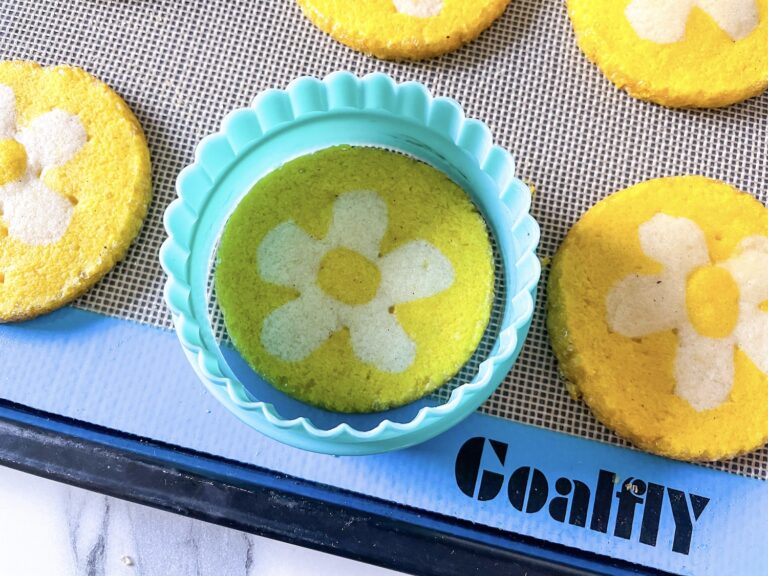
Allow cookies to cool for a few minutes on the baking tray, then transfer to a wire rack and cool completely.
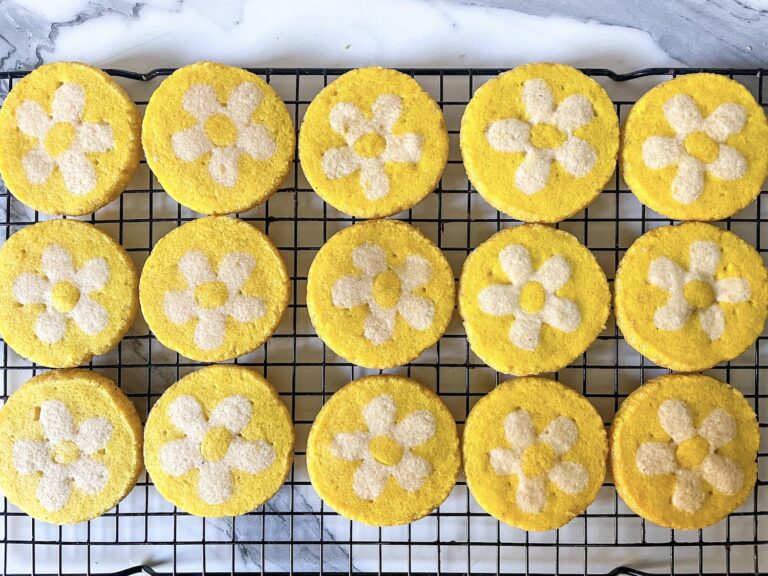
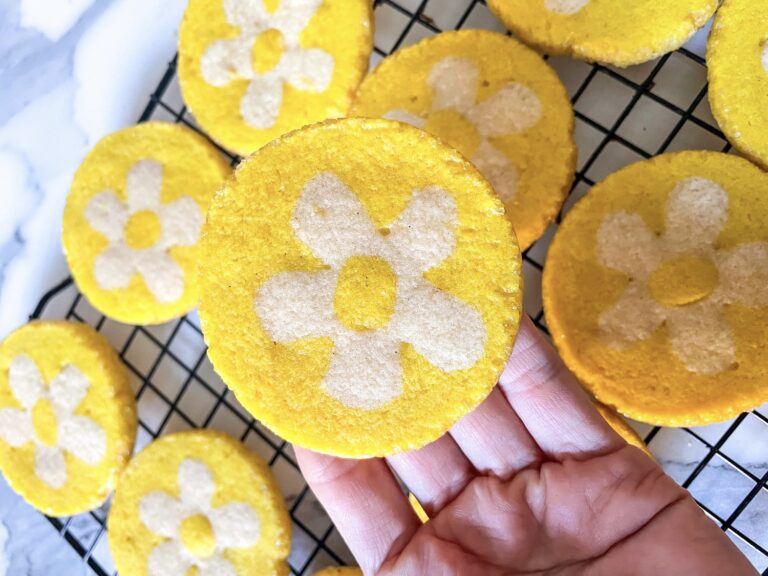
Store lemon daisy cookies in an airtight container at room temperature for up to five days. Baked cookies are also suitable for freezing.
Notes
*Don’t roll your dough too thin. 1/4″ is perfect, but slightly thicker than that is fine, too.
**When in doubt, chill! During cutting and assembly, you might notice your dough becoming soft or sticky. If this happens, return it to the refrigerator or freezer and allow it to chill for a few minutes, then continue where you left off. Cold dough is key to making sure the flowers retain their shape.
***Some household “tools,” such as a chopstick, skewer, or toothpick/cocktail stick, can help with packing the yellow dough around the flower pieces. You might also need the chopstick to “pop” the yellow dough pieces from the tiny round cutter.
****Your butter should be soft enough to combine easily with the sugar, but it should not be hot or melted — this will hinder the quality of your finished product, and possibly cause your cookies to over-spread when baked.
- Prep Time: 90 minutes
- Chilling Time: 175 minutes (approximately 3 hours, divided)
- Cook Time: 12-14 minutes
- Category: Biscuits and Cookies
- Method: Oven
- Cuisine: Dessert


