Rainbow Cookies
This post may contain affiliate links. Please read the disclosure policy to learn more.
Thank you for supporting this blog!
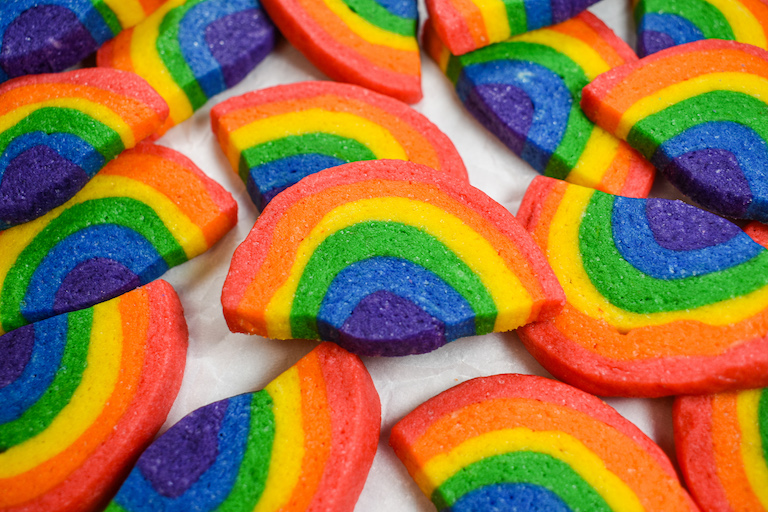
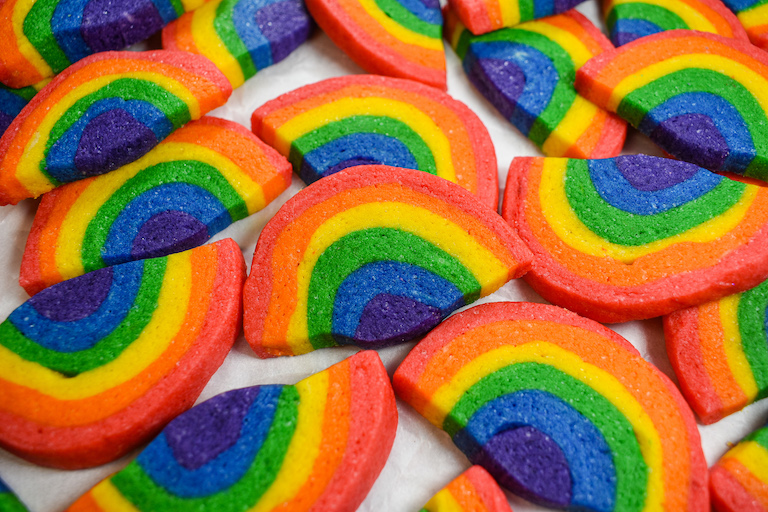
Rainbow cookies made with a classic vanilla sugar cookie dough, tinted with gel food coloring, and carefully sliced into rainbow shapes. The best slice and bake rainbow cookies for Pride, Saint Patrick’s Day, or other colorful celebrations.
Why Make These Rainbow Cookies?
If you know me, you already know how much I love making rainbow-inspired recipes, like cakes, cookies, and Rice Krispie treats. In past years I’ve always shared green and shamrock-themed recipes for Saint Patrick’s Day. This March, I decided to switch things up and develop a rainbow recipe instead.
Although we often associate shamrocks with Saint Patrick’s Day (see also: my shamrock cereal treats, homemade shamrock sprinkles, and buttercream shamrock cookies) rainbows are an equally popular part of the holiday’s food traditions and decor. Rainbows became part of Saint Patrick’s Day tradition thanks to Irish folklore, where leprechauns hide their pot o’ gold at the end of a rainbow. Rainbows also offer a cheerful contrast to the dominant color of Saint Patrick’s Day (green, of course!) and serve as a symbol of good luck. This time of year you’ll spot rainbows on Saint Patrick’s Day decorations, clothing, and parade paraphernalia, usually alongside shamrocks, leprechauns, or gold coins.

Made from a simple sugar cookie dough, rolled and sliced to reveal a colorful pattern, these rainbow cookies (not to be confused with my slice and bake rainbow heart cookies, or the classic New York Italian rainbow cookie…) are perfect for St. Paddy’s celebrations, but are just as suitable for Pride, birthday parties, school events, or other occasions. Because let’s be honest, who doesn’t appreciate a rainbow cookie, any day of the year?
To develop this recipe, I started by looking at lots of other, similar rainbow cookie recipes. Many of these were difficult to follow and lacked process photos. Even as an experienced pastry chef, I found myself confused without a clear visual guide to demonstrate the steps. So in my version, I wanted to provide plenty of information (the post below is a long one, but it’s well worth the read) and break the process into clear, manageable steps. I’ve also included plenty of photos so the recipe is easy to understand and will produce reliable results.

Ingredients for Making Slice and Bake Rainbow Cookies
To make these rainbow cookies, you’ll need the following ingredients:
- All Purpose Flour – Along with butter and sugar, all purpose flour (UK plain flour) forms the cookie dough base. In the US, I test with Pillsbury or Gold Medal flour; in the UK, I prefer McDougalls plain flour in the red-and-white striped bag.
- Baking Powder – A small amount of baking powder acts as a leavening agent. Note that this recipe only calls for 1/2 teaspoon. Don’t add more than that. I’ve used just enough to soften the dough and produce a slight lift, without the cookies puffing up into soft, bakery-style sugar cookies (which, while delicious, is not the goal here!)
- Fine Sea Salt – Fine sea salt cuts the sweetness of the granulated sugar. Omit if using salted butter.
- Butter – Opt for a good-quality, unsalted butter, softened enough to whip easily with a hand mixer or stand mixer.

- Granulated Sugar – Granulated sugar adds sweetness and helps to create the crisp, slightly crumbly texture. If substituting caster sugar, measure it by weight rather than volume.
- Egg – A single egg acts as a binder and adds moisture, fat, and protein to the dough.
- Vanilla Extract – Vanilla is the key flavor in this recipe, so choose a good-quality, good-tasting vanilla extract, not a cheap imitation flavoring. I like the Nielsen-Massey line of vanilla products.
- Gel Food Coloring – I tinted my dough with Chefmaster’s Red Red, Sunset Orange, Lemon Yellow, Leaf Green, Royal Blue, and Violet gel food colorings.
How to Make Rainbow Shaped Cookies
To make these rainbow cookies, you’ll start by preparing a basic, butter-based sugar cookie dough. Then you’ll use a kitchen scale to divide the white dough into six equal portions, tint each one a different shade of gel food coloring, and shape the portions into ropes that wrap around one another to form a rainbow-colored log of dough.

After chilling the log until firm, you’ll use a sharp chef’s knife to slice the log into rounds, then again to cut each round into two arch shapes.


After another quick chill, the rainbows are ready bake, cool, and share!

For ingredient quantities, process photos, and step by step instructions, scroll down to the recipe card below.
Recipe Notes and Tips
Use your fingertips. To form the rectangles, place the dough on a sheet of parchment and use your fingertips to pat it into the approximate dimensions. Then, top with a second sheet of parchment use a rolling pin to smooth it into the finished size.
Don’t use too much flour. Avoid using flour for rolling or shaping, and do not add extra flour to the cookie dough, even if it feels slightly sticky. Flour will prevent the dough from sticking to the other colors, and your rainbows won’t hold together.
Utilize small trays. I recommend using multiple quarter sheet trays for the chilling and freezing steps. Smaller trays make it easier to work in batches, and they also fit comfortably into most standard fridges and freezers.

Pay attention to temperature. It’s important to keep the dough cold. If it starts to feel soft, warm, or sticky, pop it into the fridge or freezer for a few minutes before you continue rolling or shaping.
Use a sharp, clean knife. Clean your knife by running it under water periodically, or wiping with a damp cloth between cuts.
Don’t overcrowd the trays. These cookies won’t spread a lot, but they do expand. It’s easier to reshape them if you allow some space in between. I also found they didn’t bake as quickly or evenly when placed too close together.

Helpful Tools and Equipment
You will need a few basic tools and pieces of equipment to make this recipe. Start by gathering:
- Kitchen Scale – Like my French macarons and my rainbow cake roll, a kitchen scale is a requirement for this recipe. The dough must be divided into very specific quantities, or you won’t have the right amounts of each color to form the classic “rainbow” design. If you don’t own a kitchen scale, you can purchase one at a big box store, or for under $10 on Amazon.

- Rolling Pin – You’ll need a rolling pin to roll each dough color into a flat, rectangular shape.
- Rubber Gloves – To avoid staining your hands, I suggest wearing rubber gloves to knead the coloring into the dough.

- Baking Parchment – Rolling the dough between two sheets of parchment prevents the dough from sticking to the rolling pin or countertop, and makes cleanup easy.
- Metal Ruler – I recommend keeping a metal ruler nearby. You’ll need it to measure your ropes and rectangles of dough.

- Palette Knives – Small and large stepped palette knives will come in handy for lifting the rectangles and ropes of dough, and for transferring the cut cookies from cutting board to tray, and tray to cooling rack.
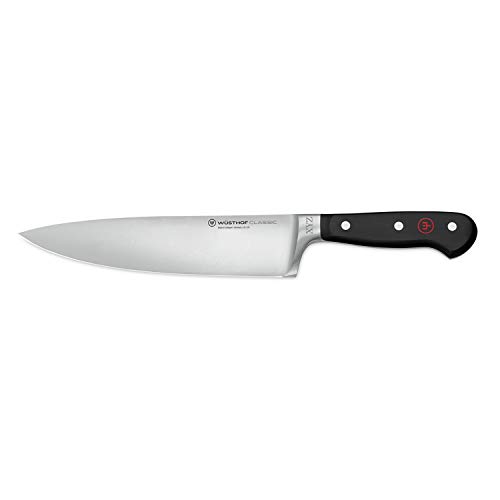
- Sharp Chef’s Knife – You’ll need a sharp chef’s knife to slice cleanly through the tube of dough, then again to slice each circle in half to form the “rainbow” shape. Don’t use a dull knife, or a dirty one. I found it helpful to clean my knife periodically with a hot, damp kitchen towel.

- Bench Scraper – After baking, I used a metal bench scraper to quickly reshape the bottoms of my rainbows.
- Wire Rack – For cooling the rainbow cookies after baking, a wire rack works best.

Make-Ahead and Storage Suggestions
Store rainbow cookies in an airtight container at room temperature for up to 5 days, or freeze for up to 3 months.
Other rainbow recipes you might enjoy:
Rainbow Whoopie Pies
Slice and Bake Rainbow Heart Cookies
Rainbow Cake Roll
Buttercream Rainbow Cookies
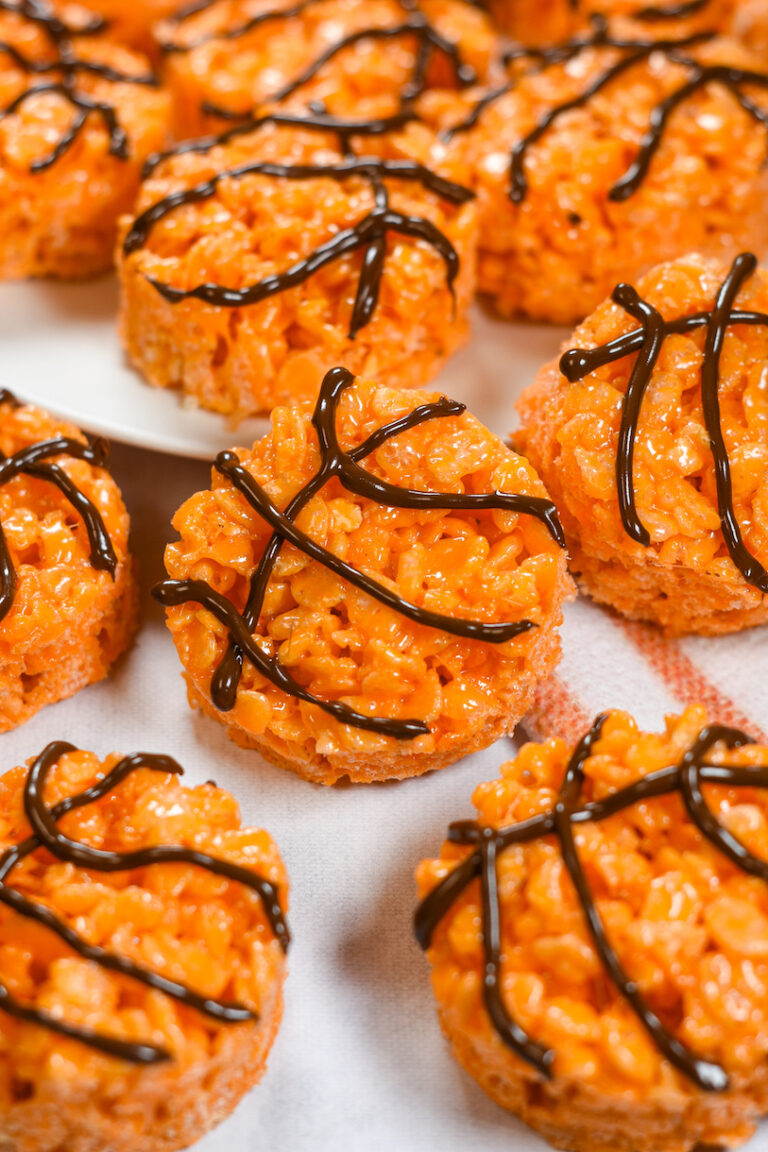
Rainbow Rice Krispie Treats
Puff Pastry Rainbow Pizza
Rainbow Sherbet
Rainbow Fudge
And if you do make these, or any of my recipes, don’t forget to tag me @bastecutfold or use the hashtag #bastecutfold on Instagram. I always love to see what you’re making!
Print
Rainbow Cookies
- Total TimeAbout 4 1/2 hours
- Yield48-52 2 1/2-inch cookies 1x
Rainbow cookies made with a classic vanilla sugar cookie dough, tinted with gel food coloring, and carefully sliced into rainbow shapes.
Ingredients
300 grams all purpose flour (10 1/2 ounces; 2 1/3 cups)
1/2 teaspoon baking powder
1/4 teaspoon fine sea salt
170 grams unsalted butter, softened (6 ounces; 3/4 cup)
150 grams granulated sugar (5 1/4 ounces; 3/4 cup)
1 large egg, at room temperature
2 teaspoons vanilla extract
Red, orange, yellow, green, blue, and purple gel food coloring
Instructions
Line a small tray with parchment or a silicone mat. Line the countertop with a silicone baking mat or silicone rolling mat.
In a medium bowl, whisk together all purpose flour, baking powder, and fine sea salt. Set aside.

In a large mixing bowl or the bowl of a stand mixer, mix butter and granulated sugar on medium-high speed until smooth and fluffy, about 30 seconds. Mix in the egg and vanilla extract.

Reduce mixer speed and gradually add the dry ingredients, mixing until just barely combined. Use your hands to finish bringing the dough together until a soft, pliable dough forms. Do not knead.

With a kitchen scale,* divide the dough into 6 portions, measuring approximately: 160 grams; 140 grams; 120 grams; 100 grams; 80 grams; and 50 grams.

With gloved hands, work 1-2 drops of gel food coloring into each portion. When finished, you should have: Red (160 grams); orange (140 grams); yellow (120 grams); green (100 grams); blue (80 grams); and purple (50 grams).

On a silicone mat, roll the purple dough into a rope, about 8 inches long.

Place the blue dough between 2 sheets of parchment. With a rolling pin, roll the blue dough into a rectangle, approximately 8 x 2 inches, and about 1/8-inch thick. Wrap it around the purple tube. Place tube on prepared tray and freeze while you roll the green dough.


Place the green dough between 2 sheets of parchment. With a rolling pin, roll the green dough into a rectangle, approximately 8 x 3 inches, and about 1/4-inch thick. Wrap it around the blue tube. Place on prepared tray and freeze while you roll the yellow dough.


Place the yellow dough between 2 sheets of parchment. With a rolling pin, roll the yellow dough into a rectangle, approximately 8 x 4 inches, and about 1/4-inch thick. Wrap it around the green tube. Place on prepared tray and freeze while you roll the orange dough.


Place the orange dough between 2 sheets of parchment. With a rolling pin, roll the orange dough into a rectangle, approximately 8 x 5 inches, and about 1/4-inch thick. Wrap it around the yellow tube. Place on prepared tray and freeze while you roll the red dough.

Place the red dough between 2 sheets of parchment. With a rolling pin, roll the red dough into a rectangle, approximately 8 x 7 inches, and about 1/4-inch thick. Wrap it around the orange tube.


Wrap log in clingfilm/plastic wrap and refrigerate until very firm, at least 3 hours, or overnight.

Preheat oven to 350° F / 176° F. Line a half sheet rimmed baking tray, or 2-3 smaller trays, with silicone baking mats.
Remove plastic wrap. With a very sharp chef’s knife, trim edges, then slice log into 1/4-inch thick rounds.


Slice each round in half to create the classic “rainbow” shape.


Arrange slices on prepared tray. Freeze 10 minutes. (If baking in batches, refrigerate remaining slices until ready to bake.)

Bake in preheated oven for 11-13 minutes, or until set, with a matte appearance.

Working quickly, use a metal bench scraper to reshape the bottom of each rainbow, if necessary.

Cool 5 minutes on tray, then transfer to a wire rack to cool completely.

Store rainbow cookies in an airtight container at room temperature for up to 5 days, or freeze for up to 3 months.


Notes
*A kitchen scale is a must for this recipe. The dough must be divided into specific amounts in order to have the right amount of each color to form the classic rainbow design.
- Prep Time: 1 hour
- Cook Time: 11-13 minutes
- Category: Biscuits and Cookies
- Method: Oven