Chocolate Frogs with Kiwi
This post may contain affiliate links. Please read the disclosure policy to learn more.
Thank you for supporting this blog!
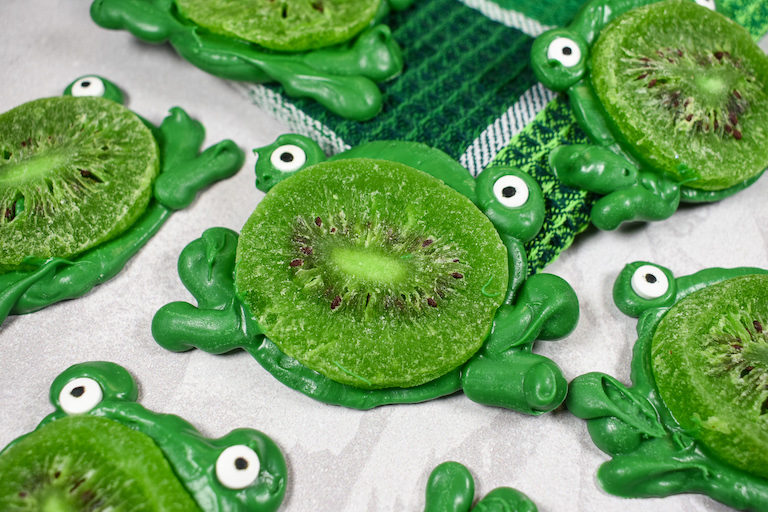
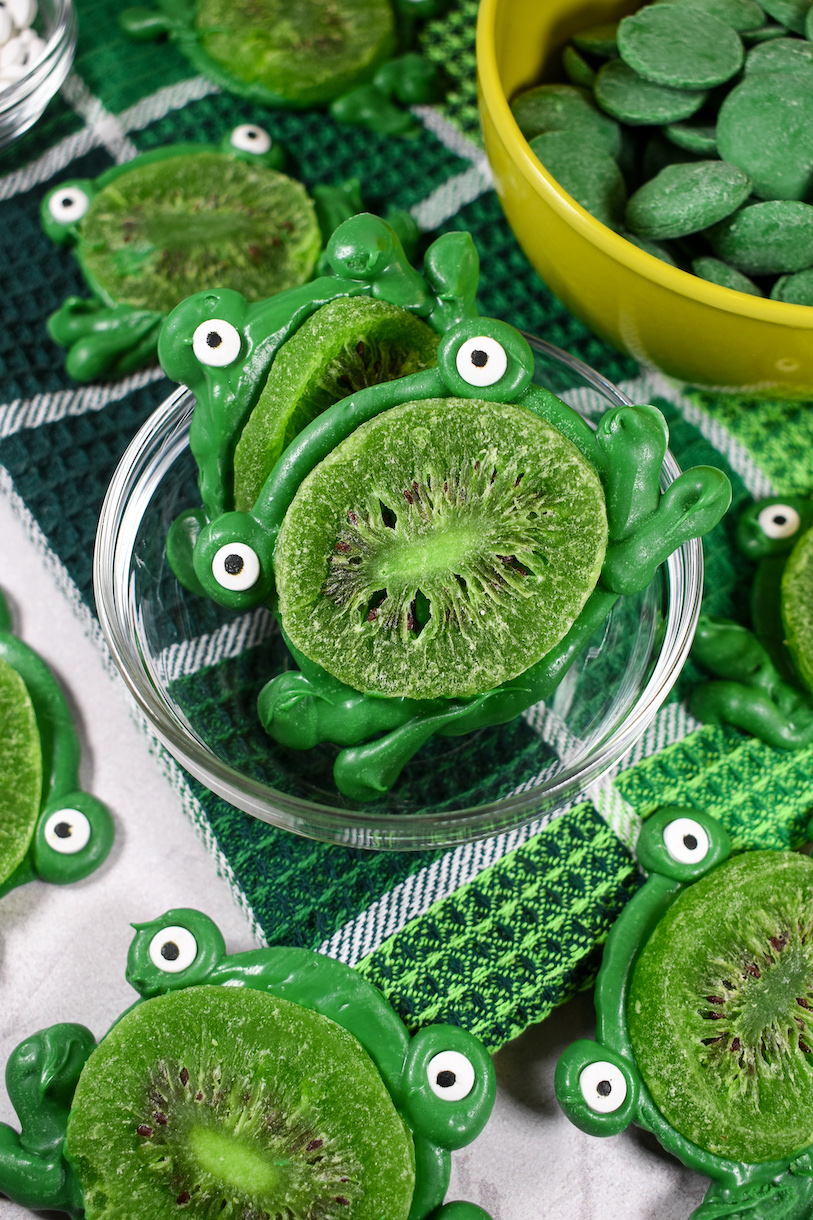
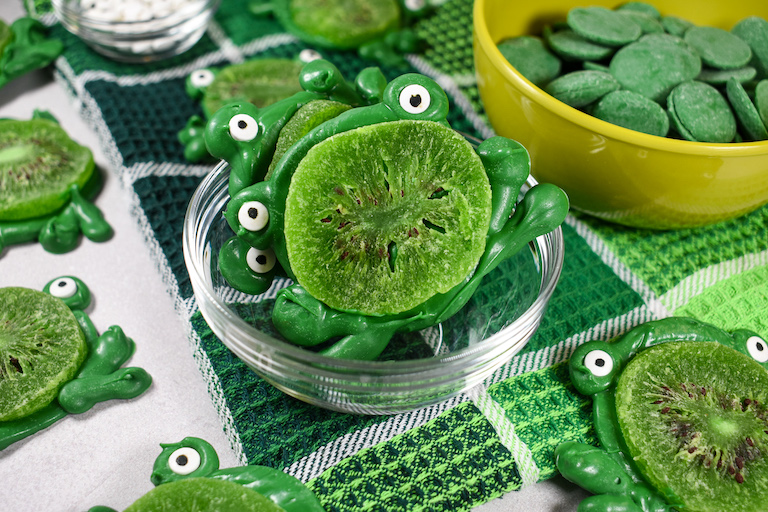
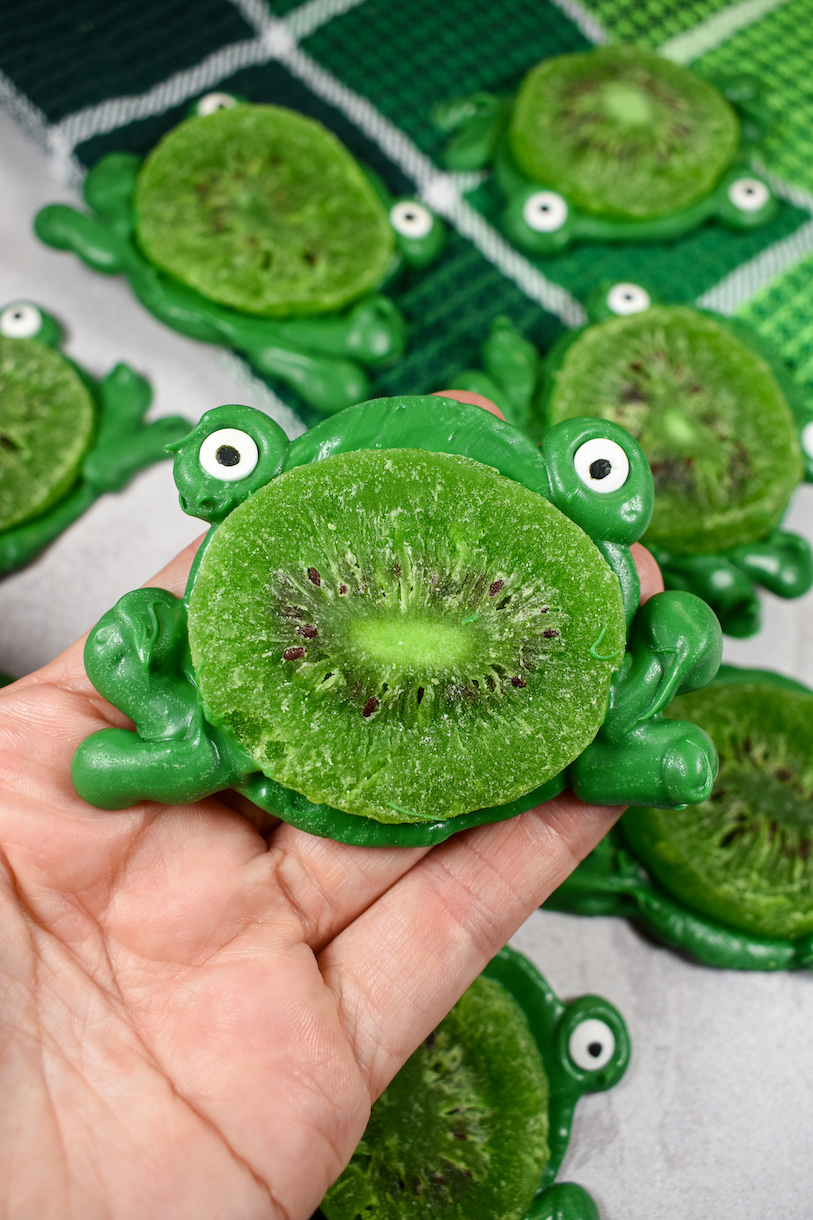
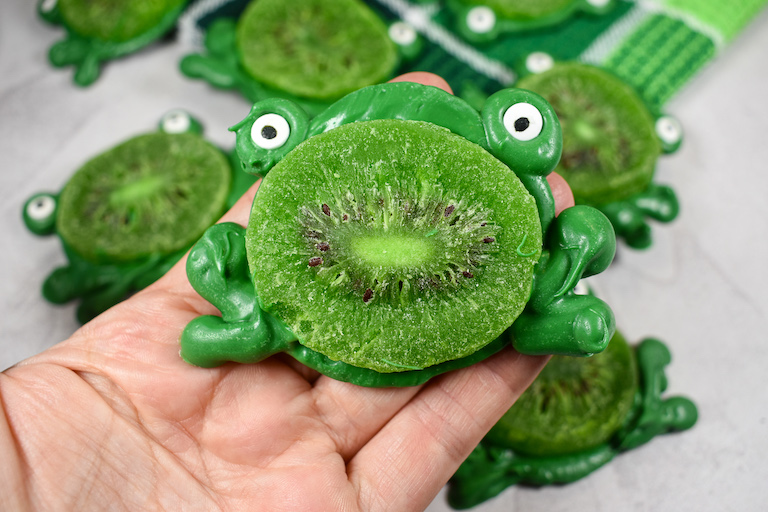
The cutest chocolate frogs made with dried kiwi, candy eyeballs, and piped green candy melts.
Why Make These Chocolate Frogs?
This easy, three-ingredient recipe begins by melting chocolate (or green candy melts), scooping it into a piping bag, and piping it into simple frog shapes. Each frog features a slice of dried kiwi, plus a goofy pair of candy eyeballs (I had a half-bag left over after making Halloween treats, and you probably do, too!) for the cutest, most playful chocolate treats.
These chocolate frogs work perfectly for children’s birthday parties, baby showers, Harry Potter– or Princess and the Frog-themed celebrations, or “kiss a lot of frogs…” bachelorette parties. Package them for party favors, or use as whimsical cupcake toppers or cake decorations.
I love how quickly these come together. No baking, no fancy tools…just pipe, decorate, and serve!
Ingredients for Making Chocolate Frogs with Kiwi
You’ll only need three ingredients to make these chocolate frogs. Start by gathering:
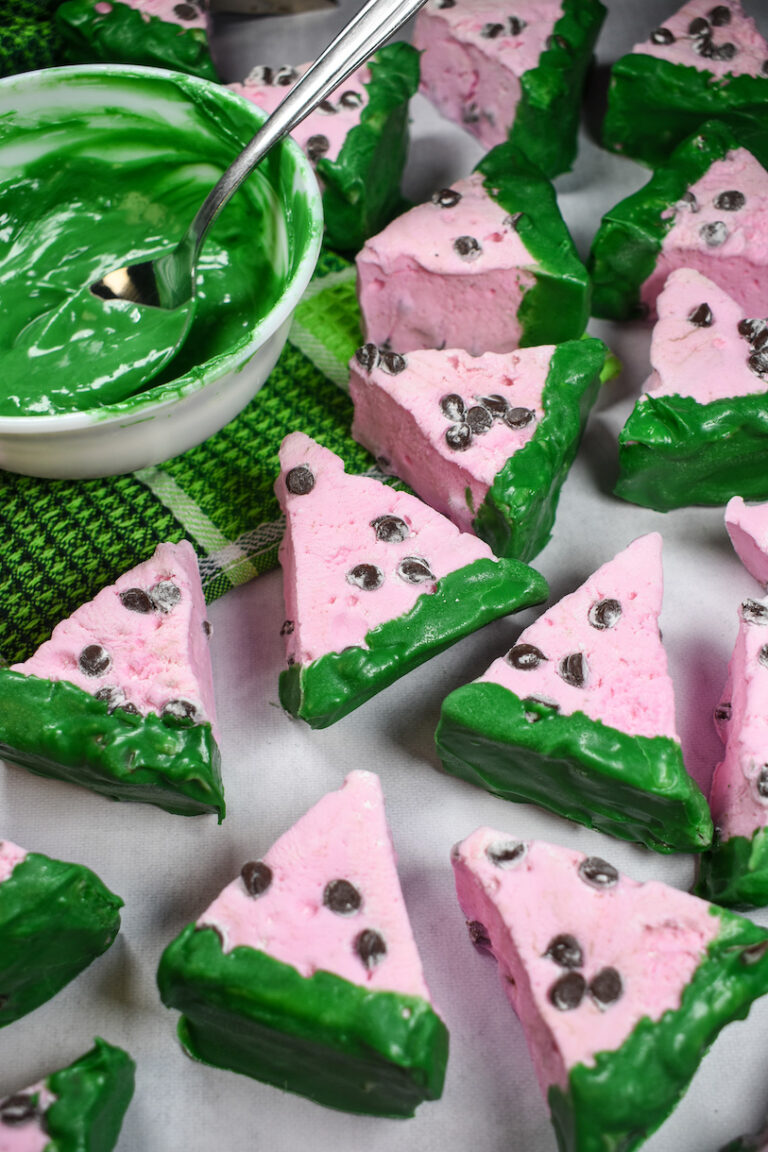
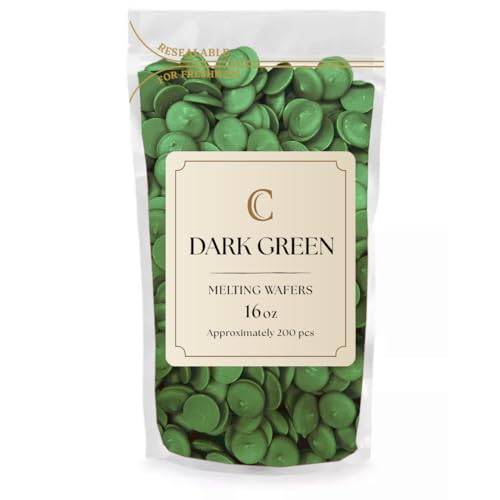
- Chocolate – You can use tinted white chocolate or green candy melts to pipe the frog shapes. (If you have some left over, you can save them to make my watermelon marshmallow recipe, too.) See my notes on candy melts below.
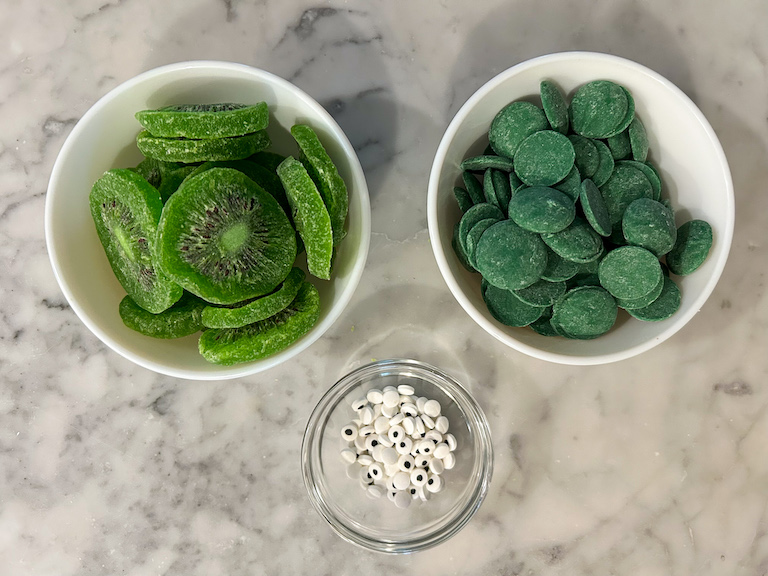
- Dried Kiwi Slices – Look for dried kiwi slices, not freeze-dried. I purchased mine on Amazon, but you can also find dried kiwi at some supermarkets or health food stores.
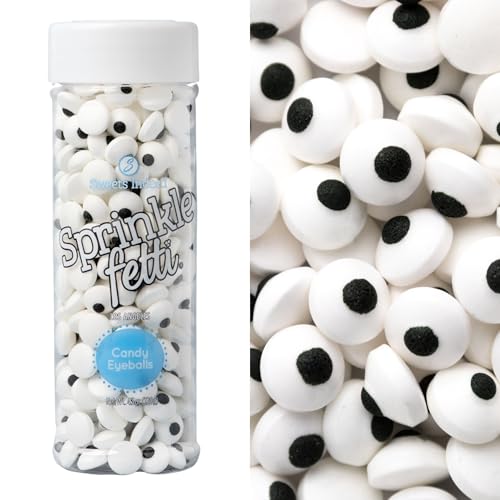
- Candy Eyeballs – Halloween recipes (like my Halloween chocolate bark) often call for candy eyeballs, but you’ll rarely need the entire bag. These kiwi frogs are the perfect way to repurpose the leftovers!
White Chocolate or Candy Melts?
Below are two options for making the frog bodies: an easy, user-friendly method, and a slightly more technical approach. I’ve tested this recipe both ways, and either one will work. Feel free to choose the method that fits best with your skill level and the ingredients you have available:
Candy Melts: For the fastest and easiest option, I suggest using green candy melts. Sometimes labelled as coating chocolate, melting chocolate, melting wafers, confectionery coating, candy wafers, or dipping chocolate, these colored discs come pre-tempered and ready to use. Simply melt, stir, and pipe.
Tempered Chocolate: Tempering is the process of heating and cooling chocolate to specific temperatures so that it sets quickly at room temperature, with a signature shine and snap. It’s the best choice for treats that will remain shelf stable in all conditions, and if you want to use a better-quality (and better-tasting) chocolate.
If you opt for tempered white chocolate, you’ll need to tint it green. Do not use water-based or gel colors—these can make the chocolate look mottled, splotchy, or uneven. Instead, you’ll need oil-based food coloring. I always keep a set of oil-based colors on hand for tinting white chocolate to make truffles, barks, and other white chocolate treats.
Piping the Frogs
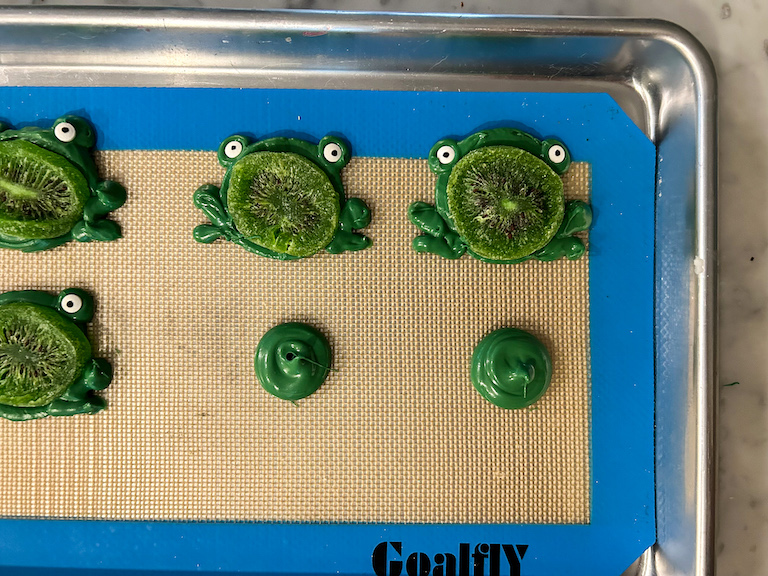
After melting the candy melts (or tempering and tinting the melted white chocolate) scoop everything into a disposable piping bag fitted with a 3/16-inch round tip.
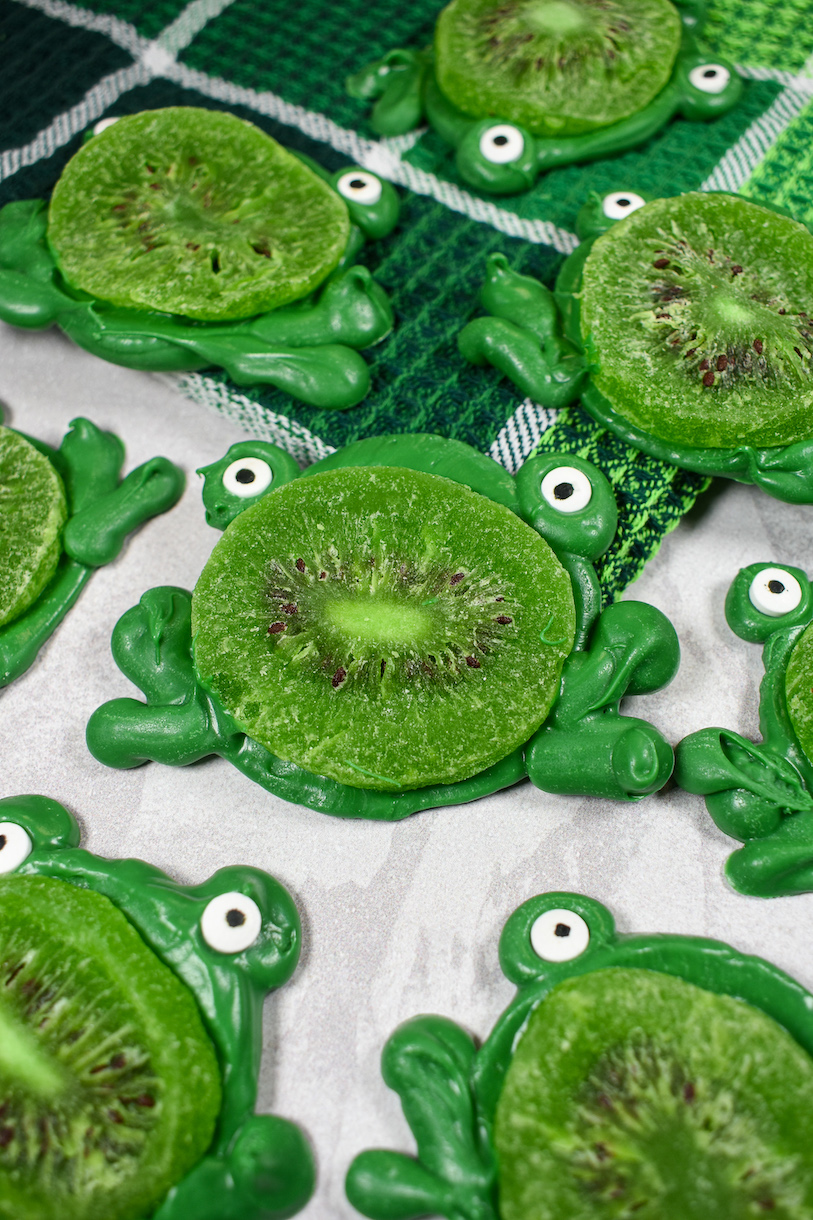
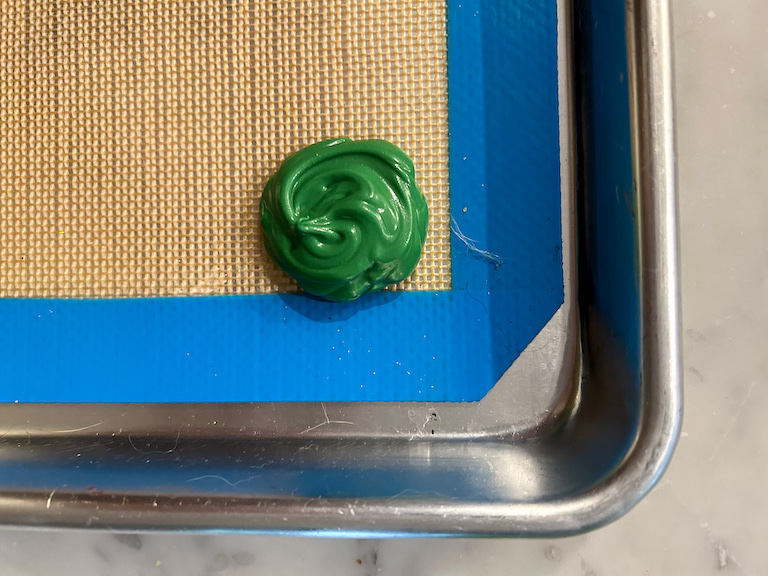
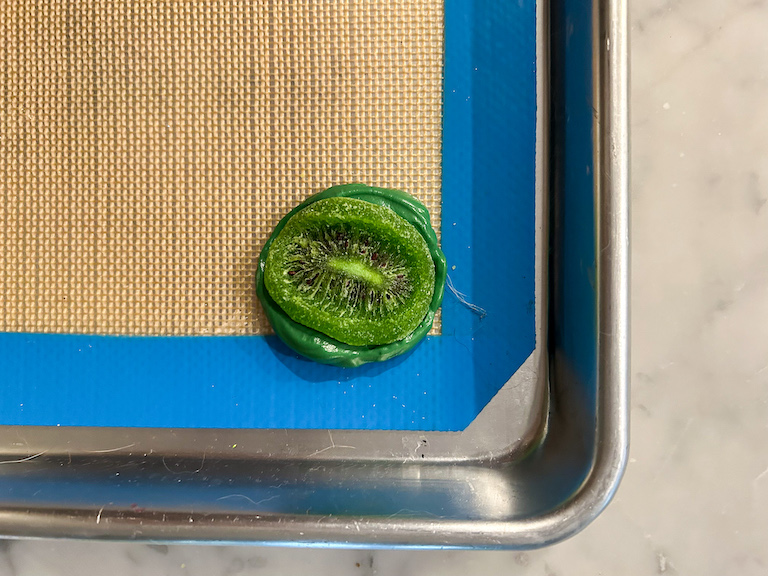
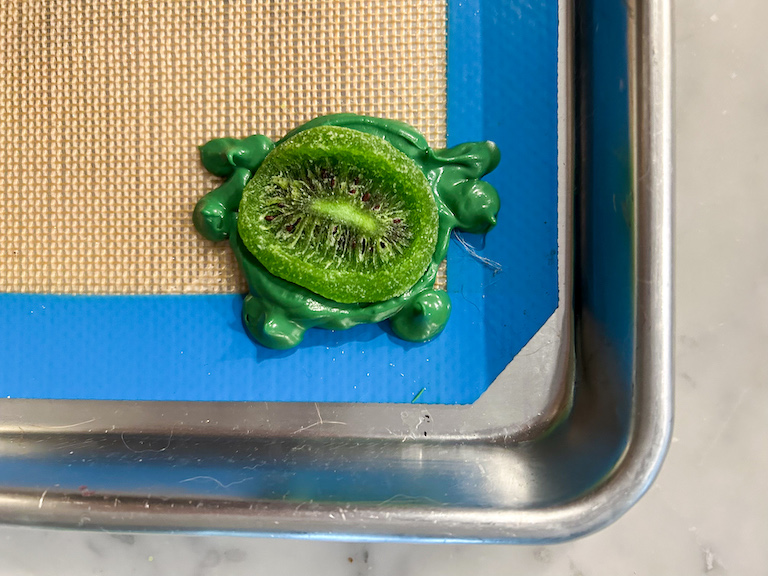
To pipe the frog bodies, start by piping a round dollop of green chocolate, about one inch in diameter. Press a slice of dried kiwi in the middle, then pipe two dots for eyes, and a ‘v’ shape on either side to make the bent frog legs. Dot with candy eyeballs to finish. After piping, use a toothpick/cocktail stick, skewer, or fondant tool to clean up any mistakes.
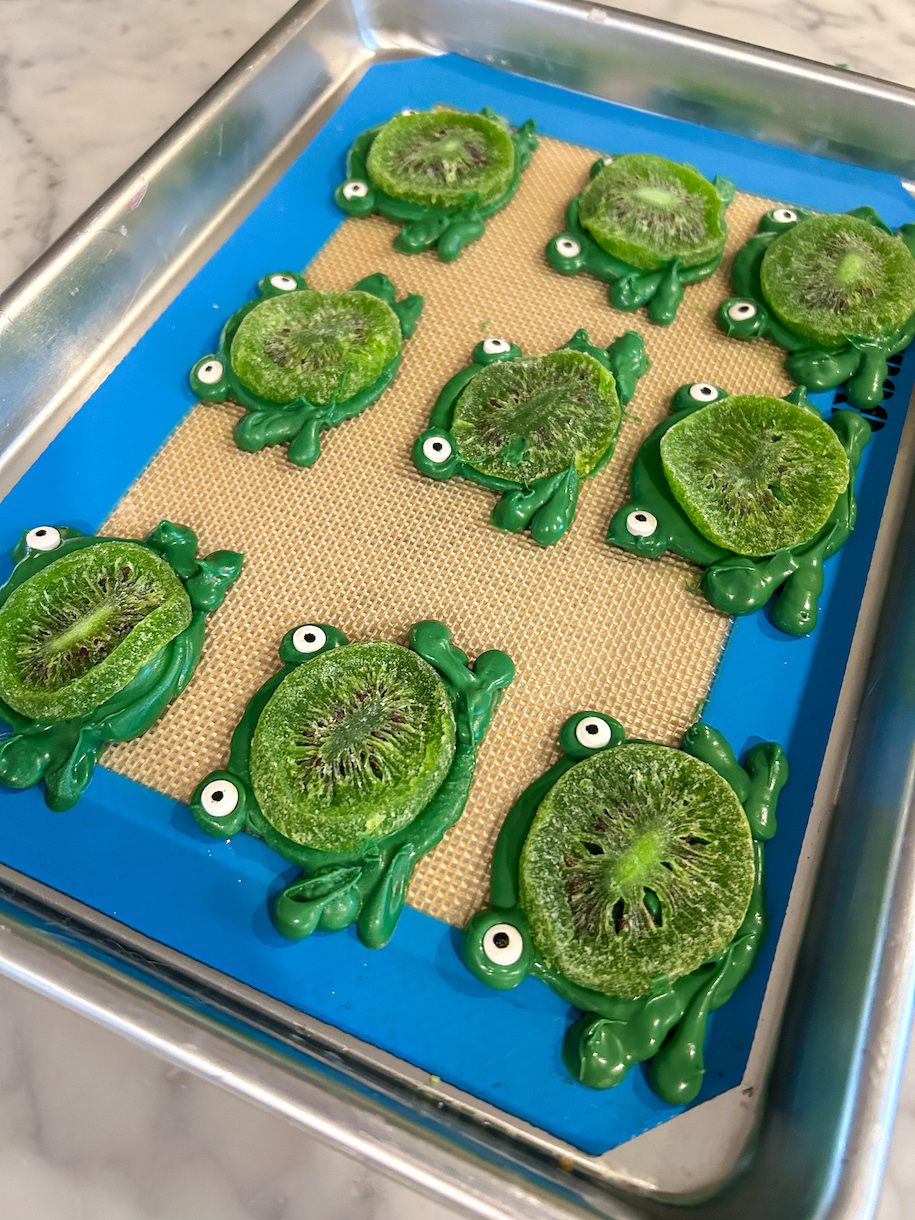
Work one at a time to pipe and decorate the frogs. This is very important. If you try to pipe all of the dollops before decorating, the melted chocolate will set, and the kiwi and eyeballs will not stick.
For ingredient quantities, step-by-step instructions, and process photos, scroll down to the recipe card below.
Helpful Tools and Equipment
Before getting started, I suggest gathering the following tools: A disposable piping bag and 3/16-inch round piping tip (if you don’t have these, you can make an impromptu piping bag by clipping the corner from a plastic food storage bag); a microwave, bain-marie, or double boiler (for melting the chocolate); a fondant tool or toothpick (for correcting piping mistakes) and a miniature palette knife (for removing the finished frogs from the tray). I also suggest lining your tray with a silicone mat, but baking parchment will also work in a pinch.
Make-Ahead and Storage Suggestions
Layer kiwi frogs between sheets of parchment. Store in an airtight container at room temperature for up to 2 weeks.
For a whimsical finishing touch, package kiwi frogs in frog-print treat bags or frog-themed goodie bags for gifting.
Other whimsical chocolate and candy recipes you might enjoy:
White Chocolate Deviled Eggs
Homemade Mallo Cups
Creamsicle Truffles
Rainbow Gummy Candy Bark
Ghost Marshmallows
Watermelon Lollipops
Watermelon Marshmallows
Apricot Goldfish
And if you do make these, or any of my recipes, don’t forget to tag me @bastecutfold or use the hashtag #bastecutfold on Instagram. I always love to see what you’re making!
Print
Chocolate Frogs with Kiwi
- Total Time20 minutes
- Yield9 frogs 1x
The cutest chocolate frogs made with dried kiwi, candy eyeballs, and piped green candy melts.
Ingredients
165 grams green candy melts or tempered white chocolate tinted with green oil-based food coloring (2 1/3 ounces; 1 cup)*
9 dried kiwi slices
Candy eyeballs, to decorate
Instructions
Line a quarter sheet rimmed baking tray with a silicone baking mat.
Melt the candy melts over a bain marie or double boiler, or in a microwave-safe dish.
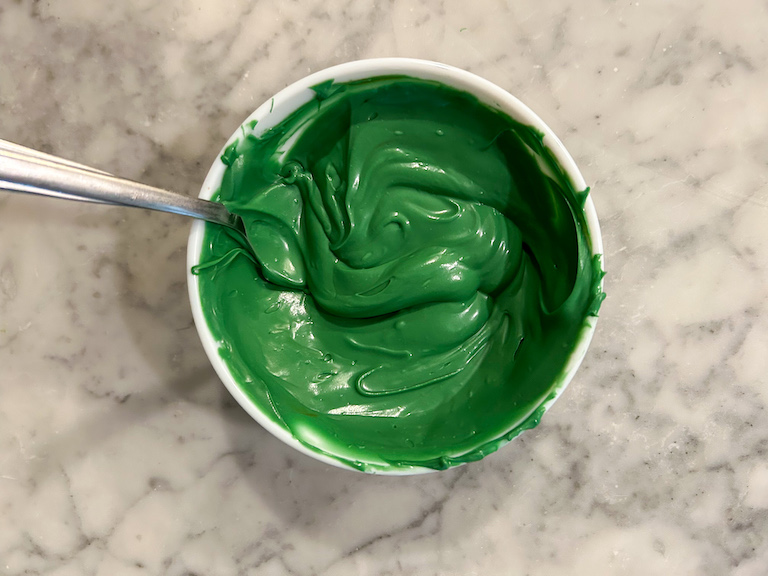
Scoop the melted chocolate into a piping bag fitted with a 3/16-inch round piping tip. Working one at a time, pipe a 1-inch circle on the silicone mat.
Press a dried kiwi slice in the middle.
Pipe 2 dots at the top for eyes, and a v-shape on either side for legs.
Press a candy eyeball on top of each of the dots.
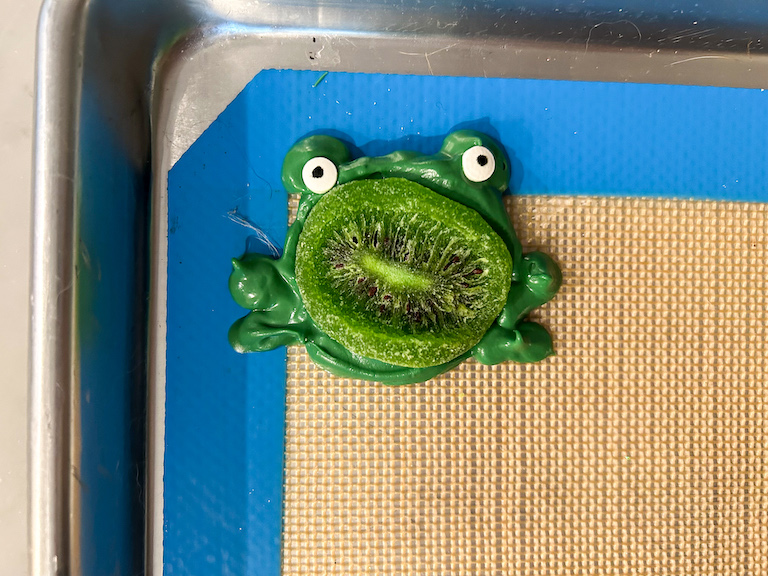
Repeat with remaining ingredients. Set aside and allow to cool at room temperature until chocolate sets.
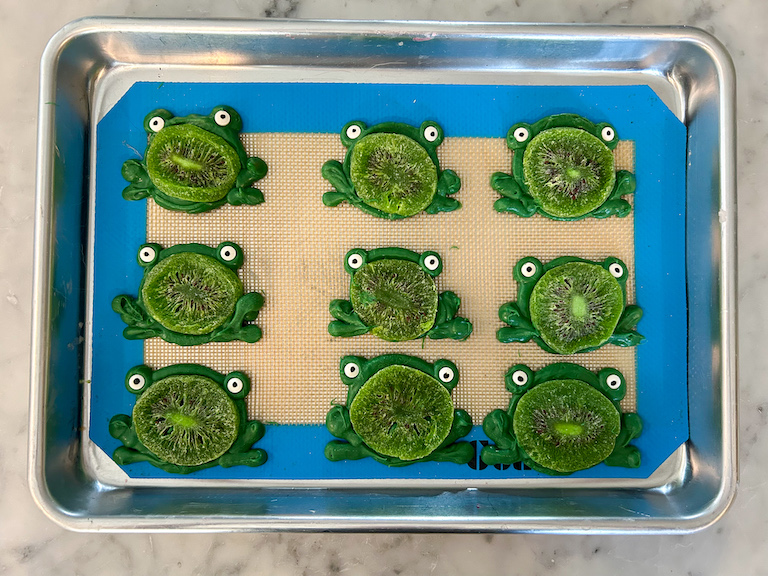
Layer kiwi frogs between sheets of parchment. Store in an airtight container at room temperature for up to 2 weeks.

Notes
See post for tips on selecting and choosing the candy melts or chocolate for this recipe.
- Prep Time: 20 minutes
- Category: Chocolate
- Method: Stovetop or Microwave