
Watermelon Lollipops
This post may contain affiliate links. Please read the disclosure policy to learn more.
Thank you for supporting this blog!
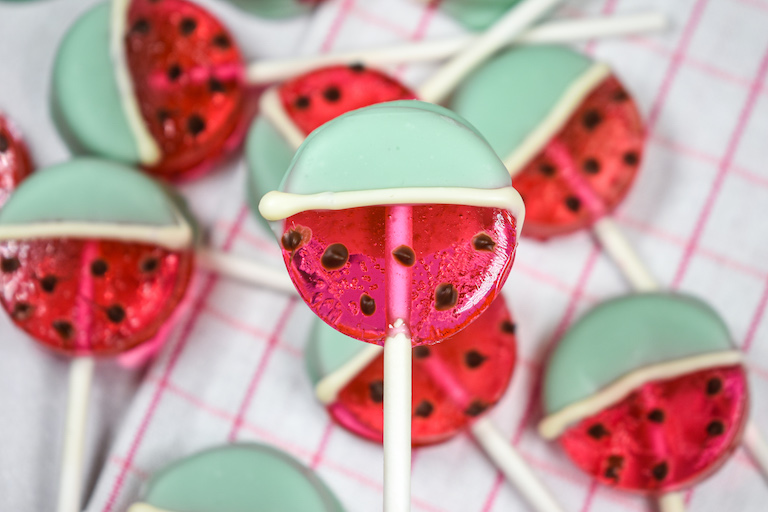
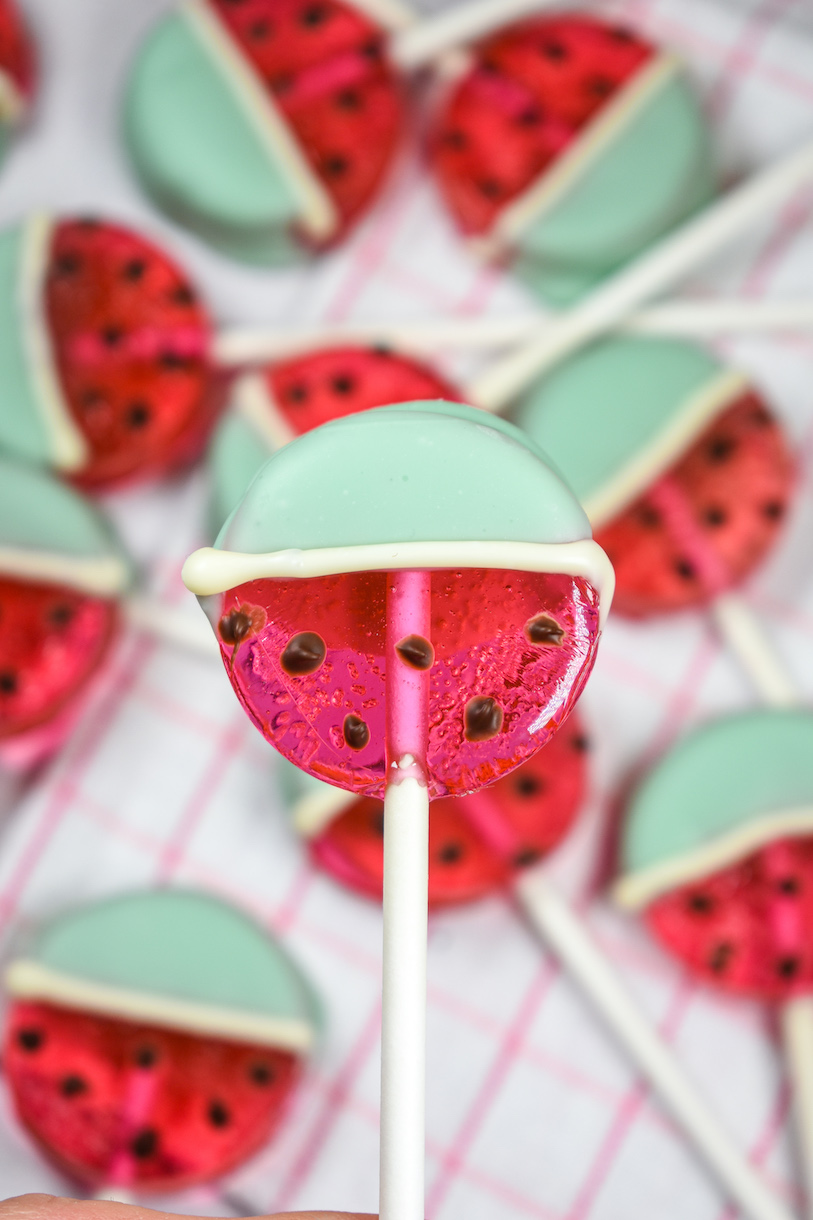
Learn how to make watermelon lollipops with this easy recipe. Featuring pink hard candy pops decorated with a green chocolate rind and dotted with dark chocolate “seeds,: these sweet pops look just like a wedge of juicy summer melon!
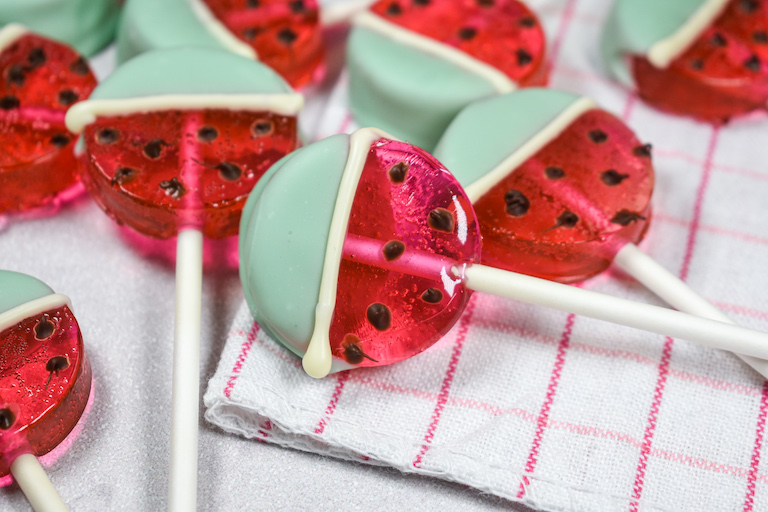
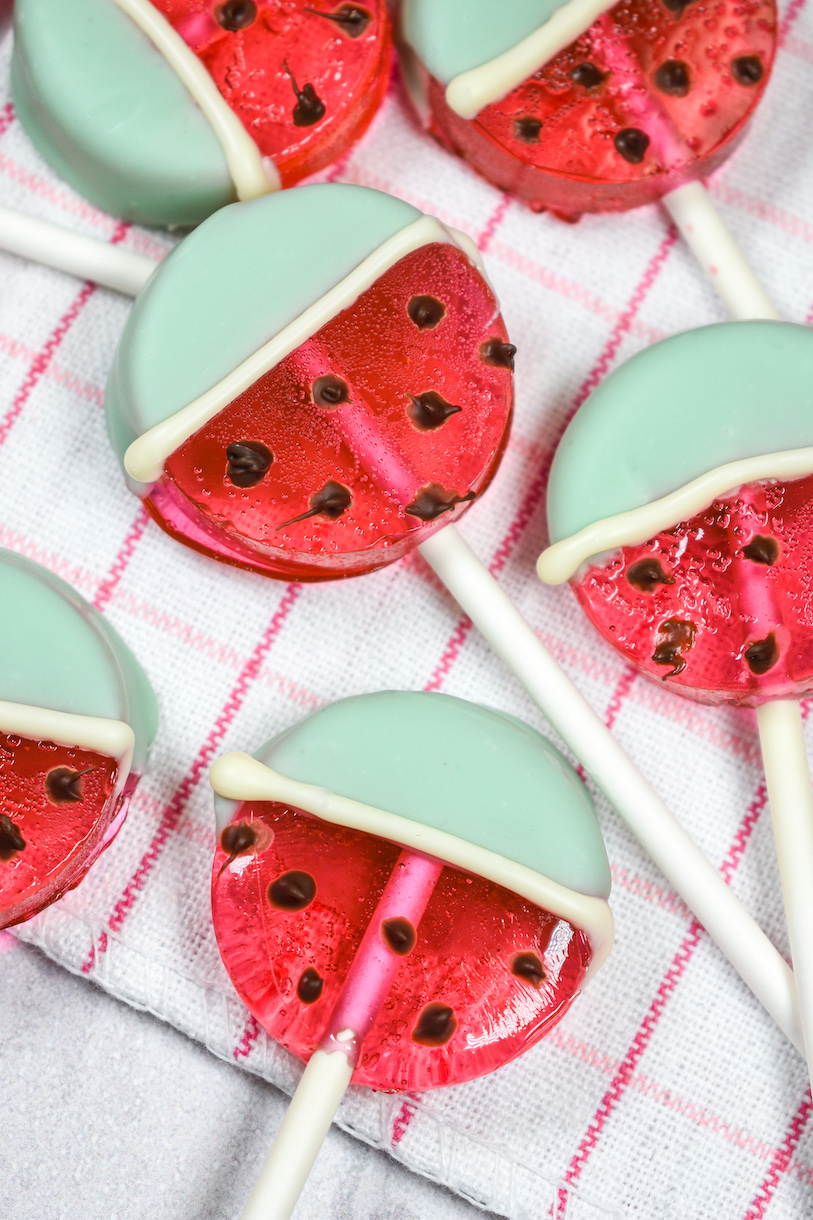
I’m a big fan of candymaking because I can get creative with my decorating choices (see also, my green apple lollipops that look just like caramel apples!) I’ve designed these watermelon lollipops to taste and look like miniature slices of watermelon, seeds, rind, and all. I’ve colored and flavored the candy with bright pink gel food coloring and my favorite LorAnn Oils watermelon flavoring; dipped the tops in green-tinted chocolate; and finished each one with hand-piped dark chocolate “watermelon seeds.”
These homemade watermelon lollipops come together with just a few ingredients (plus some patience while the sugar reaches the right temperature!) and will keep well at room temperature for at least a month, so they’re a great choice for gifting and shipping, too.
Key Ingredients
- Watermelon Flavoring – Choose a watermelon flavoring specifically made for candy and confectionery, rather than the extracts you might find in a grocery store, which are often too weak to give your candy a prominent, fruity flavor. For candy and confectionery flavorings, my preferred supplier is Lorann Oils.
- Food Colorings – For this recipe, I used Chefmaster‘s Neon Brite Pink gel coloring to tint the sugar syrup, and an oil-based food coloring to color the white chocolate. Do not use gel food coloring for the chocolate, or your “rinds” will have a spotty, speckled appearance. You can also skip the food coloring and start with green candy melts or confectionery coating. See my notes below.
- Corn Syrup – Corn syrup helps to prevent the sugar from crystallizing, preventing a grainy finished product. I prefer Golden Barrel corn syrup, but other invert sugars will also work. For accuracy, use a kitchen scale to measure the syrup, to avoid losing too much of the sticky syrup in the measuring cup.
Notes on Chocolate
Tempering is the process of heating and cooling chocolate to specific temperatures to help it set quickly. For the green “rind” portion, tempering works best for lollipops that will remain shelf stable in all conditions. But it’s not mandatory, and it’s certainly easier (and more beginner-friendly!) to skip the tempering and simply melt and dip the chocolate as indicated in the recipe below, or use green candy melts instead. Unlike couverture chocolate, candy melts are pre-tempered and will work straight out of the bag, setting quickly and remaining shelf stable for a long period of time.
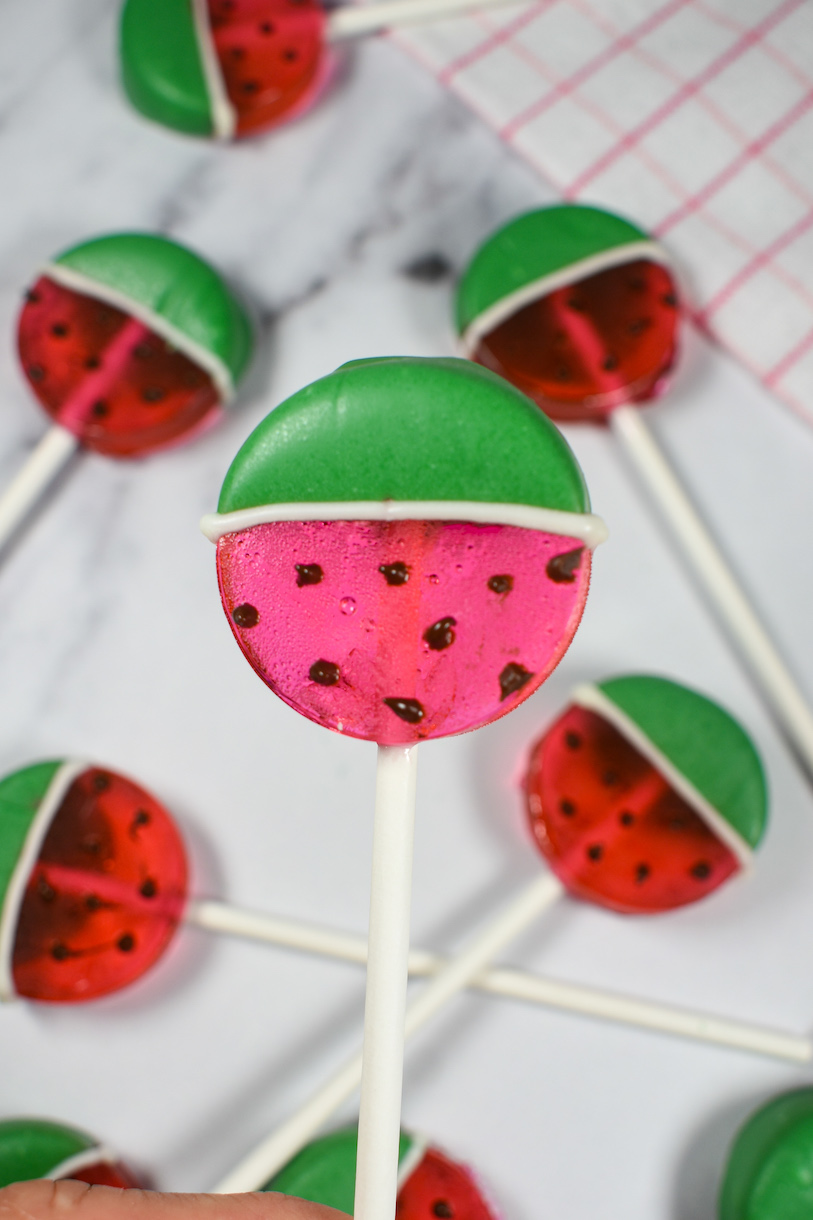
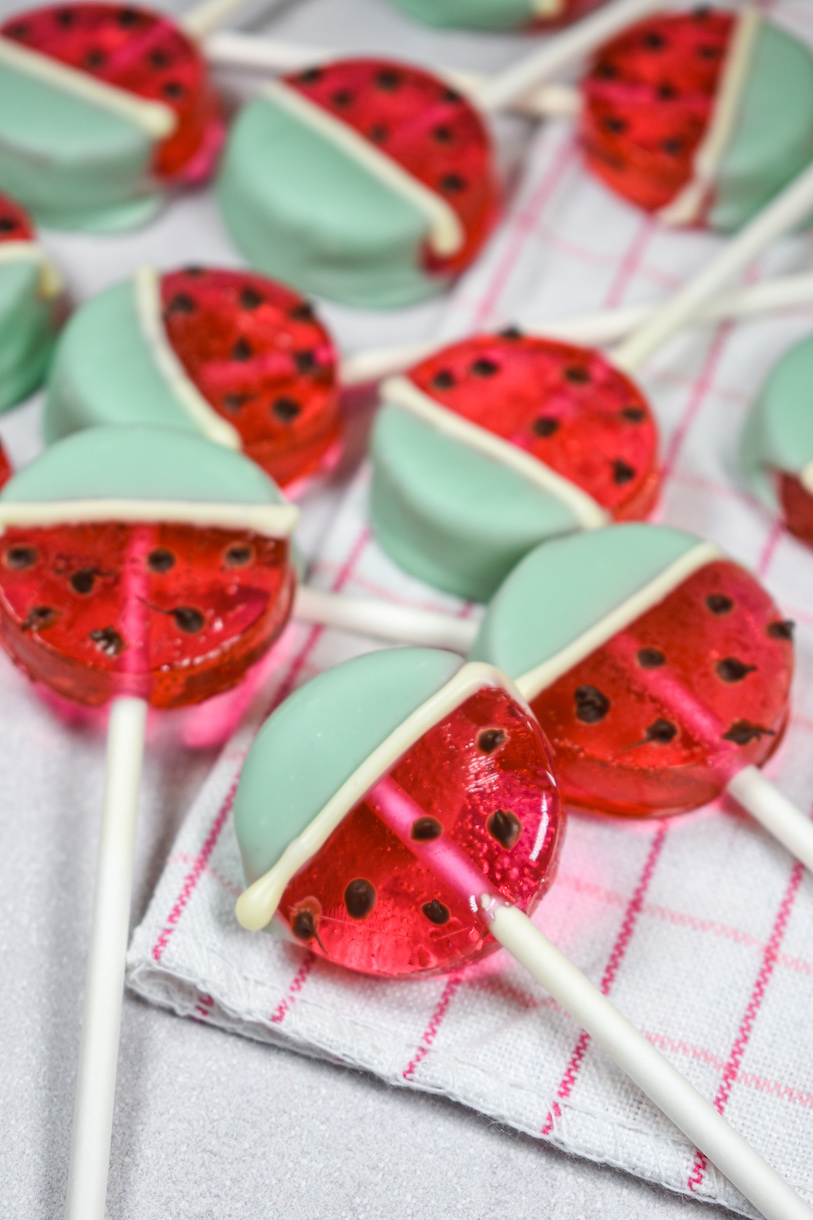
I’ve made the rinds with both tempered and untempered chocolate, as well as with green candy melts, and all of these options work. (If using candy melts, you can save the rest of the bag to make my kiwi frogs and watermelon marshmallows, too!) The lollipops in the photos above were dipped in tinted white chocolate. I used candy melts for the pop below:
Important Tools and Equipment
- Lollipop Mold and Sticks – You’ll need a silicone mold specifically designed for making homemade lollipops. The total number of lollipops this recipe makes will depend on the size and depth of the lollipop mold you’ve chosen. Lollipop molds come in a variety of sizes, so be sure to purchase sticks that fit your mold.
- Candy Thermometer – For cooking sugar, use a probe-style thermometer rather than a laser. For ease of use, I suggest buying one that clips to the side of your pan, although a hand-held digital thermometer will also work. (Avoid glass thermometers, which can shatter and run your batch of candy!) And remember candy temperatures must be precise. Too low and your candy won’t set; too high and you’ll end up with brittle. Pay close attention, be patient, and do not walk away while your sugar is cooking, no matter how tempting it might be to multitask!
- Food Safe Paintbrush – You’ll need a food safe paintbrush for painting the dark chocolate “watermelon seeds.” Never use a brush that has previously been used for paint or other art projects. Alternatively, you can pipe the seeds with a disposable piping bag and a very small round piping tip.

Watermelon Lollipops
- Total Time1 hour 30 minutes
- Yield12-16 lollipops 1x
Watermelon lollipops decorated with a green chocolate rind and dotted with dark chocolate seeds, just like a wedge of juicy summer melon.
Ingredients
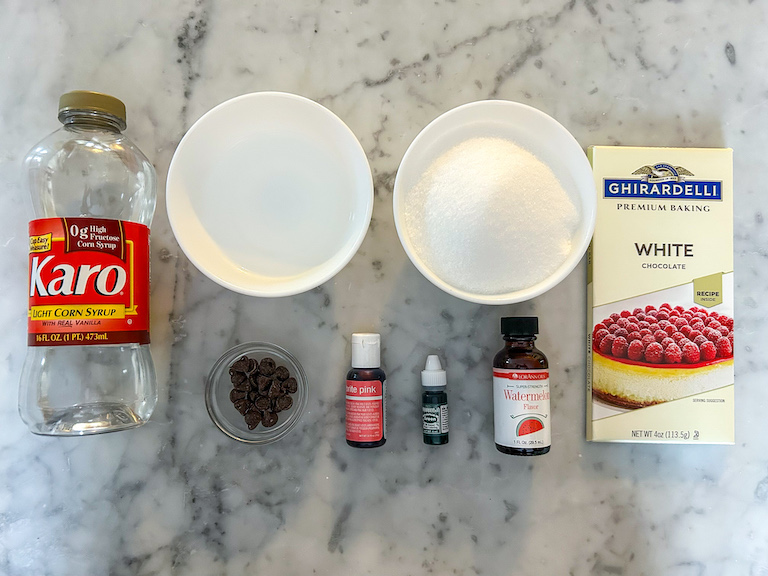
200 grams granulated sugar (1 cup)
160 grams light corn syrup (1/2 cup)
60 milliliters water (1/4 cup)
1/2 teaspoon watermelon flavoring
85 grams white chocolate, divided (about 3 ounces), or green candy melts
1 tablespoon dark chocolate or semi sweet chocolate chips
Pink gel food coloring
(I used Neon Brite Pink)
Green oil-based candy coloring
Instructions
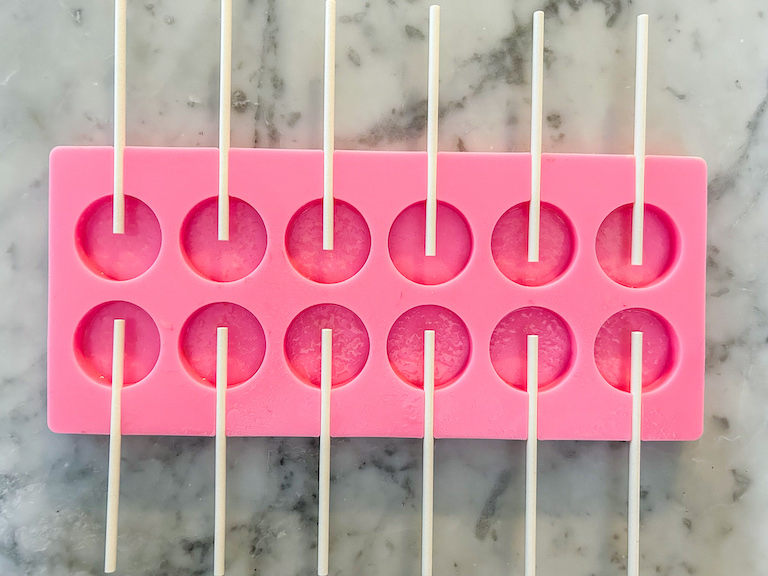
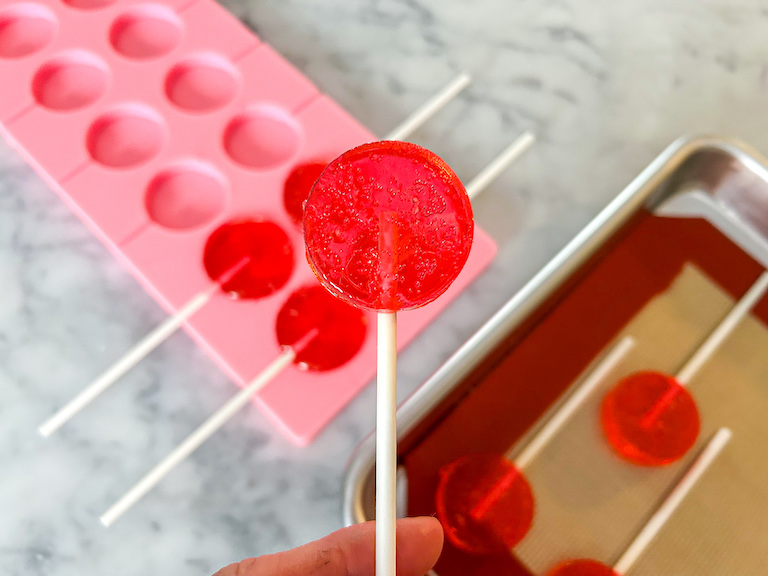
In a silicone lollipop mold, arrange lollipop sticks. Set aside.
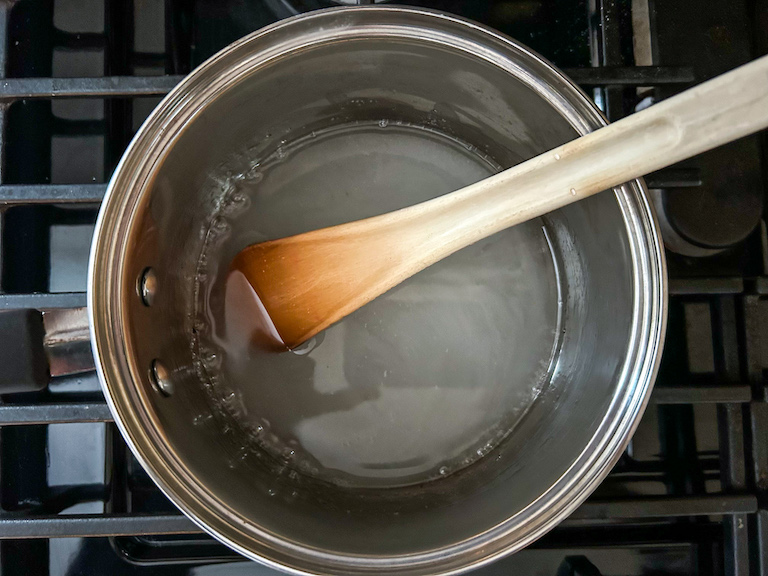
Combine granulated sugar, corn syrup, and water in a saucepan over medium-high heat. Stir until sugar dissolves, then stop stirring.
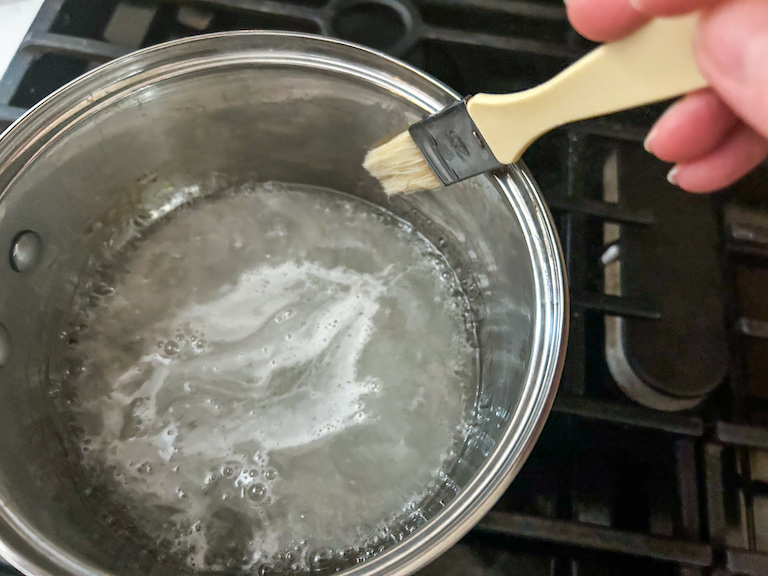
With a pastry brush, brush down the sides of the pan with water.
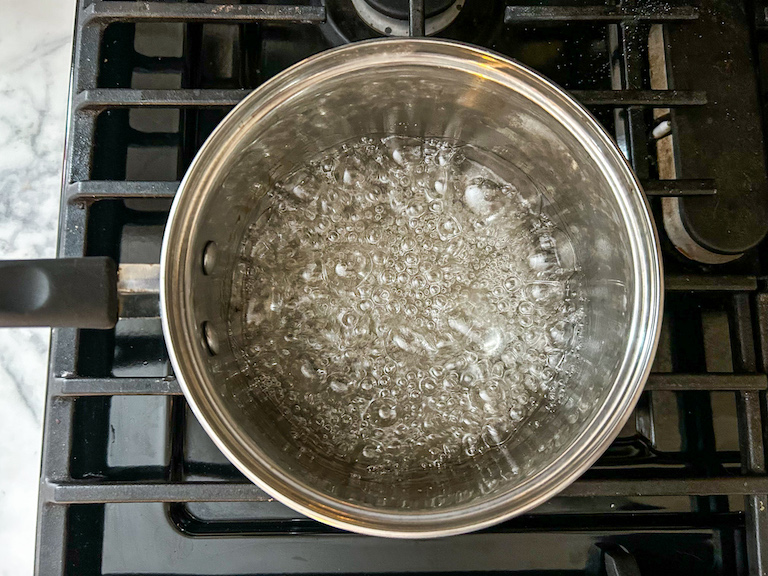
Bring to a boil. Boil without stirring until syrup reaches 300° F (150° C) on a digital thermometer.
Remove from heat. Swirl in the watermelon flavoring and pink gel food coloring.
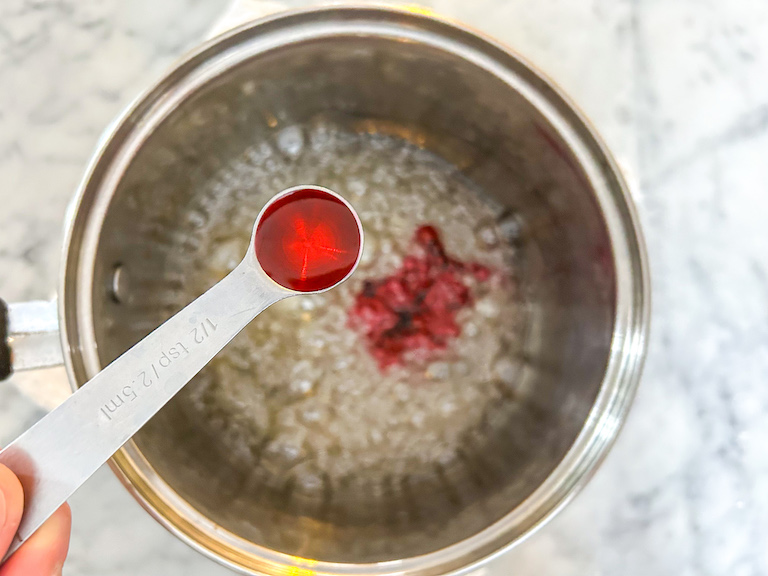
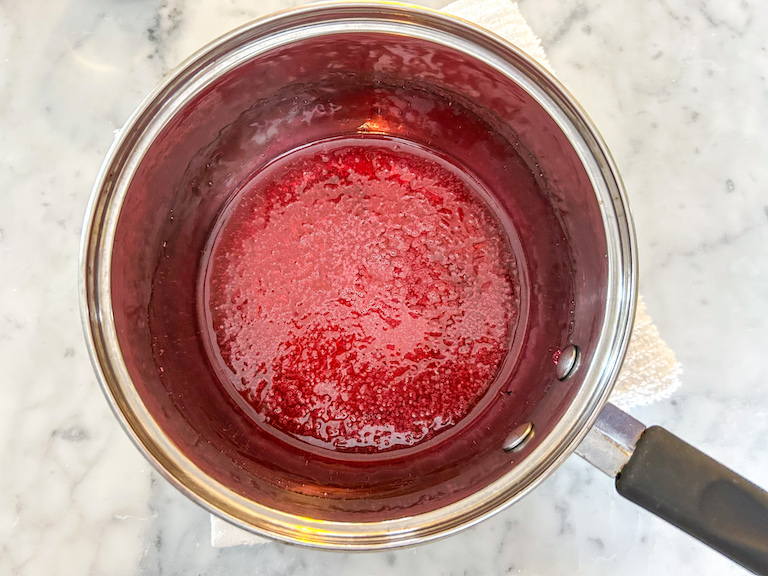
Carefully pour hot sugar mixture into prepared mold.**
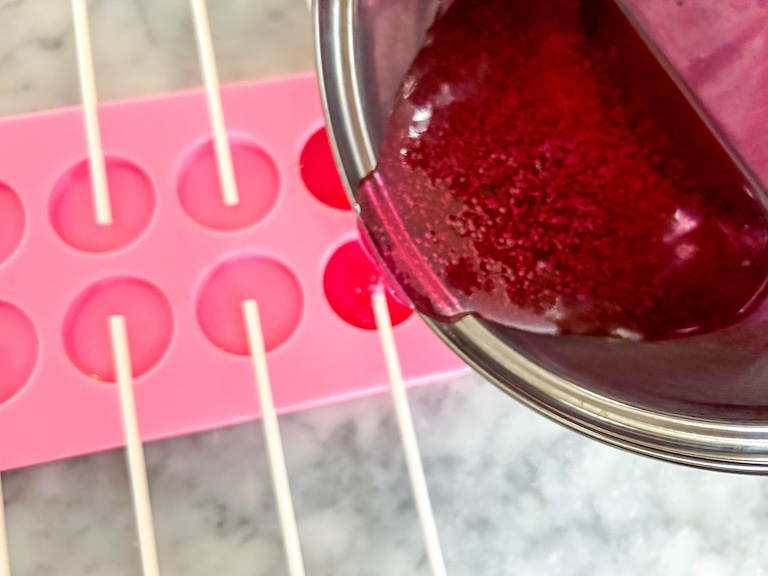
Set aside and allow to cool completely, about 15 minutes.
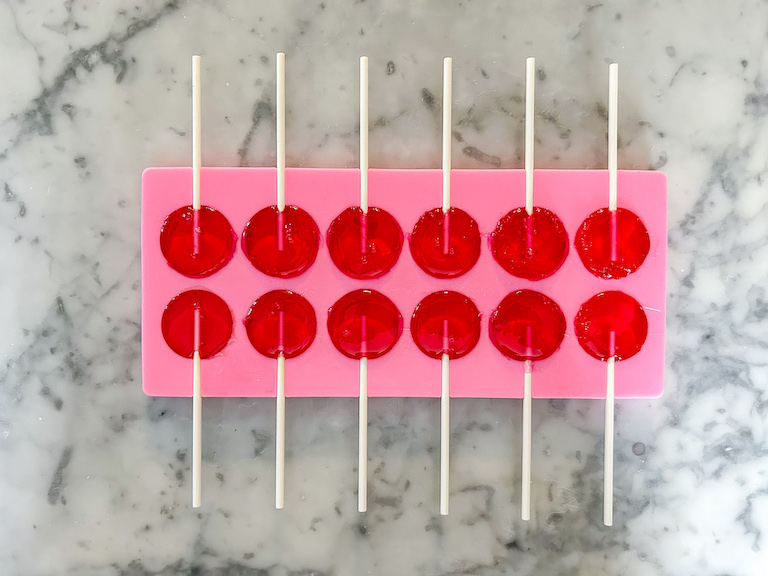
Pop lollipops onto a small tray lined with parchment or a silicone baking mat.
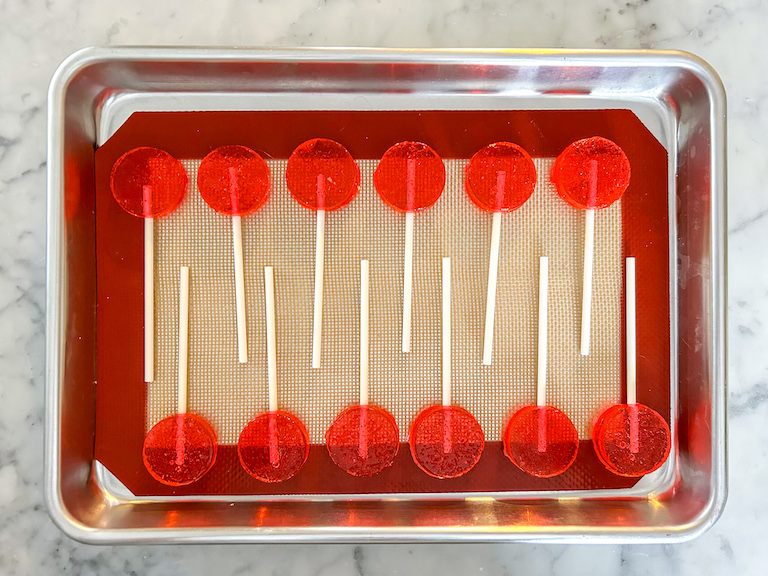
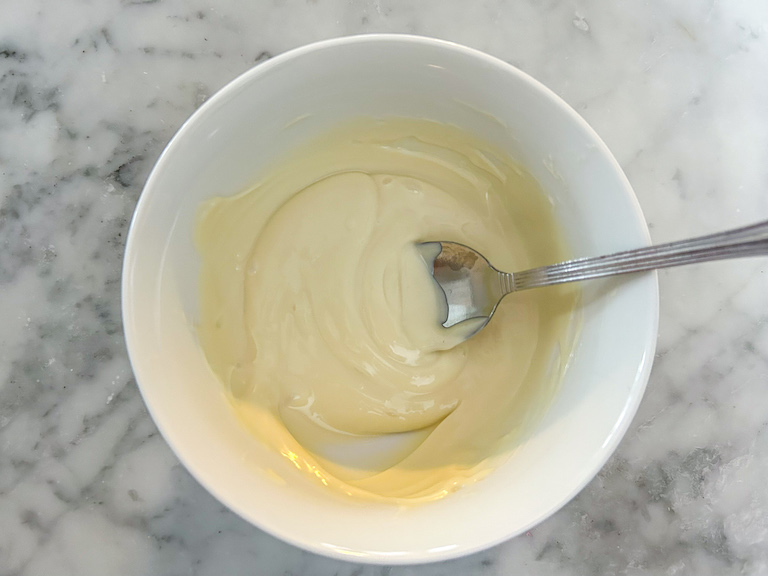
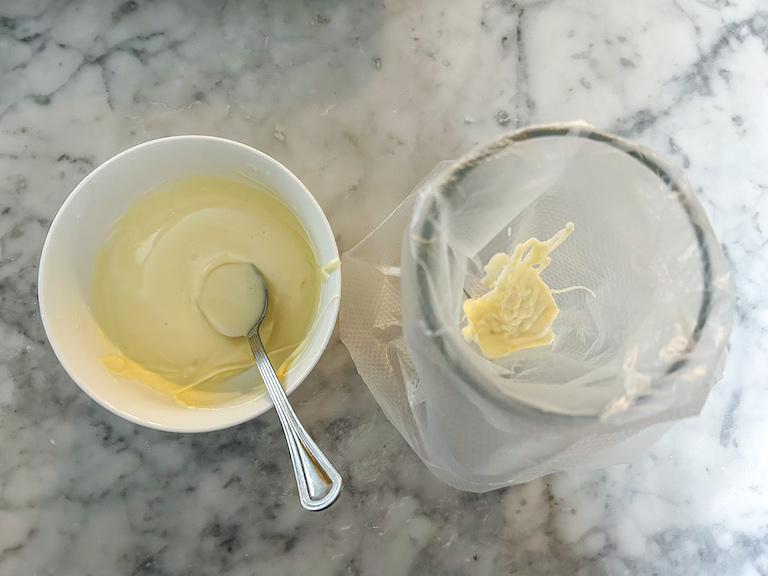
In a small, microwave-safe bowl, microwave chocolate on medium power, stirring every 15-20 seconds, until completely melted. Scoop 1-2 tablespoons of melted chocolate into a piping bag fitted with fine-point round tip. Tint remaining chocolate with green oil-based food coloring.*
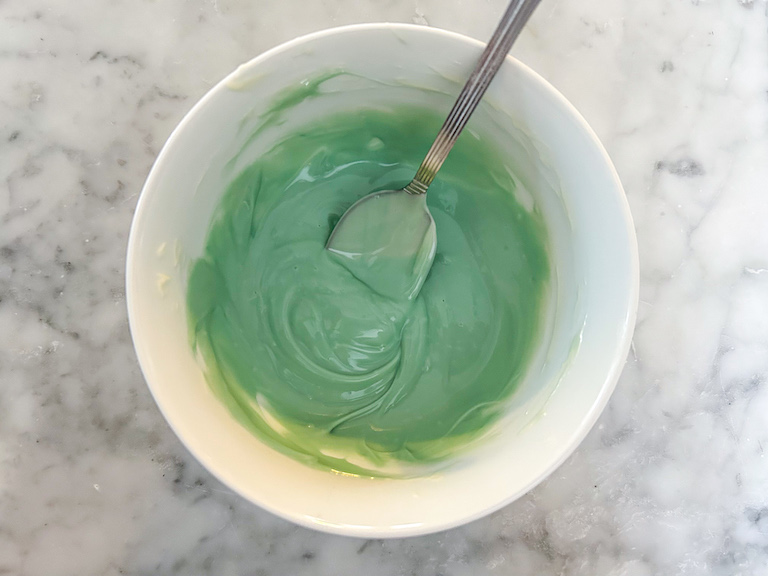
Working quickly, dip the top half of each lollipop in the chocolate. Place on silicone mat allow chocolate to harden.
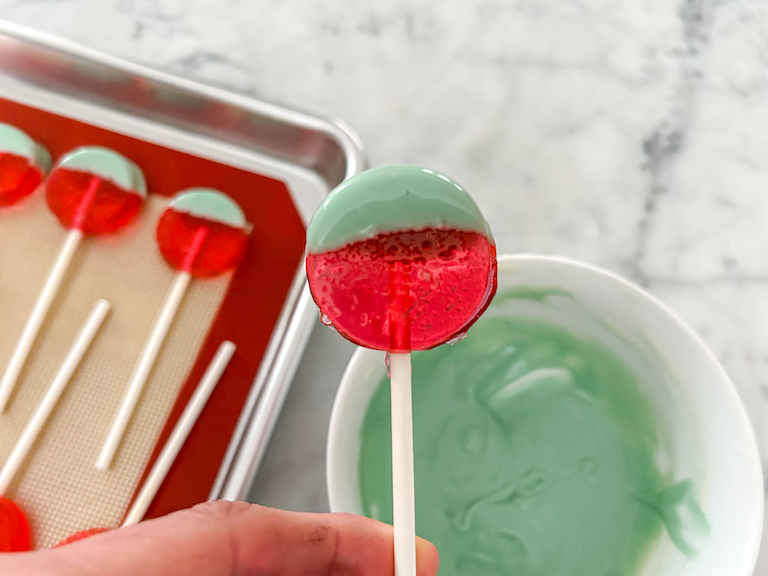
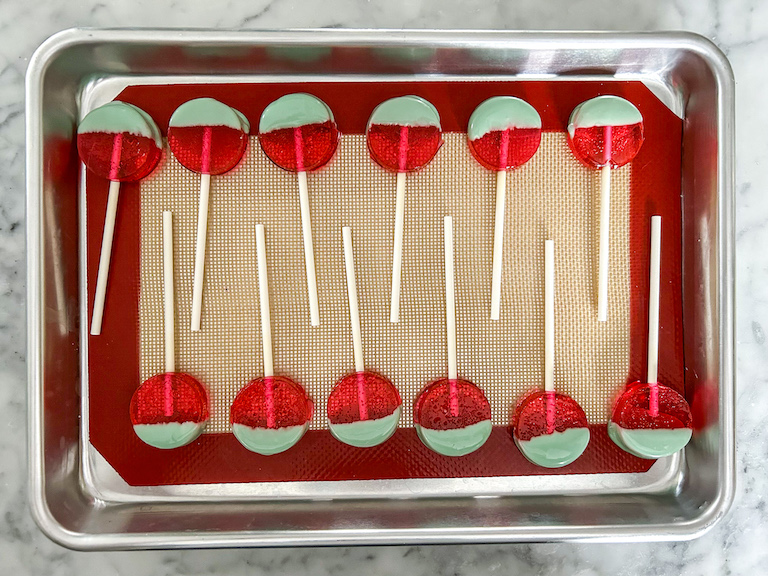
Pipe a decorative white line underneath the green chocolate portion.
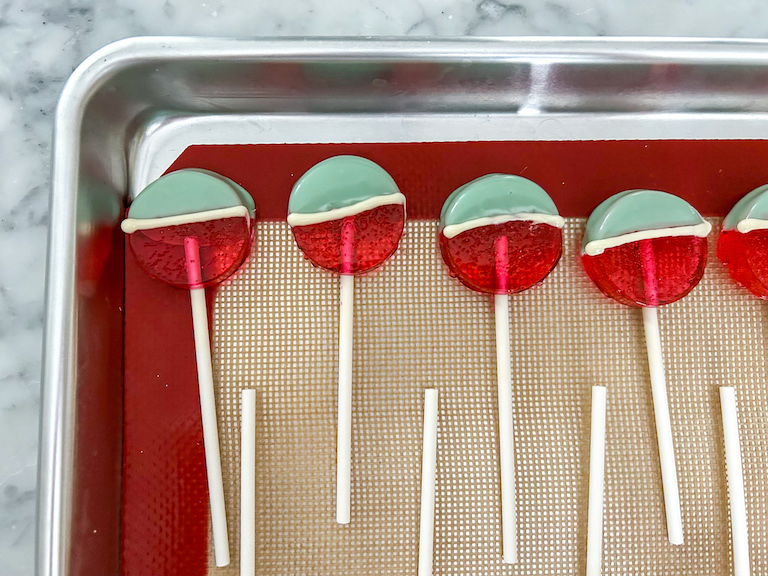
Melt dark chocolate in a small, microwave-safe bowl. With a food-safe paintbrush, or a fine piping tip, paint or pipe a few “seeds” on the pink part of each watermelon lollipop.
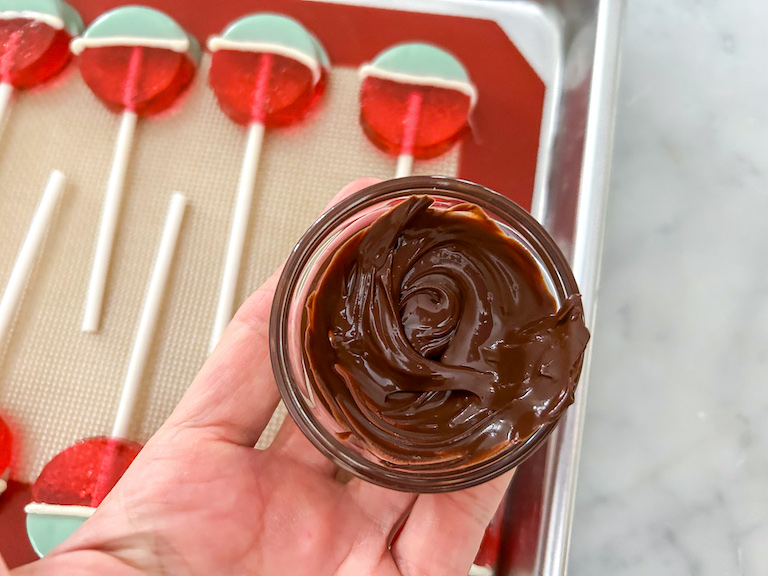
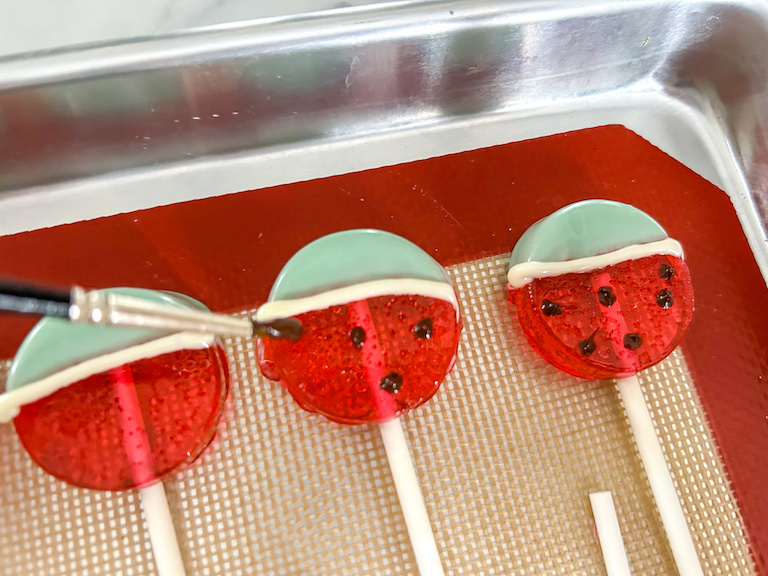
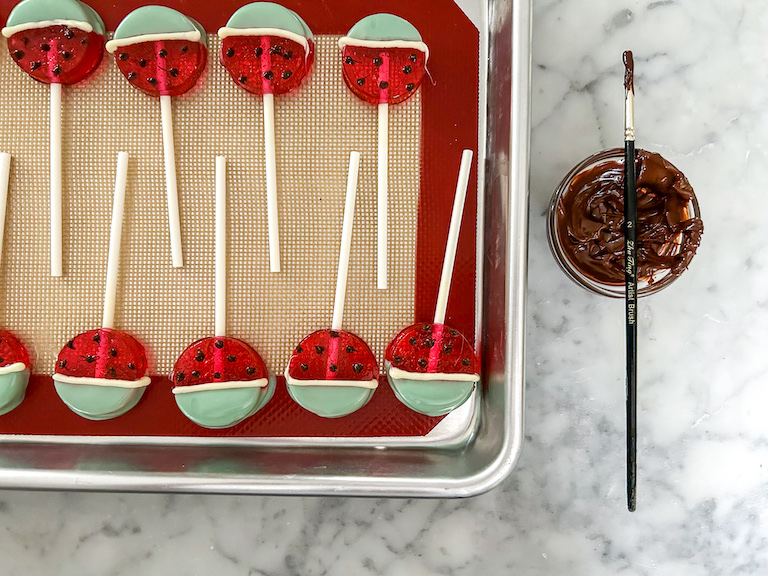
Return to silicone mat and allow chocolate to set completely.
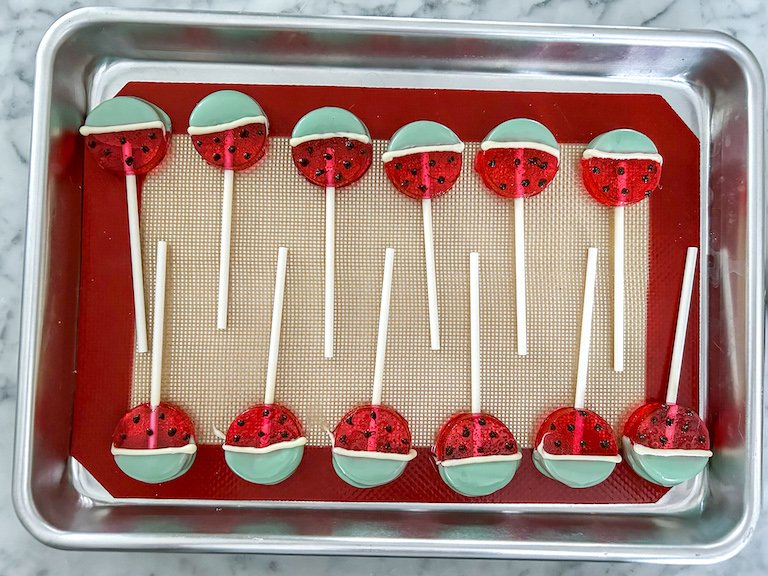
Wrap watermelon lollipops in individual cello bags or layer between sheets of parchment in an airtight container. storage container. Store at room temperature for up to 1 month.


Notes
*Alternatively, you can make the “rinds” with green candy melts. See my notes in the post above.
**If you have some of the watermelon syrup left over after filling the mold, pour it out onto a silicone mat, cool, and toss in confectioner’s sugar, like my old-fashioned hard candy recipe.
- Prep Time: 1 hour
- Cooling Time: 30 minutes
- Category: Candy and Confectionery
- Method: Stovetop
- Cuisine: Sweets
Make-Ahead and Storage Suggestions
Allow chocolate to set, then wrap lollipops in individual cello bags or layer between sheets of parchment in an airtight container. storage container. Store at room temperature for up to one month.
Do not refrigerate homemade lollipops. The damp, humid refrigerator will create condensation, leading to sticky sweets.
Other Lollipop Recipes You Might Enjoy
Caramel Apple Lollipops
Peppermint Christmas Lollipops
And if you do make these, or any of my recipes, don’t forget to tag me @bastecutfold or use the hashtag #bastecutfold on Instagram. I always love to see what you’re making!




My grandkids loved these!
So glad you enjoyed this recipe!