Christmas Tree Brownie Recipe
This post may contain affiliate links. Please read the disclosure policy to learn more.
Thank you for supporting this blog!
A semi-homemade Christmas tree brownie recipe made with store-bought brownie mix and homemade buttercream, decorated with Christmas sprinkles and plenty of edible sparkles. These Christmas tree brownies look especially festive on a holiday dessert tray or party spread, and they’re great for gifting to friends and family alongside other holiday classics like holly leaves, gingerbread cookies, sand tarts, and peppermint meringue kisses. Even children can help with the decorating. For a festive, family-friendly activity, arrange bowls of candy and sprinkles and piping bags of icing on the table alongside cooled and cut brownies, and let the kids design their own Christmas tree creation!

What Inspired These Christmas Tree Brownies?
On a recent trip to the grocery store, I spotted a box of Little Debbie Christmas tree brownies. Which of course inspired me to make my own version, featuring tree-shaped chocolate brownies, my favorite homemade buttercream, and enough Christmas sprinkles and edible glitter to make any holiday table sparkle. This recipe also draws inspiration from my buttercream Easter egg brownies. (Same concept, different holiday…) Like my Easter eggs, the baking begins with a store bought brownie mix, so you can skip right to the fun part—the decorating!

Notable Ingredients
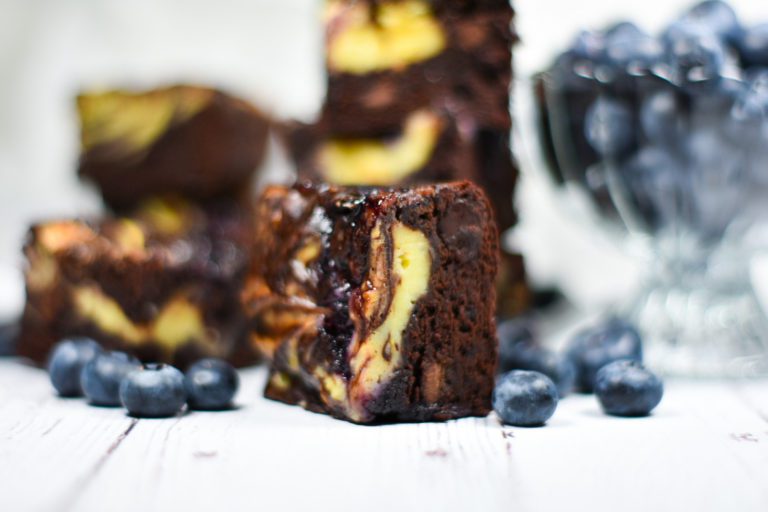
- Brownie Mix – Starting with a store-bought brownie mix allows you to skip straight to the decorating, but if you have time, you can make these Christmas trees using your favorite homemade brownie mix, or the brownie portion of one of my recipes, like these raspberry cheesecake brownies. For mix and pan size adjustments, see my notes below.
- Confectioner’s Sugar – Along with softened butter, confectioner’s sugar (icing sugar, powdered sugar) forms the sugary-sweet buttercream. Keep some extra on hand to adjust the consistency, and take time to pass the sugar through a mesh strainer before mixing it with the butter and milk, to remove any clumps or hard bits of sugar.

- Peppermint Oil – To make these brownies extra Christmas-y, I flavored my buttercream with peppermint oil. If using peppermint oil, remember that a drop or two will go a very long way, so don’t overdo it. And if you don’t like peppermint, you can flavor the frosting with vanilla bean paste, almond extract, or any other type of oil or extract you’d like.
- Gel Food Coloring – I used Chefmaster’s Leaf Green and Red Red gel food coloring to tint my buttercream. Feel free to introduce other colors (yellow for lights, etc.), or make blue and purple trees for Hanukkah instead.
- Sprinkles and Sparkles – I scattered my trees with these Christmas sprinkles, but any seasonal sprinkles will work. Or if you’re feeling ambitious, you can even make your own homemade sprinkles. And don’t forget to dust your decorated trees with edible glitter or edible foil stars for a festive, sparkly finishing touch.

Notes on Brownie Mix and Pan Sizes
- 8×8-Inch Pan – I made my brownies using a boxed brownie mix designed for an 8 x 8-inch square pan. With an 8 x 8 pan, this recipe will yield approximately 6-8 Christmas tree brownies, depending on the size of the cutter you’ve chosen. The size of your cutter and the way you position it can also affect the final count.
- 9×13-Inch Pan – You can also use a box mix meant to fill a larger, 9 x 13-inch rectangular pan. A mix designed for a 9 x 13 pan will make double the amount of trees, or a few more than that. Also, note that the buttercream recipe below makes enough frosting to decorate an 8×8-sized batch. If making a larger pan, double the frosting recipe.

Choosing Your Cutter
The cookie cutter I used measured just over 4 inches long, and about 2 inches across the widest part of the tree, and I was able to cut 6 brownies (with some scraps left over for snacking!) The smaller the cutter, the more trees you’ll produce, but don’t go too small or the brownies will be difficult to decorate. Somewhere between 3 and 4 inches works best. Here is a good 3 1/2-inch option, or you could even buy a set like this and make trees in different sizes. Whichever cutter you choose, opt for sturdy metal rather than plastic. Flimsy plastic cutters are not strong or sharp enough to cleanly slice through the brownie slab.

Decorating Ideas
- Piped Decorations – Feel free to copy my Christmas tree design, or do something entirely different. Use your favorite piping tips to pipe stars, Christmas balls, tinsel, or strands of lights. If you’re comfortable writing with a fine piping tip, you can also add simple words or phrases, like “Merry Christmas” or “Ho Ho Ho.”
- Candy – You can also add holiday gummy candies; Christmas nonpareils; silver cake decorating balls; bits of crushed peppermint; red and green M&Ms; or a candy star on the top of each tree.


Christmas Tree Brownie Recipe
- Total TimeAbout 8 hours, including cooling time
- Yield6-8 trees 1x
A semi-homemade Christmas tree brownie recipe made with store-bought brownie mix and homemade buttercream.
Ingredients
1 box brownie mix, prepared according to package directions and cooled overnight
(8 x 8 inch pan)
60 grams unsalted butter, softened (1/4 cup / 4 tablespoons)
270 grams confectioner’s sugar (about 2 cups)
30 milliliters whole milk (2 tablespoons), plus more to adjust consistency
2-3 drops natural peppermint oil
Green and red gel food coloring
Homemade or store-bought Christmas sprinkles
Edible glitter, optional, for dusting
Instructions
Line an 8×8-inch square baking tin with parchment in a criss-cross pattern, allowing a 1-inch overhang on all sides.
Prepare brownie mix according to package directions. Allow to cool completely, at least 6-8 hours, or overnight.
In a large bowl or the bowl of a stand mixer, whip softened butter on high speed until light and fluffy, about 30 seconds. Add the confectioner’s sugar, 1/2 cup at a time, alternating with the milk and mixing well after each addition. If necessary, add a bit more milk or confectioner’s sugar to adjust the consistency. (The buttercream should be thick rather than runny or watery, but still thin enough to pipe with ease.) Add peppermint oil to taste.

Scoop about 65 grams (1/4 cup) into 2 small bowls. Tint one bowl with red gel food coloring, and leave the other bowl white. Tint remaining buttercream with green gel food coloring.

Transfer to individual piping bags, fitted with decorative piping tips.

Lifting by the parchment, remove the baked and cooled brownies from the tin. Transfer to a cutting board. Line a tray with parchment or a silicone baking mat.

With a 3- or 4-inch tree shaped cookie cutter, cut the brownie slab into trees. Arrange on prepared tray.

Pipe buttercream as desired.


Decorate with Christmas sprinkles and edible glitter.

Serve immediately. Store leftover brownies in a single layer in a parchment-lined airtight container at room temperature for up to 2 days.


- Prep Time: 1 1/2 hours
- Cook Time: 30 minutes
- Category: Brownies and Traybakes
- Method: Oven

Make-Ahead and Storage Suggestions
To make ahead: Bake the brownie slab, cool, then cut into tree shapes. Layer trees between sheets of parchment or wax paper and freeze in an airtight container until ready to decorate. Thaw at room temperature, then decorate as desired.
To store: Store leftover decorated brownies in an airtight container at room temperature for up to two days. Arrange trees in a single layer to avoid damaging the buttercream. Do not freeze decorated brownies.
Other Christmas Recipes You Might Enjoy
Gingerbread Cookies
Peppermint Meringues
Sand Tarts
Candy Cane Cookies
Brie and Cranberry Brownies
Nutella Wreath Hand Pies
Cornflake Holly Leaf Cookies
And if you do make these, or any of my recipes, don’t forget to tag me @bastecutfold or use the hashtag #bastecutfold on Instagram. I always love to see what you’re making!