How to Make Homemade Sprinkles
This post may contain affiliate links. Please read the disclosure policy to learn more.
Thank you for supporting this blog!
Learn how to make homemade sprinkles with this DIY recipe. Make your own sprinkles in pretty pastel Easter colors, or in any colors you’d like. Easy to customize to fit any occasion or baking project!
Why Make This Homemade Sprinkles Recipe?
Have you always wondered how to make homemade sprinkles? Maybe you can’t find the color combo you need, or you’re mid-bake and don’t have time to wait for an online delivery to arrive. Or maybe you live somewhere with a lackluster sprinkle selection. (Looking at you, England…)
Believe it or not, vibrantly colored sprinkles are one of the things I miss most about living in the US, at least as far as baking ingredients go. Due to health regulations, British manufacturers cannot use the food dyes found in American sprinkles, so they substitute vegetable colorants instead. Unfortunately, this swap means that many of the candies and confections here wind up looking bland. Even M&Ms appear dull and matte compared to their shiny, brightly-colored US counterparts.
Even worse than their uninspiring appearance, British sprinkles tend to dissolve into a sticky, goopy, brownish-grey mess when baking, meaning funfetti cakes, cookies, shortbread, biscotti, or…anything funfetti, really, is out of the question. (In fact, the sprinkles here are so ill-suited to funfetti bakes that a few years ago, a bakery in England even found itself in trouble for using “illegal” American sprinkles in their cookies!)
Because I can’t find the good stuff here, I’ve started making my own homemade sprinkles. They’re still better for decorating than baking, but at least I can create a wide range of vibrant colors that otherwise don’t exist in the UK.
How to Make Homemade Sprinkles
While making homemade sprinkles might sound overly complicated or not worth the effort, these DIY sprinkles are surprisingly easy to make. And in fact, you probably already have most of the ingredients (confectioner’s sugar, liquid glucose/corn syrup, gel food coloring) in your kitchen cabinet.
The sprinkle batter comes together fairly quickly, but you will need to allow enough time for the piped sprinkles to dry before cutting. This can take anywhere from a few hours to a full day, depending on temperature and humidity factors (as well as the thickness of your piping) so be sure to plan accordingly.
As a plus, these homemade sprinkles are also gluten-free, dairy-free, and vegan, so they’re suitable for friends and family with a variety of dietary preferences, too.
Sprinkle Colors and Flavors
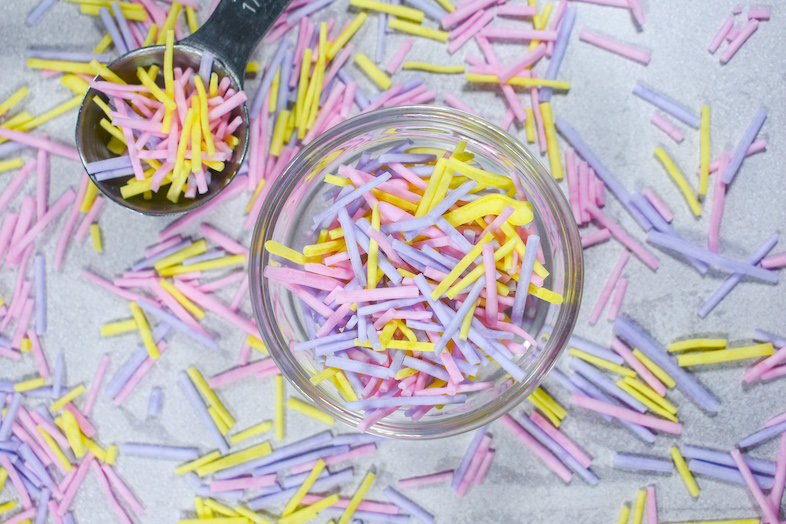
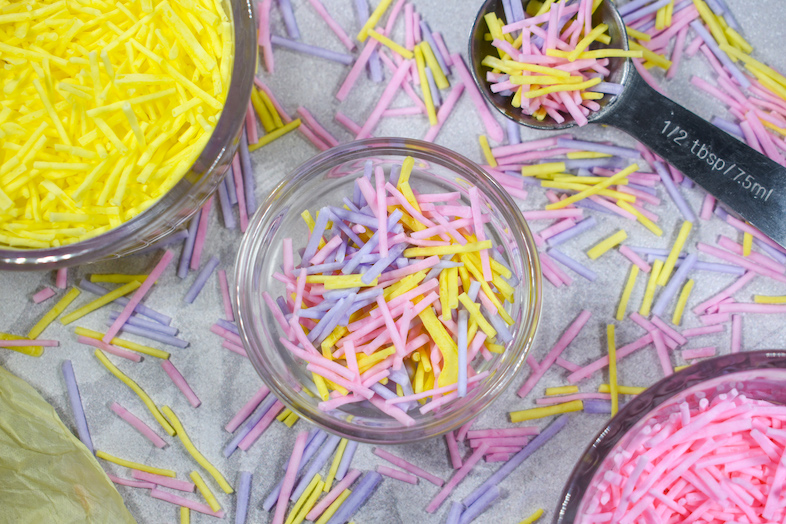
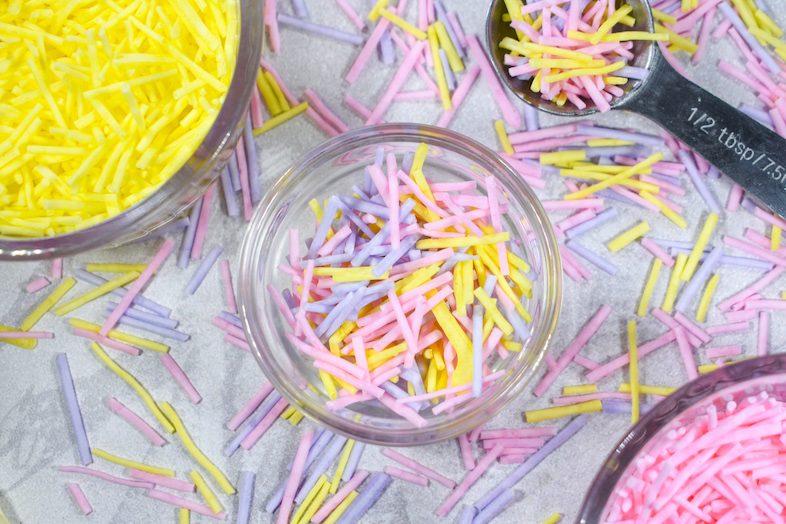
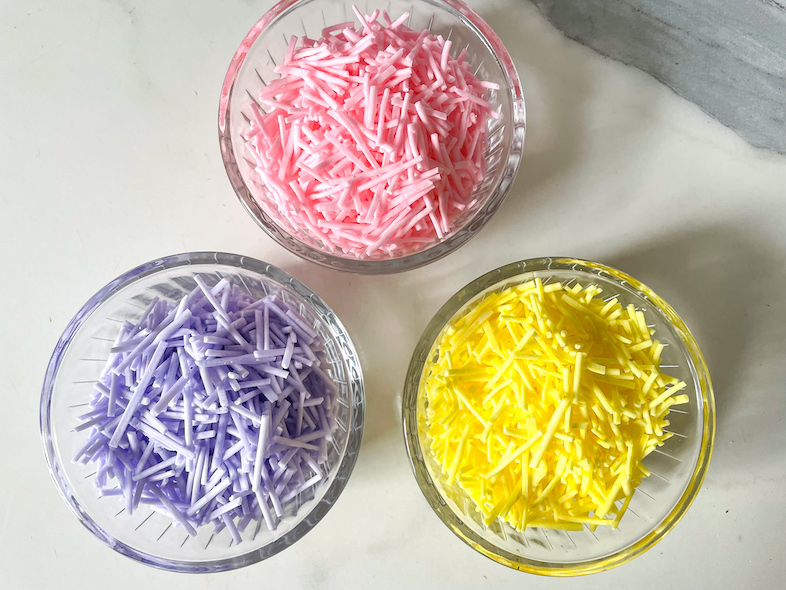
I made my sprinkles pink, yellow, and purple for Easter, but feel free to adapt this recipe to fit your cake theme or baking project. Try pink and red for Valentine’s Day; green for Saint Patrick’s Day; red, white, and green for Christmas; or blue, gold, and purple for Hanukkah. Make a batch of traditional rainbow sprinkles, or custom colors to match your birthday or wedding theme. Or, make homemade sprinkles in the colors of your favorite sports team! The sky’s the limit.
To achieve vibrantly colored sprinkles, you will need gel food coloring for this recipe, rather than the water-based kind from the grocery store. My go-to gel coloring is the Chefmaster brand.
To flavor my sprinkles, I chose almond extract (mostly just because I love it!) You can also opt for vanilla extract, or any other flavor oil or extract you’d like.
DIY Sprinkles Shapes
For this batch, I’ve gone with the traditional, elongated “sprinkle” shape, but feel free to be creative. This recipe works equally well for piping dots, hearts, stars, shamrocks, or any other shapes you’d like.
If you pipe larger shapes, note that your sprinkles might take longer to dry, so be sure to plan accordingly.
Ways to Use Homemade Sprinkles
You can use these homemade sprinkles to decorate just about anything! Try sprinkling them on buttercream Easter eggs, chocolate bark, brownies, or frosted hand pies.
You can also use your homemade sprinkles for cake decorating, or as a finishing touch on buttercream cookies.
Or, add your homemade sprinkles to a milkshake, sundae, or bowl of homemade vanilla ice cream.

DIY Sprinkles Tips & Tricks
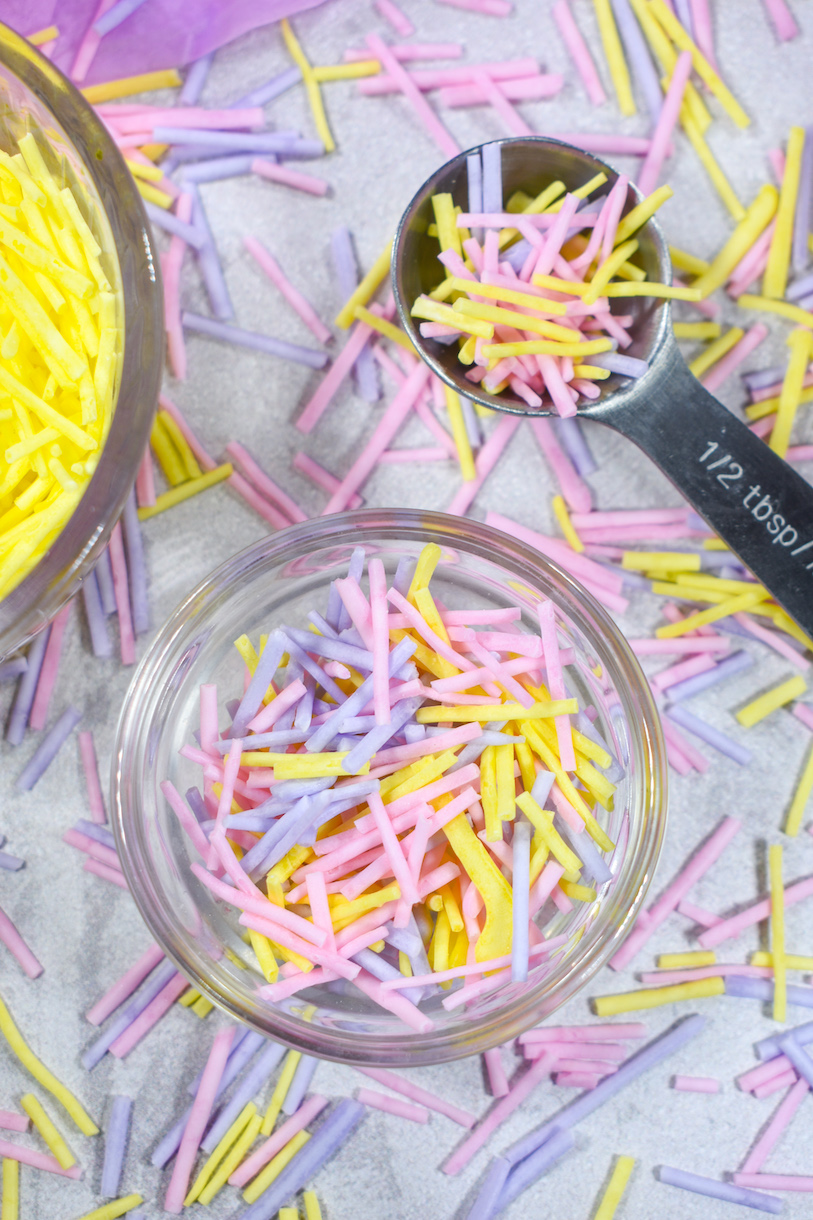
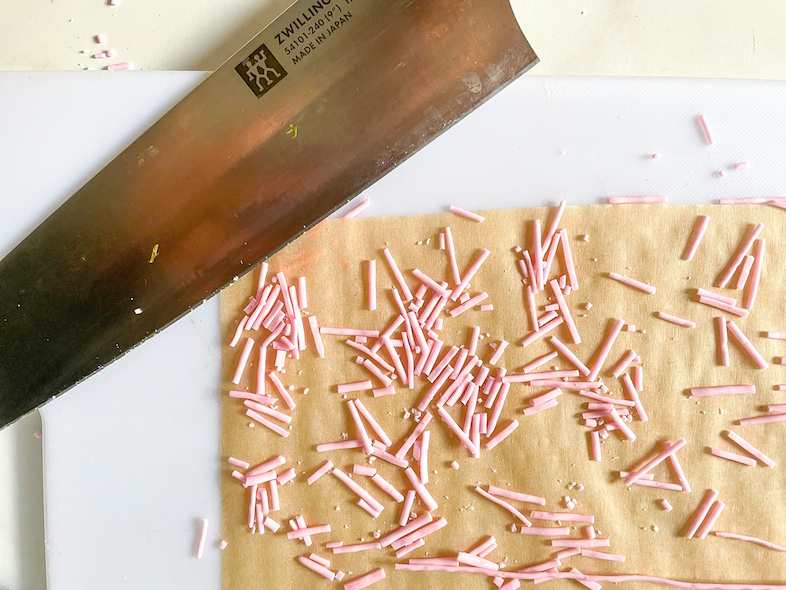
When cutting, I usually begin by trimming off the “blobby” ends on both ends of the rows. And I don’t really worry about trying to make all of my sprinkles exactly the same size. I generally aim for 1/2-inch pieces, but slightly bigger or smaller is fine, too.
One more tip! When cutting, be sure to use a sharp chef’s knife. And don’t apply too much pressure, or you’ll risk causing your sprinkles to shatter. I find that a “tapping” motion works best, but it will depend on your knife and how thickly you’ve piped the lines of sprinkles.
Lining Your Trays
While I’m a generally huge fan of silicone baking mats, for this particular recipe I suggest using sheets of baking parchment instead. You should never cut directly on a silicone mat (in pastry school, we learned that silicone mats have fibers inside, and if you cut on the mat, these fibers can find their way into your food) and there is no way to easily move the thinly piped rows of icing to a cutting board without breaking them in the process.
With parchment, you can easily lift the sheet and move it to a cutting board to cut your sprinkles. Plus it’s easier to fold the paper to pour your homemade sprinkles into a dish or storage container.
One note: Parchment slips around more than a silicone mat, so you might want to add small tabs of tape to the edges to help hold the paper in place while you pipe.
Notes on Piping Homemade Sprinkles
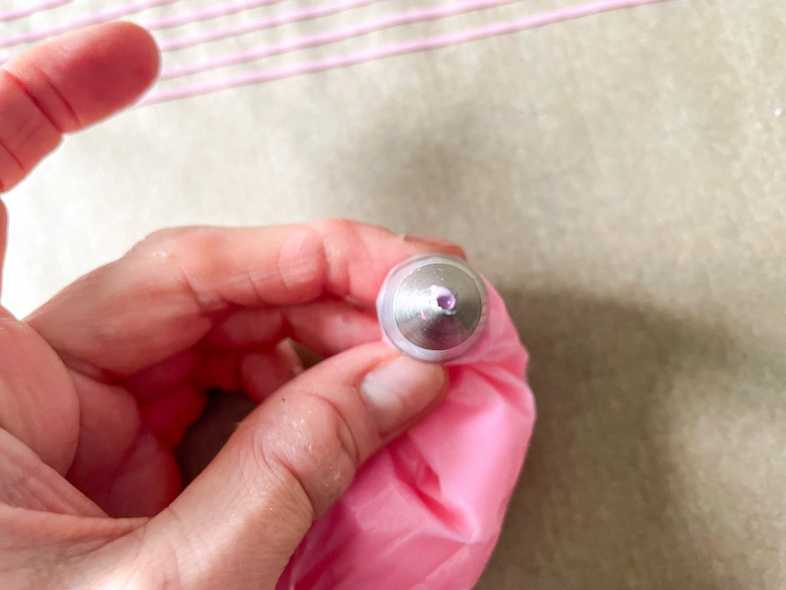
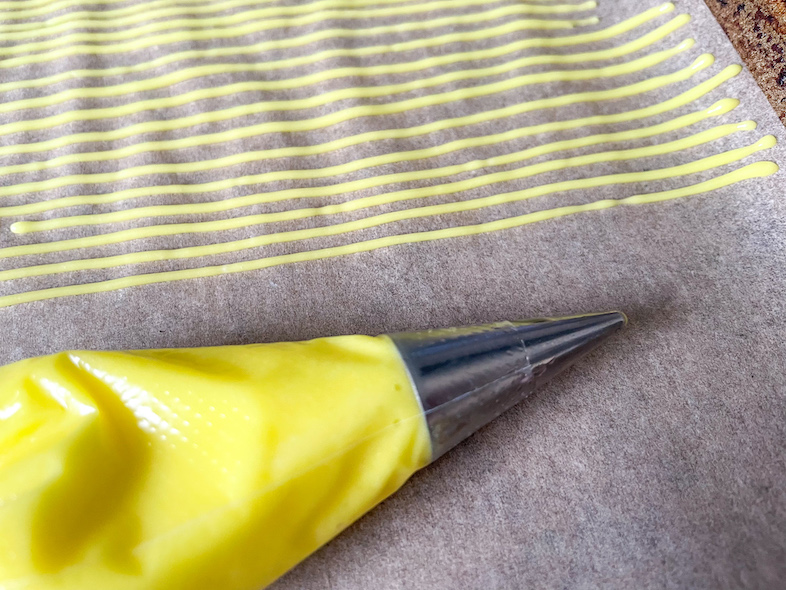
You will need a set of teeny tiny piping tips to pipe your homemade sprinkles. An opening around 1/16-inch to 1/8-inch or so works best. For efficiency, it’s easiest to have one piping bag and piping tip for each sprinkle color you plan to make, rather than washing and reusing the same piping tip.
If you don’t already own a set of tiny piping tips, they’re a great addition to your baking toolkit. As well as making homemade sprinkles, I use mine for gingerbread houses and for piping decorations on royal icing cookies and macarons. They’re also ideal for adding text or decorative elements to cakes, cookies, and plated desserts.
Try using your homemade sprinkles in these fun Easter recipes:
Buttercream Easter Eggs
Easter Bird’s Nest Rice Krispie Treats
Easter Bark with Mini Eggs
Easter Chocolate Bark
Buttercream Easter Brownies
And if you do make these, or any of my recipes, don’t forget to tag me @bastecutfold or use the hashtag #bastecutfold on Instagram. I always love to see what you’re making!
Print
How to Make Homemade Sprinkles
- Total Time12 hours
- Yield150 grams (about 1 1/2 cups) homemade sprinkles 1x
A recipe for homemade sprinkles. Easily customizable for holidays, sports team colors, or anything else you’d like!
Ingredients
300 grams confectioner’s sugar (2 1/2 cups), plus more to adjust consistency
40 milliliters cold water (3 tablespoons), plus more to adjust consistency
20 grams liquid glucose, or light corn syrup (1 tablespoon)
1/2 teaspoon almond extract, vanilla extract, or other extract of choice
Pinch salt
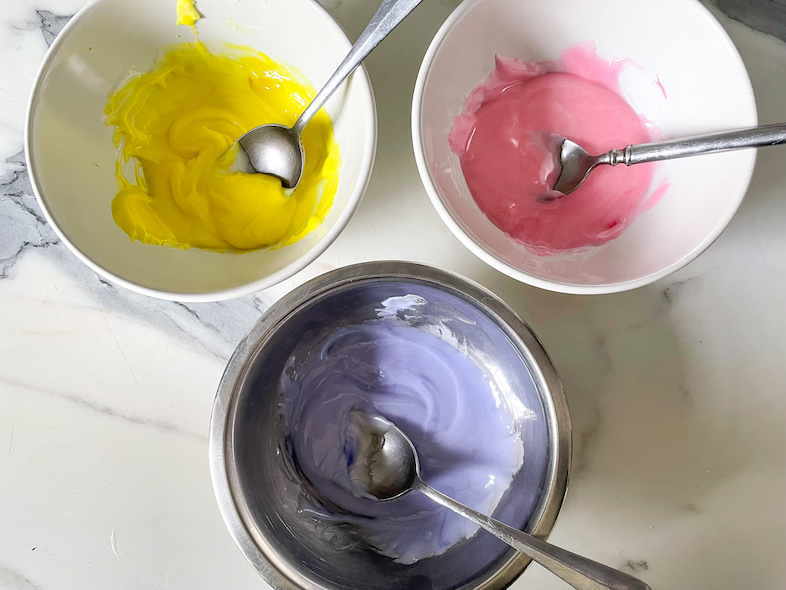
Gel food coloring (I used pink, purple, and yellow)
Instructions
Line 2-3 large rimmed baking trays with parchment. Add tabs of tape at the corners to prevent the parchment from slipping as you pipe.

Fit a piping bag with a 1/16-inch or 1/8-inch tip. Prepare a separate piping bag for each sprinkle color you plan to make.
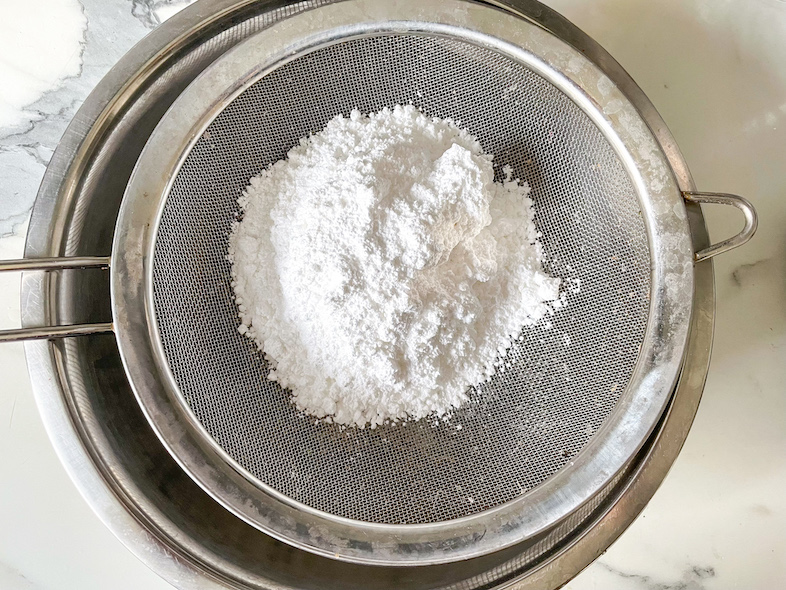
With a mesh sieve, sift the confectioner’s sugar to remove any lumps or clumps.
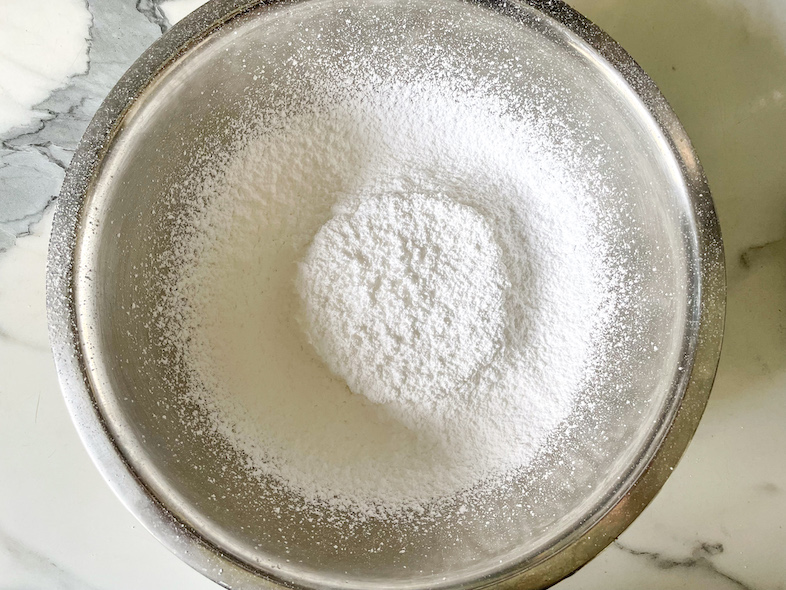
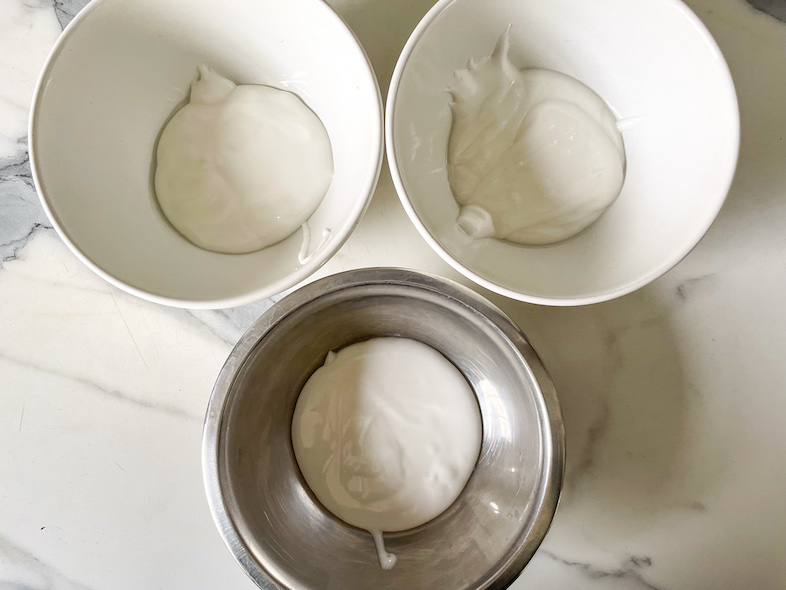
In a large bowl or the bowl of a stand mixer, combine the confectioner’s sugar, water, liquid glucose, and salt. Mix on medium-high speed until well combined.
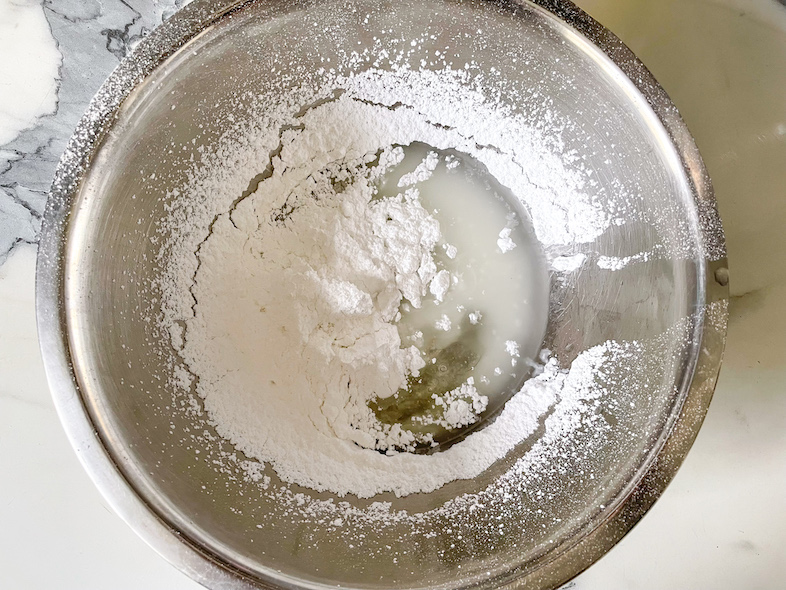
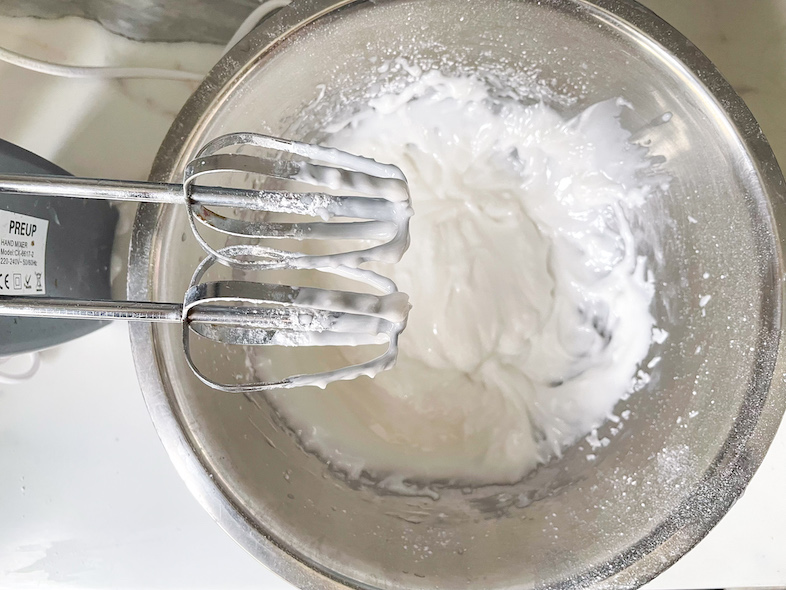
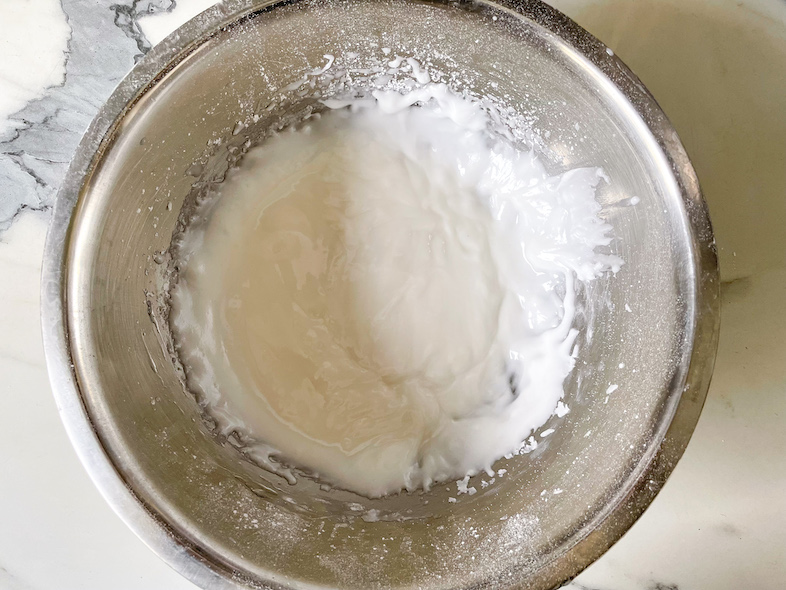
If necessary, gradually add more water or confectioner’s sugar to adjust the consistency. The mixture should be thick and viscous rather than runny, but still fluid enough to pipe.
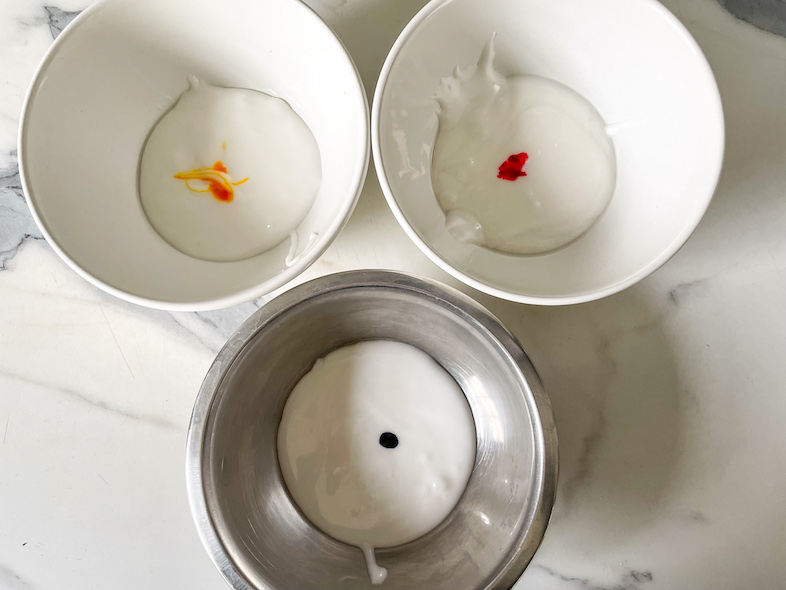
Divide the mixture into bowls, with a separate bowl for each color you plan on making. (I made three colors.)
Add gel coloring to achieve desired colors.
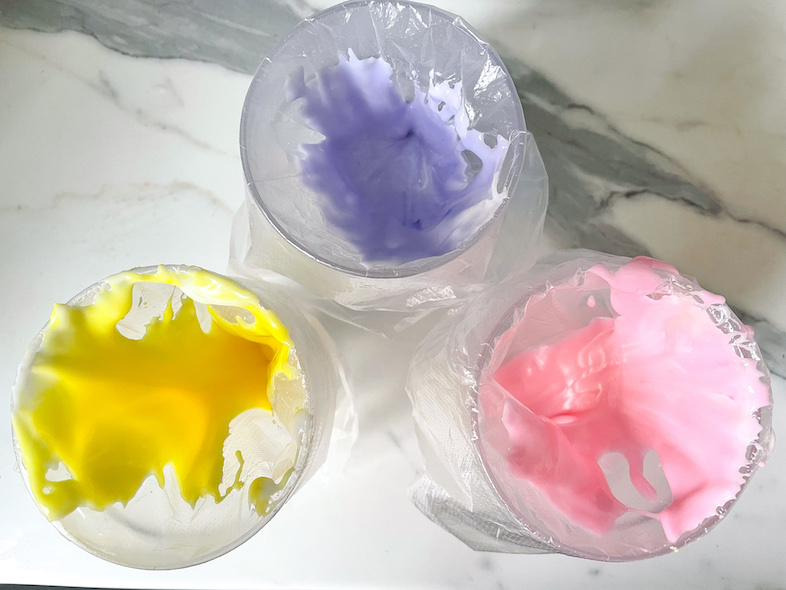
Transfer mixture to prepared piping bags.
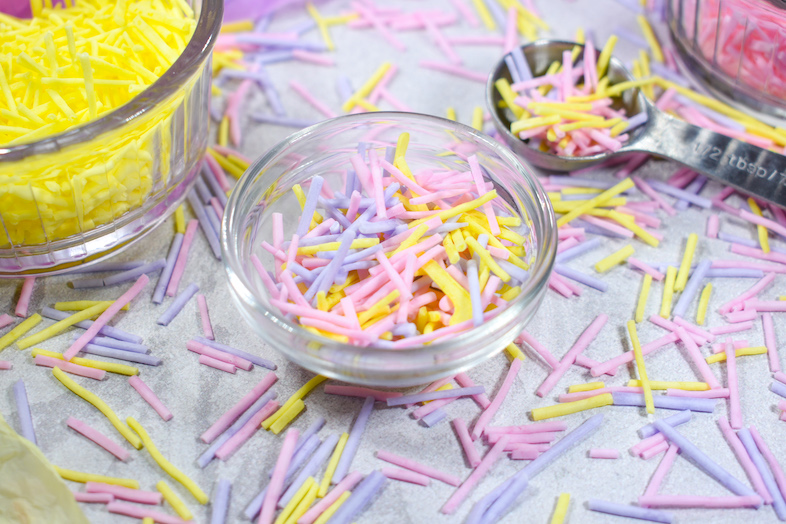
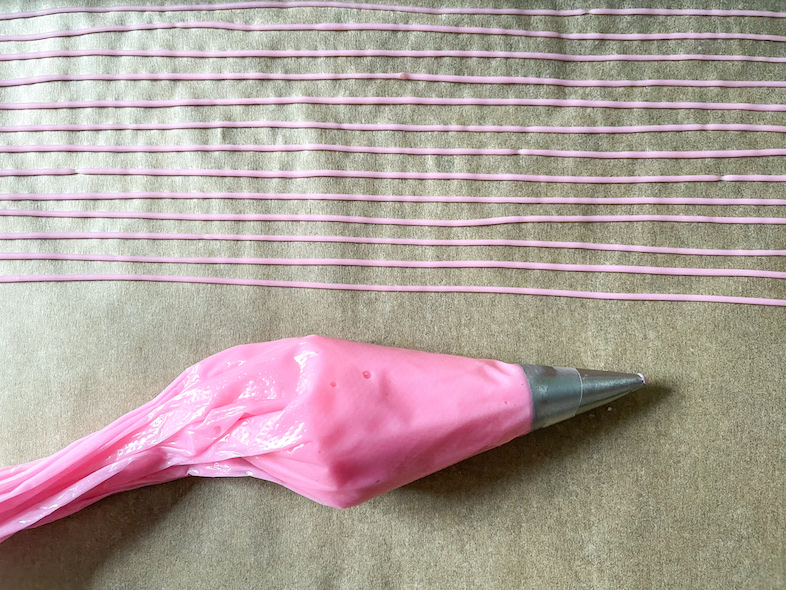
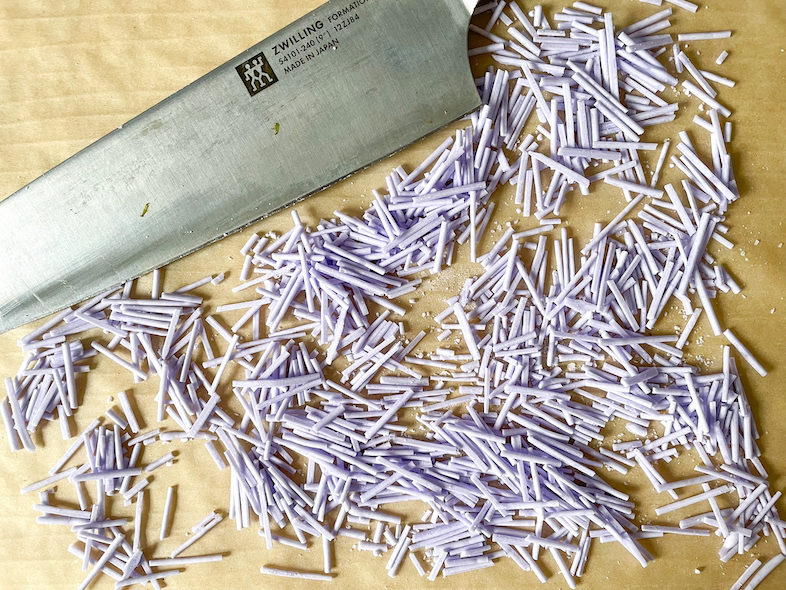
On prepared trays, pipe the mixture into straight lines, dots, or other shapes. (The sprinkle mixture should be thick enough that it does not spread, so feel free to pipe your lines close together to save space!)
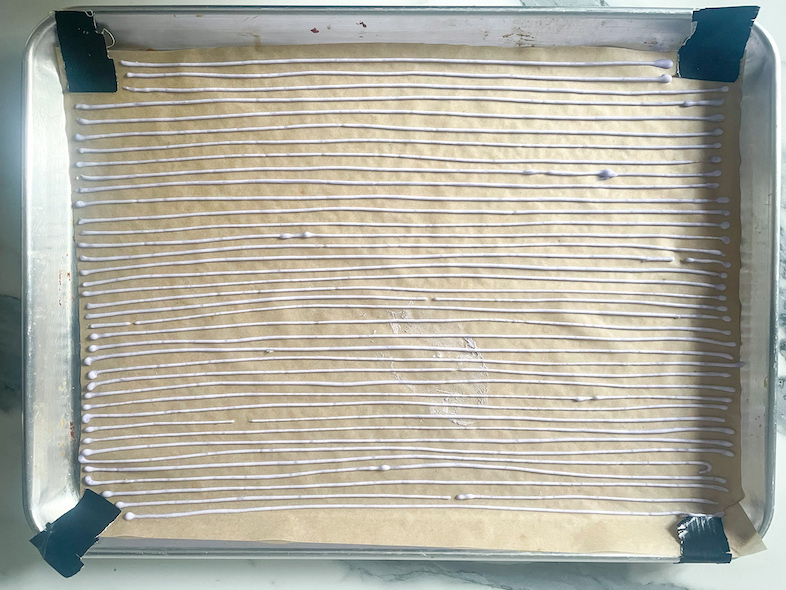
Set aside and allow to dry, uncovered, for at least 10 hours, or overnight.
Once dry, transfer the parchment sheet to a large cutting board.
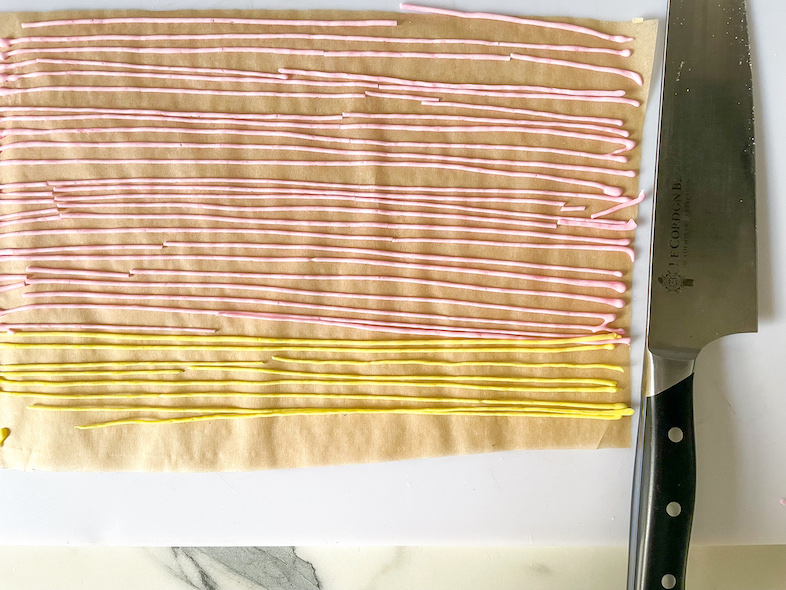
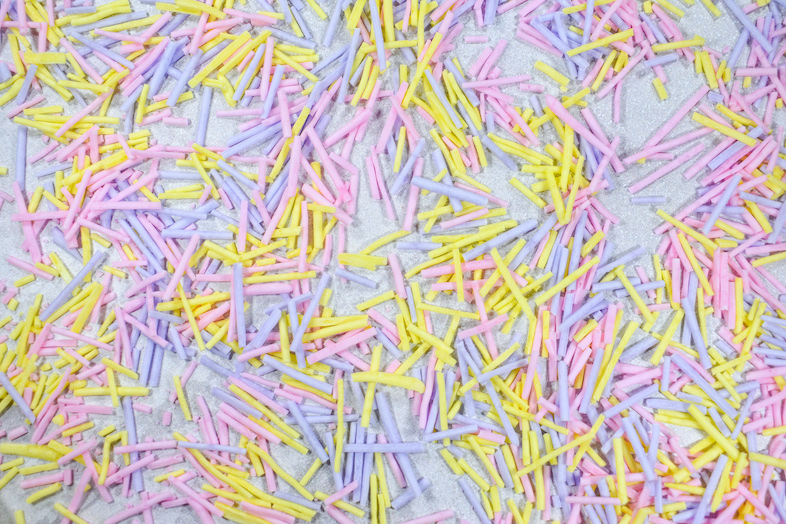
With a sharp chef’s knife, cut the piped lines into sprinkles, each about 1/2-inch long. Try not to apply too much pressure, or it can cause the sprinkles to shatter. (And don’t worry if they aren’t all exactly the same size—mine definitely aren’t!)
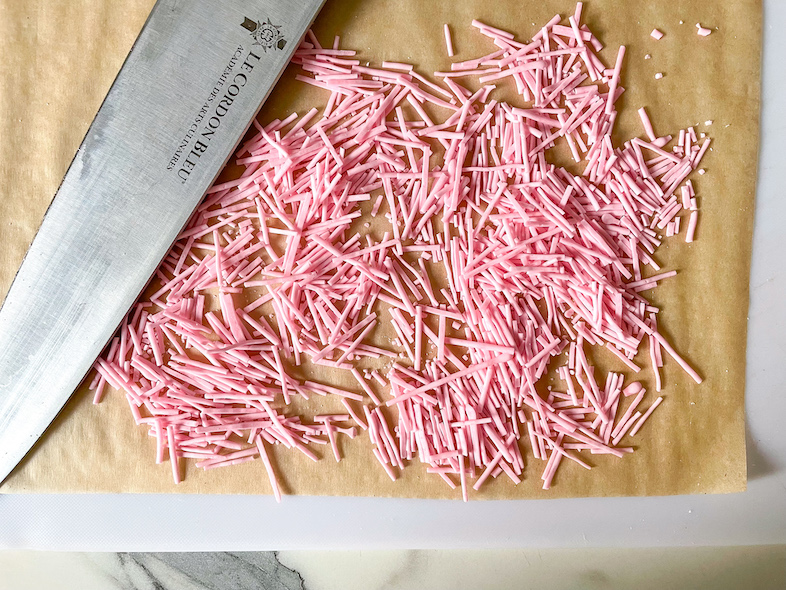
Repeat the process with the rest of the piped lines.
You now have homemade sprinkles!
Store homemade sprinkles in an airtight container at room temperature for up to one month.


- Prep Time: 2 hours
- Setting Time: 10 hours
- Category: Miscellaneous
- Method: No Cook