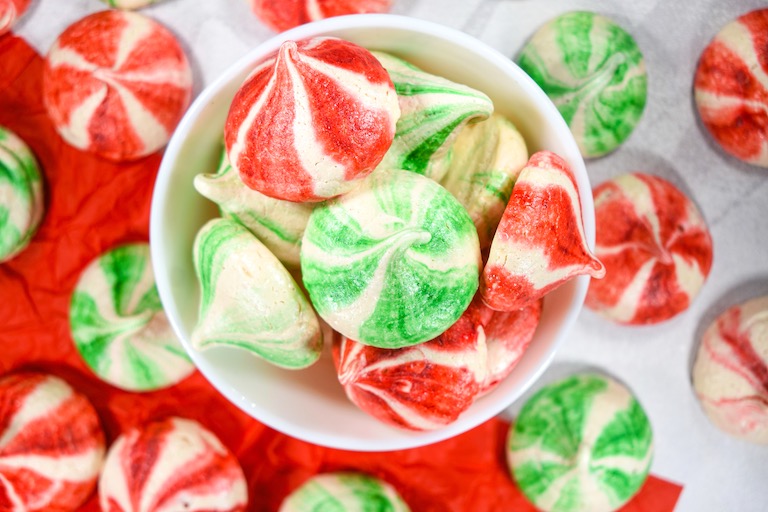
Peppermint Meringue Cookies
This post may contain affiliate links. Please read the disclosure policy to learn more.
Thank you for supporting this blog!
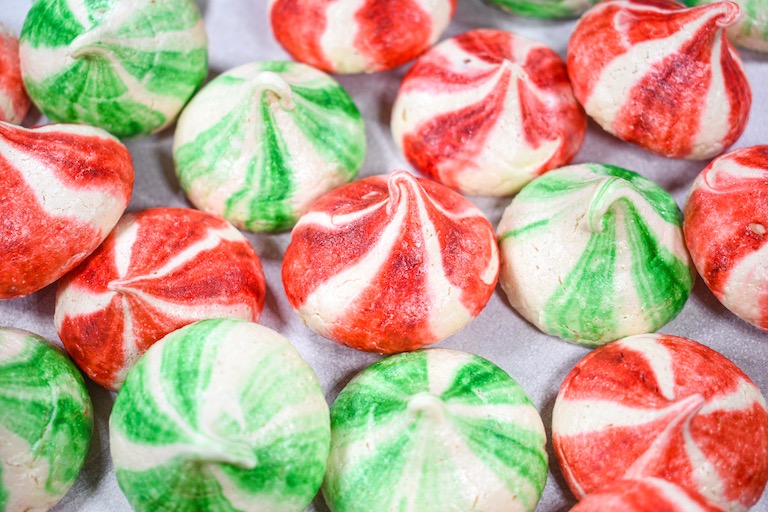
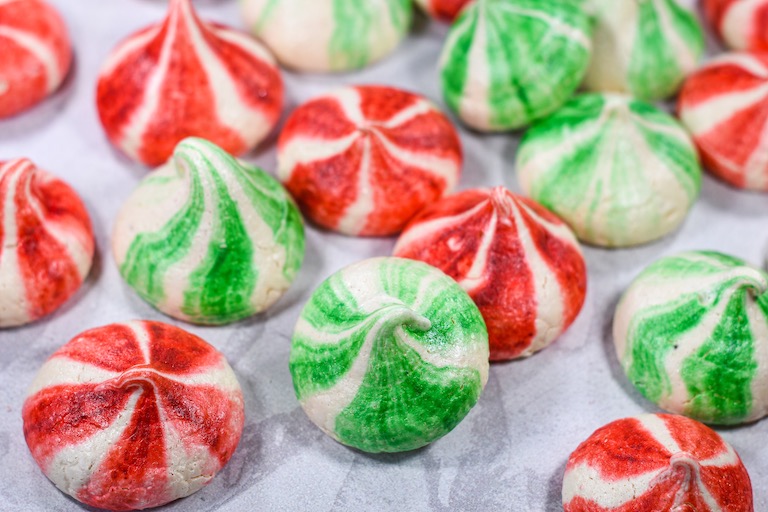
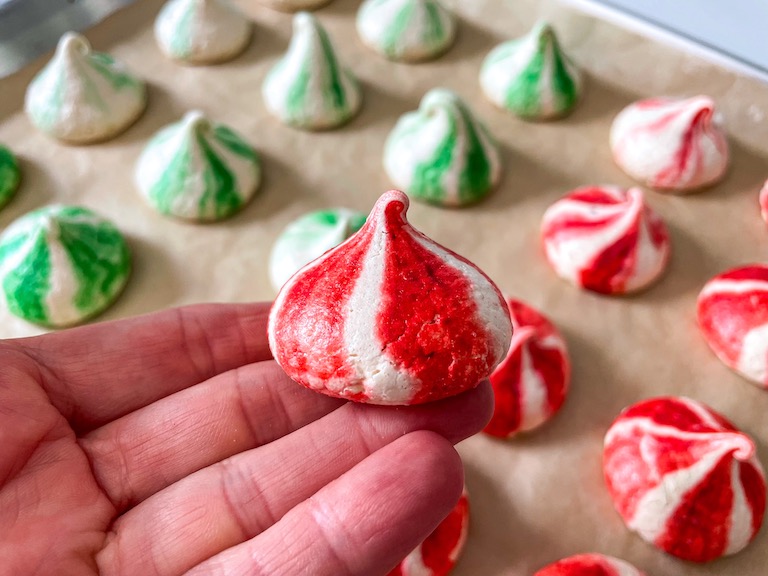
Made with just three ingredients (plus a bit of red and green food coloring!) these striped peppermint meringue cookies make a festive addition to any Christmas cookie tray.
Why Make These Peppermint Meringue Cookies?
I love making meringues year-round (and using them in desserts, like pavlovas and Eton mess) but they’re especially fun to make during the festive season. My peppermint meringue cookies are crispy and delicate, with just the right amount of peppermint oil. (As long as you don’t overdo it—see my notes below!)
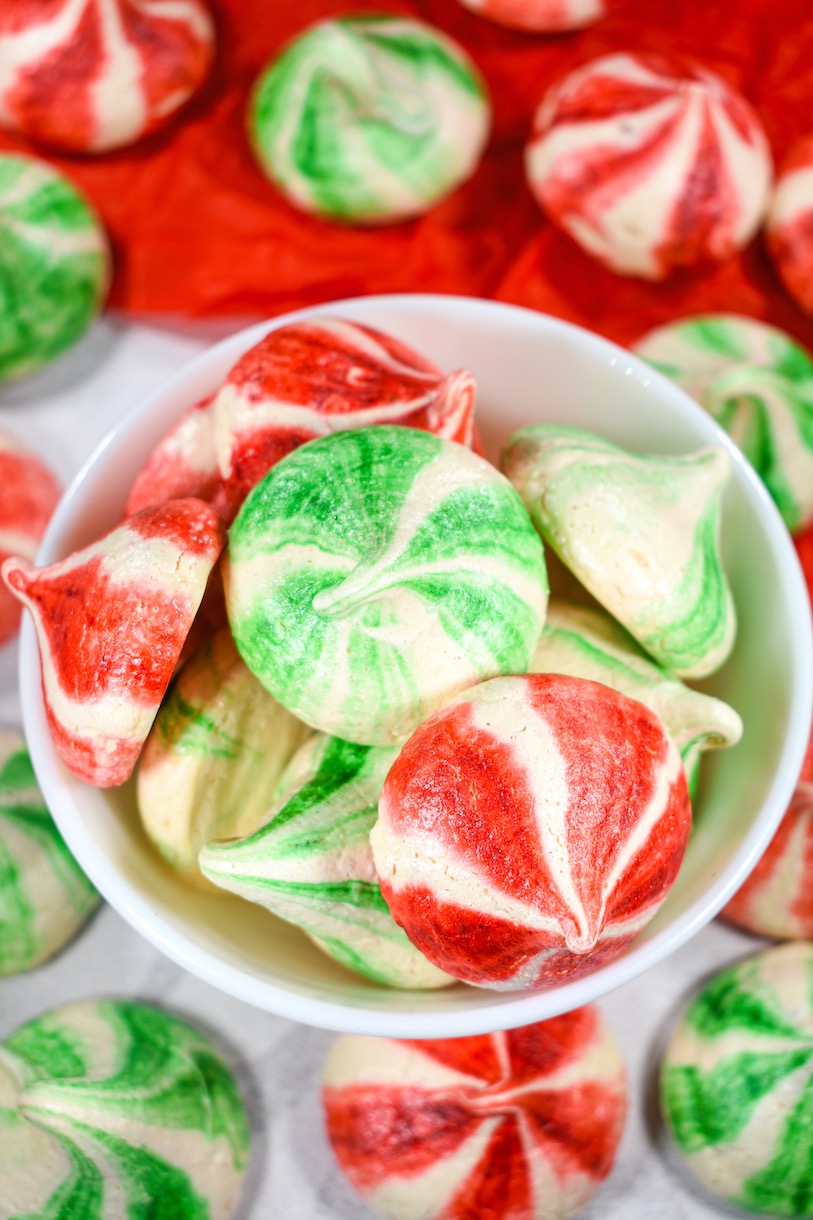
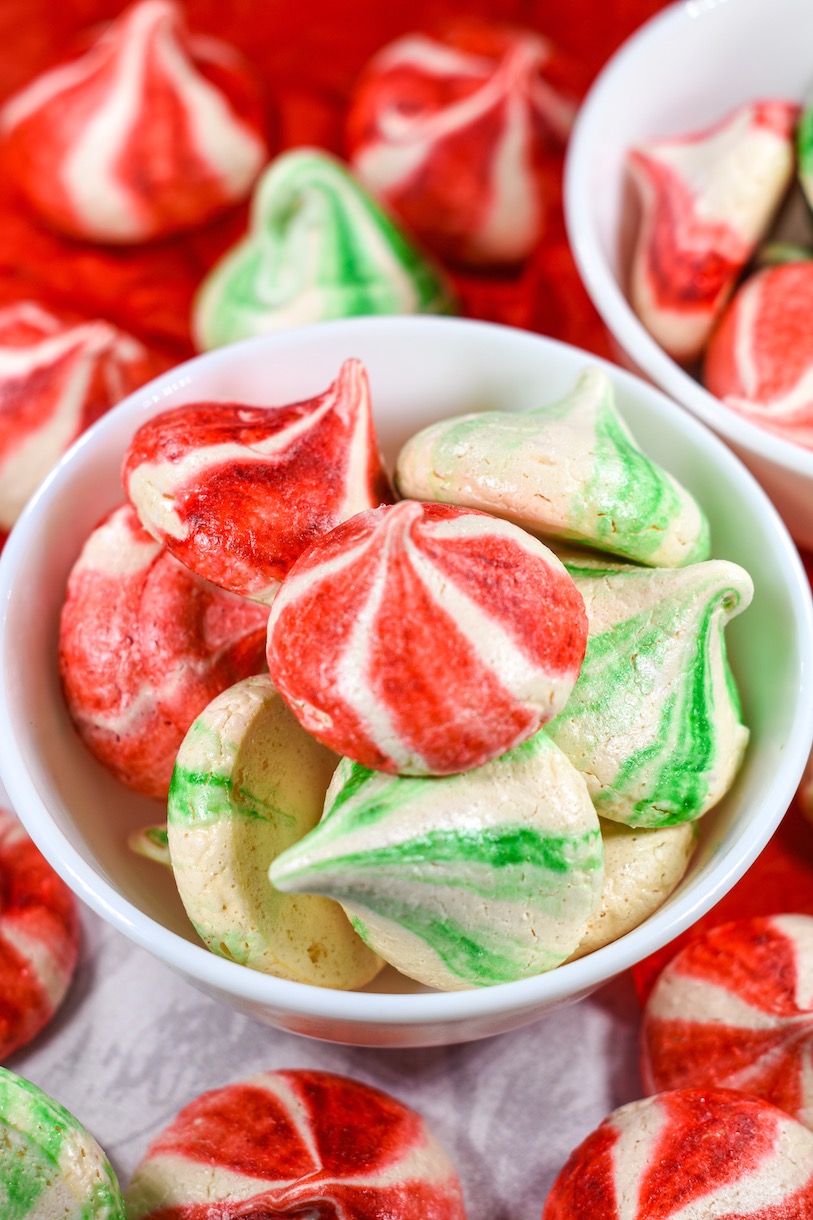
I love whipping up these colorful meringue kisses around Christmastime because they’re such a pretty addition to a cookie tray. (They’re also surprisingly easy to make, even in the midst of all of the holiday “hustle and bustle.”) Serve your meringues as a standalone dessert, layer the cookies into a parfait, or pair them with a cup of homemade peppermint hot chocolate. They also make thoughtful gifts, tucked into a pretty cookie tin or packaged in a holiday-themed cello bag.
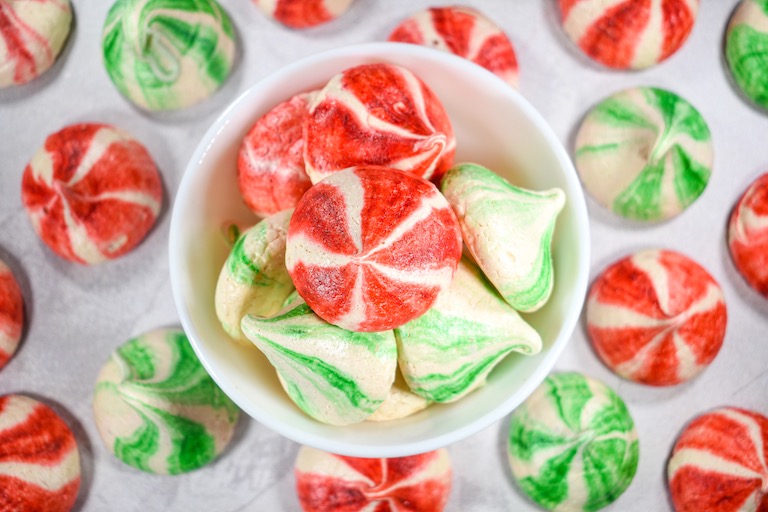
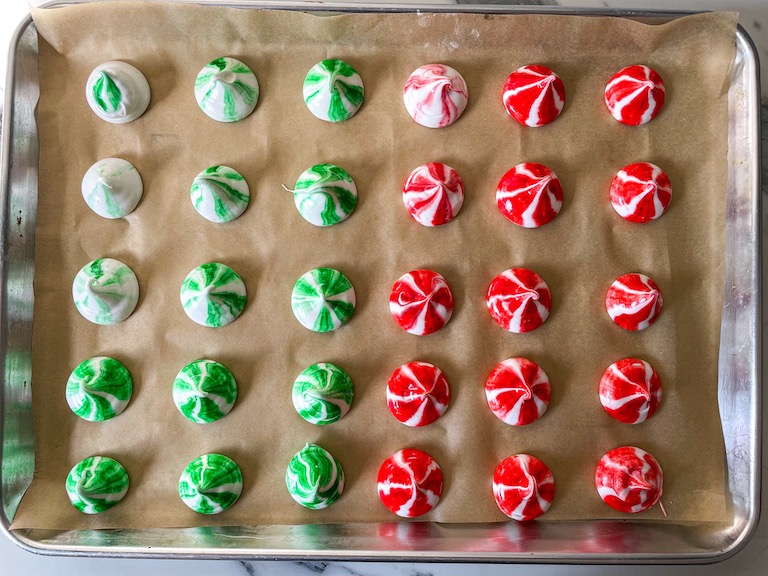
Made with just a few ingredients (egg whites, sugar, and peppermint oil, plus gel food coloring to decorate) these cookies are also easy to customize with different flavors or colors. I used red and green to mimic the traditional colors of starlight mint peppermint candies, but you can also flavor them with ginger, eggnog, cinnamon, or cranberry, or paint blue, gold, or purple stripes for Hanukkah celebrations.
As a bonus, meringues are naturally free from nuts, dairy, and gluten, making these a good choice for accommodating a variety of dietary preferences. They’re a great way to use up extra egg whites left over after making lemon curd or homemade ice cream, too.
Peppermint Meringue Cookie Ingredients
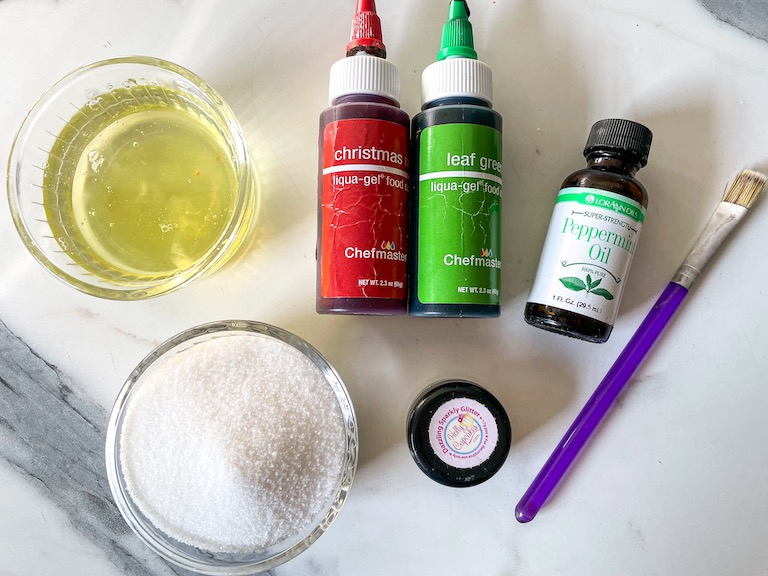
To make these Christmas meringue cookies, start by gathering the following ingredients:
- Egg Whites – You’ll need 90 grams (about three ounces) of egg white, at room temperature. This should be roughly two large eggs, but I strongly recommend weighing the whites—precision is important for meringue, and it’s hard to be precise without a scale. Also, you won’t need the yolk for this recipe, so save it for something else (might I suggest these brie and cranberry brownies?)
- Granulated Sugar – You’ll need granulated sugar, or superfine sugar. Again, I recommend measuring by weight rather than volume.
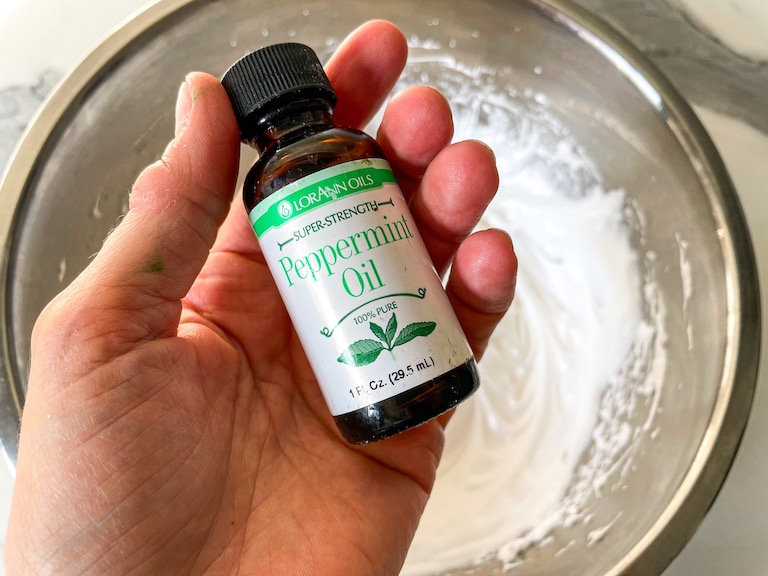
- Peppermint Oil – I flavored my meringue cookies with natural peppermint oil (not extract). You’ll only need a few drops, and whatever you do, do not overdo it! See my notes below. (And you’ll have plenty left over, so save it to make peppermint marshmallows or homemade peppermint ice cream!)
- Gel Food Coloring – For painting the stripes. I used Chefmaster’s Christmas Red and Leaf Green.
- Edible Glitter – Totally optinal, but I like to dust the baked and cooled meringues with edible glitter for a festive finishing touch.
Special Equipment for Making Peppermint Meringue Cookies
Although this recipe doesn’t require many ingredients, you will need a few special tools:
- Kitchen Scale – For weighing the egg whites and sugar. If you don’t already have a kitchen scale, now is the time to buy one! Scales are a must for baking, especially for meringue based recipes like kisses and macarons.
- Disposable Piping Bags – It’s much easier to use disposable piping bags (rather than reusable) for this recipe, because they’ll be covered in food coloring and difficult to wash. Stick with clear piping bags for this recipe so you can see where you’ve painted the stripes.
- Piping Tips – You’ll need two round tips, each about 1/4 to 1/2-inch in diameter, for piping the meringue kisses.
- Food-Safe Paint Brushes – Use food safe paint brushes for this recipe, not the brushes from your craft box! When creating edible art, never reuse brushes which have already been used for paints or other potentially hazardous materials.
- Rubber Gloves – Not mandatory, but rubber gloves are great for handling the food coloring, to avoid staining your hands.
- Silicone Mat – You can use parchment to line your tray, but silicone mats are less likely to slip around, allowing you to keep both of your hands free to pipe with precision.
- Mixer – For beating the egg whites and whipping the sugar into meringue, you’ll need either a hand mixer or a stand mixer.
Painting the Piping Bags
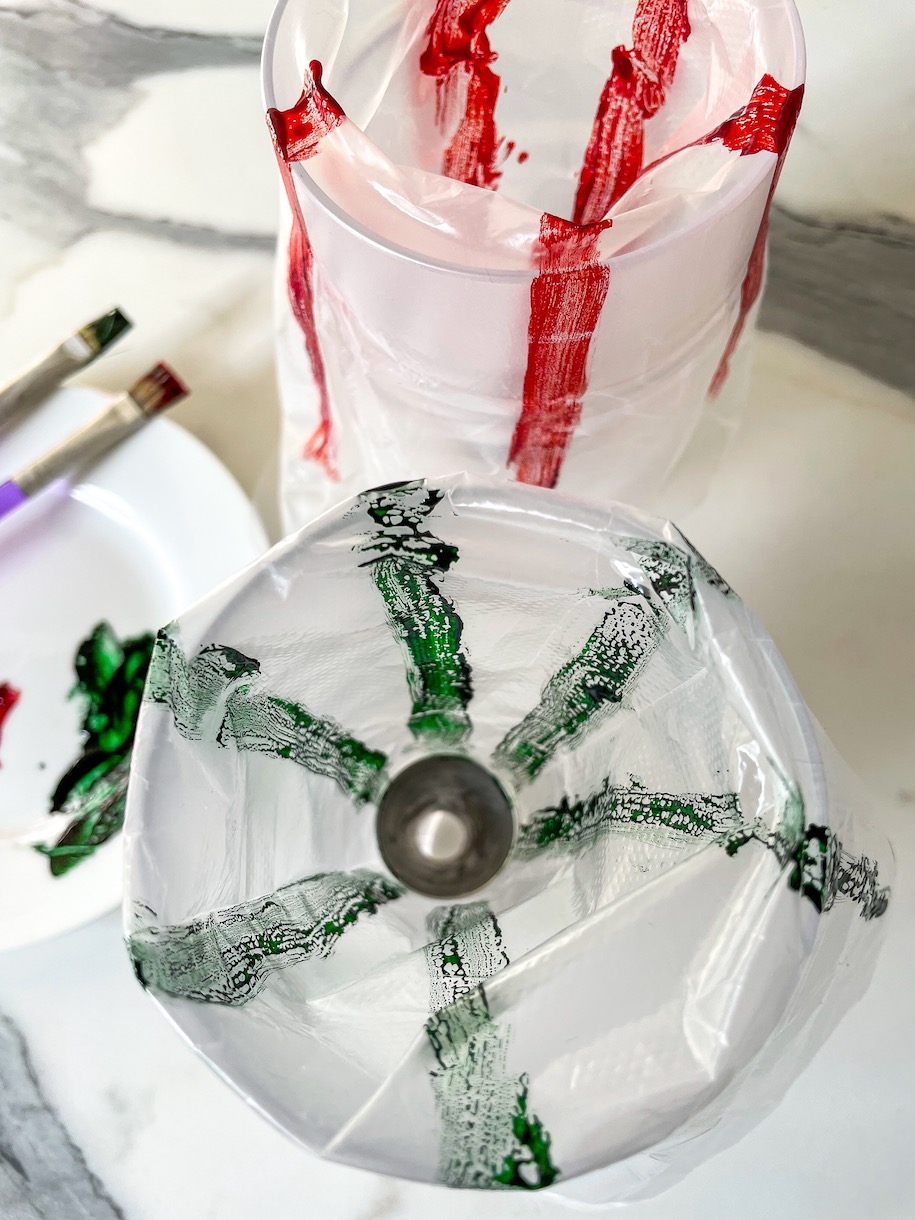
Painting lines of food coloring into disposable piping bags gives these Christmas meringue cookies their peppermint-inspired stripes:
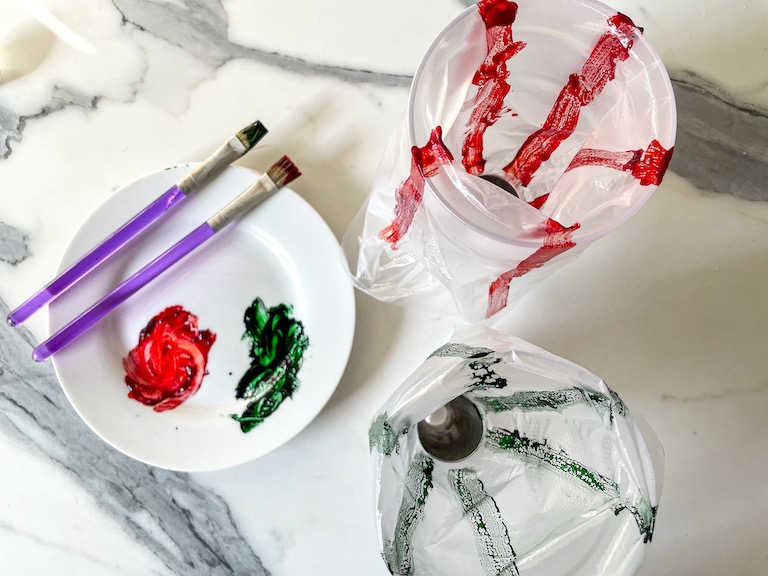
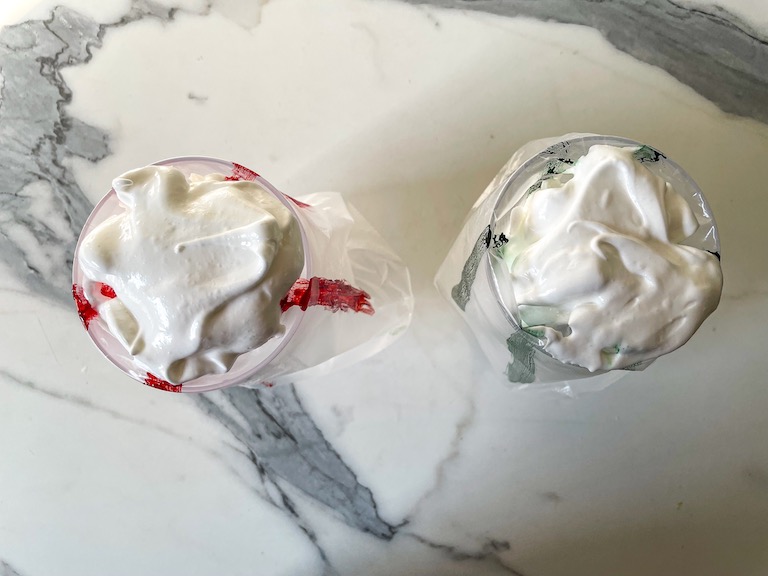
With a food safe paintbrush, paint thin vertical stripes of red gel food coloring inside one of the piping bags, allowing about an inch of space in between each stripe. Repeat the same process with the second bag and the green gel food coloring. Then, fill both bags with meringue and you’re ready to pipe!
Tips and Tricks for Making Christmas Meringues
Only use about 3-4 drops of peppermint oil. It’s very strong! I did my first test with 1/4 teaspoon and the flavor was ingredibly overpowering, to the point that it made my eyes water. (It also made my oven smell like peppermint for several days after.) Err on the side of caution, and use no more than 1/8 teaspoon at the absolute most.
When it comes to colors and piping designs, this recipe allows plenty of room for creativity. Feel free to pick your own color palette, or to play around with different piping tips. You can also make the meringue kisses as large or as small as you’d like.
Make-Ahead and Storage Suggestions
Plan ahead! These meringue cookies will take about one hour to bake, and another hour or two to cool. For this reason, I suggest baking the meringues the night before you plan to serve them, then allowing the cookies to cool in the oven overnight.
Other Christmas recipes you might enjoy:
Candy Cane Cookies
Sand Tarts
Christmas Tree Brownies
Chocolate Mint M&M Cookies
Christmas Chex Mix
Christmas Candy Corn
Festive Cranberry Jelly Candy
And if you do make these, or any of my recipes, don’t forget to tag me @bastecutfold or use the hashtag #bastecutfold on Instagram. I always love to see what you’re making!
Peppermint Meringue Cookies
- Total Time3 hours
- YieldAbout 30 1 1/2-inch meringues 1x
Made with just three ingredients (plus a bit of red and green food coloring!) these striped peppermint meringue cookies make a festive addition to any Christmas cookie tray.
Ingredients
90 grams egg whites, at room temperature (3 ounces; whites of about 2 large eggs)*
100 grams granulated sugar (1/2 cup)
3-4 drops natural peppermint oil
Red gel food coloring
Green gel food coloring
Edible glitter, to decorate (optional)
Instructions
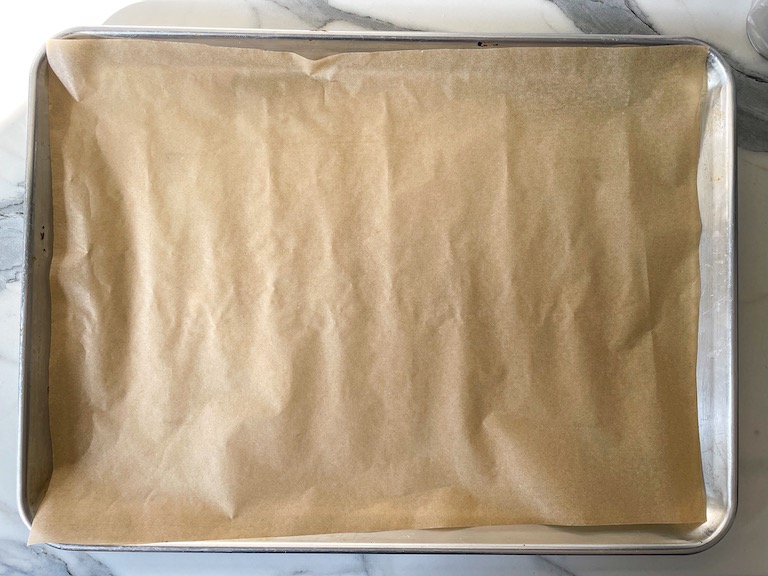
Preheat oven to 110° C / 230° F. Line a baking tray with parchment or a silicone baking mat.
Fit two disposable piping bags with 1/4 – 1/2-inch round tips.
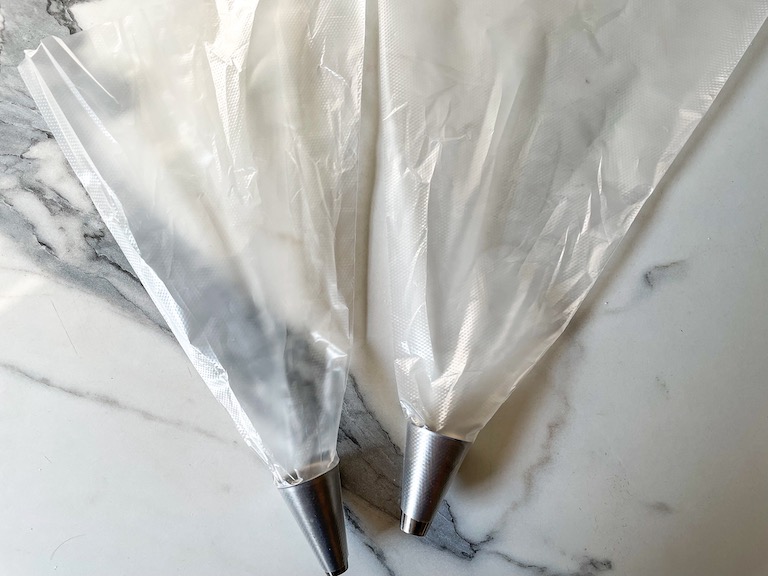
With a food safe paintbrush, paint thin vertical stripes of red gel food coloring inside one of the piping bags, allowing about 1 inch of space in between each stripe. Repeat with the second bag and the green gel food coloring. Set both piping bags aside until ready to use.
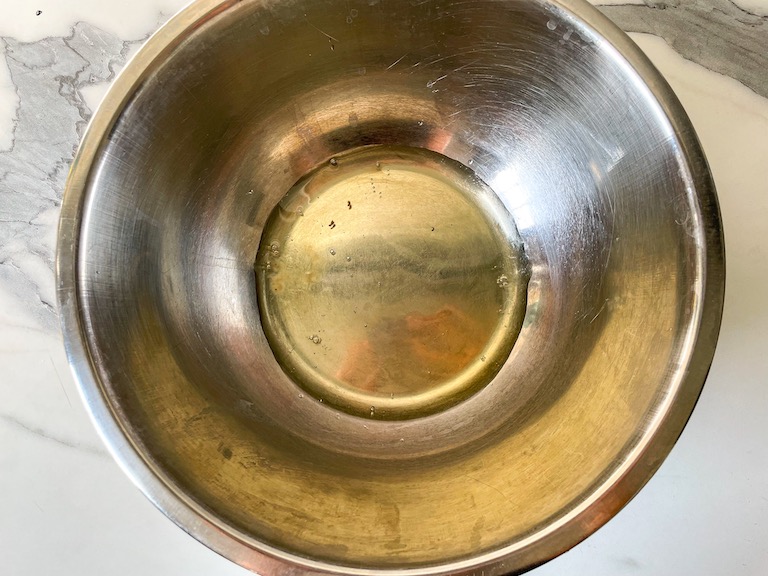
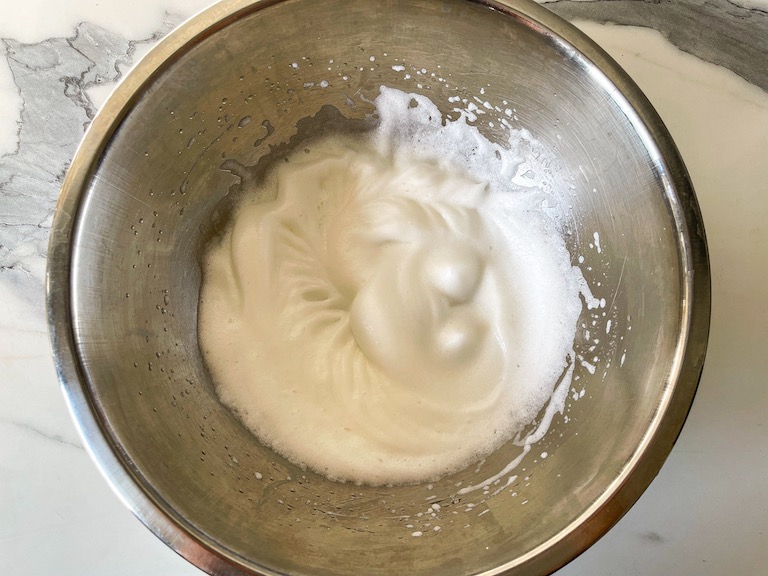
Add the egg whites to a large mixing bowl or the bowl of a stand mixer. Whip to soft peaks.
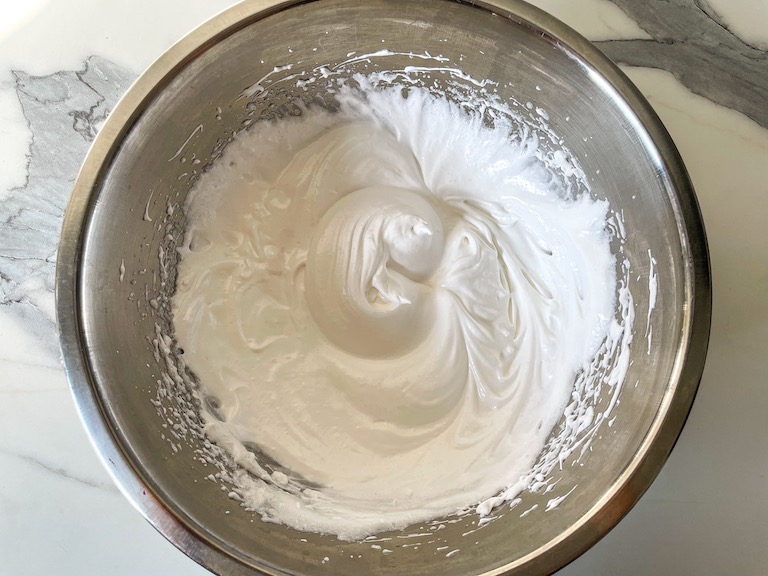
Gradually add the sugar. Mix on medium-high speed until the meringue turns thick and glossy, and stiff peaks form.
Mix in the peppermint oil.
With a rubber spatula, scoop meringue into prepared piping bags, dividing it equally between the two.
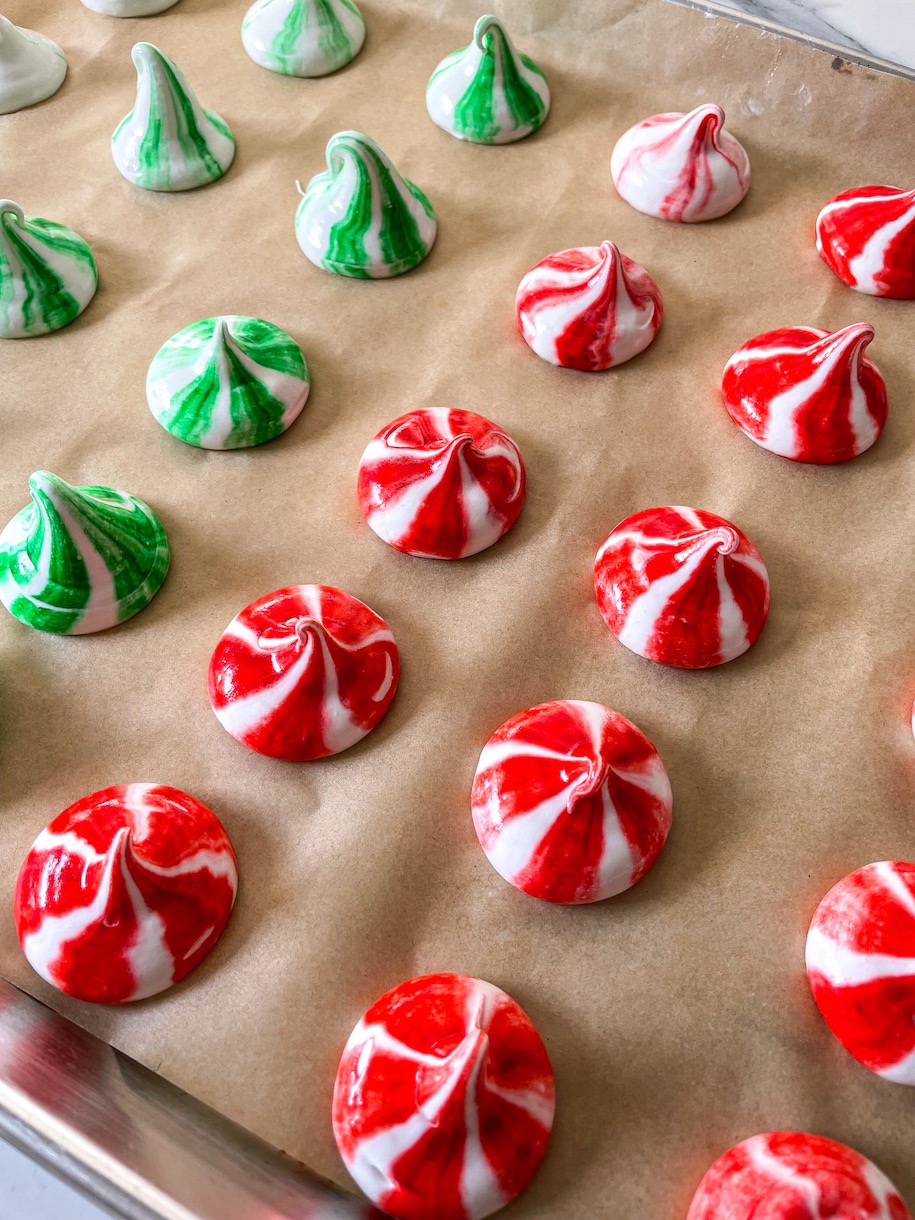
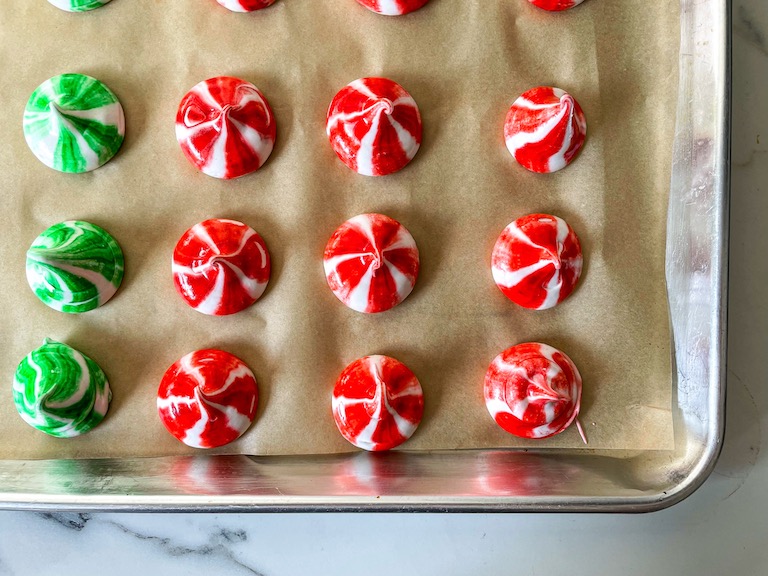
Pipe onto prepared tray in 1 1/2-inch rounds, pulling the piping bag upward to create a “kiss” or “peak” shape at the top.
Bake in preheated oven for one hour. Without opening the door, turn off the oven and allow cookies to cool in oven for 1 – 1.5 hours more.

If desired, dust the cooled meringues with edible glitter.


Notes
*90 grams should equal the whites of about two large eggs, but I strongly recommend weighing the whites—precision is important for meringue, and it’s hard to be precise without a scale.
- Prep Time: 30 minutes
- Cooling Time: 1 1/2 hours
- Cook Time: 1 hour
- Category: Biscuits and Cookies
- Method: Oven