Snowflake Sugar Cookies
This post may contain affiliate links. Please read the disclosure policy to learn more.
Thank you for supporting this blog!
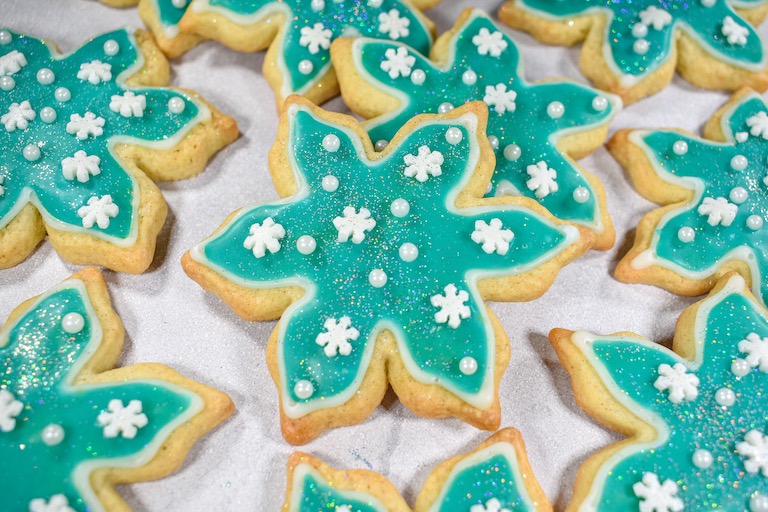
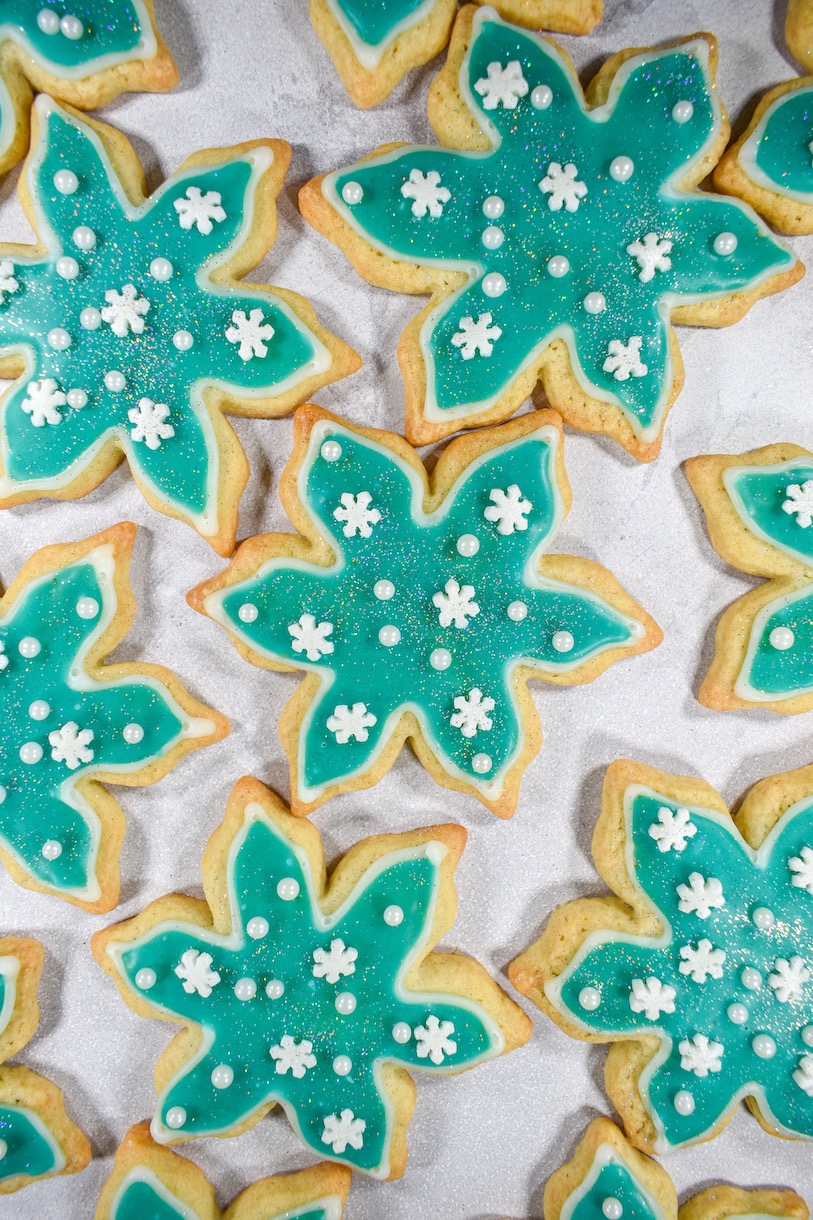
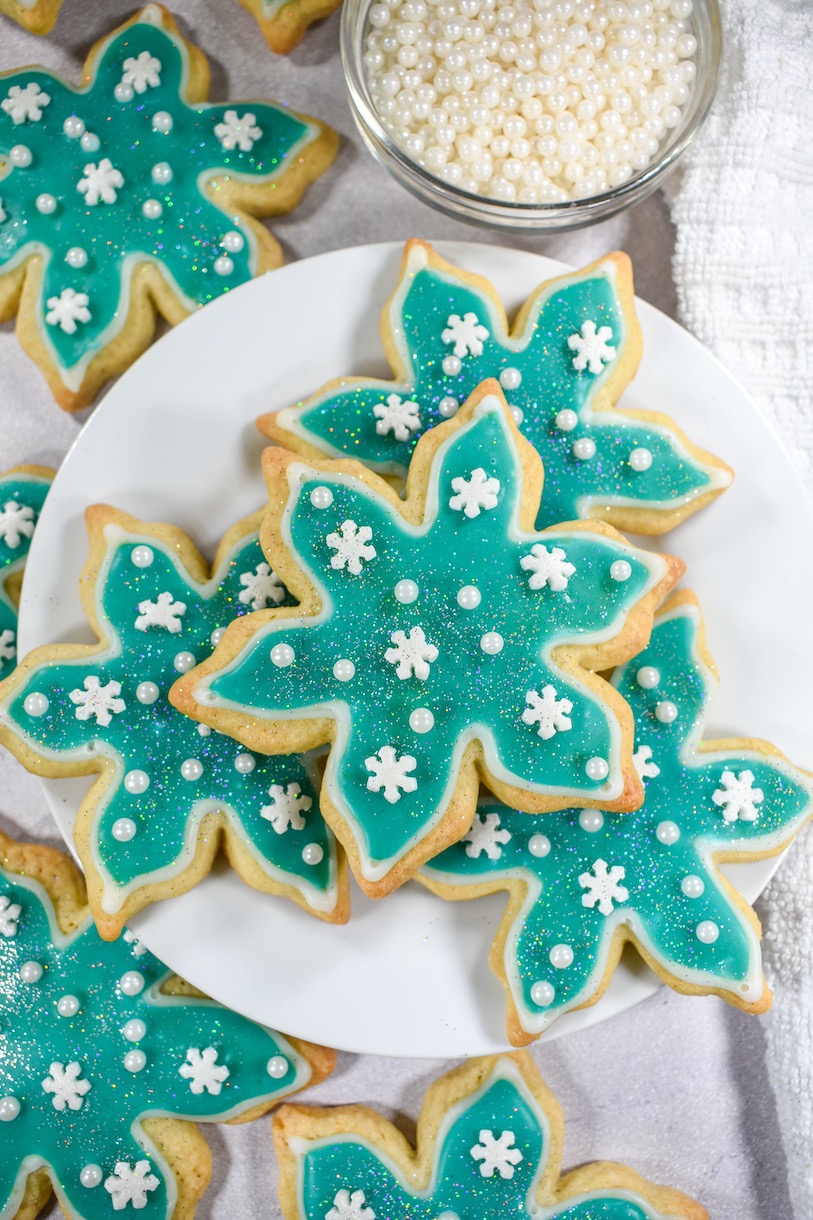
Sparkly snowflake sugar cookies featuring a rolled sugar cookie base and easy-to-make glaze (no messing with finicky royal icing!), plus snowflake sprinkles and a dusting of edible glitter. These snowflake-shaped cookies make a festive addition to any Christmas, Hanukkah, or winter cookie tray. And because this recipe yields nearly two dozen snowflakes, a single batch works nicely for classroom treats, party favors, or holiday gifting, too.

Unique Ingredients
- Almond Extract – I’ve added almond extract (Nielsen-Massey is my go-to brand) to the cookie dough, as well as the glaze. If you don’t care for almond, you can substitute vanilla extract, or another flavor you enjoy.
- Liquid Glucose – You’ll need a clear, sticky, invert sugar to make the shiny glaze. I tested this recipe with liquid glucose; you can replace it with light Karo syrup or corn syrup.
- Blue Gel Food Coloring – I used Chefmaster’s turquoise gel food coloring, but feel free to choose any shade of blue you’d like. You can also take a more natural approach and make all-white snowflakes instead. I recommend sticking with gel colors, rather than the water-based kind sold in many supermarkets. Water-based colors are weaker than gels, and you’ll need a lot of product to achieve a vibrant shade of blue.
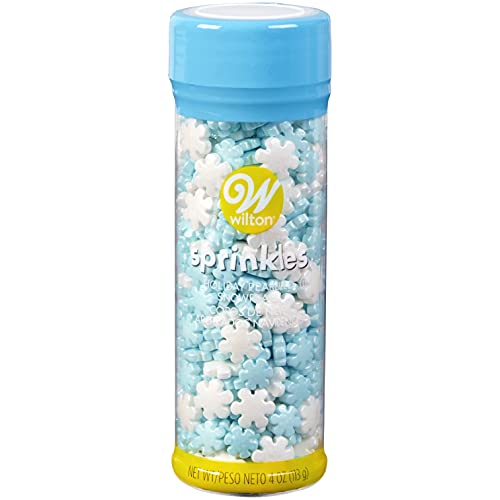
- Snowflake Sprinkles – I purchased a bottle of blue-and-white snowflake sprinkles, but only used the white ones for my cookies because I preferred the way it looked. But again, feel free to be creative! You can also use nonpareils, or any other winter-themed sprinkles you’d like. You can also top your cookies with homemade sprinkles.
- Edible Glitter – I love edible glitter (Fancy Sprinkles makes a good one) and think it works so nicely for this recipe because it adds a shimmer not unlike the sparkle of freshly fallen snow. You can omit the glitter if you don’t have any available, or decorate your cookies with edible foil stars instead. And save the leftovers to make this sparkly unicorn bark!
Tips, Tricks, and Tools
- Gather helpful tools. You’ll need a piping tips and a piping bag (I recommend disposable piping bags, for convenience); a fondant tool with a pointy edge to clean up piping mistakes; a rolling pin and rolling mat; a metal snowflake cutter (I used a 3 1/2-inch snowflake-shaped cutter from my set of snowflake cutters, but feel free to go a bit bigger or smaller if you’d like) and a small silicone whisk to make the glaze.
- Flour your work surface. The dough will be slightly sticky, so you’ll need a generously floured rolling mat (or countertop) and rolling pin to prevent it from sticking.
- Take time to chill out. Refrigerating the cut cookies allows them to retain their shape as they bake. If your tray is too big for the fridge, layer the snowflakes between squares of parchment, arrange them in stacks, and chill.
- Sift the confectioner’s sugar. Sifting removes lumps and clumps. If you skip this step, you’ll have lumpy glaze!


Snowflake Sugar Cookies
- Total TimeAbout 7 hours (including chilling time)
- Yield18-20 3 1/2-inch cookies 1x
Cutout snowflake sugar cookies decorated with snowflake sprinkles, blue and white glaze, and sparkly edible glitter.
Ingredients
Cookies:
215 grams all purpose flour (1 2/3 cups)
1/2 teaspoon baking powder
1/4 teaspoon fine sea salt
100 grams unsalted butter, softened (7 tablespoons; 3 1/2 ounces)
100 grams granulated sugar (1/2 cup)
1 large egg, at room temperature
1 teaspoon almond extract
Glaze:
200 grams confectioner’s sugar (1 1/2 cups)
30 milliliters whole milk (2 tablespoons), plus more to adjust consistency
20 grams liquid glucose or corn syrup (1 tablespoon)
1/2 teaspoon almond extract
Pinch fine sea salt
Blue gel food coloring (I used Chefmaster‘s turquoise gel food coloring)
To Decorate:
Blue and white sprinkles, or homemade sprinkles
Edible glitter
Sugar pearls
Instructions
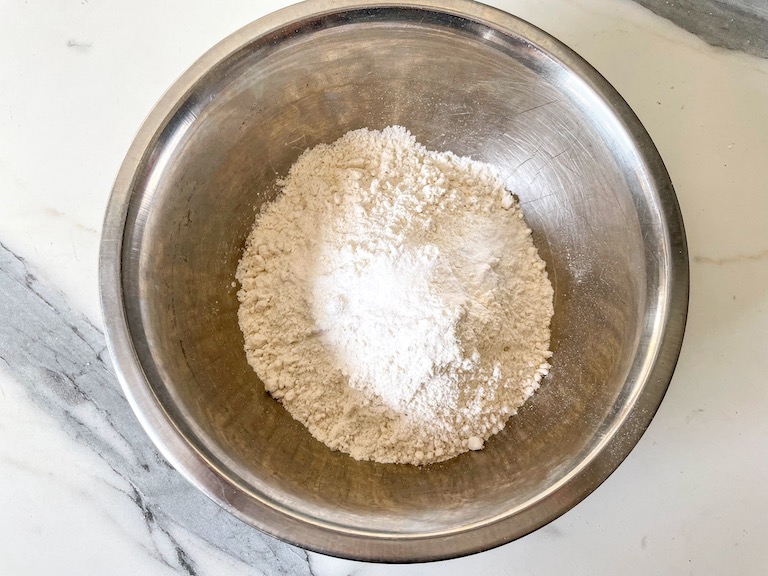
In a medium bowl, whisk flour, baking powder, and salt.
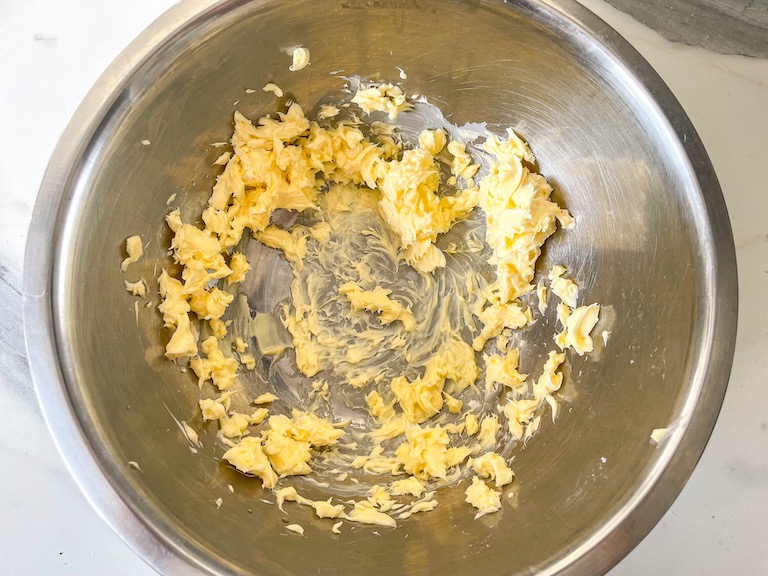
In a separate bowl or the bowl of a stand mixer, whip butter on high speed until soft and fluffy.
Add the granulated sugar, followed by the egg and almond extract, and mix on high speed until well combined. (Mixture might look slightly separated.)
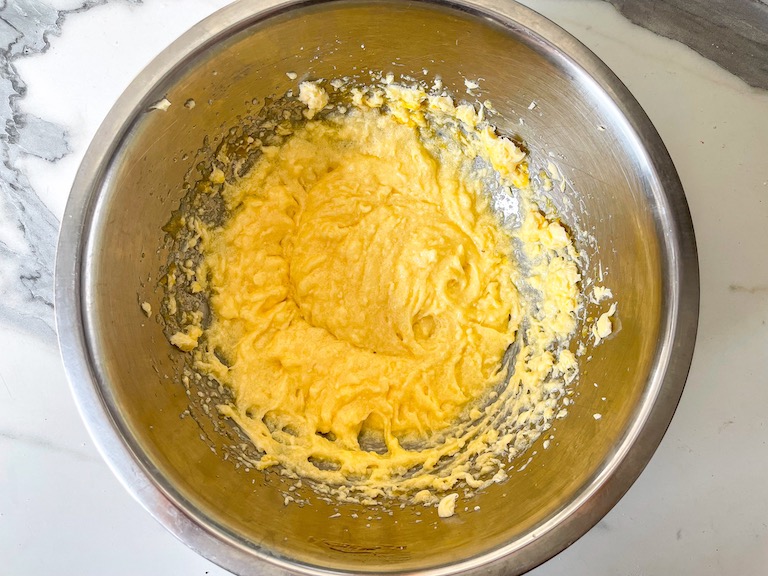
Add the dry ingredients and mix on low speed until a soft dough forms.
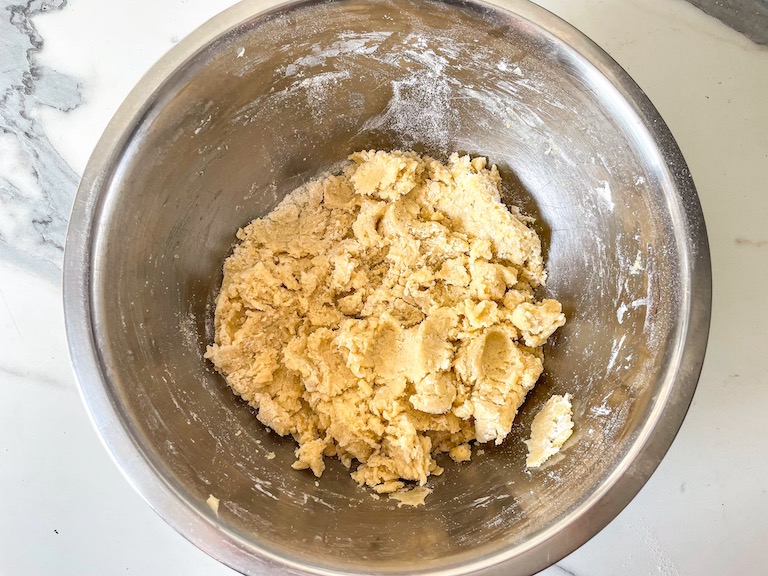
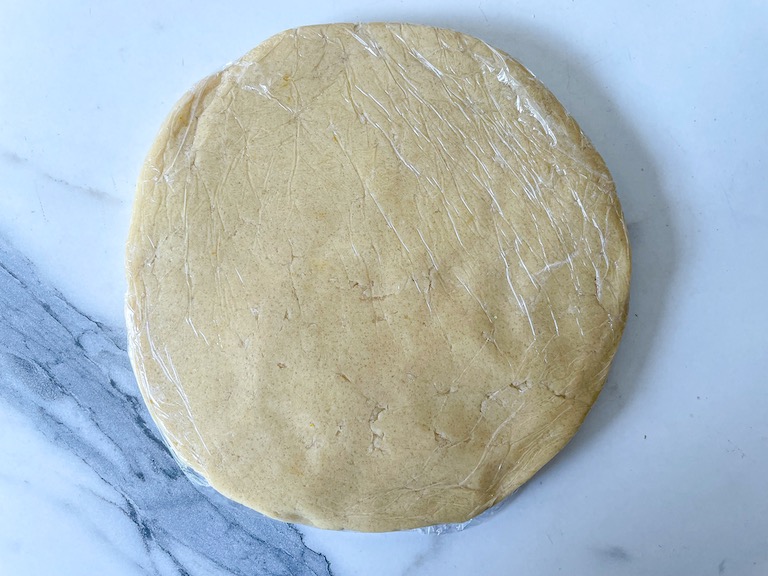
Flatten into a disc. Wrap in clingfilm/plastic wrap and refrigerate until firm, at least 4 hours or overnight.
Line a half-sheet rimmed baking tray with parchment or a silicone mat. Set aside.
On a floured countertop or silicone rolling mat, use a floured rolling pin to roll the chilled dough to 1/4-inch thickness.
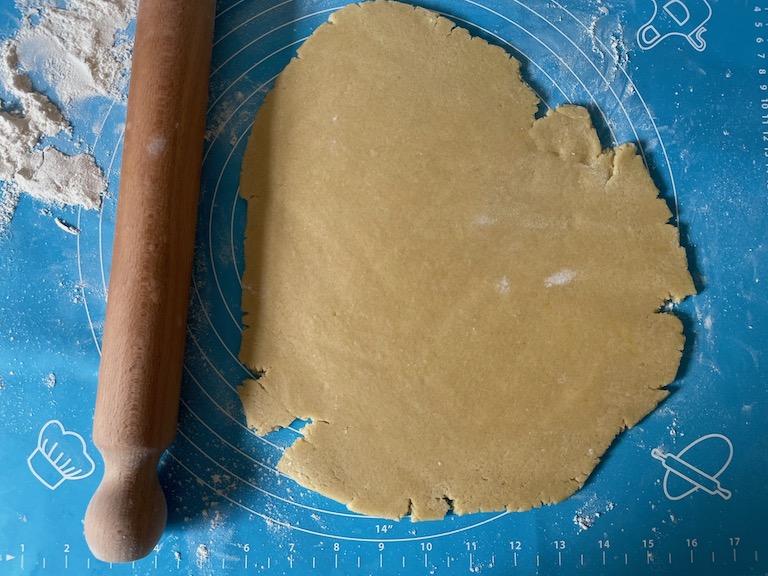
With a 3 1/2-inch snowflake-shaped cutter, cut the dough into snowflakes. Re-roll scraps and repeat with remaining cookie dough.
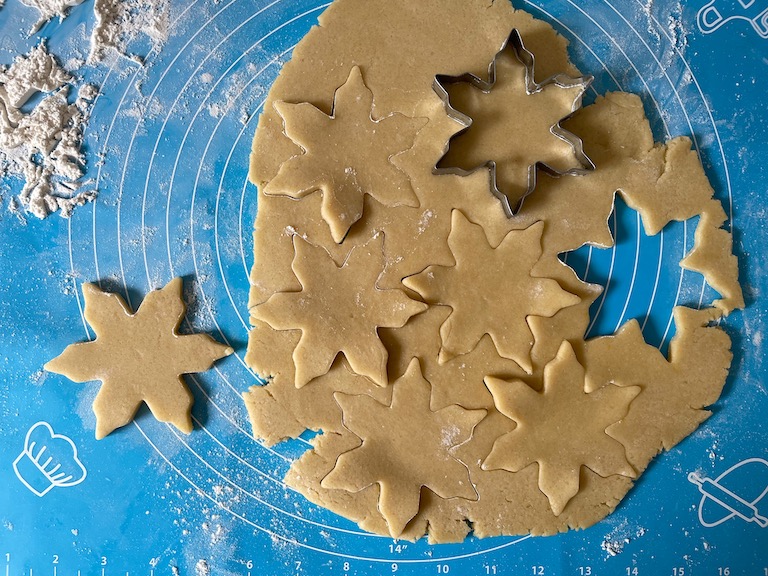
Place on prepared tray.
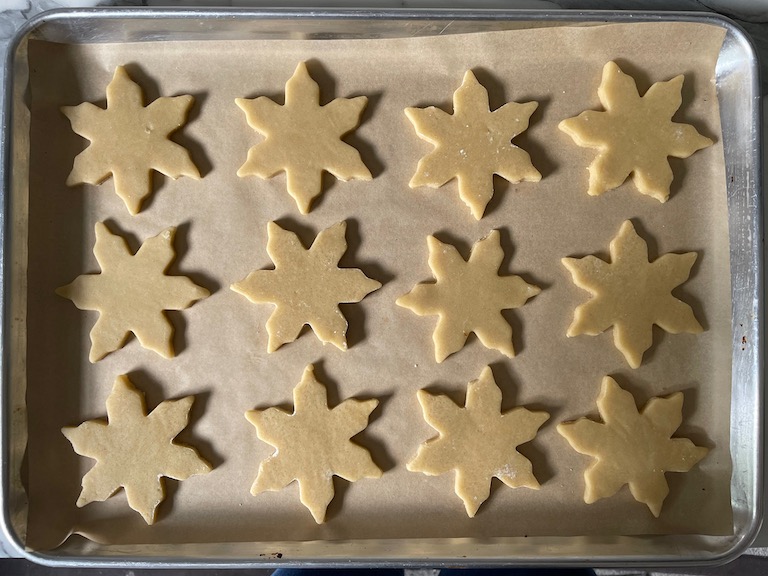
Refrigerate tray for 30 minutes, or freeze for 15 minutes. (If your trays do not fit in the fridge or freezer, you can stack the cookies between squares of parchment and chill the stacks.) Meanwhile, preheat oven to 350° F (176° C).
Bake 12-14 minutes, or until cookies are lightly golden brown around the edges.
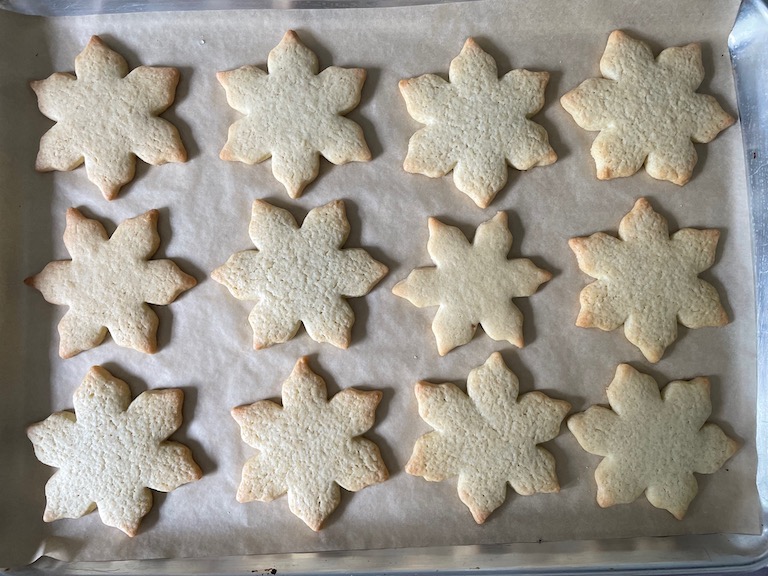
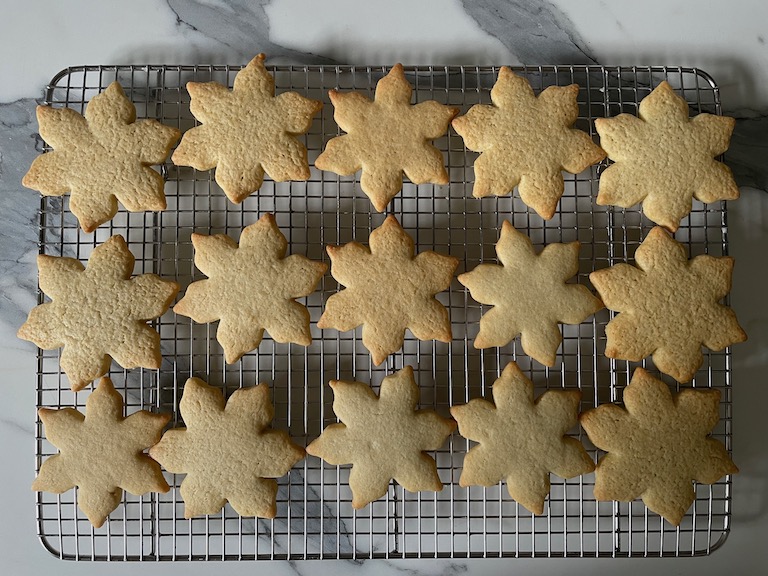
Cool completely on wire rack before glazing.
Glaze:
Add the confectioner’s sugar to a medium bowl. Whisk in the whole milk, followed by the corn syrup, almond extract, and salt.
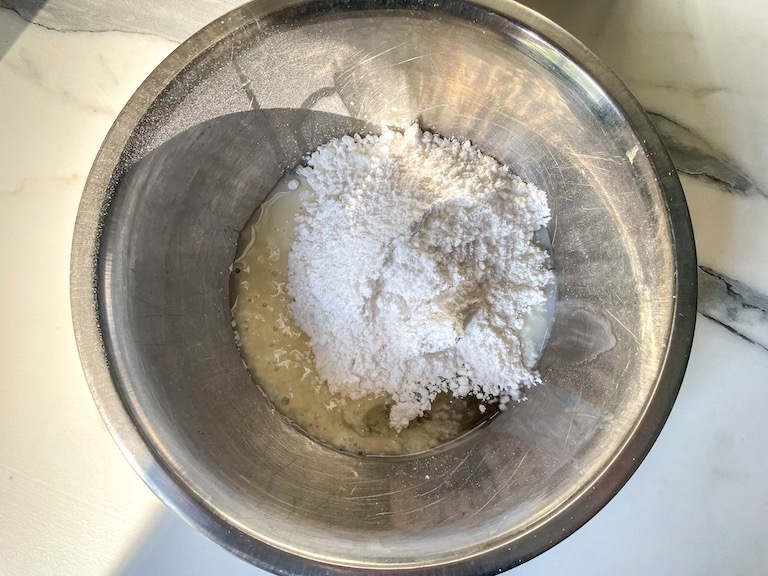
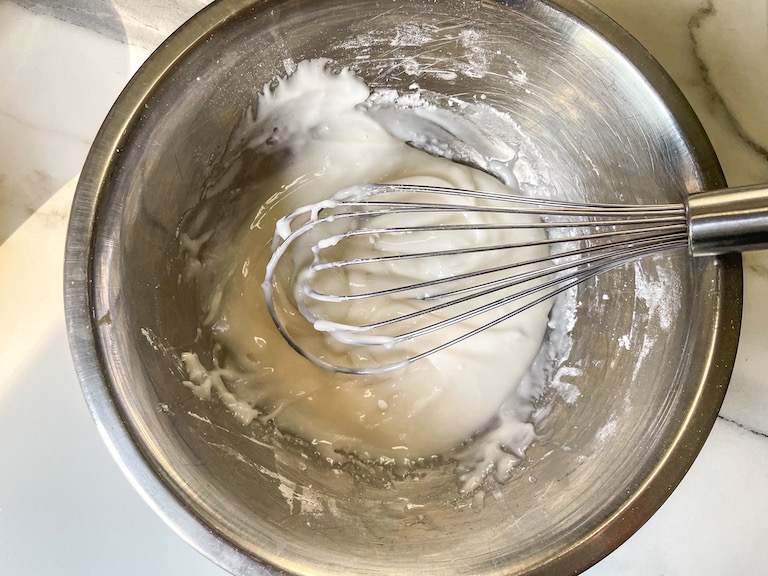
Scoop 1/4 of the icing into a small bowl. To the larger bowl, whisk in 1-2 drops blue gel food coloring.
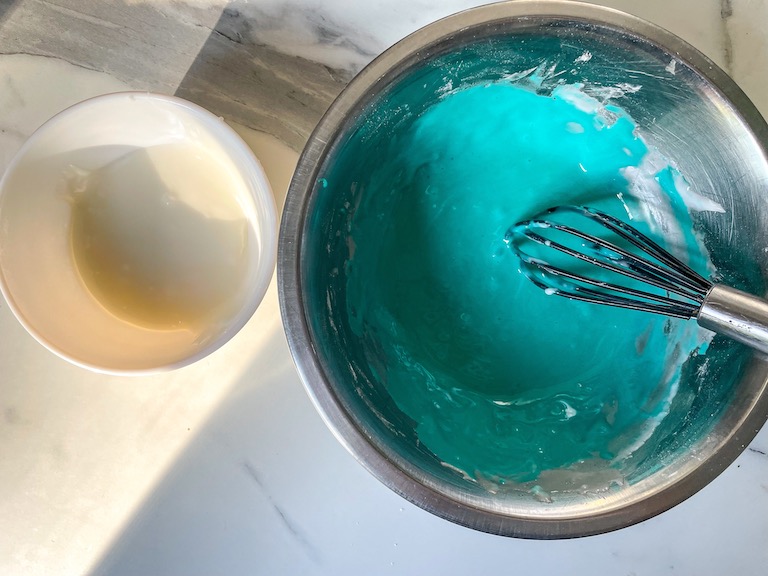
With a rubber spatula, scoop each glaze to a piping bag fitted with a round tip. (I used a 1/8-inch tip for the blue glaze, and a 1/16-inch tip for the white.) Pipe a white outline around each snowflake, then set aside and allow the white icing to set, about 10 minutes. Flood each snowflake with blue icing. Use a fondant tool or toothpick to spread the blue icing so it fills in the white outline.
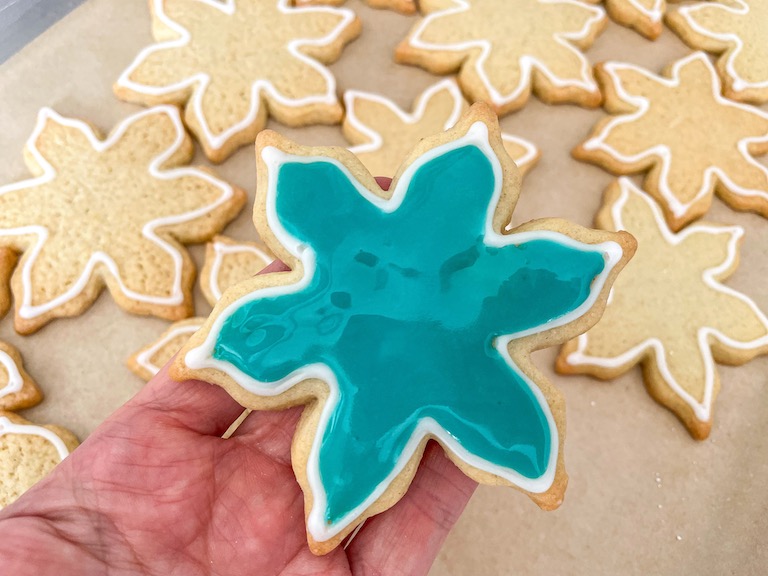
Decorate with snowflake sprinkles and sugar pearls.

Dust with edible glitter.
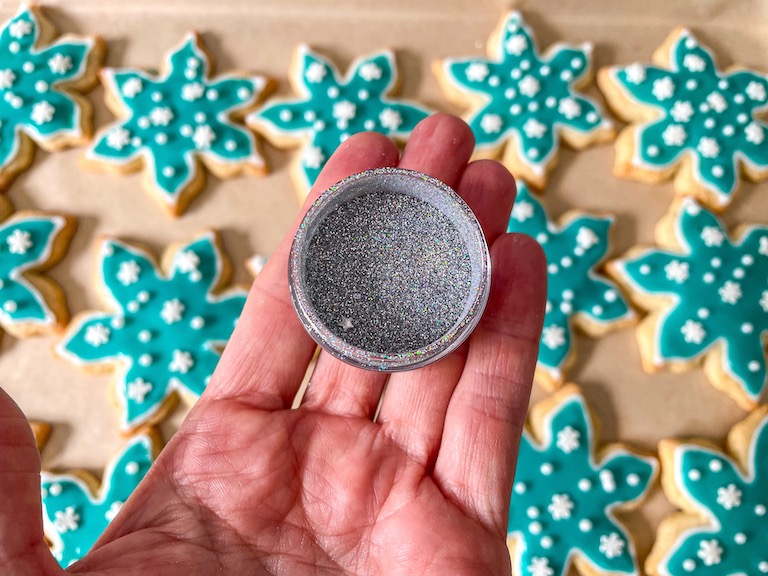
Set aside and allow cookies to rest, uncovered, until glaze sets, about 1-2 hours.

Layer cookies between sheets of parchment or wax paper and store in an airtight container at room temperature for up to 5 days.




- Prep Time: 2 hours
- Chilling Time: 4 1/2 hours
- Cook Time: 12-14 minutes
- Category: Biscuits and Cookies
- Method: Oven
Make-Ahead and Storage Suggestions
To store: Snowflake cookies will keep well for about five days when stored in an airtight container at room temperature. I suggest arranging the cookies in a single layer to avoid damaging the delicate icing.
To make ahead: You can prepare the dough up to 24 hours in advance, flatten into a disc, wrap in clingfilm/plastic wrap, and refrigerate until you’re ready to cut and bake. Allow chilled dough to come up to room temperature for a few minutes, until soft enough to roll without cracking.
To freeze: Layer un-iced cookies between sheets of parchment and freeze for up to one month. Thaw at room temperature and glaze just before serving. Don’t freeze iced cookies.
Other Holiday Cookie Recipes You Might Enjoy
Candy Cane Cookies
Chocolate Molasses Cookies
Pennsylvania Dutch Sand Tarts
Chocolate Mint M&M Cookies
And if you do make these, or any of my recipes, don’t forget to tag me @bastecutfold or use the hashtag #bastecutfold on Instagram. I always love to see what you’re making!