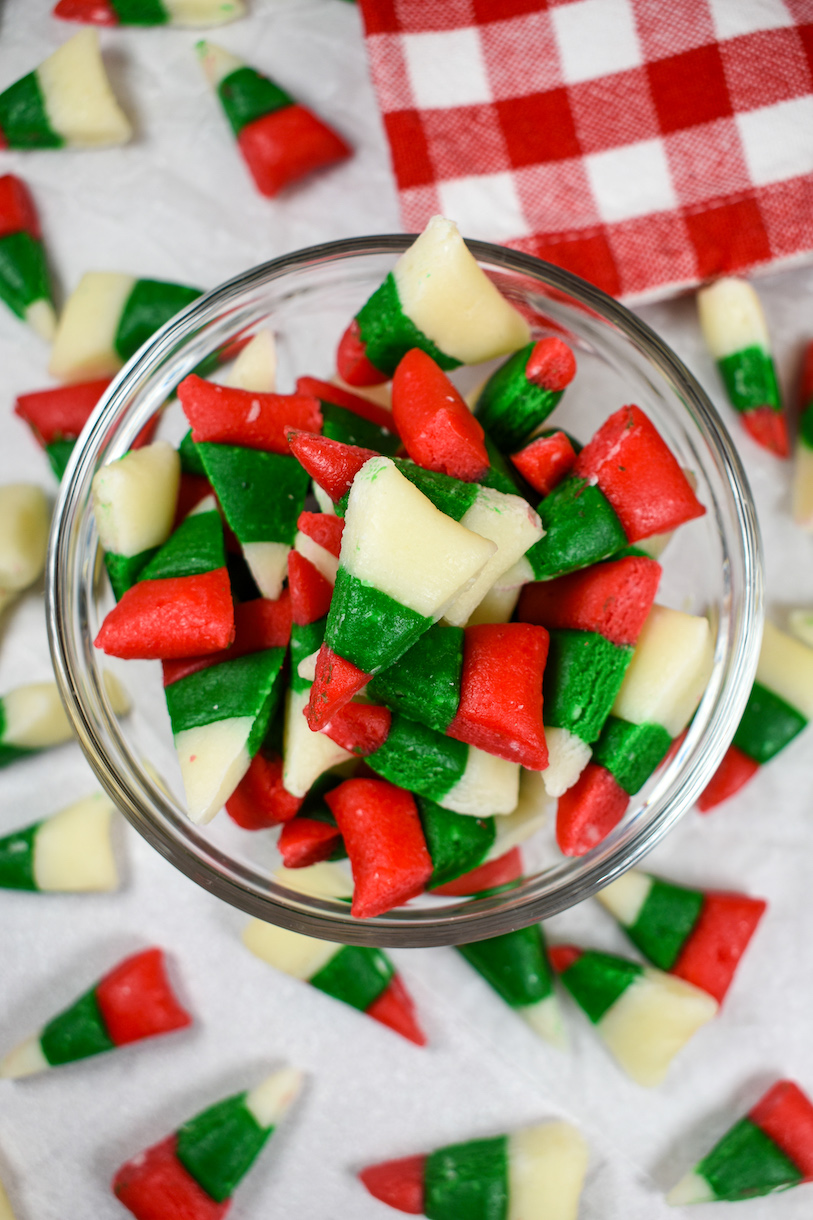
Christmas Candy Corn
This post may contain affiliate links. Please read the disclosure policy to learn more.
Thank you for supporting this blog!
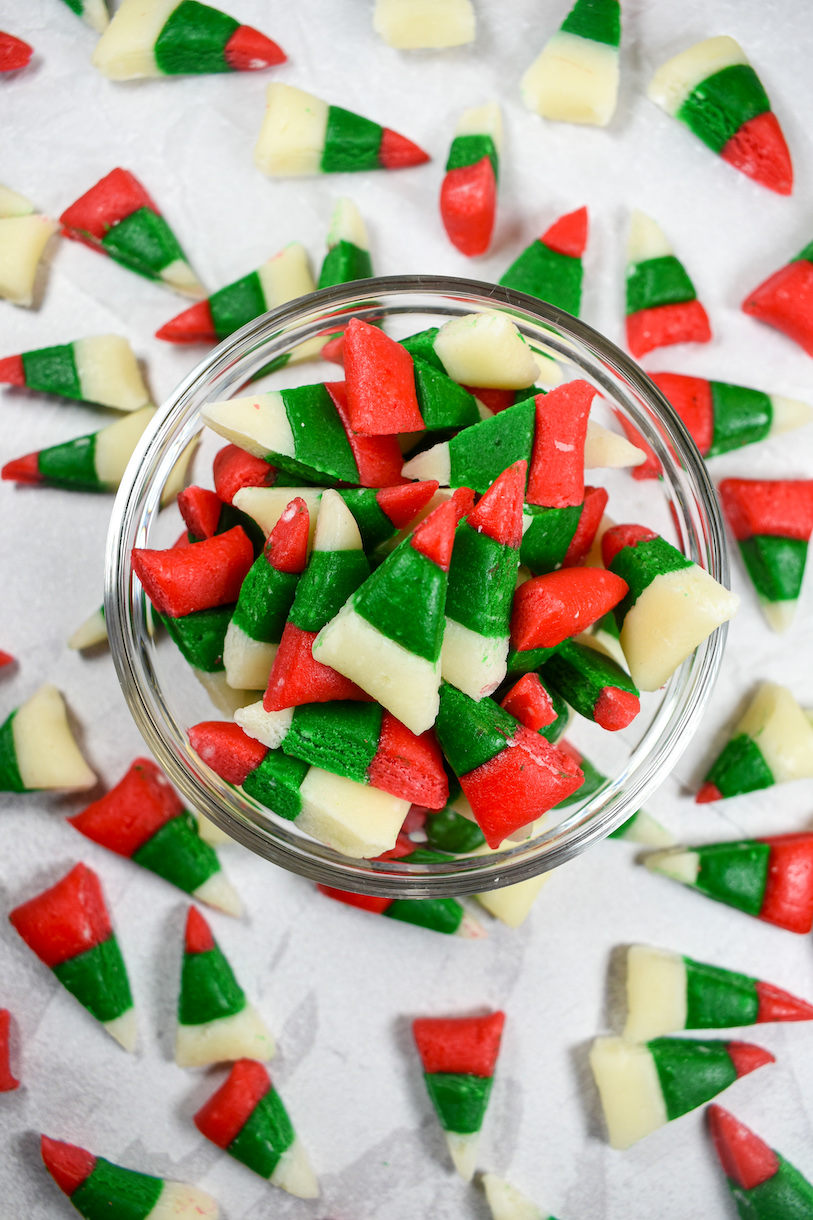
A Christmas candy corn recipe featuring classic holiday colors and a festive peppermint flavor. The best “reindeer corn” for Christmastime!

What Inspired This Christmas Candy Corn Recipe?
A few years ago, I started making homemade candy corn for Halloween. It’s fun to shape and pull, and tastes so much better than the bagged, store-bought stuff. I’ve even managed to win over a few candy corn haters.
This year I thought I’d adapt my Halloween recipe to feature a Christmas-friendly flavor and color palette. The result? This Christmas candy corn recipe (a.k.a. reindeer corn or reindeer corn candy, if you’re feeling cute!) made with sugar, corn syrup, powdered milk, and peppermint oil.
With just a handful of ingredients, a stock pot, a bench scraper, and a couple pairs of gloves, you can whip up this seasonal spin on a classic autumn treat. The red, white, and green kernels look great in candy jars or cookie tins; as a garnish for cookies, brownies, or cupcakes; or arranged on a tray beside the gingerbread cookies, sand tarts, and peppermint bark. You can also toss Christmas candy corn into a batch of white chocolate Christmas Chex mix for an extra pop of holiday color.
Ingredients for Making Christmas Corn Candy
To make your own candy corn for Christmas, start by gathering the following ingredients:
- Confectioner’s Sugar – You’ll need 135 grams (about 1 US cup) of confectioner’s sugar, also known as powdered sugar or icing sugar. Do not skip the sifting step! See my notes below.
- Dry Milk Powder – Powdered milk gives homemade candy corn its distinctive taste and texture. You can find dry milk powder in most supermarkets (it’s usually in the aisle with the tea and coffee), or puchase it from Amazon.
- Fine Sea Salt – Fine sea salt eliminates the cloying sweetness that you’ll sometimes find in store-bought candy corn.
- Granulated Sugar – Cooked together with corn syrup and butter until it reaches soft ball stage on a candy thermometer, granulated sugar creates the soft, taffy-like candy base.
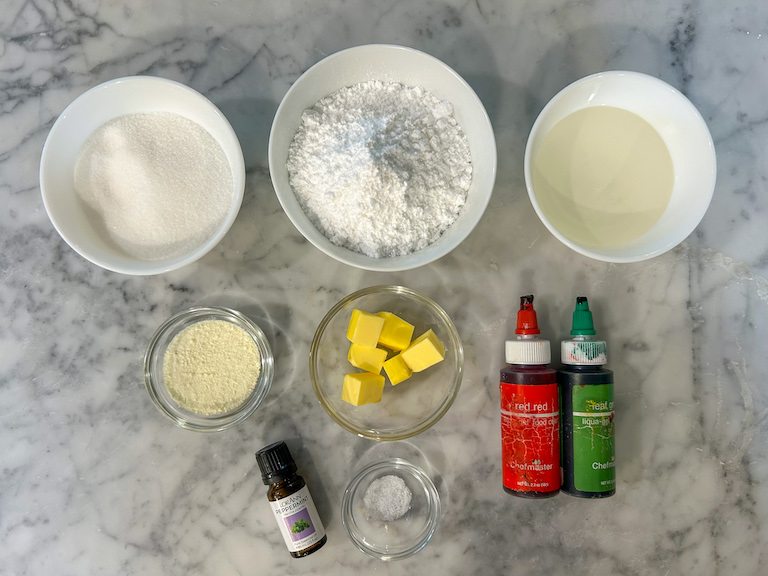
- Corn Syrup – You can use light corn syrup, such as Golden Barrel or Karo, or liquid glucose (I like the Dr. Oetker brand). I’ve tested this recipe with all of the above.
- Unsalted Butter – I prefer to use unsalted butter for candy corn. Omit the fine sea salt if substituting salted butter.
- Peppermint Oil – Opt for natural peppermint oil, not extract or flavoring. But remember that peppermint oil is very strong, so a few drops will go a long way. (You’ll have plenty of extra oil, so you can make other minty Christmas recipes like soft peppermints, peppermint marshmallows, candy cane cookies, or chocolate peppermint lollipops.)
- Gel Food Coloring – I used Chefmaster’s Leaf Green and Red Red gel food coloring to tint my dough.

Working with Hot Sugar
When working with hot sugar, I wear a pair of soft cotton gloves, with a pair of rubber gloves layered over top. The layers protect your hands from heat, food coloring, and sticky substances, all at the same time! In this recipe, the double gloves allow you to work with the dough while it is still hot and pliable. (The dough will stiffen as it cools, making rolling and shaping more difficult.)
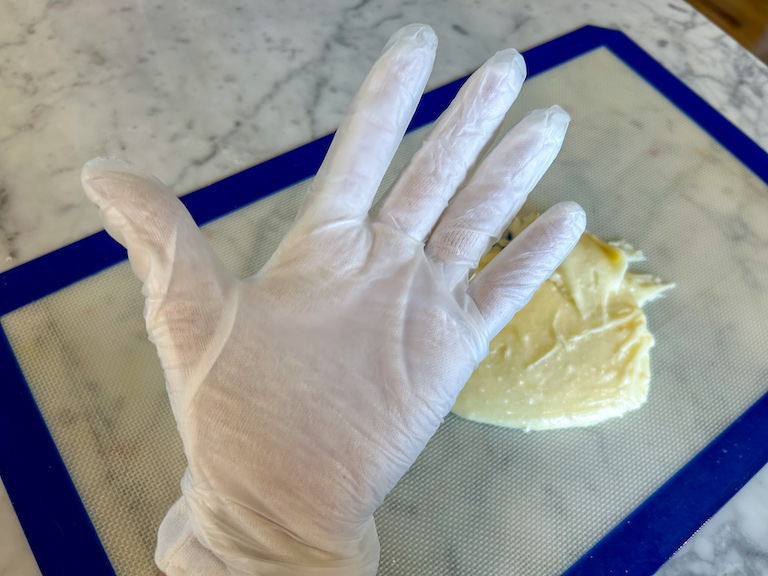
If you’re planning to do more candymaking in the future, go ahead and purchase both types of gloves in bulk. I use the same technique for making sugar sculptures, or working with pulled sugar to make hard candy like lemon drops or root beer barrels.
Recipe Tips and Tricks
Sift the sugar. Before getting started, take time to pass the confectioner’s sugar through a fine mesh sieve to remove any clumps or hard bits of sugar. Do not skip the sifting step, or you’ll notice dry white spots of sugar in your red and green dough.
Go easy on the peppermint oil. While superior to artificial extracts and oils, natural peppermint oil can quickly overpower the other ingredients in a recipe, so go sparingly! You won’t need more than a few drops to make perfectly minty candy corn.
Have a damp cloth at the ready. Periodically cleaning your bench scraper with a warm, damp cloth will make for cleaner cuts.
Keep the sugar warm. After making the soft, taffy-like sugar dough and tinting and flavoring it as desired, you’ll need to work quickly to shape it into your tricolored ropes of candy corn. The longer the dough cools, the more prone it will be to cracking and breaking. If you find that the sugar cools too quickly, rewarm it very briefly (just a few seconds at most!) in the microwave, or place the ropes on a tray and pop it into a 300° F oven for 15-20 seconds, or until malleable.
Helpful Tools and Ingredients for Making Candy Corn for Christmas
You won’t need much in the way of fancy tools or equipment, but these items will make the candy corn-making process easier (and they’re great to have on hand for other baking recipes, too!)
- Mesh Sieve – As mentioned above, it is very important to pass the confectioner’s sugar through a fine mesh sieve to remove clumps, lumps, and hard pieces of sugar.
- Bench Scraper – For cutting the strips of candy corn dough into triangles. I prefer the precision of a metal bench scraper, but plastic will also work in a pinch. And if you don’t have a bench scraper you can use a sharp paring knife, but you’ll need to transfer the ropes of dough to a cutting board to prevent damaging your silicone mat.

- Candy Thermometer – Temperature plays a key role in candymaking—too hot and you’ll make hard candy or brittle; too cold and your candy corn won’t firm up. My go-to is this Taylor digital thermometer.
- Silicone Mat – You’ll need a large silicone mat for pouring and rolling the hot sugar mixture.

Make-Ahead and Storage Suggestions
Christmas candy corn will stay fresh for at least 3 weeks when stored in an airtight container at room temperature.
I suggest layering the pieces between sheets of parchment or wax paper to prevent the “kernels” from sticking together.
Other Christmas candy recipes you might enjoy:
Peppermint Christmas Lollipops
Old Fashioned Hard Candy
Festive Cranberry Jelly Candy
Peppermint Marshmallows
Candy Cane Truffles
Christmas Tree Brownies
And if you do make these, or any or any of my recipes, don’t forget to tag me @bastecutfold or use the hashtag #bastecutfold on Instagram. I always love to see what you’re making!


Christmas Candy Corn
- Total TimeAbout 1 1/2 hours
- Yield300 grams (about 1 1/2 - 1 3/4 US cups) 1x
A Christmas candy corn recipe featuring classic holiday colors and a festive peppermint flavor.
Ingredients
135 grams confectioner’s sugar (1 cup), sifted
15 grams dry milk powder (2 tablespoons)
1/8 teaspoon fine sea salt
105 grams granulated sugar (1/2 cup)
100 grams light corn syrup or liquid glucose (1/3 cup)
30 grams unsalted butter (2 tablespoons)
1-2 drops natural peppermint oil, or to taste
Green gel food coloring
Red gel food coloring
Instructions
Line countertop with a large silicone baking mat.

In a mixing bowl, whisk together the confectioner’s sugar, milk powder, and fine sea salt. Set aside.

In a large saucepan or stock pot, combine the granulated sugar, liquid glucose, and butter. Stir until sugar dissolves, then stop stirring.

Cook over medium heat, without stirring, until mixture reaches 240° F on a candy thermometer, about 2 minutes.

Remove from heat and stir in the peppermint oil.

With a heat-resistant spoon or silicone spatula, stir in the dry ingredients until fully incorporated.


Pour mixture out onto prepared silicone mat.

Allow to cool for 3-5 minutes or until just cool enough to handle. Meanwhile, layer on your cotton gloves and rubber gloves.
Divide sugar into 3 portions. Tint 1 portion with red gel food coloring and 1 portion with green gel food coloring and knead to evenly distribute the color.

Roll two ropes of each color, each about 1/2-inch wide and 16-18 inches long. Smush the ropes together, creating two red-white-and-green-striped strips.

Use your fingertips to smooth the tops of the ropes, then flip them over so the smoother bottom sides become the top. With a bench scraper, cut the ropes into triangles, each about 1/2 inch at the widest part.


Allow to dry, uncovered, for 1 hour.

Store homemade candy corn in an airtight container, layered between sheets of parchment or wax paper, for up to 3 weeks.


Notes
Before getting started, take time to pass the confectioner’s sugar through a fine mesh strainer. Siting will remove any lumps or hard bits of sugar, preventing white spots from forming in your colored candy corn.
- Prep Time: 30 minutes
- Category: Candy and Confectionery
- Method: Stovetop