Easy Easter Brownies with Buttercream
This post may contain affiliate links. Please read the disclosure policy to learn more.
Thank you for supporting this blog!
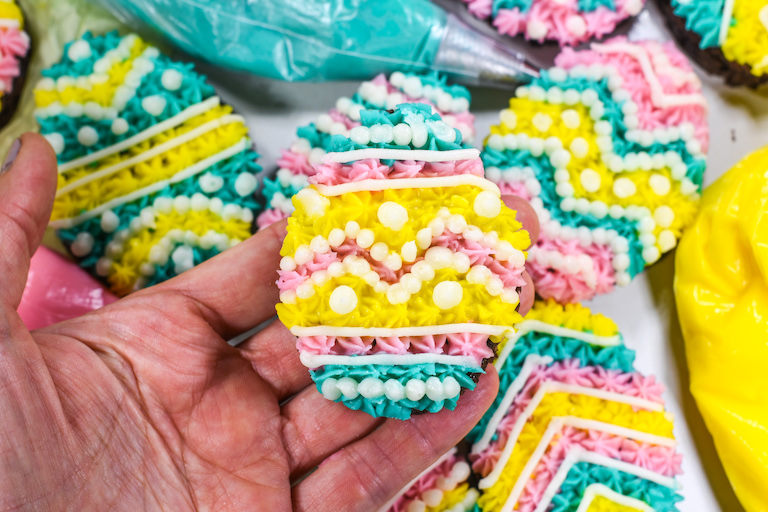
Made from boxed brownie mix and decorated with creamy homemade buttercream frosting, these semi-homemade, easy Easter brownies are fun to prepare, and a delightfully colorful addition to any dessert table. They’re the perfect Easter baking project for kids and adults to make together, without the hassle of making brownies from scratch!
What Makes these Easy Easter Brownies Great?
Although I love a good homemade brownie as much as the next person, this recipe begins with a mix instead. What does that mean? It makes the baking part of this recipe super easy, so you can skip straight to the decorating. Because let’s face it, this recipe is really all about the buttercream.
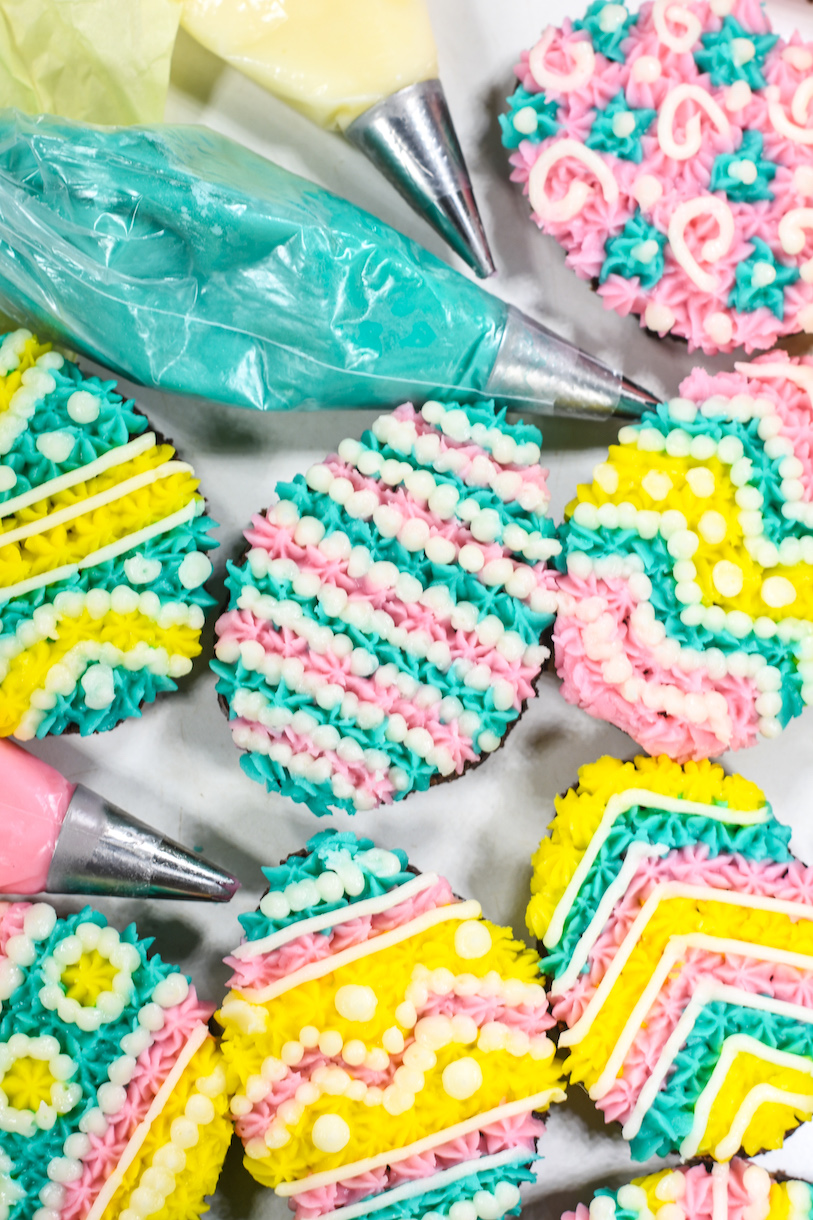
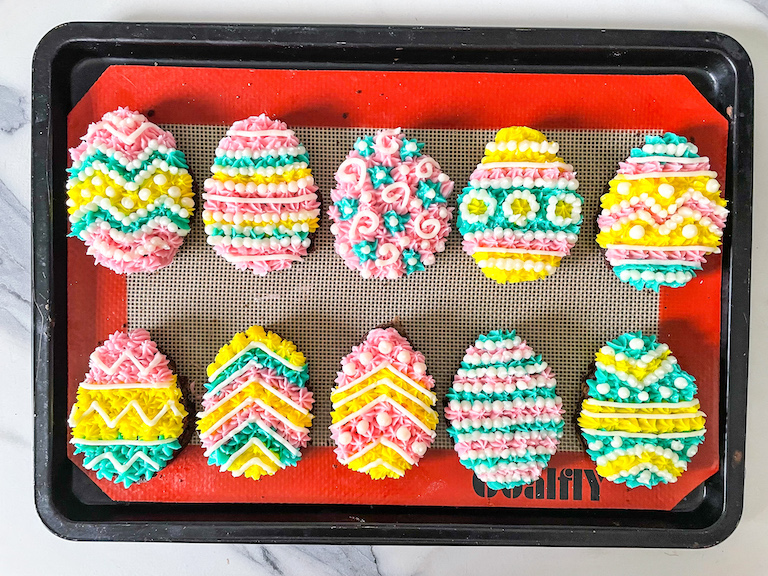
Not only do these cute Easter brownies come together easily, but the pretty pastel colors look lovely when arranged on a plate or dessert tray, or gifted to friends and family. You can even present your decorated brownies on a tray with with other pastel-colored homemade Easter treats, like buttercream eggs, cream cheese peppermints, or mini egg blondies.
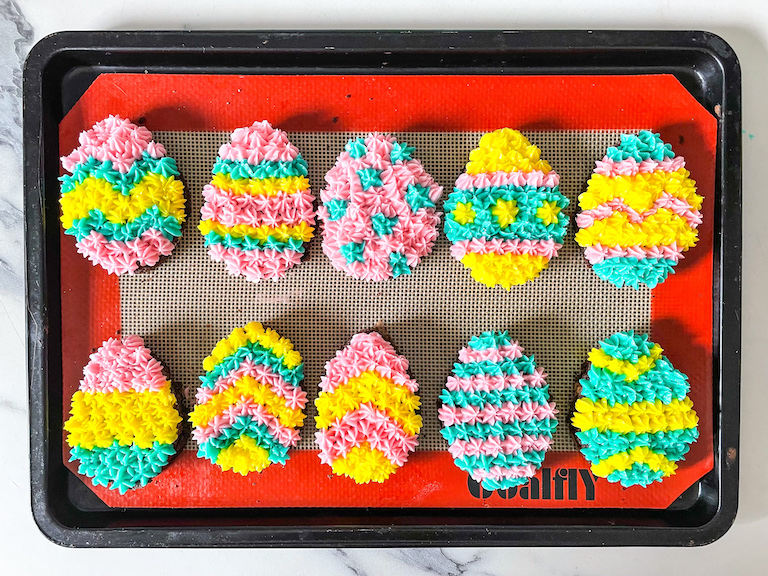
It’s also fun to customize these Easter egg shaped brownies. Choose any buttercream colors you’d like, vary the piping tip shapes and sizes, add Easter sprinkles. See below for some decorating inspiration, and ideas to make these eggs your own. (You can adapt this recipe for other holidays, too, as I’ve done with these Christmas tree brownies.)
Finally, these buttercream brownies make a fun family project, and they’re a great activity for an Easter event, birthday party, or Sunday school class. If decorating these with children, I suggest preparing and cutting the brownies in advance, and pre-portioning the buttercream into piping bags. Then, place the components on (covered) tables, along with bowls of sprinkles, and just let the kids go to town.
Tools and Ingredients for Making Easter Egg Brownies
You’ll find the following tools and ingredients useful when preparing Easter egg brownies:
- A set of fondant tools, for touching up details and correcting mistakes.
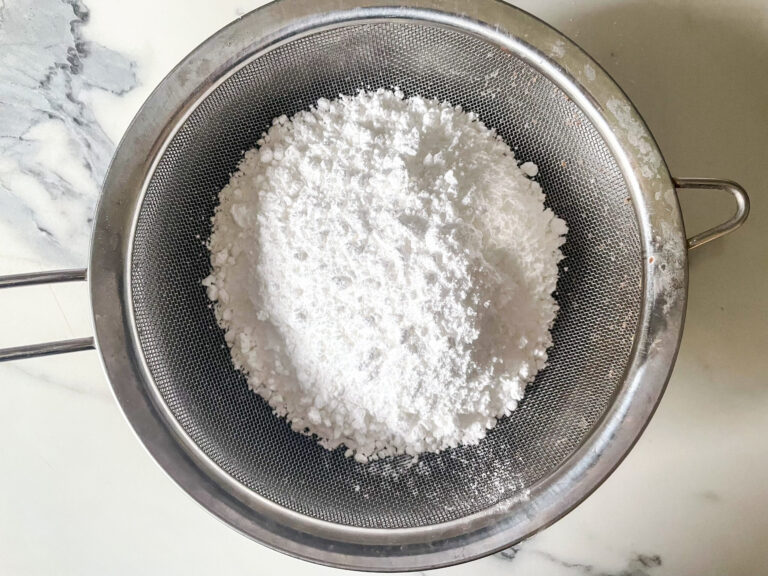
- A mesh sieve to sift the confectioner’s sugar. Do not skip this step, or you’ll have lumpy buttercream. (Which will be especially obvious when it clogs your tiny piping tips!)
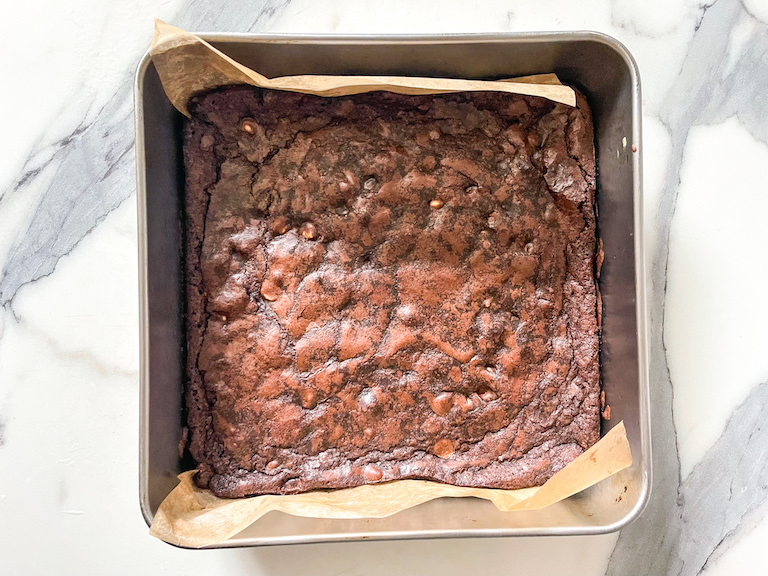
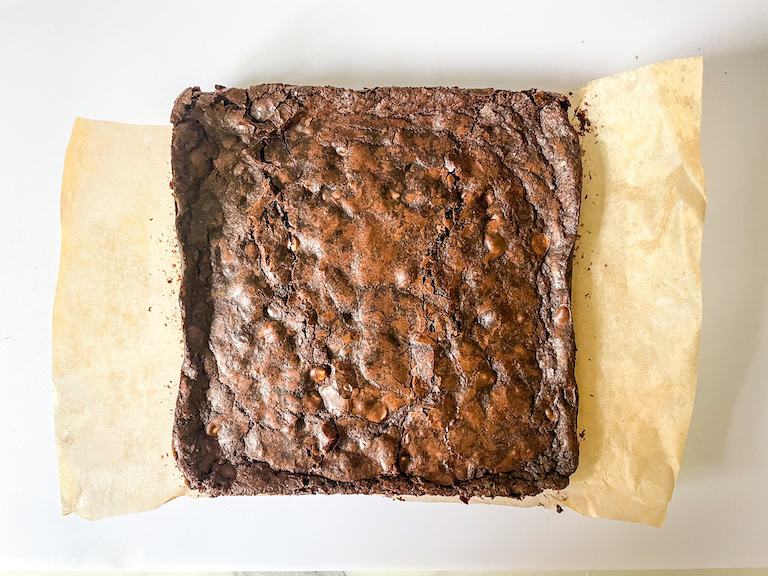
- Parchment is a must. A parchment-lined tin makes it easier to remove the baked brownies in one unbroken square. (this maximizes the amount of space for cutting out your eggs.)
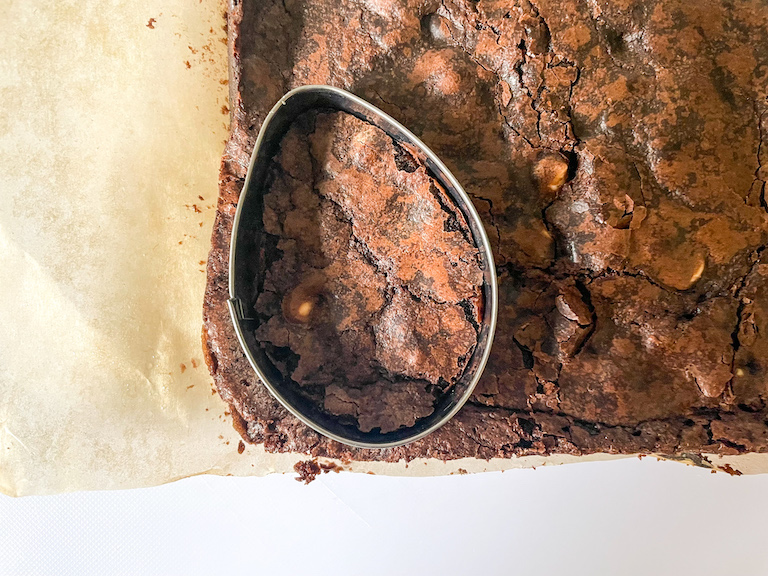
- An egg shaped Easter cutter, approximately 2 – 3 inches in size. (I used the egg from this set of Easter cutters.) You can make your eggs slightly bigger or smaller if desired. (Although don’t go too small unless you’re comfortable piping teeny tiny details!) Remember that the recipe yield will vary depending on the size of the cutter you’ve chosen.
- Gel food coloring to tint the buttercream. These buttercream eggs won’t be very exciting if they’re entirely white. See my notes on food coloring, below.
- And of course, piping bags and tips are a must for making these cute Easter brownies. Read on for details!
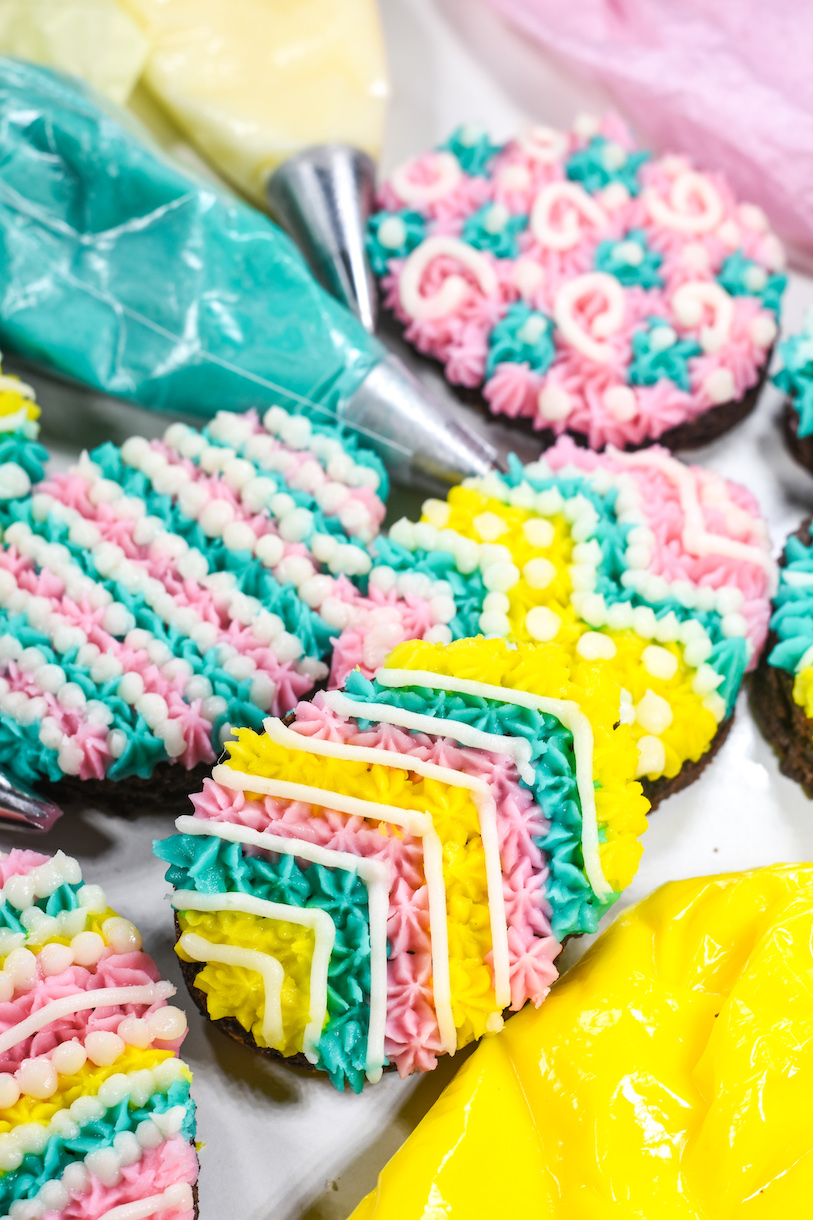
Piping Tips (and Piping Tips!)
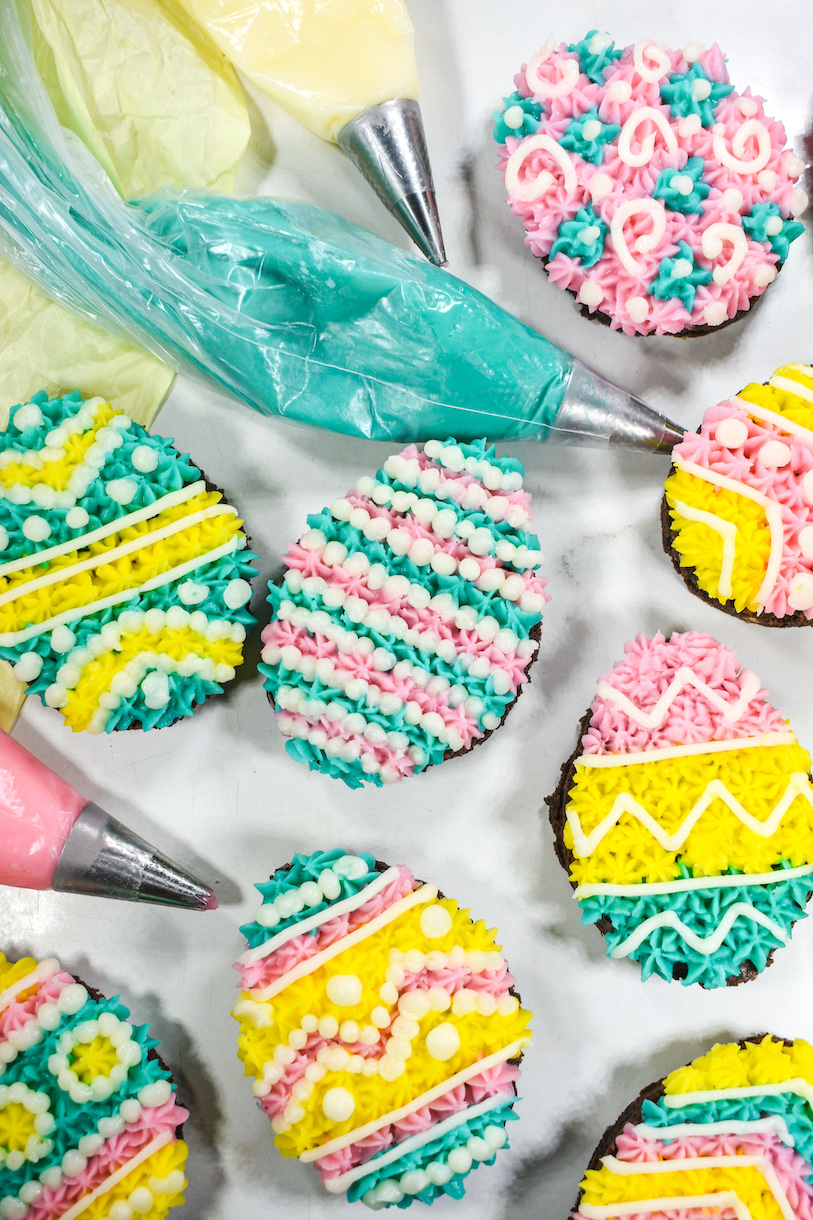
You will need disposable piping bags and a set of small piping tips to make these cute Easter brownies.
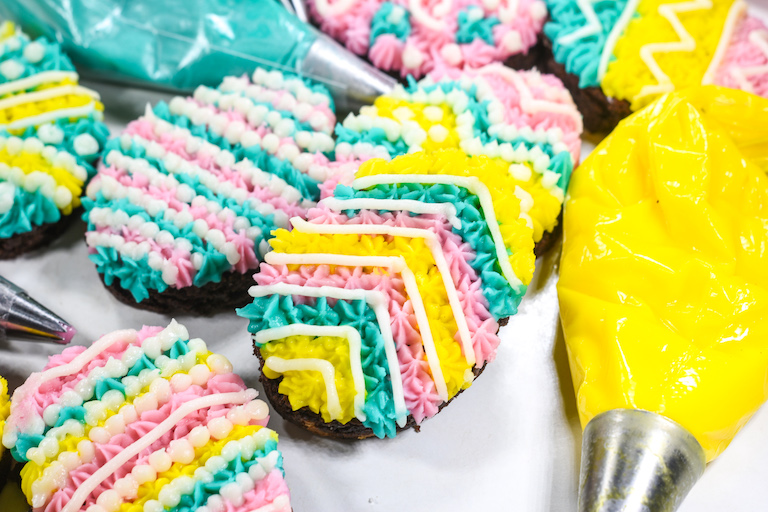
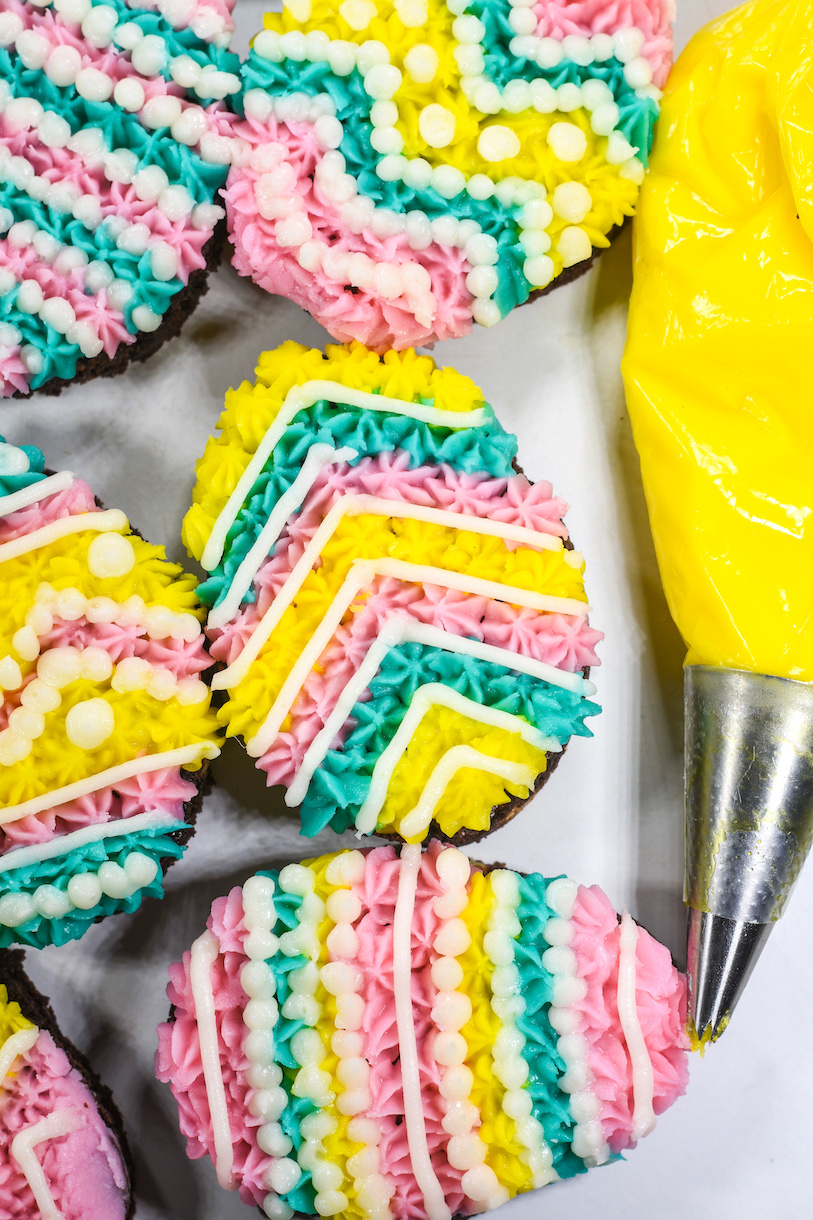
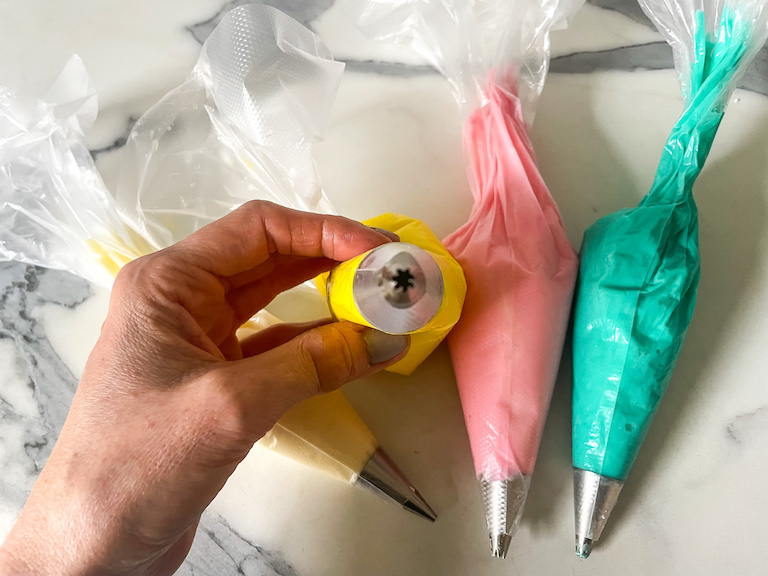
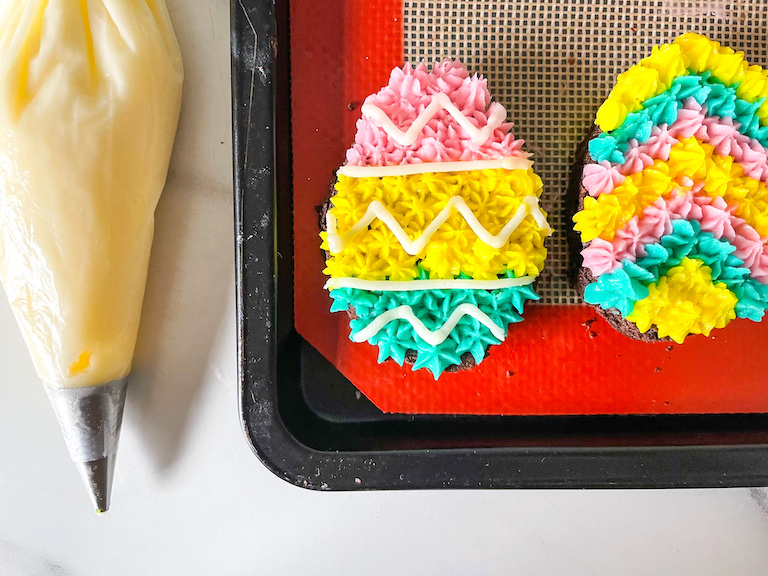
In testing, I found it easiest to use a repeated, up-and-down motion to pipe small stars, using tiny (approximately 1/4-inch) star piping tips, to create the colored buttercream patterns. If preferred, you can also pipe dots of colored buttercream with a similarly-sized round piping tip. For the white decoration, I fit a fourth piping bag with a tiny (about 1/8-inch) round writing tip.
If planning to decorate these Easter brownies with younger children, you can opt for larger piping tips. Your decorations won’t look quite as elegant, but large piping tips will allow kids to pipe the frosting on their own.
I highly suggest using a separate piping tip (fitted with a disposable piping bag) for each buttercream color, rather than attempting to wash and reuse the same tip over and over again. Having a separate piping bag and tip for each color will give you the freedom to alternate the buttercream colors as you work.
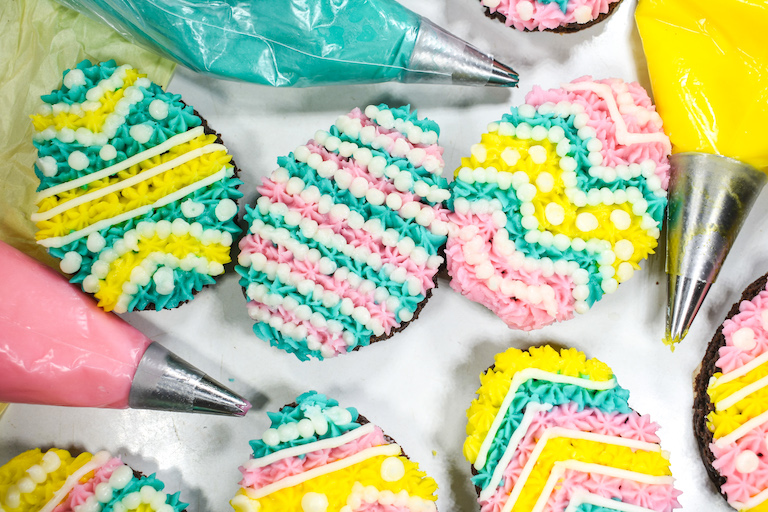
Coloring the Buttercream to Decorate These Easy Easter Brownies
I used Chefmaster‘s gel food coloring in three different shades: Lemon Yellow, Turquoise, and Neon Brite Pink. I kept the fourth buttecream white, and added delicate white piped details on top of the colored buttercream.
You can use any colors you’d like, and certainly make more or less than four colors if desired. As written, the buttercream recipe will give you plenty of frosting to decorate egg-shaped brownies cut from a 9 x13-inch pan, so especially if you’re making an 8 x 8-sized batch, you’ll have enough buttercream to make a few extra colors.
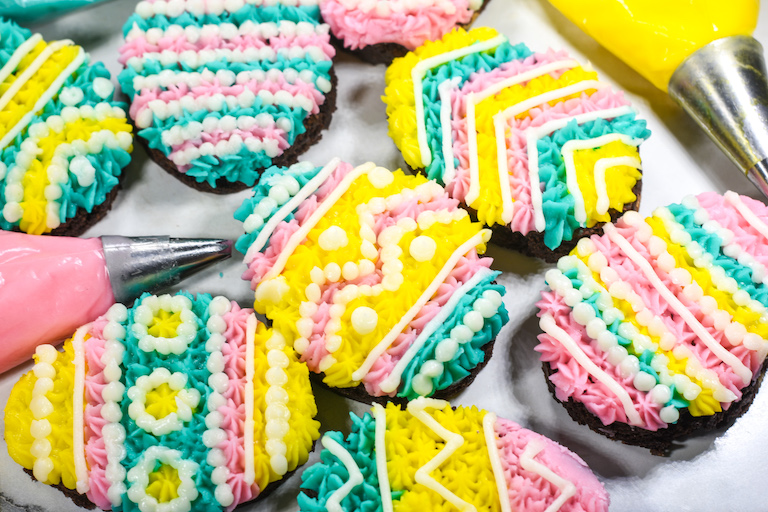
Decorating Brownies for Easter, Your Own Way
I’ve decorated my Easter eggs with my favorite colors and patterns, but it’s easy make this baking project your own. For instance, I flavored my homemade buttercream with vanilla, but you can substitute another spring-inspired flavoring, such as strawberry, lemon, coconut, bubblegum, or cotton candy.
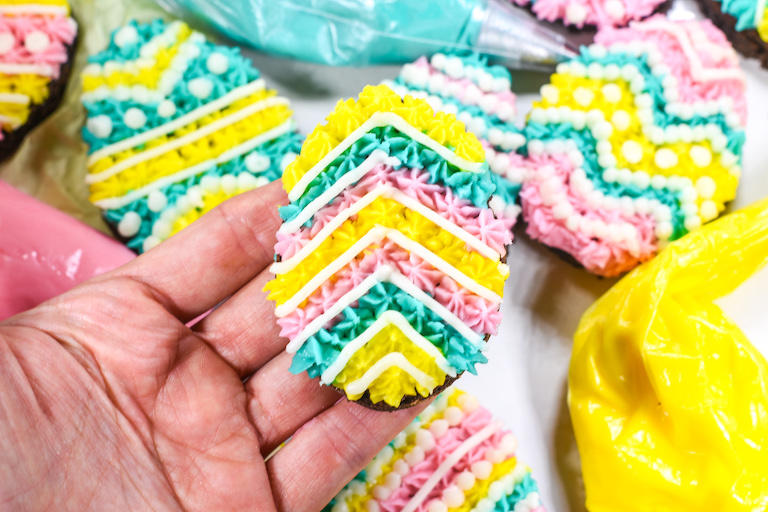
For designs, feel free to copy my examples, or come up with your own. Stripes, zigzags, dots, and diagonal lines are all fairly easy to pipe. With the white buttercream, you can embellish with details such as outlines, swirls, dots, and borders. If you’re comfortable writing with a fine piping tip, you can also add simple words or phrases (like “Happy Easter” or “welcome spring,” or names if making these as gifts or party favors) to the tops of your brownies. Or, include additional decorations, such as Easter sprinkles, pastel nonpareils, or a dusting of edible glitter.
Note that I’ve based the decorating time (given in the recipe below) on the amount of time I spent decorating the eggs shown in the photos. Your timing may vary, depending on how many eggs you’ve made, how adept you are with a piping bag, and how complex or detailed you make the buttercream decorations.
Shortcuts and Make Ahead Suggestions
Allow time for the brownies to cool completely before cutting out the egg shapes and piping the buttercream. (If you attempt to decorate while your brownies are still warm, the frosting will melt.) I suggest making the tin of brownies the night before, then cutting and decorating the next morning. You can do everything in the same day, but allow to the brownies to cool for at least four hours in the tin before proceeding with the cutting step.
While I love baking brownies from scratch, I’ve opted to use a box mix for this Easter egg brownies recipe. (Because let’s face it, this one is aaallll about the decorations—might as well skip straight to the fun part!) If you want to make all of the components from scratch, feel free to do so using your favorite brownie recipe.
If desired, you can bake the brownie slab in advance, cut it into eggs. Then, freeze the eggs in an an airtight container layered between sheets of parchment. When ready to decorate, simply thaw the eggs at room temperature, then make the buttercream and decorate as per the instructions below.
Storing Buttercream Easter Brownies
To prevent smushing pretty buttercream decorations you’ve worked so hard to pipe, be sure to store the decorated brownies on a plastic wrap-covered tray, or in a single layer in an airtight container. (If gifting, choose a box or tray where you can arrange the brownies in a single layer. Even once set, the buttercream will remain soft, not hard like royal icing, so these brownies should not be stacked or layered on top of each other.)
I’d suggest keeping the leftovers for a maximum of 2-3 days. These won’t spoil, necessarily. However, I found that the brownies became a bit stale and (and the buttercream slightly crunchy) when I kept them beyond this point.
Notes On Brownie Mix and Pan Sizes:
You can make these Easter egg brownies using a boxed mix designed for an 8 x 8-inch square tin, or a 9 x 13-inch rectangular tin. I made mine using an 8 x 8. Brownie mixes in the UK are generally designed for smaller pans, but “family size” mixes are more readily available in the US. Either one will work!
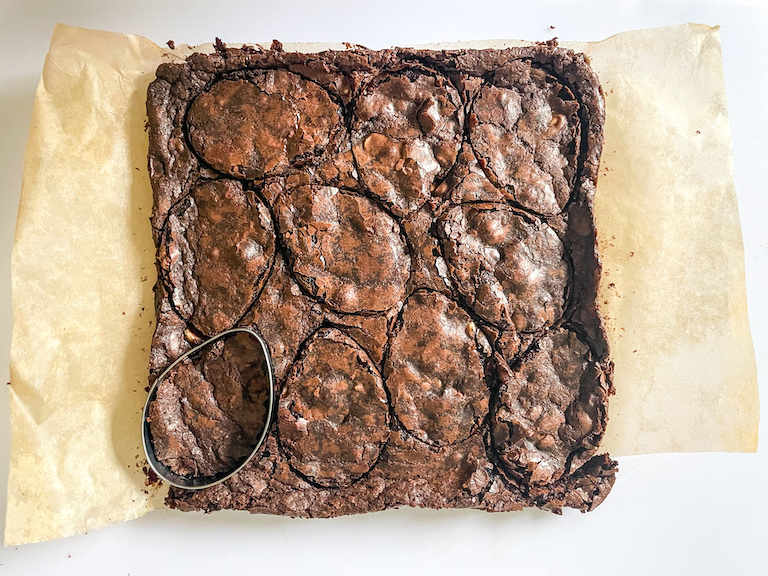
With an 8 x 8 tin, this recipe will yield approximately 10 – 12 Easter egg brownies. If using a 9 x 13 tin, you’ll end up with about18 – 20 eggs. Keep in mind that the exact yield will depend on the size of your cookie cutter. How meticulously you’ve positioned your cutter to minimize waste will also change the recipe yield. You might also need to trim away uneven edges, which means less space for cutting the eggs.
As written, this recipe will make enough buttercream frosting to decorate a 9 x 13-sized batch of eggs. If you make your brownies in a smaller tin, feel free to halve the buttercream recipe. Or, save the leftover frosting and use for another project. You can decorate cupcakes, sugar cookies, or other Easter treats, or fill a batch of macarons.
Other Easter recipes you might enjoy:
Buttercream Easter Eggs
Peanut Butter Eggs
Mini Egg Cookies
Cream Cheese Peppermints
Easter Bird’s Nest Krispie Treats
Hot Cross Buns
Bunny Tail Easter Truffles
Italian Easter Cookies
And if you do make these, or any of my recipes, don’t forget to tag me @bastecutfold or use the hashtag #bastecutfold on Instagram. I always love to see what you’re making!
Print
Easy Easter Brownies
- Total Time2 hours (plus baking and cooling time)
- Yield10-20 eggs (see notes) 1x
Made with box mix and homemade buttercream frosting and decorated to like eggs, these easy Easter brownies are sure to delight. The perfect Easter baking project for kids and adults to do together, without the hassle of making brownies from scratch!
Ingredients
1 box* brownie mix, prepared according to package directions and cooled overnight
113 grams unsalted butter, softened (1/2 cup / 1 stick)
470 grams confectioner’s sugar (about 3 1/2 cups)
3 tablespoons whole milk, plus more to adjust consistency
1 teaspoon vanilla extract
Gel food coloring (I used Lemon Yellow, Turquoise, and Neon Brite Pink)
Instructions
Prepare brownie mix according to package directions. (Be sure to line your tin with parchment, which will make it much easier to transfer the baked brownies to a cutting board.) Allow brownies to cool completely, at least 6-8 hours or overnight.
Buttercream:
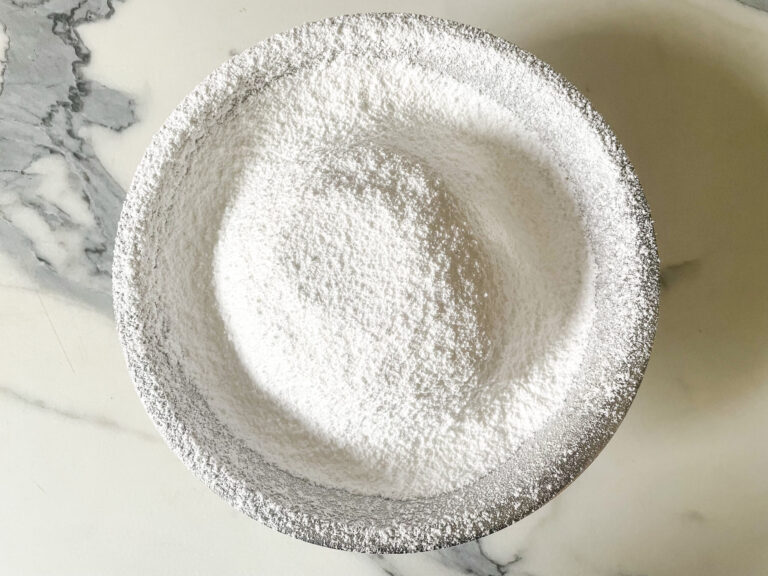
Sift the confectioner’s sugar to remove any lumps.
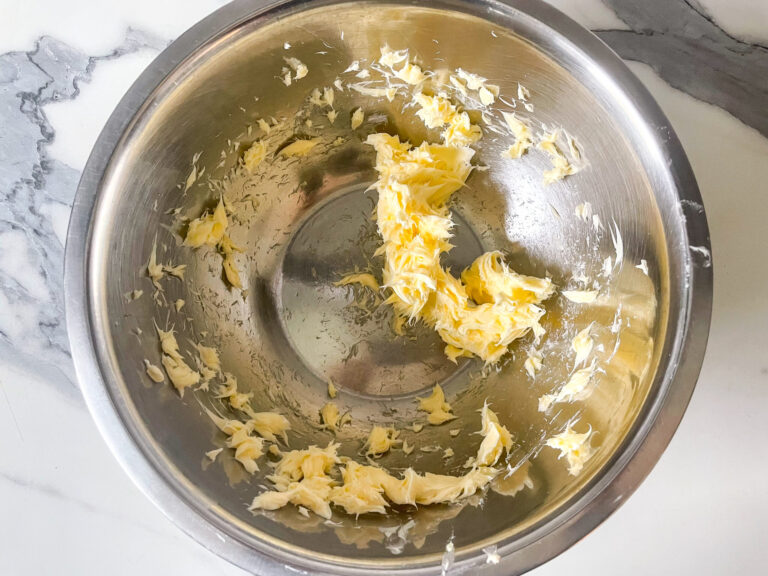
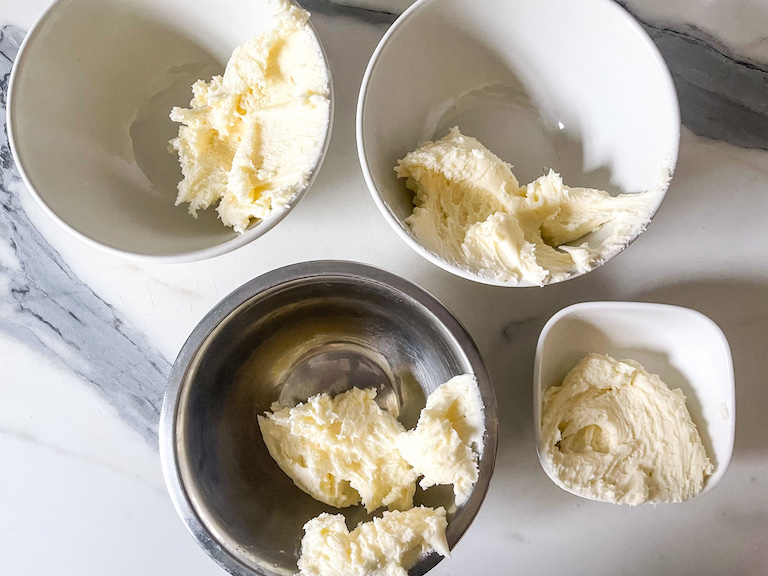
In a large bowl or the bowl of a stand mixer, whip the softened butter on high speed until light and fluffy.
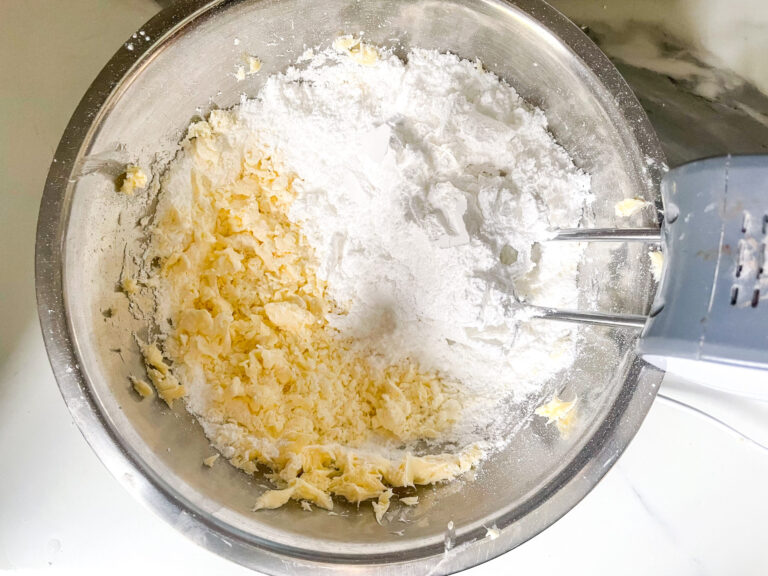
Add the confectioner’s sugar, 1/2 cup at a time, alternating with the milk and mixing well after each addition.
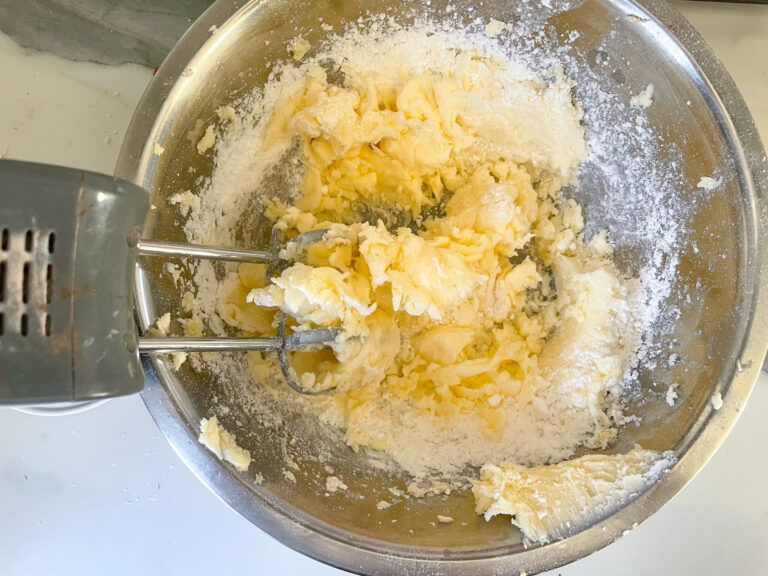
If necessary, add a bit more milk or confectioner’s sugar to adjust the consistency. (The buttercream should be thick rather than runny or watery, but still thin enough to pipe with ease.) Mix in the vanilla extract.
Divide into four portions.
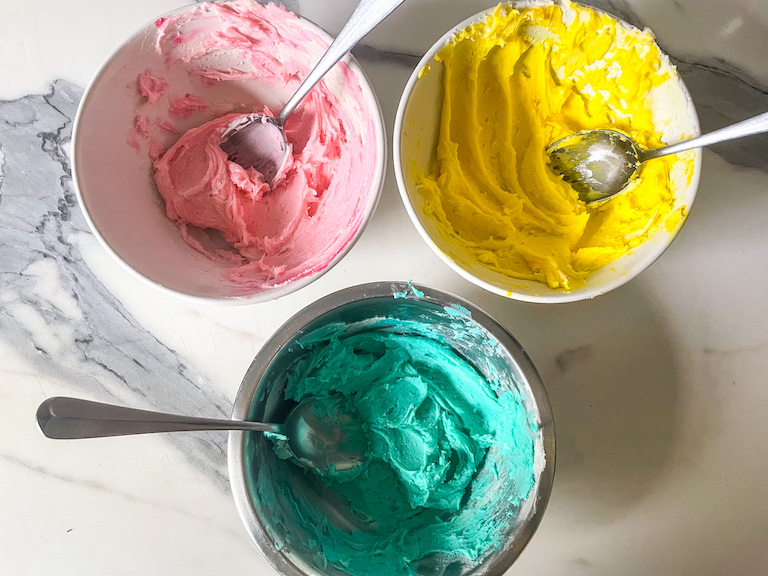
Tint three bowls with gel food coloring (I chose pink, blue, and yellow, but feel free to use any colors you’d like!), and leave the other bowl white.
Decoration:
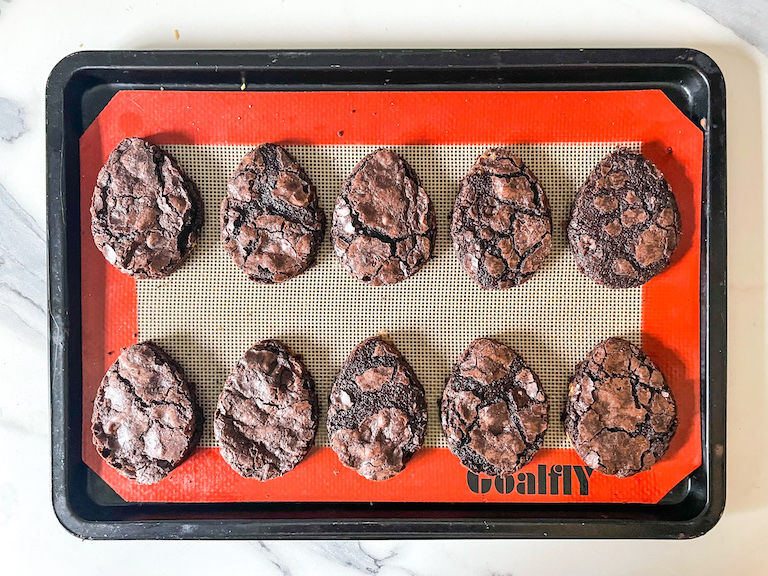
Line a tray with parchment, wax paper, or a silicone baking mat.
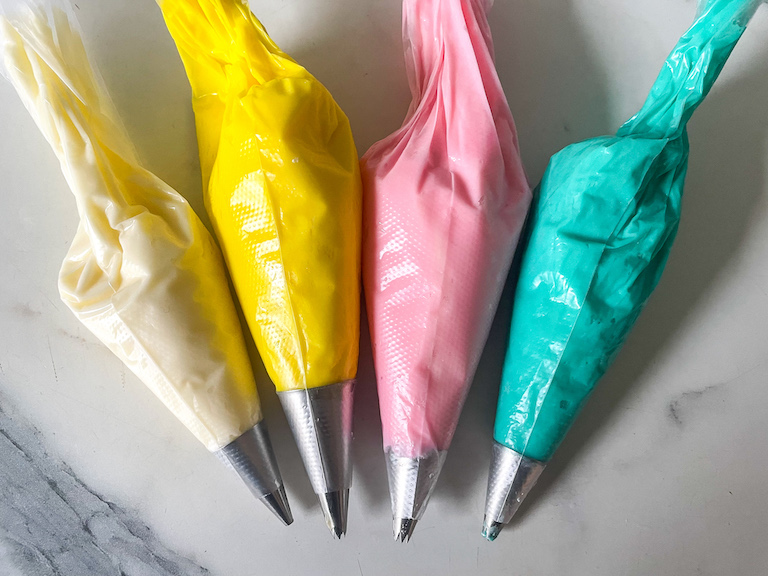
Fit three disposable piping bags with tiny (approximately 1/4-inch) star piping tips. (You can use open or closed star, or a mix of both!) Fill with the colored buttercream. Fit a fourth bag with a tiny (about 1/8-inch) round writing tip, and fill with the white buttercream.
Lifting by the parchment, remove the cooled brownie slab from the tin. Place on a large cutting board.
With a 2 x 3-inch egg shaped cookie cutter (I used the egg from this set of Easter cookie cutters), cut the slab into eggs.
Transfer to prepared tray.
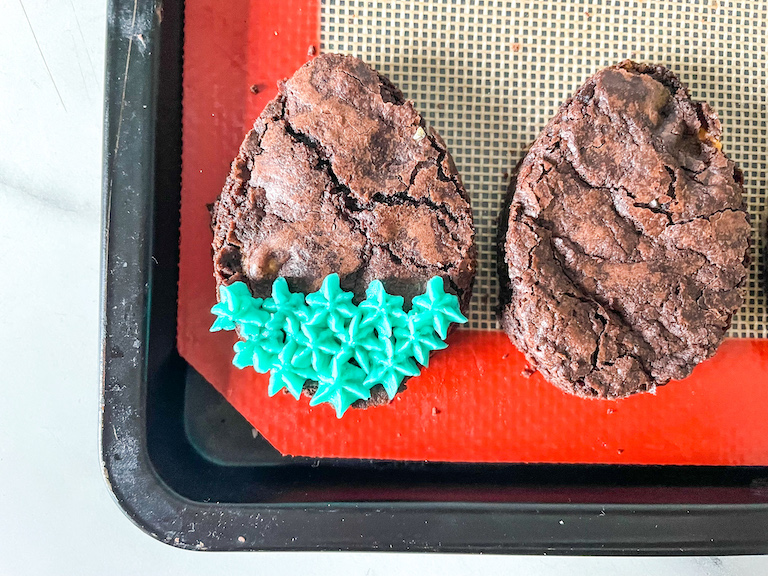
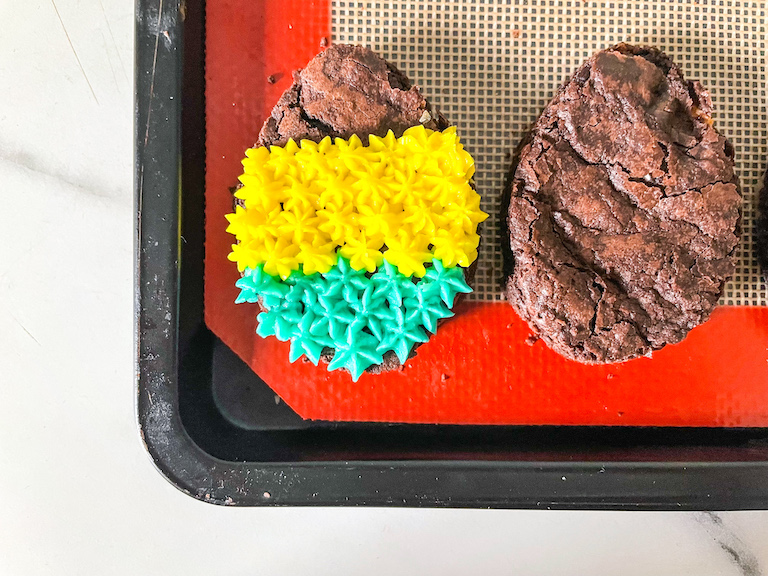
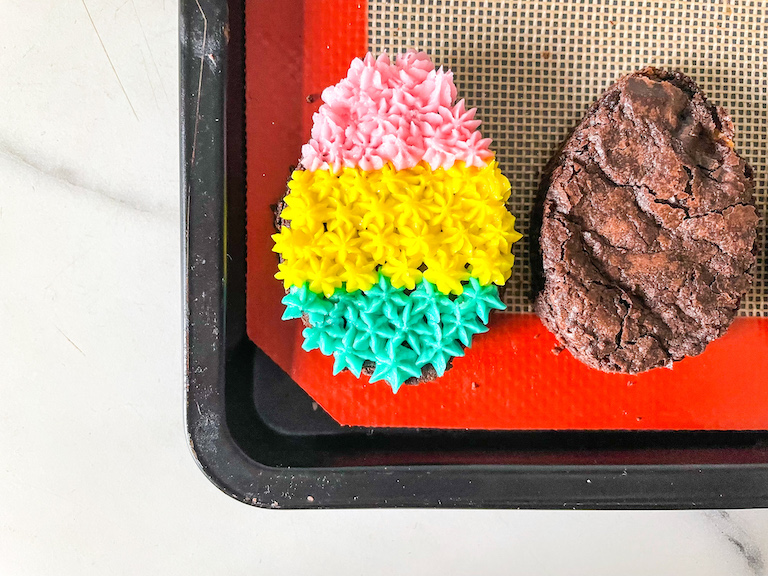
Using an up-and-down motion to create small individual stars, pipe desired patterns with the colored buttercream. (Feel free to copy my examples, or design your own!) Stripes, zigzags, dots, and diagonal lines are all easy to pipe.
With the white buttercream, add details such as outlines, swirls, dots, and borders. If desired, you can also add simple text to your eggs.
Serve immediately.
Store leftover brownies in a single layer in a parchment-lined airtight container at room temperature for up to three days.


Notes
*See pan size notes in post above.
- Prep Time: 2 hours (plus brownie baking time)
- Cooling time: 6-8 hours, or overnight
- Cook Time: As per package directions
- Category: Brownies and Traybakes
- Method: Oven