This post may contain affiliate links. Please read the disclosure policy to learn more.
Thank you for supporting this blog!
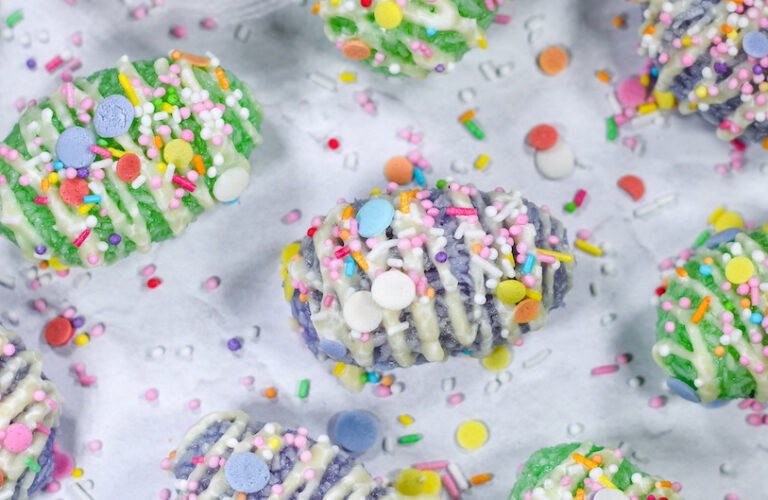
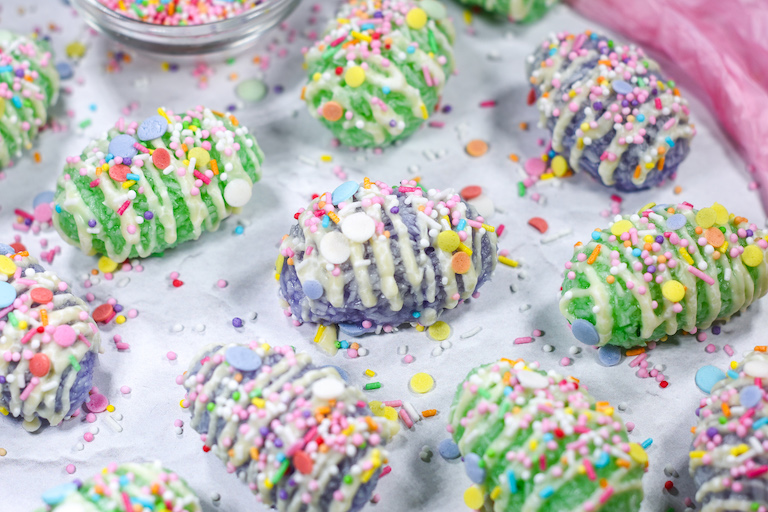
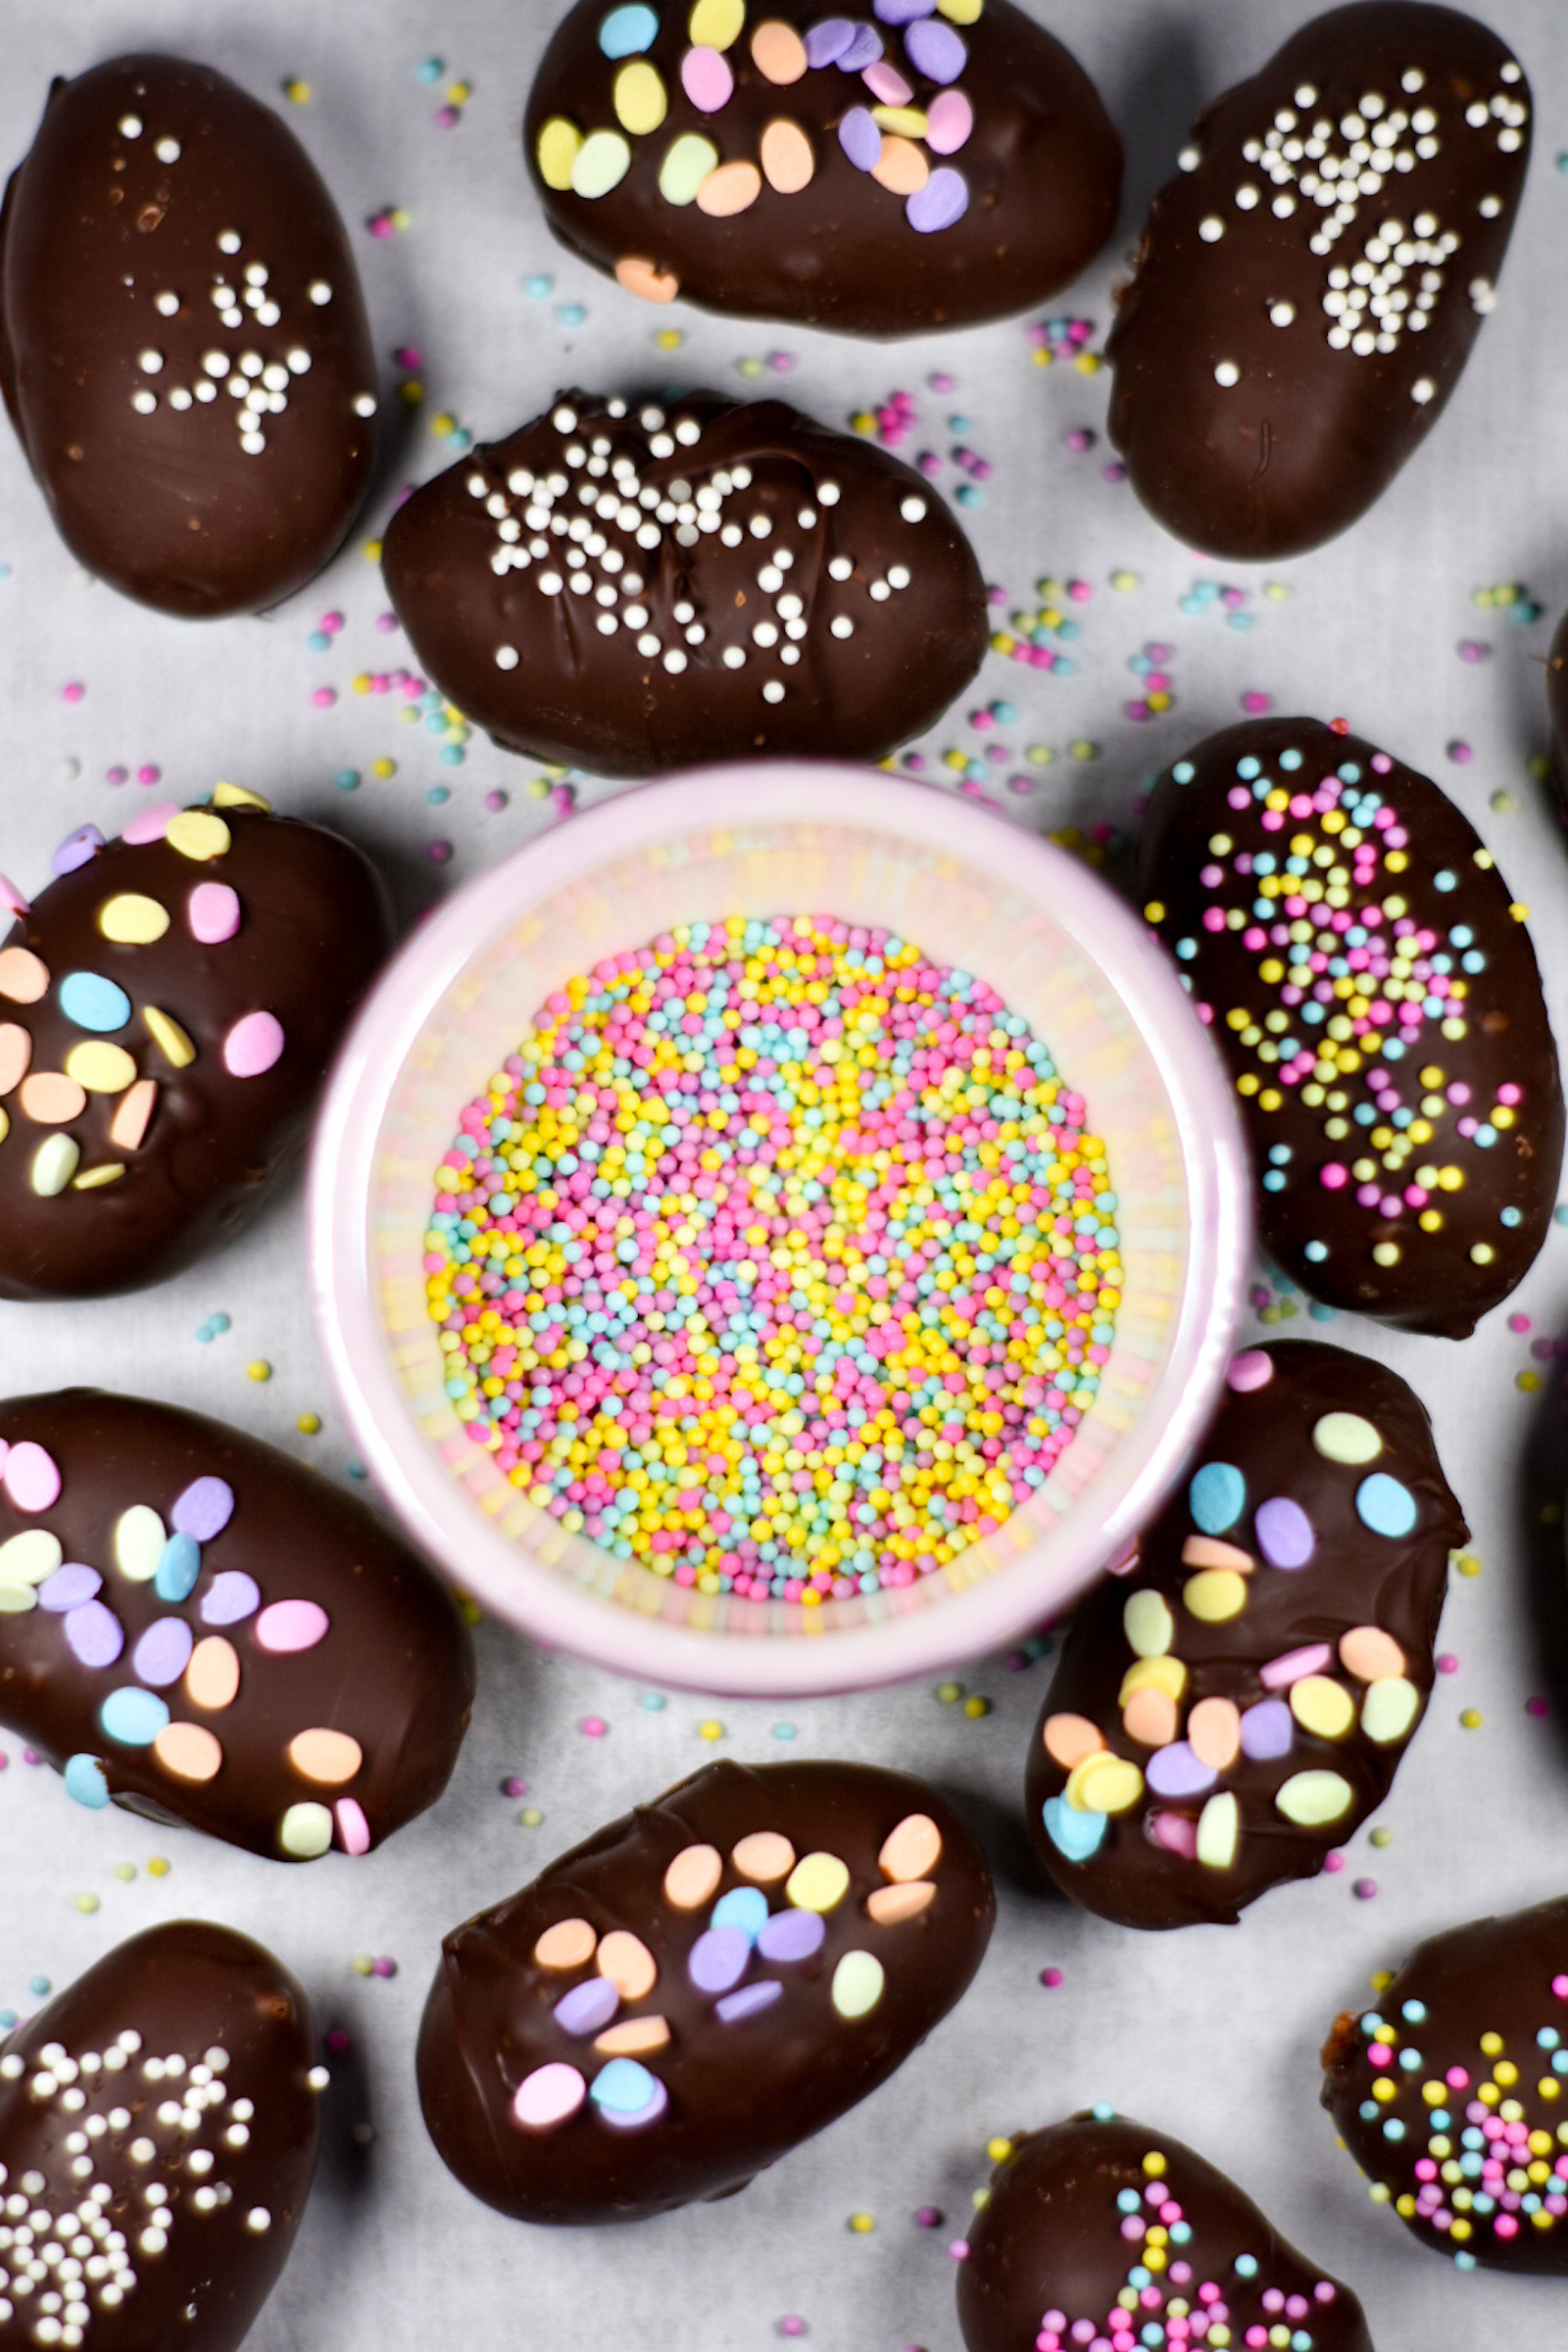
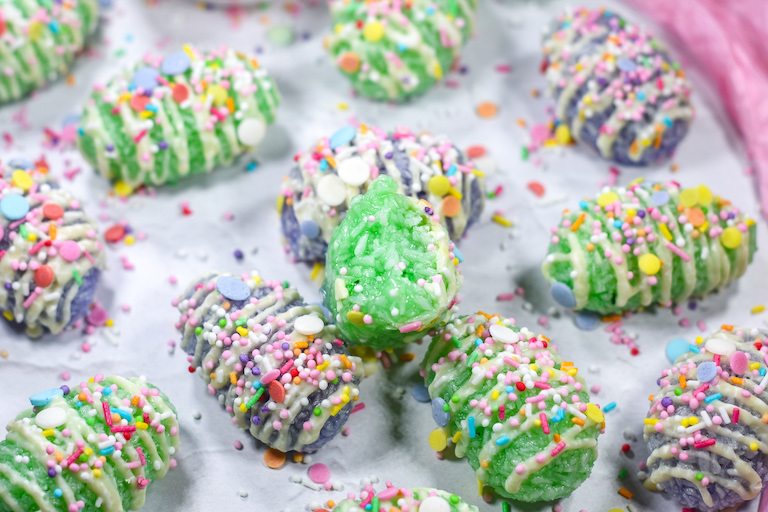
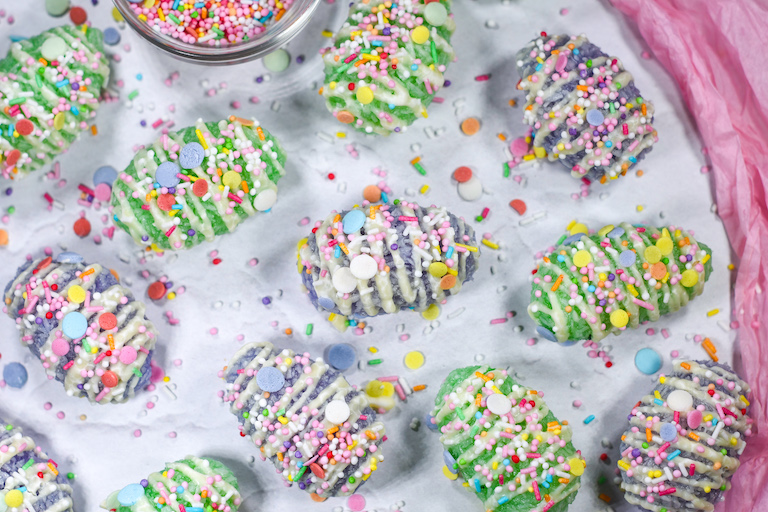
This easy coconut eggs recipe offers a fun and fresh alternative to traditional chocolate-covered buttercream eggs.
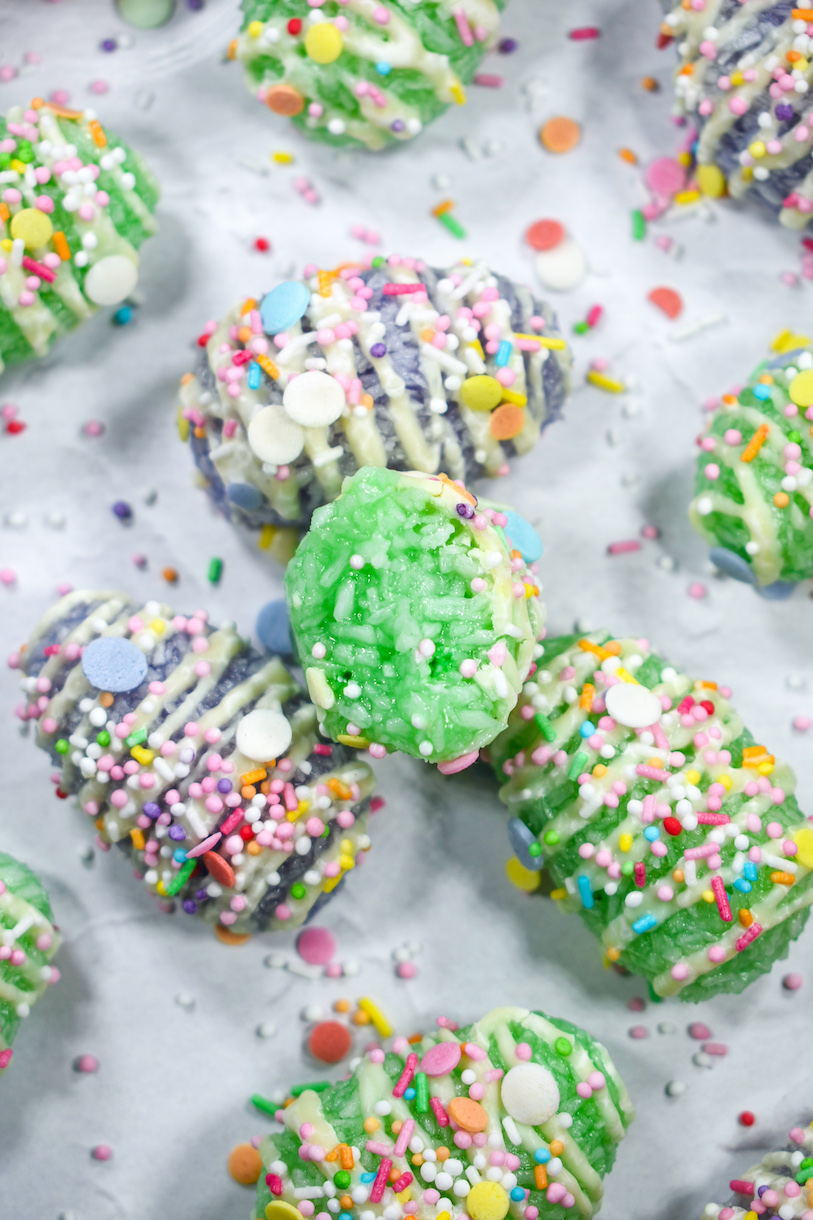
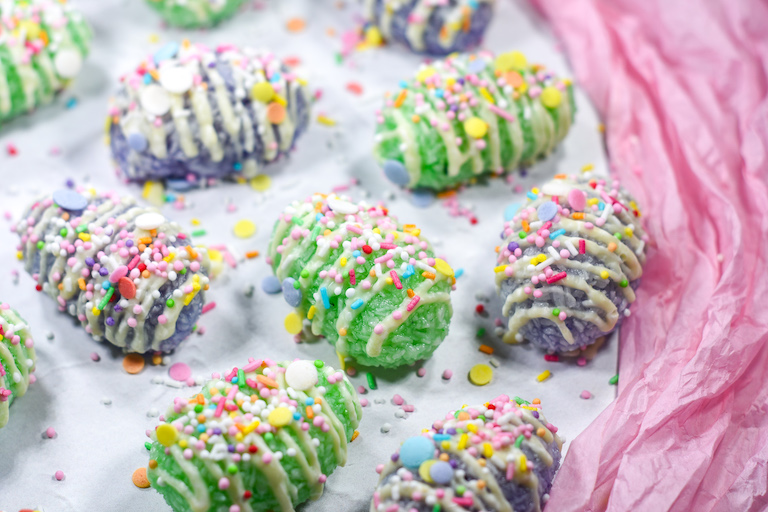
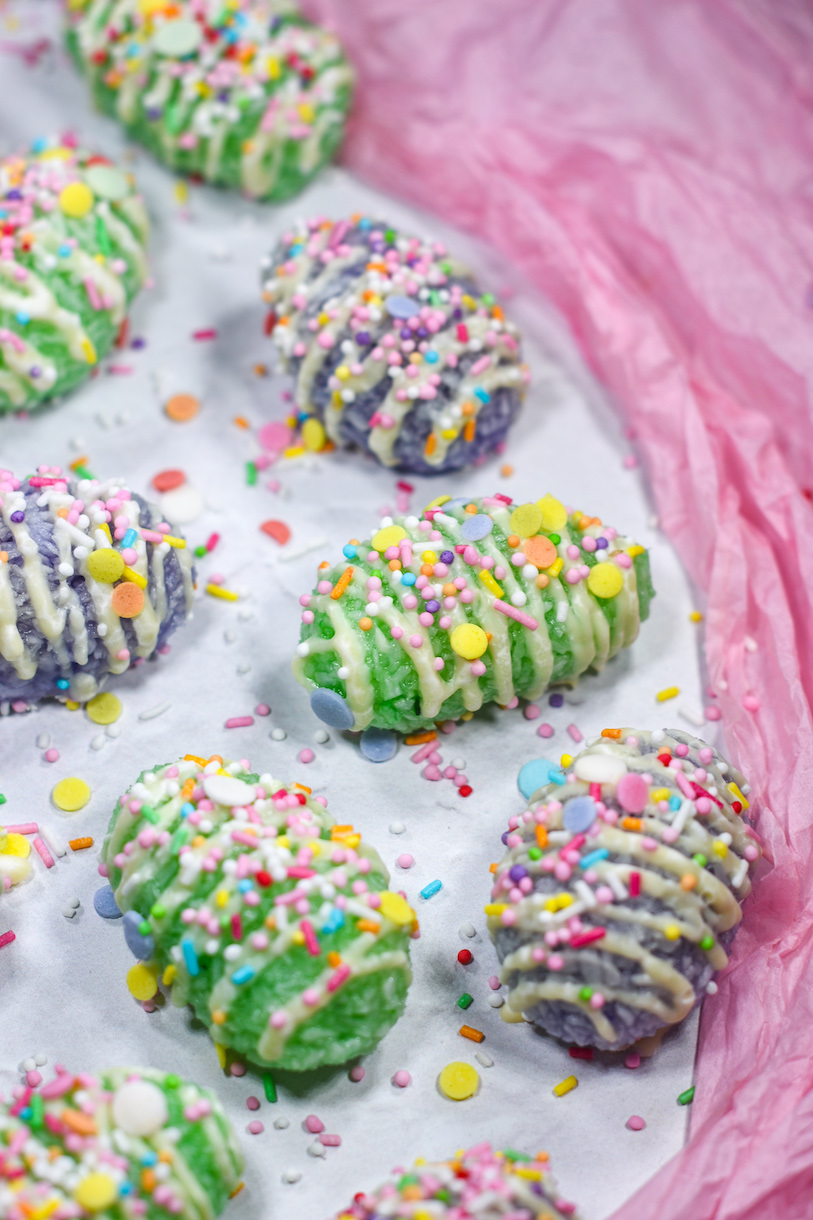
Requiring just a handful of ingredients, these chewy coconut candies feature fun Easter colors, a white chocolate drizzle, and plenty of Easter sprinkles. They look lovely on a festive dessert platter, especially if mixed with other kinds of homemade eggs, and maybe some colorful jelly beans to garnish!
What Makes These Coconut Eggs Unique?
My homemade coconut eggs begin with a cooked sugar base, resulting in a chewy and slightly sticky candy rather than the creamy texture associated with chocolate-coated eggs. The latter generally empoy butter and confectioner’s sugar as a base, rather than the granulated sugar and glucose syrup I’ve used here. (Side note: For a more traditional coconut egg, try my buttercream Easter eggs recipe—I’ll often make a batch with coconut flavoring and a scoop of unsweetened coconut in the dough!)
These chewy coconut eggs make a great option for people who don’t care for chocolate eggs. Although I’ve decorated mine with a white chocolate drizzle, they’re just as delicious plain (see my notes below). This Easter candy recipe is also a good choice if you like chocolate, but hate tempering and enrobing, or simply don’t feel like dealing with the mess.
This easy coconut eggs recipe contains fairly allergy-friendly ingredients: no nuts, no (real!) eggs, no gluten (just double check the sprinkles), and no dairy if you omit the white chocolate drizzle. Skipping the chocolate (or choosing a dairy-free chocolate option) will make these easy coconut eggs vegan as well.
These candies keep well at room temperature, with no need for refrigeration, and no risk of melting on a warm spring day.
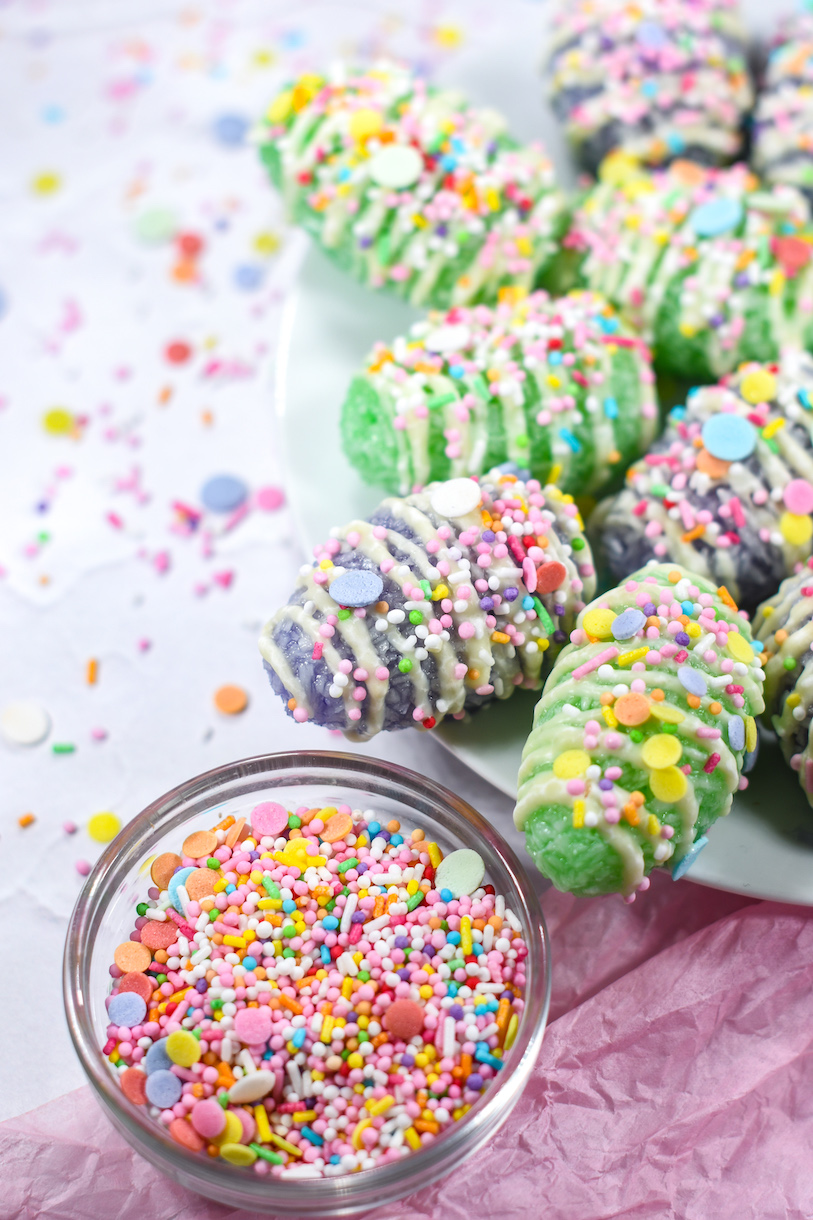
Coloring the Coconut Eggs
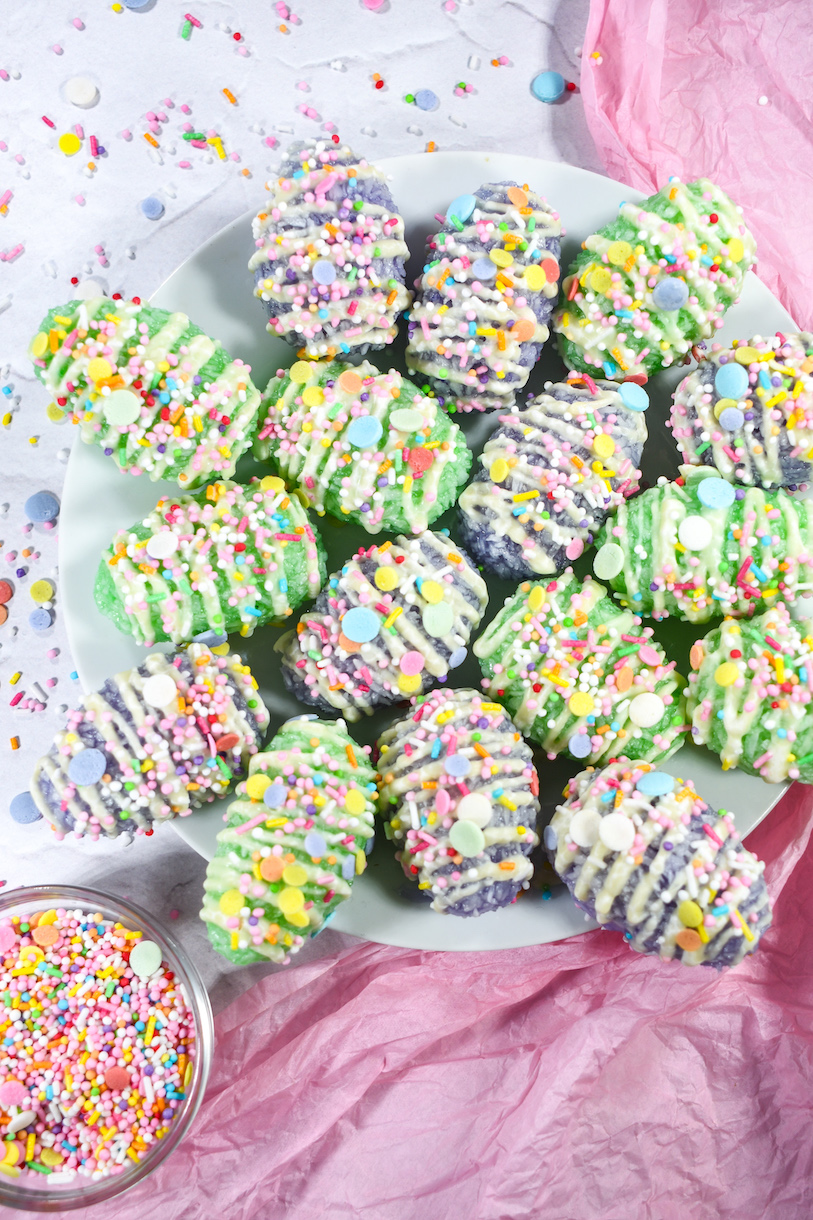
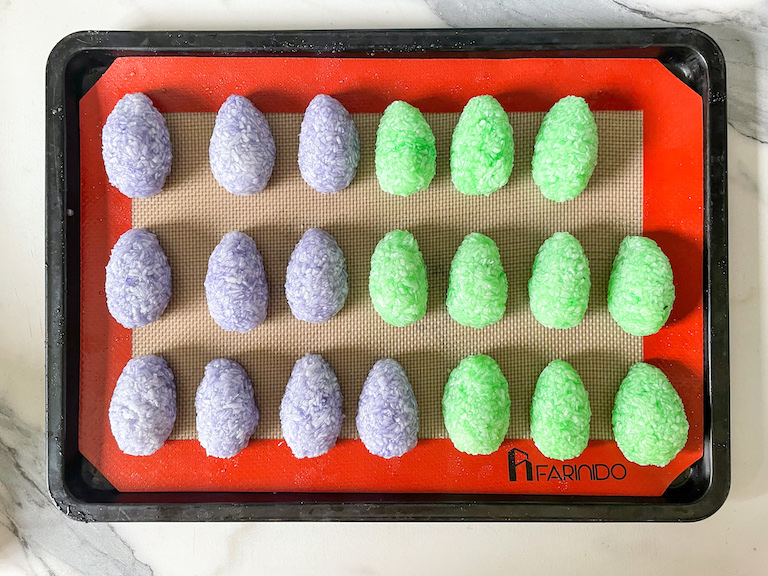
For this batch, I made two colors: green and purple. (I used Leaf Green and Violet, made by Chefmaster). You can make all of your eggs one color, or make three colors if you’d like. (For more than three colors, I’d recommend making a double batch of the coconut mixture.) For purists, you can also omit the gel coloring and opt for white eggs instead, for a more natural look.
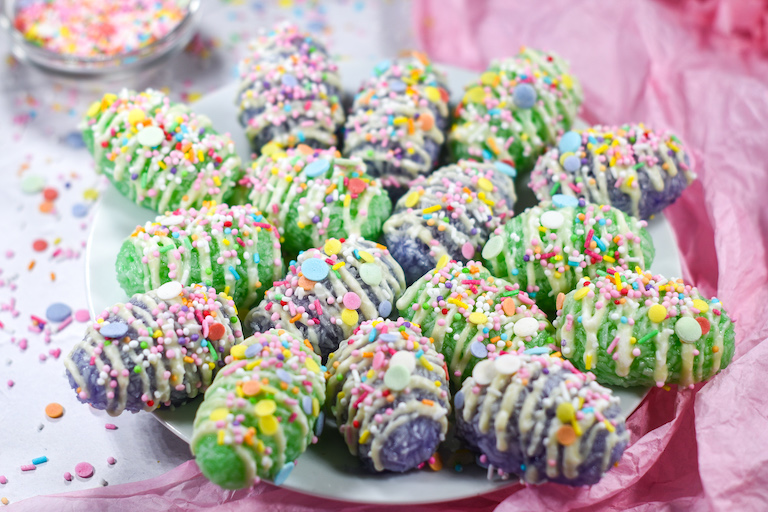
Coconut Egg Tips & Tricks
I’ve used glucose syrup to make my coconut eggs, as it’s the easiest product to purchase here in the UK. However, you can also make these coconut Easter eggs with corn syrup, or light Karo syrup.
A candy thermometer is a must for this recipe. (In testing, i found that these eggs can quickly go from “soft and sticky” to “difficult to bite” if you exceed the intended temperature—and these are meant to be chewy coconut eggs, not hard candy!) You’ll also need a heavy-bottomed stock pot, a heat-proof spoon, and a large silicone baking mat.
You’ll want to choose coconut flavoring for this recipe. While you can add vanilla extract in a pinch (and you’ll still get some flavor from the actual coconut), the teaspoon of extract really enhances the natural coconut flavor. And while we’re on the subject of coconut, be sure to reach for a bag of the unsweetened shredded variety—this recipe contains plenty of sugar without adding sweetened coconut to the mix.
Finally, be sure to layer your eggs between sheets of parchment if storing in an airtight container. Otherwise these will absolutely stick together!
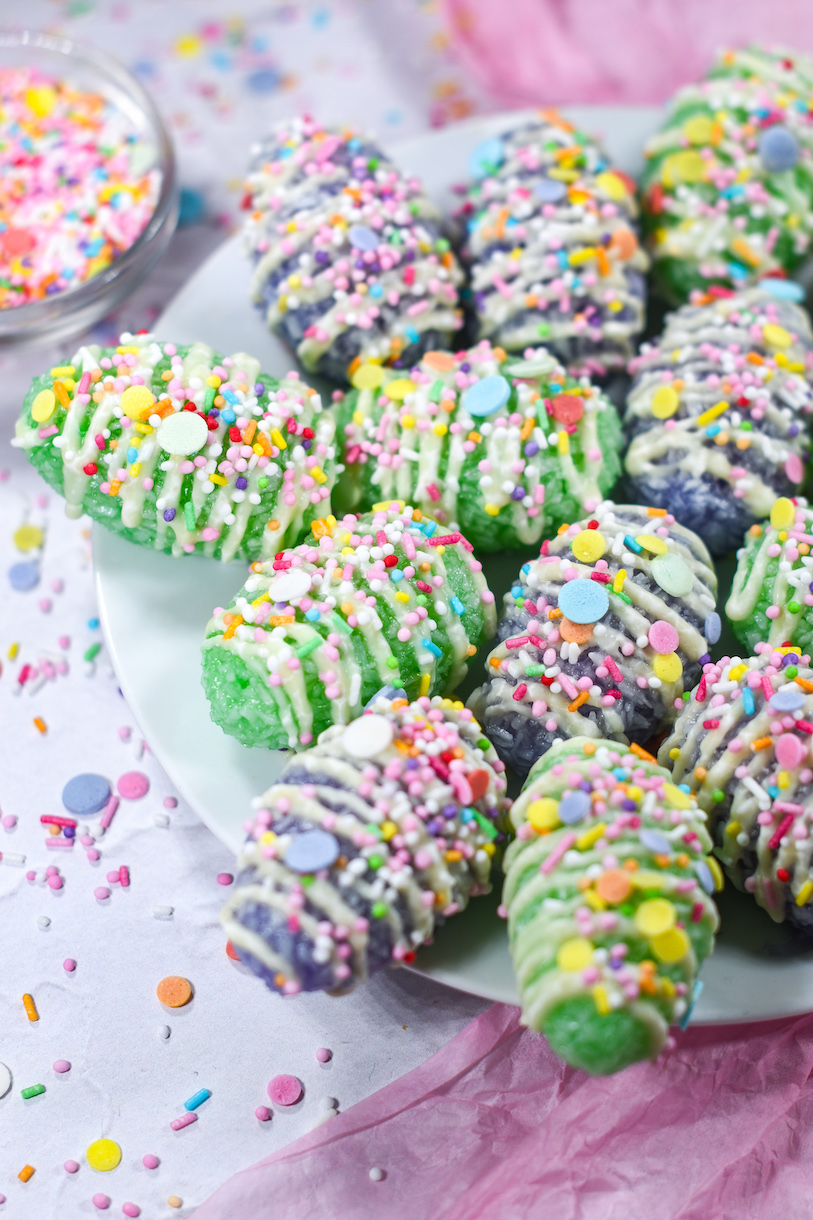
Rolling Homemade Coconut Eggs
After preparing the sugar-coconut mixture, pour it out onto a silicone mat and allow it to sit for 5-10 minutes before attempting to roll the eggs. (As it cools, you might notice a little bit of the glucose syrup pooling on the silicone mat. If this happens, simply use a bench scraper to gently bring the mixture back together.) Ideally, the mixture should be cool enough to handle without gloves, but still warm and pliable enough to shape into eggs.
For most hard candy recipes and projects involving handling hot sugar, I recommend wearing rubber gloves, with soft cotton gloves underneath. However, when I tried wearing gloves to test this particular Easter egg recipe, the coconut mixture stuck to my gloves and made the process much more difficult than it needed to be. So for this one, bare hands are the way to go.
The sugar-coconut mixture will be extremely sticky. I recommend keeping a small bowl or mug of water nearby and dipping your hands periodically to prevent the coconut from sticking as you knead and shape the dough.
After shaping the eggs and allowing them to cool for an hour or so, I like to gently “reshape” them with my hands (the bottoms might get a bit sticky), then turn them over so both sides dry evenly.
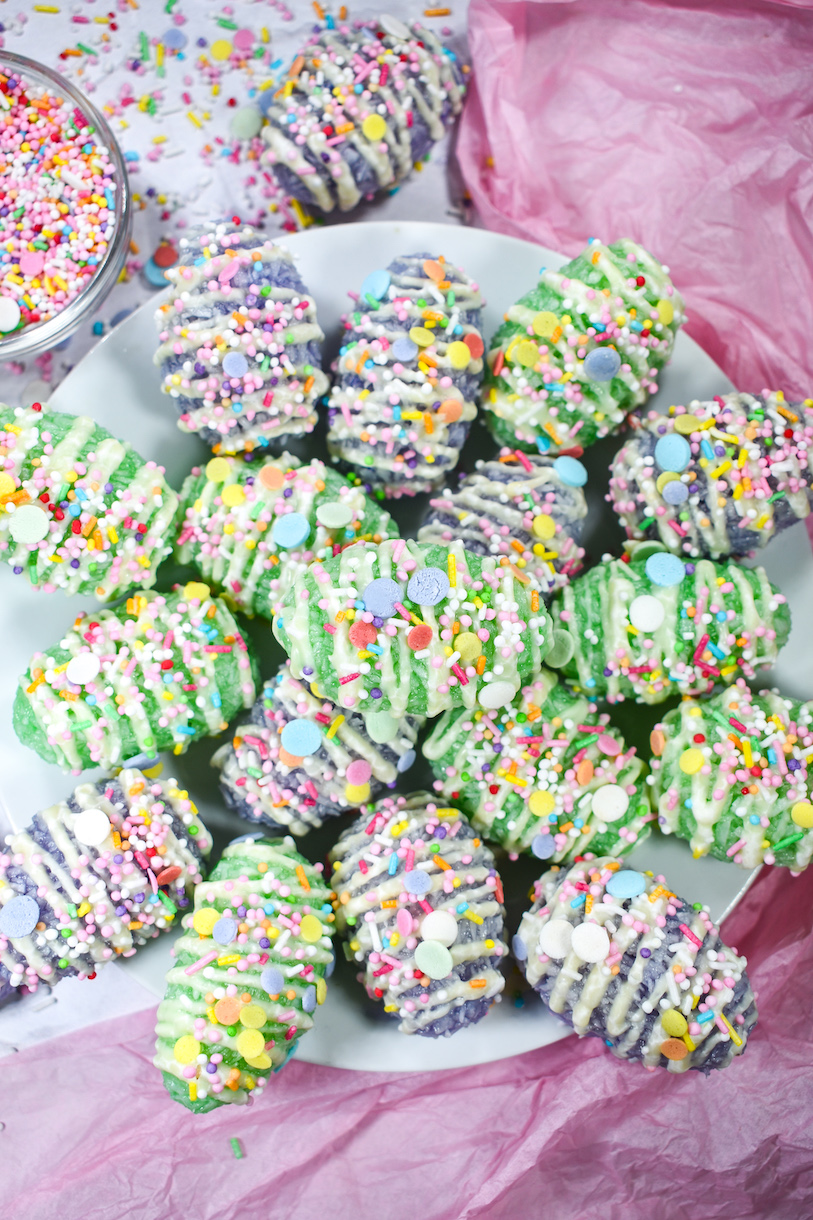
Decorating the Eggs
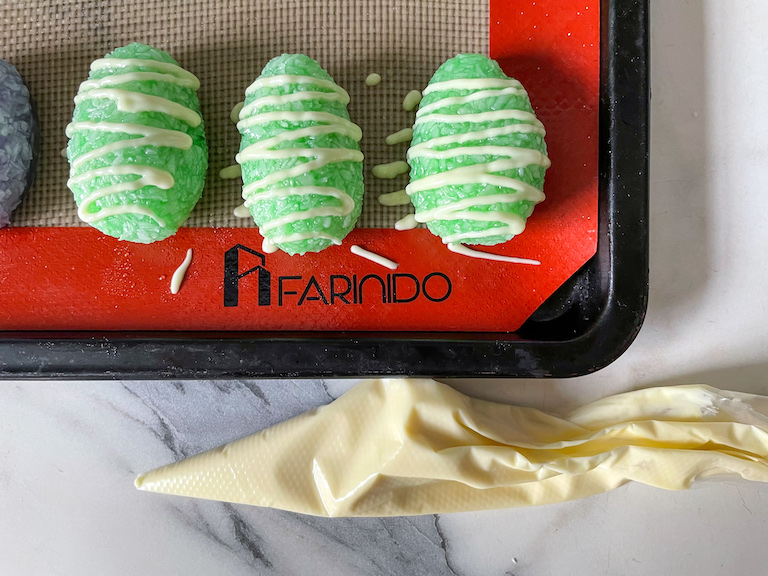
I decorated my homemade coconut eggs with drizzled white chocolate and pastel Easter sprinkles.
Instead of Easter sprinkles, you can use pastel or white nonpareils, or even mix and match a few different kinds of sprinkles. You can substitute milk or dark chocolate for the drizzle, or use pastel-colored candy melts.
Or, for non-chocolate lovers, vegans, and those with chocolate allergies, you can skip the chocolate drizzle altogether. The white chocolate and sprinkles are really just for decoration anyway; the majority of the flavor comes from the shredded coconut and the coconut flavoring, so these chewy eggs are equally delicious without any toppings at all.
Other Easter candy recipes you might enjoy:
Buttercream Easter Eggs
Cream Cheese Peppermints
And if you do make these, or any of my recipes, don’t forget to tag me @bastecutfold or use the hashtag #bastecutfold on Instagram. I always love to see what you’re making!

Chewy Coconut Easter Eggs Recipe
- Total Time: 2 hours 15 minutes
- Yield: Approx. 20 1 1/2 - 2-inch coconut eggs
Description
These easy coconut Easter eggs feature a sweet, chewy, and slightly sticky homemade candy mixture, hand-rolled into egg shapes and decorated with pastel sprinkles. I’ve drizzled my eggs in white chocolate, but feel free to omit it for a chocolate-free Easter candy option.
Ingredients
240 grams corn syrup or liquid glucose (3/4 cup)
105 grams granulated sugar (1/2 cup)
50 grams unsweetened shredded coconut (2 cups)
1 teaspoon coconut flavoring
Gel food coloring (I used Chefmaster’s Leaf Green and Violet)
Optional Decoration:
50 grams white chocolate (1/4 cup)
Easter sprinkles
Instructions
Line a tray with parchment, wax paper, or a silicone mat. Set aside. Place a second large silicone mat on the countertop.
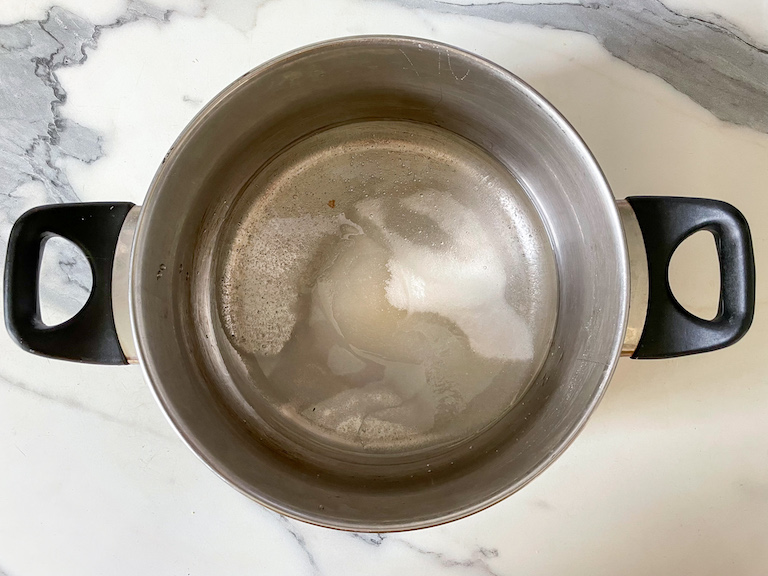
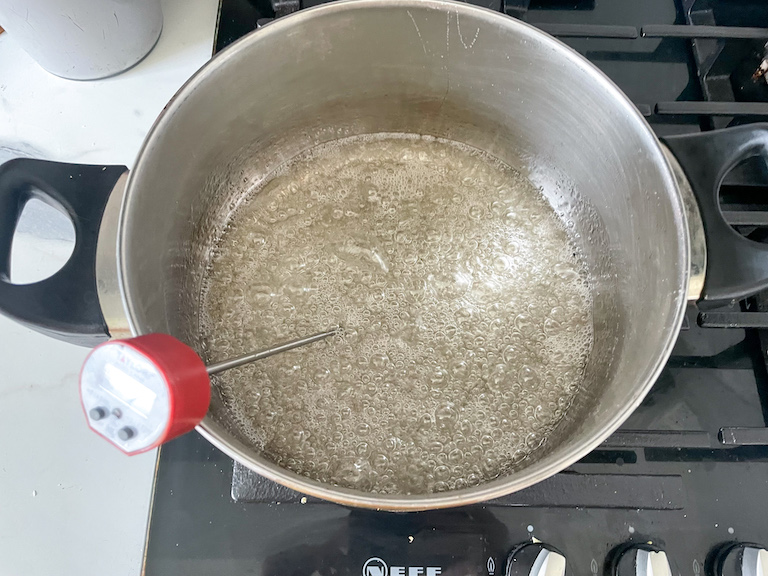
In a large stock pot or heavy-bottomed saucepan, stir together the liquid glucose, granulated sugar, and water. Over medium heat, stir until sugar dissolves, then stop stirring.
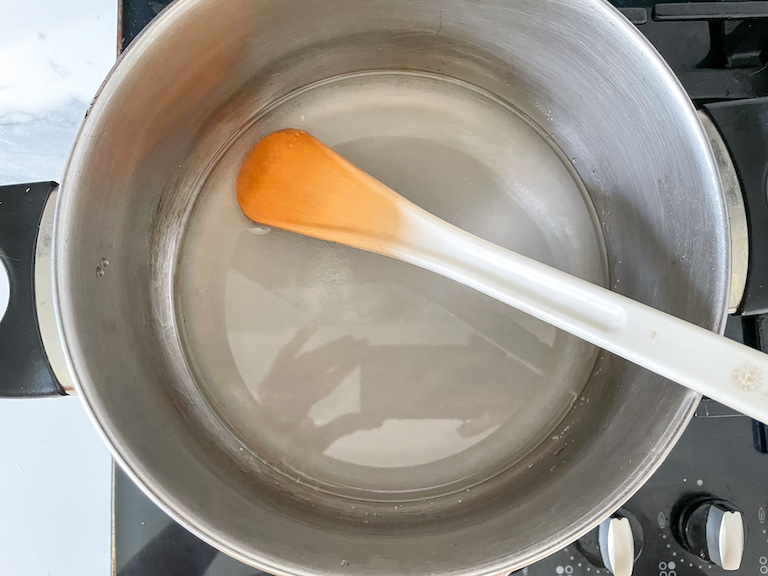
Cook over medium heat, without stirring, until mixture reaches 235° F on a candy thermometer. Remove from heat.
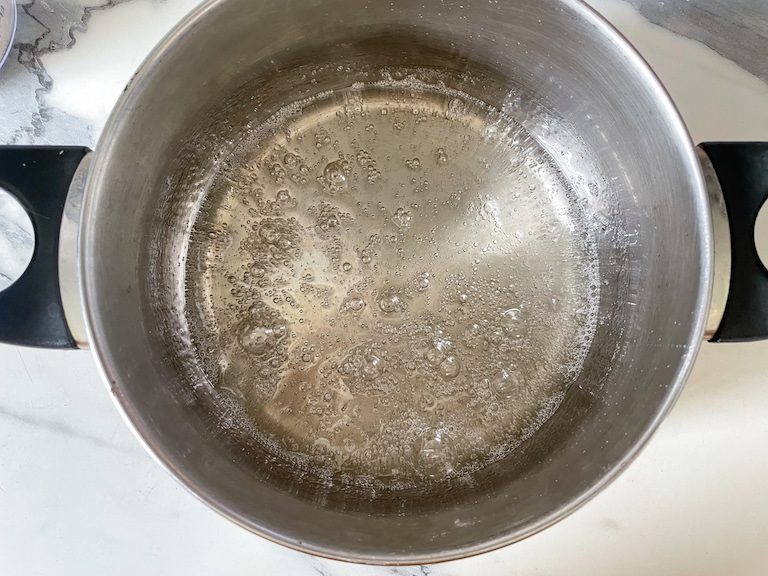
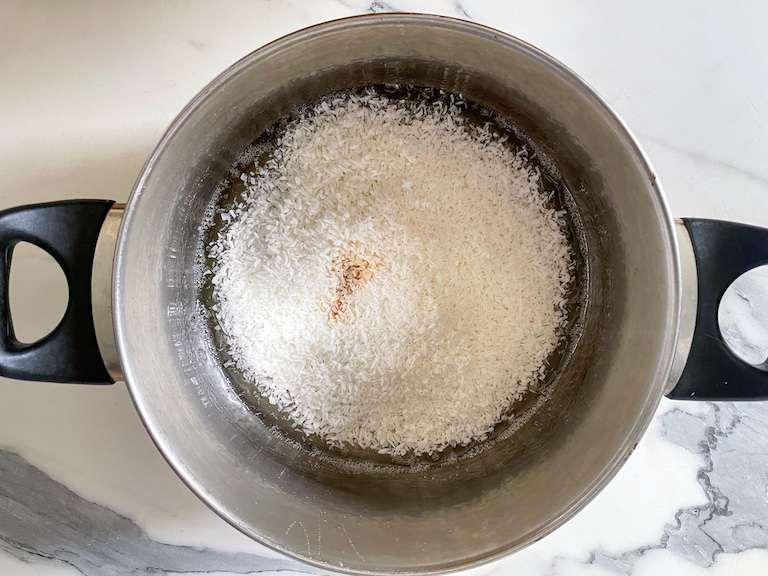
With a heat-proof spoon, stir in the shredded coconut and coconut flavoring.
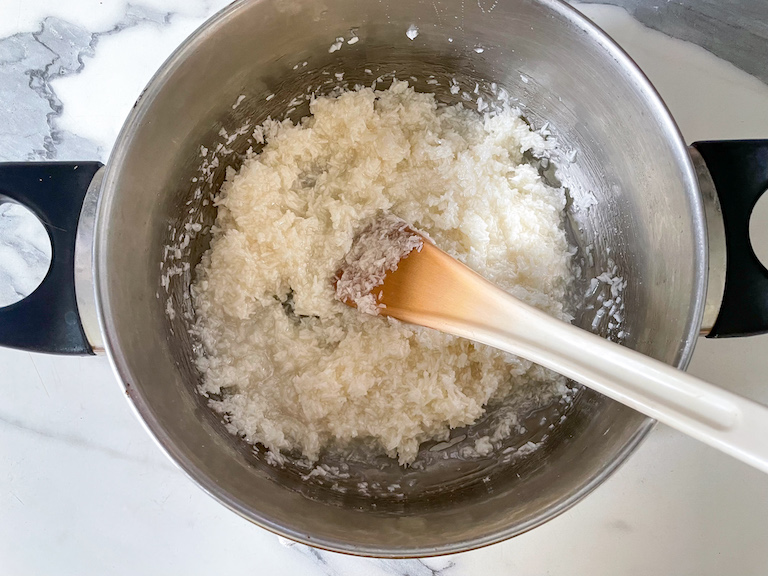
Pour mixture out onto prepared silicone mat.
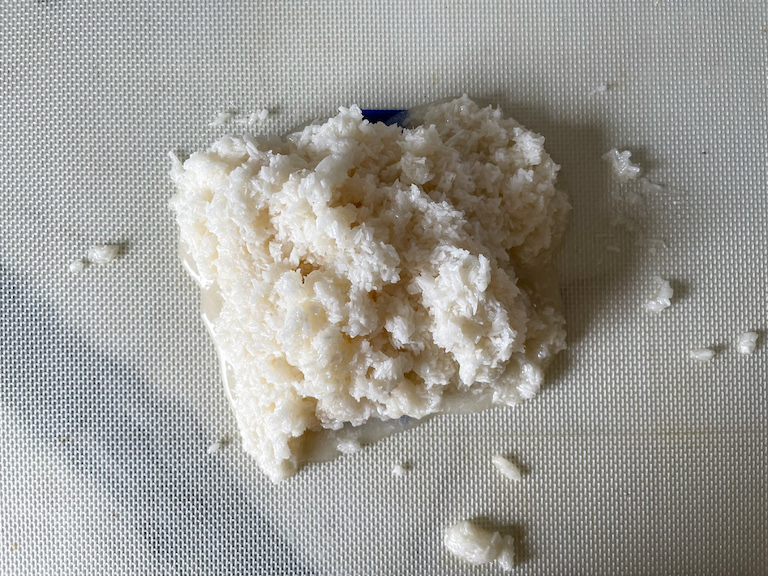
Allow to cool for about 10 minutes, or until just cool enough to handle. (The mixture will start to feel less gooey/runny, but will still be extremely sticky!) With a bench scraper, divide the mixture into two portions.
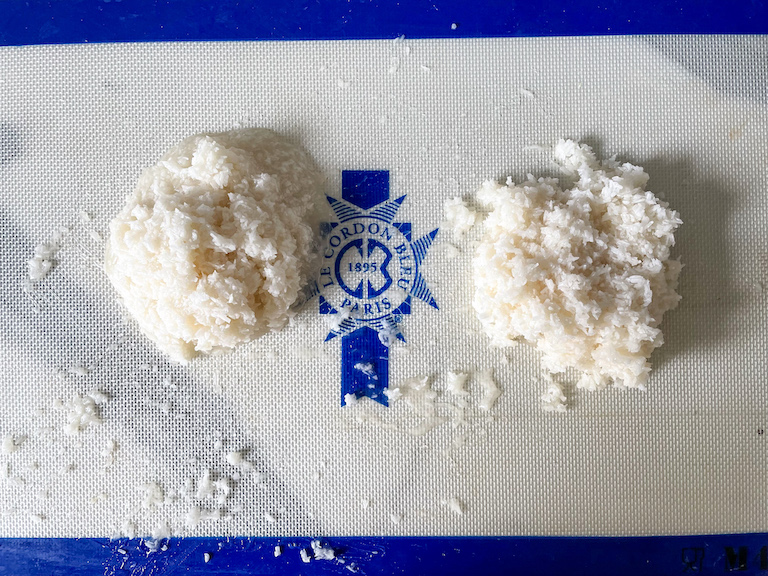
Add a few drops of gel food coloring. With damp hands, knead until color is evenly distributed and desired color is achieved.
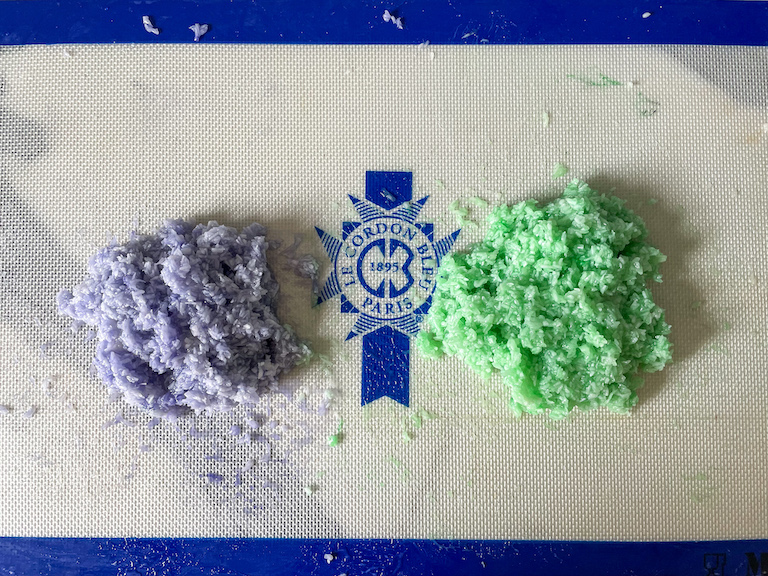
With damp hands, shape the mixture into eggs, about 1 1/2 – 2 inches long.
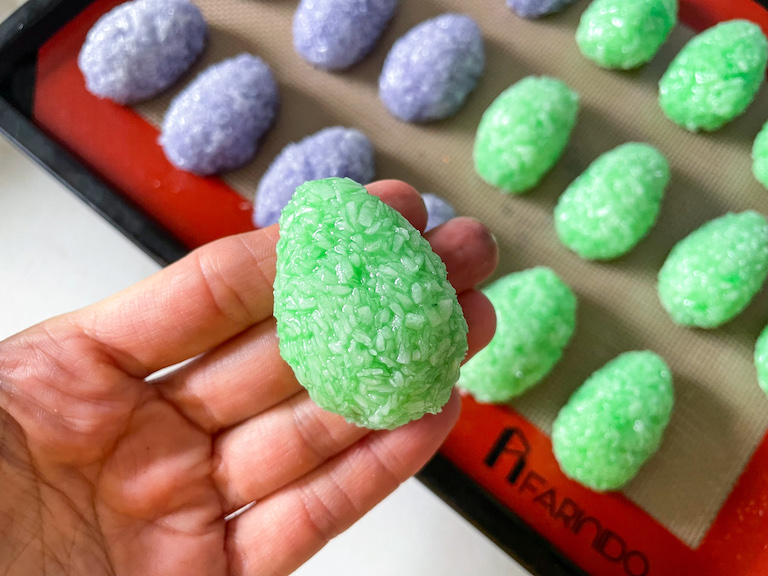
Transfer eggs to prepared tray and allow to cool completely. (Once cool, I like to use my hands to gently reshape the eggs, especially if they feel slightly wet or sticky on the bottom—this can happen, and is completely normal!)
Decoration:
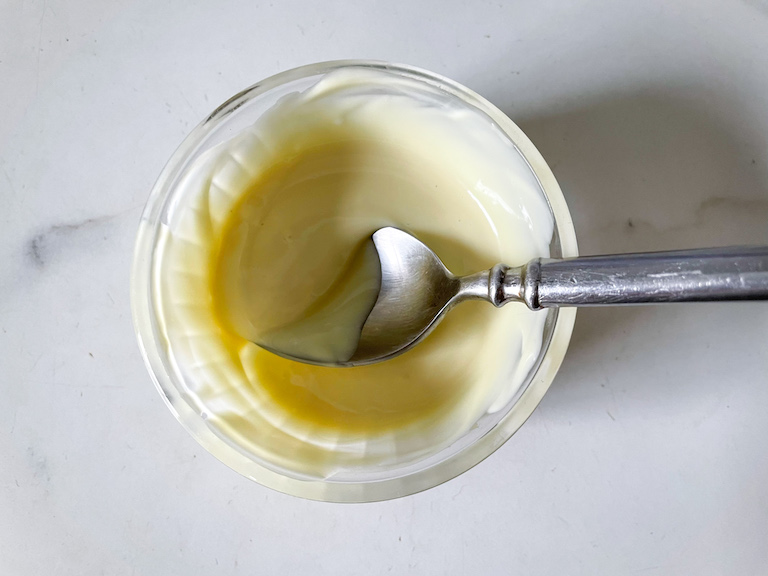
Melt the white chocolate in the microwave in short intervals, stirring periodically to prevent the chocolate from burning.
Transfer melted chocolate to a piping bag. Pipe in zigzags over the eggs.
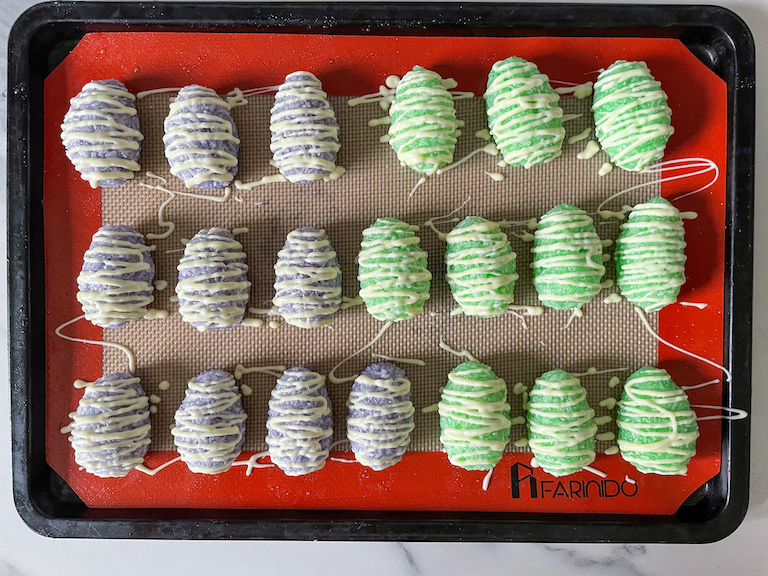
Sprinkle with Easter nonpareils or Easter sprinkles.
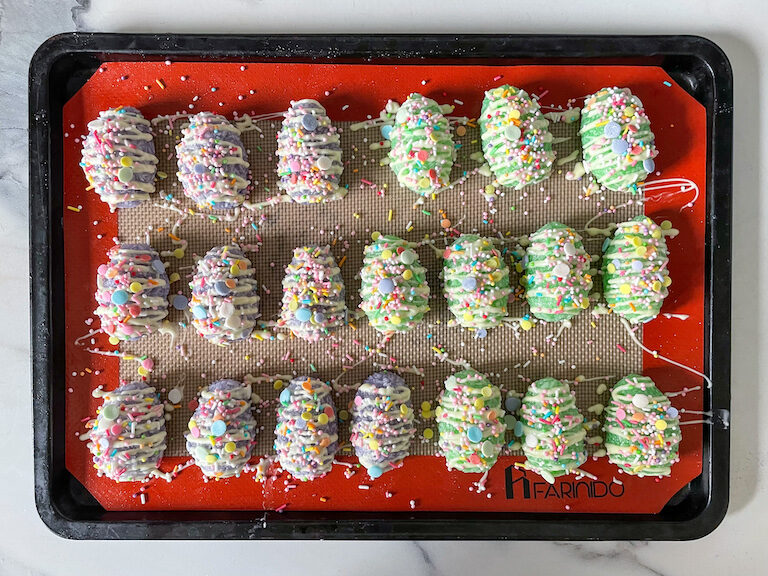
Allow eggs to sit at room temperature, uncovered, until the chocolate sets. Once set, layer eggs between sheets of parchment or wax paper. Store in an airtight container at room temperature for up to three weeks.
Notes
*I recommend keeping a small bowl or mug of water nearby, and dipping your hands as needed. This will help to prevent the coconut mixture from sticking to your hands.
Recipe loosely adapted from WGAL-TV Consumer Corner/The Kitchen Shoppe in Carlisle, PA. Original recipe dated April 2, 1982.
- Prep Time: 45 minutes
- Cooling Time: 90 minutes
- Category: Candy and Confectionery
- Method: Stovetop
