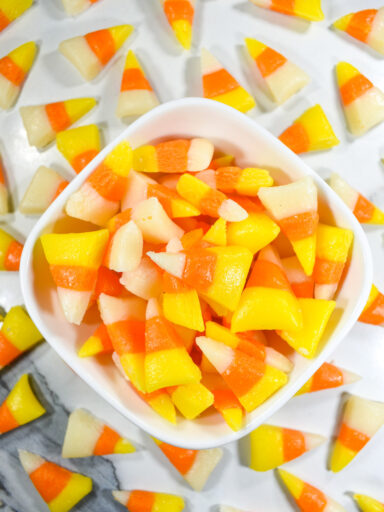
This post may contain affiliate links. Please read the disclosure policy to learn more.
Thank you for supporting this blog!
Like candy hearts and candy canes, Easter candy corn is one of those classic American sweets that simply does not exist in the UK. Or at least, it doesn’t exist unless you’re willing to spend exhorbitant sums to purchase imported goods, or maybe pay a visit one of central London’s curious American candy stores.
Looking for creme eggs, mini eggs, chocolate bunnies, or giant chocolate eggs filled with Smarties or Malteasers? No problem. But soft, marshmallow-y, pastel-colored Easter candy corn? Not a bag in sight.
So to fulfill my candy corn craving, I decided to make my own. (And yes, I know candy corn itself is divisive, but I happen to love the stuff. And surprisingly, even friends who claim to not like candy corn actually enjoy my homemade version!) I’ve previously made classic yellow, white, and orange candy corn for Halloween, so I thought I’d revamp that recipe for spring.
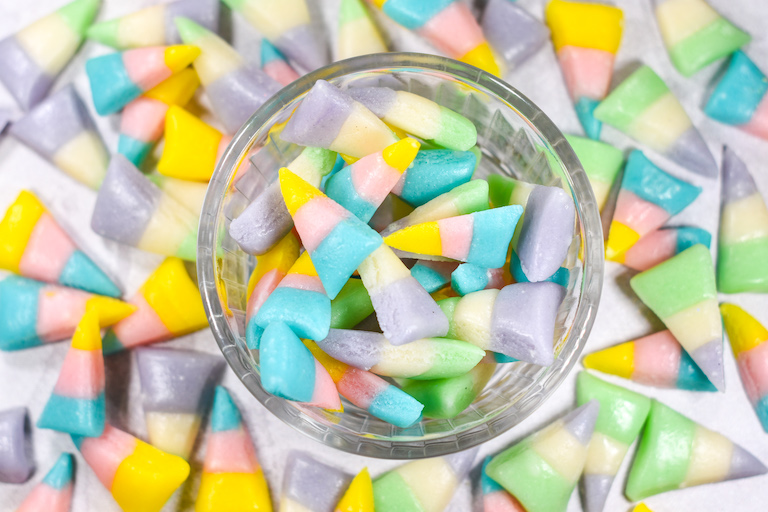
How to Make Candy Corn from Scratch
Although learning how to make candy corn from scratch might seem daunting, this easy recipe is actually fairly easy. (If some of the steps sound confusing, don’t worry. I’ve included step-by-step process photos in the recipe below.) And with the exception of the powdered milk (and maybe the corn syrup) this easy candy corn recipe utilizes ingredients already stocked in the fridge or the kitchen cabinet: granulated and powdered sugar, salt, butter, gel food coloring, vanilla extract.
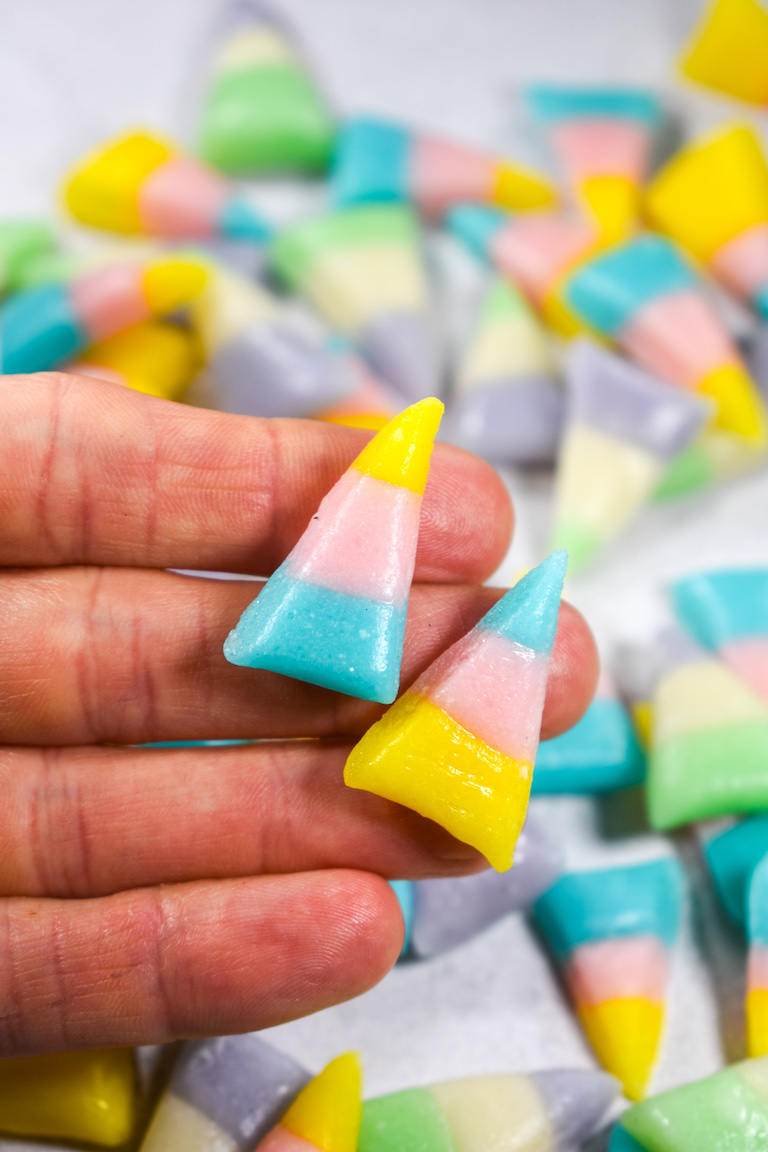
To make candy corn from scratch, you’ll combine granulated sugar, butter, and liquid glucose (or light corn syrup) and cook it on the stovetop, then stir in a mixture of dry milk powder and confectioner’s sugar to form a soft dough. Then you’ll pour the mixture onto a silicone baking mat and allow it to cool for a few minutes, then use gel food coloring to create pretty pastel colors.
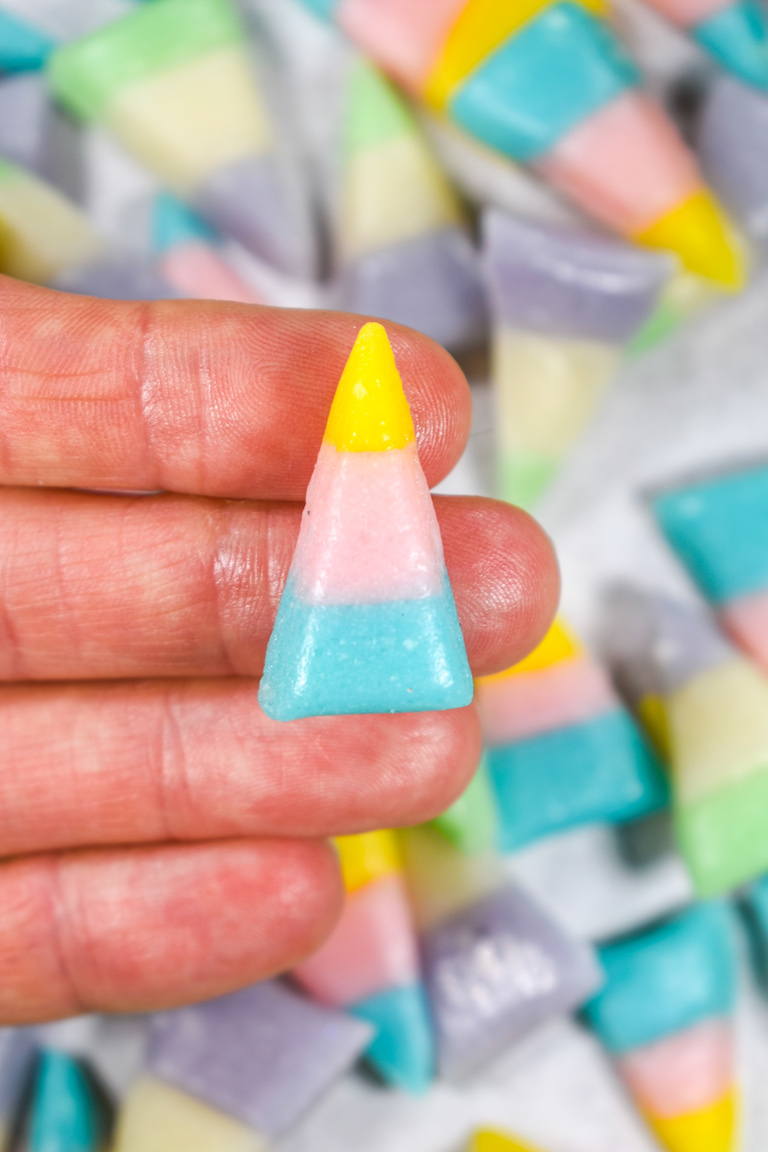
After that, it’s basically like playing with grown-up Play-Doh! (Because of the hot sugar syrup, homemade candy corn is not a good cooking project for very young children, but older kids and teens can definitely help with the shaping.) Use your hands to roll the dough into long ropes, smush the ropes together, cut them into triangles, and you’ve made Easter candy corn!
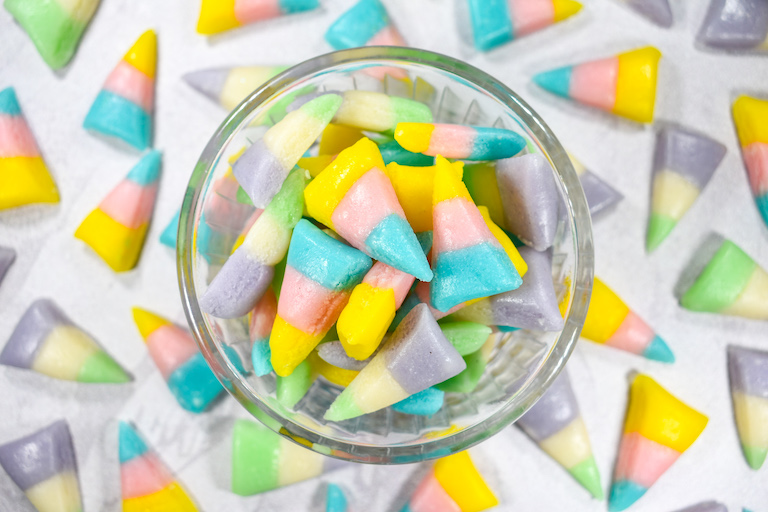
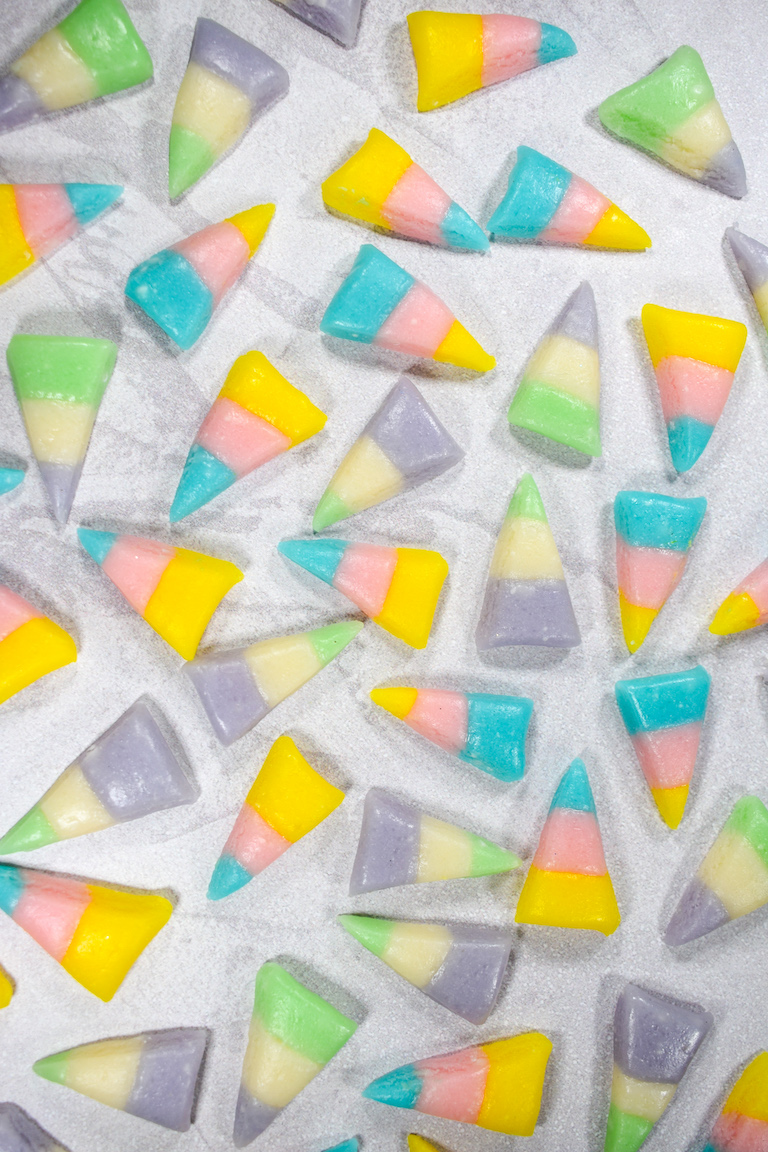
Cutting Homemade Candy Corn
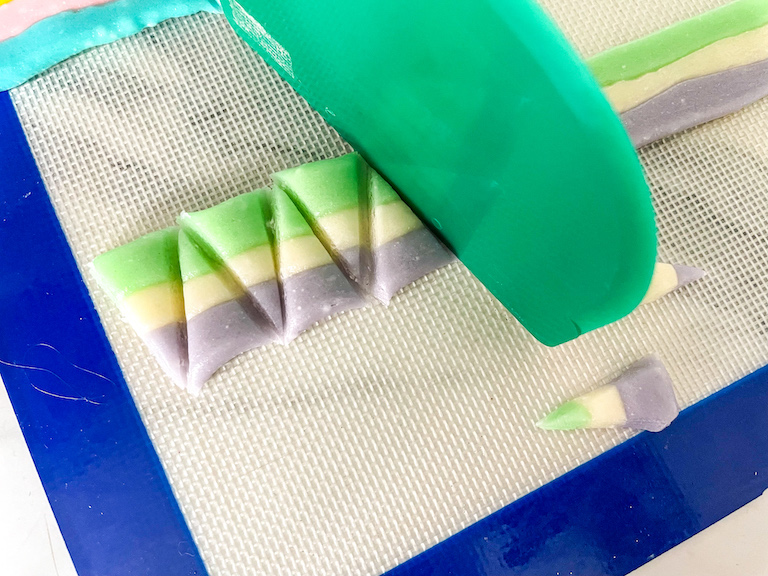
In the instructions below, I suggest cutting your homemade candy corn with a bench scraper. (The same kind you’d use for breadmaking or mixing dough.) If desired, you can also use a paring knife, but you’ll need to move the ropes of dough to a cutting board. You should never cut directly on a silicone mat, as it can cause fibers from the mat to find their way into your food.
Homemade Candy Corn Variations
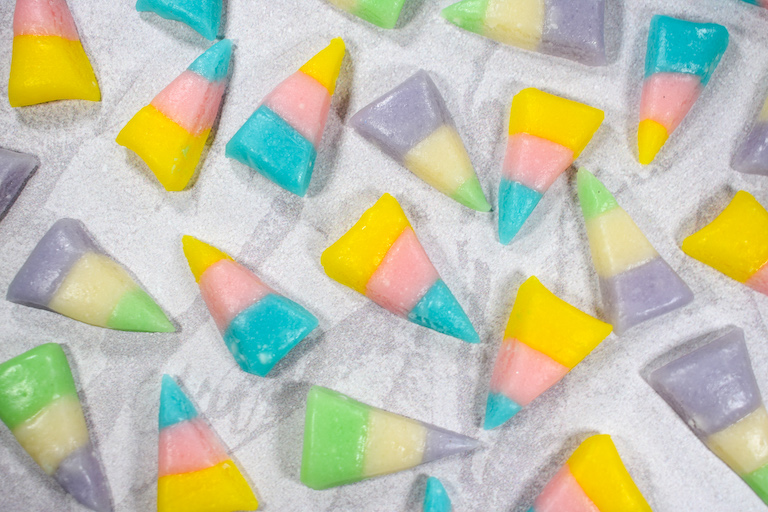
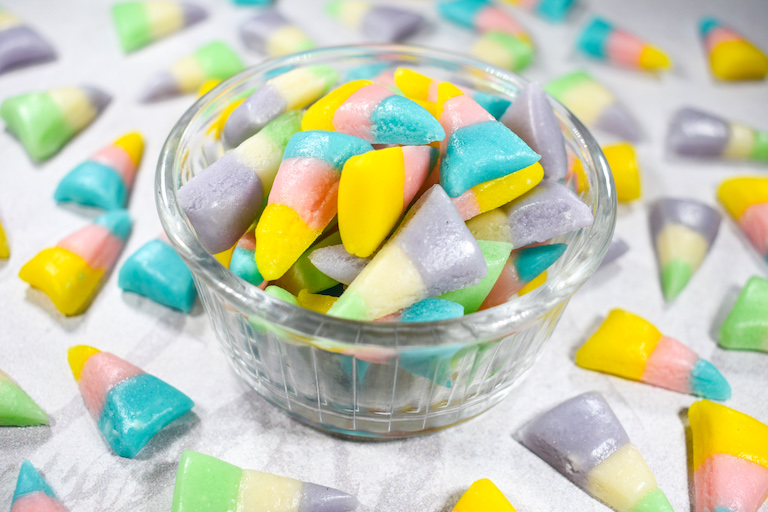
I made my Easter candy corn with vanilla extract, but one of the benefits of making candy corn from scratch is that you can choose any extract you’d like! For Easter, spring-inspired flavors like coconut, strawberry, almond, bubble gum, cotton candy, marshmallow, or banana would pair nicely with the pastel palette.
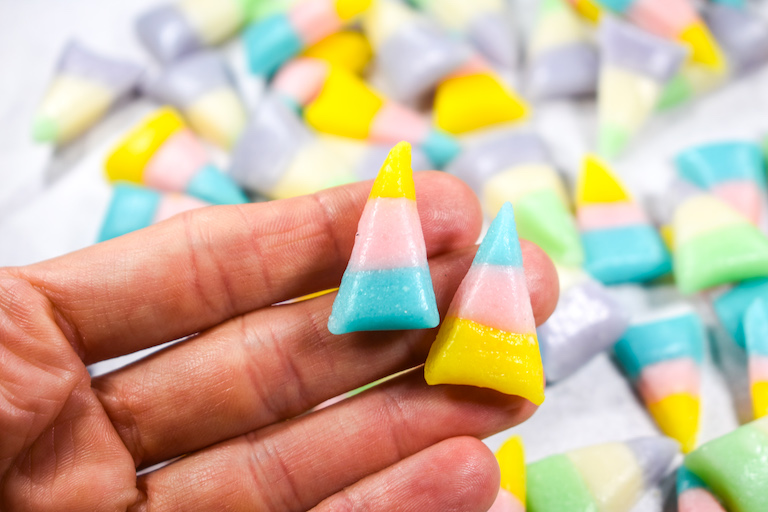
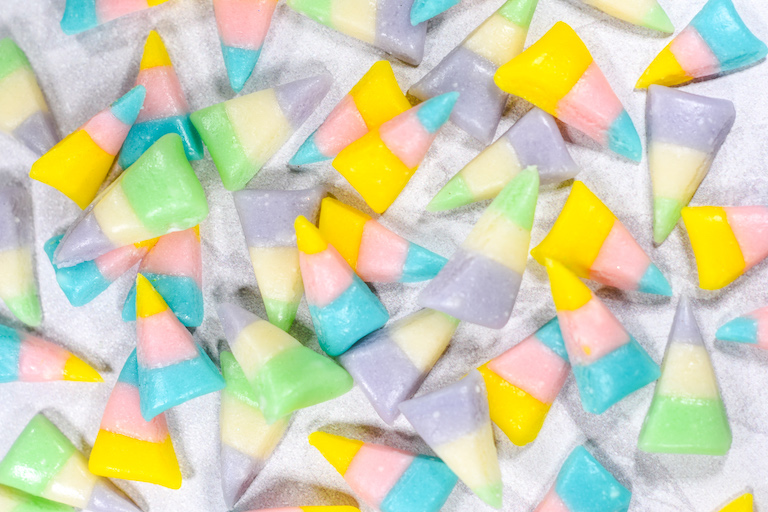
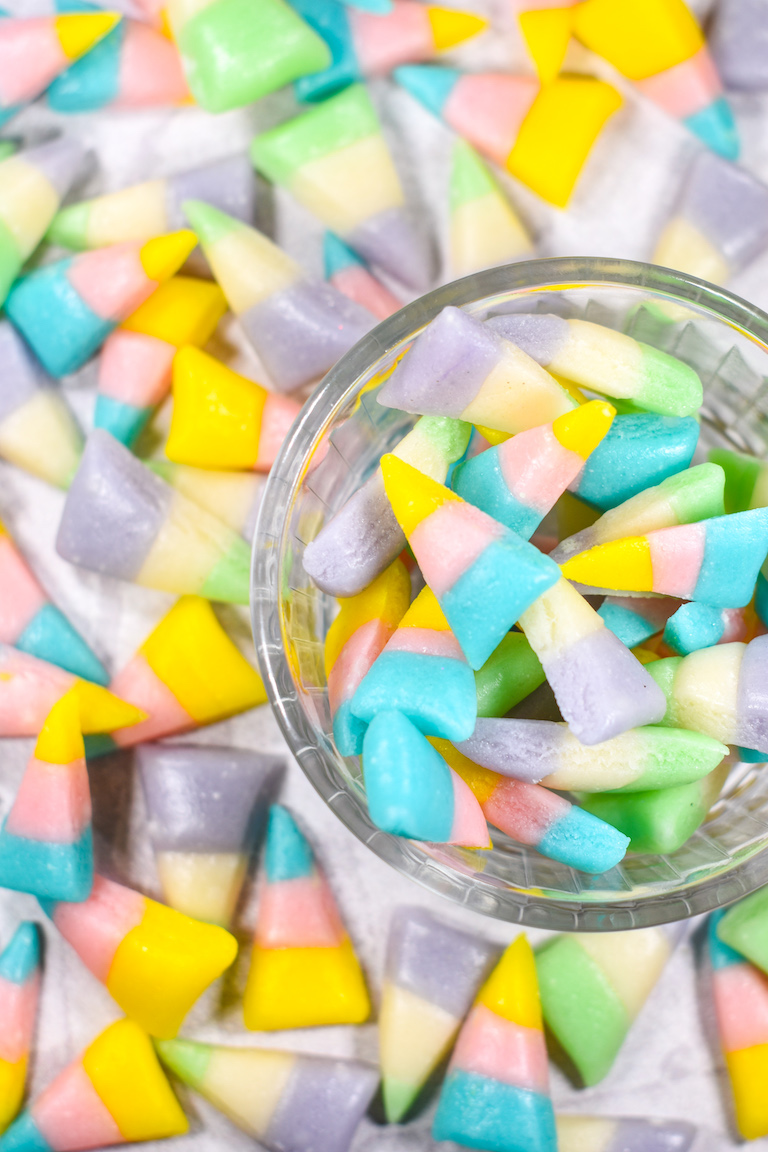
Traditional, store-bought Easter candy corn usually comes in yellow, pink, blue, and green, but feel free to be creative with the colors. You can also use this recipe to make traditional Halloween candy corn, or customize it for other holidays (red, white, and green for Christmas, pink and red for Valentine’s Day). Whichever color scheme you choose, just be sure to use gel food coloring, not water-based colors from the grocery store.
Glucose vs. Corn Syrup
Corn syrup is not easily purchased in the UK, so I’ve made my candy corn with liquid glucose syrup. You can use light corn syrup, like Golden Barrel or Karo, instead.
Easter Candy Corn Tips & Tricks
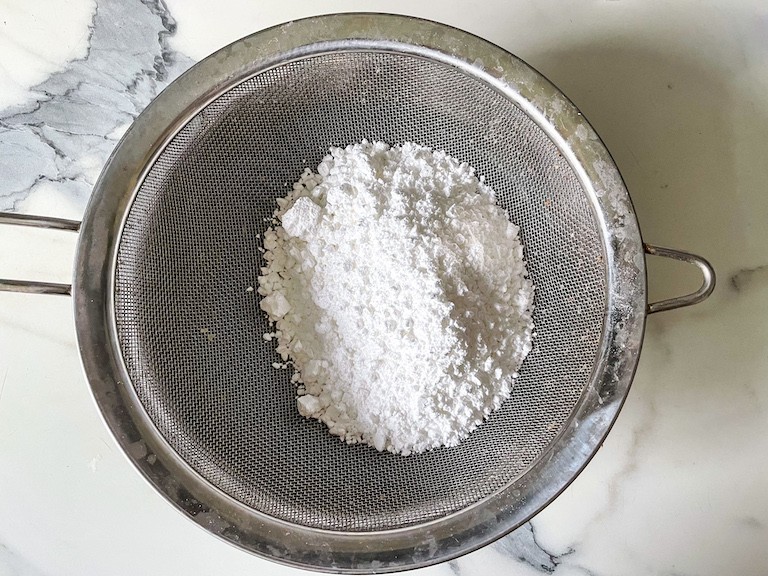
When preparing your ingredients, do not skip the sifting step! Passing the confectioner’s sugar through a mesh sieve is very important. Lumpy sugar yields lumpy candy corn!
While cooking the hot sugar mixture, stop stirring as soon as the sugar has dissolved. Otherwise, the sugar can crystallize and give your homemade candy corn a gritty texture. If necessary, gently swirl the pan to keep the hot liquid moving. And cooking the sugar will not take very long, so don’t step away from the stove.
For sugarwork, I like to wear a pair of soft cotton gloves (to protect my hands from the heat) with a pair of rubber gloves layered over top. I suggest doing that here—it will allow you to begin shaping the dough while it is still hot. This is important, because as it cools, the candy corn dough will become less maleable, more difficult to roll, and more prone to cracking as you work.
Special Tools
You will need a few special tools for this recipe. These include:
Bench scraper for cutting the strips of candy corn dough into triangles. (If you don’t have a bench scraper you can use a sharp knife, but see my notes above.)
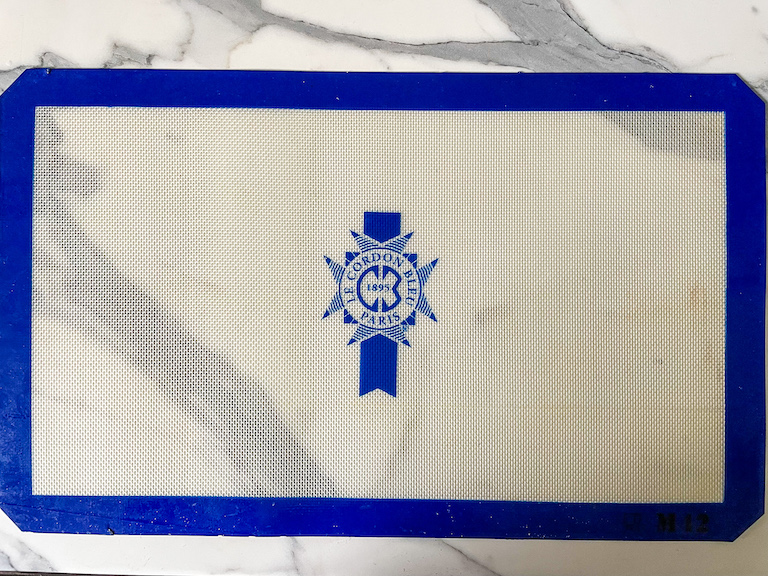
Two silicone baking mats. One for pouring and rolling the hot sugar mixture, and a smaller, second mat for cooling the finished candy corn.
Digital candy thermometer for checking the temperature of your hot sugar mixture. The temperature is very important here (too hot and you’ll find your self with hard candy or caramel) so don’t attempt to guess. If you don’t have one, my go-to is this Taylor thermometer, which sells for less than $10 on Amazon.
Gel food coloring for coloring the candy corn dough. I don’t recommend using grocery store food coloring for this recipe.
Dry milk powder to give the candy corn its distinctive taste and texture. You can find powdered milk in most grocery stores (in mine, it’s located in the aisle with tea and coffee), or puchase it from Amazon.
Other Easter recipes you might enjoy:
Buttercream Easter Eggs
Cream Cheese Peppermints
Mini Egg Cookies
And if you do make these, or any of my recipes, don’t forget to tag me @bastecutfold or use the hashtag #bastecutfold on Instagram. I always love to see what you’re making!
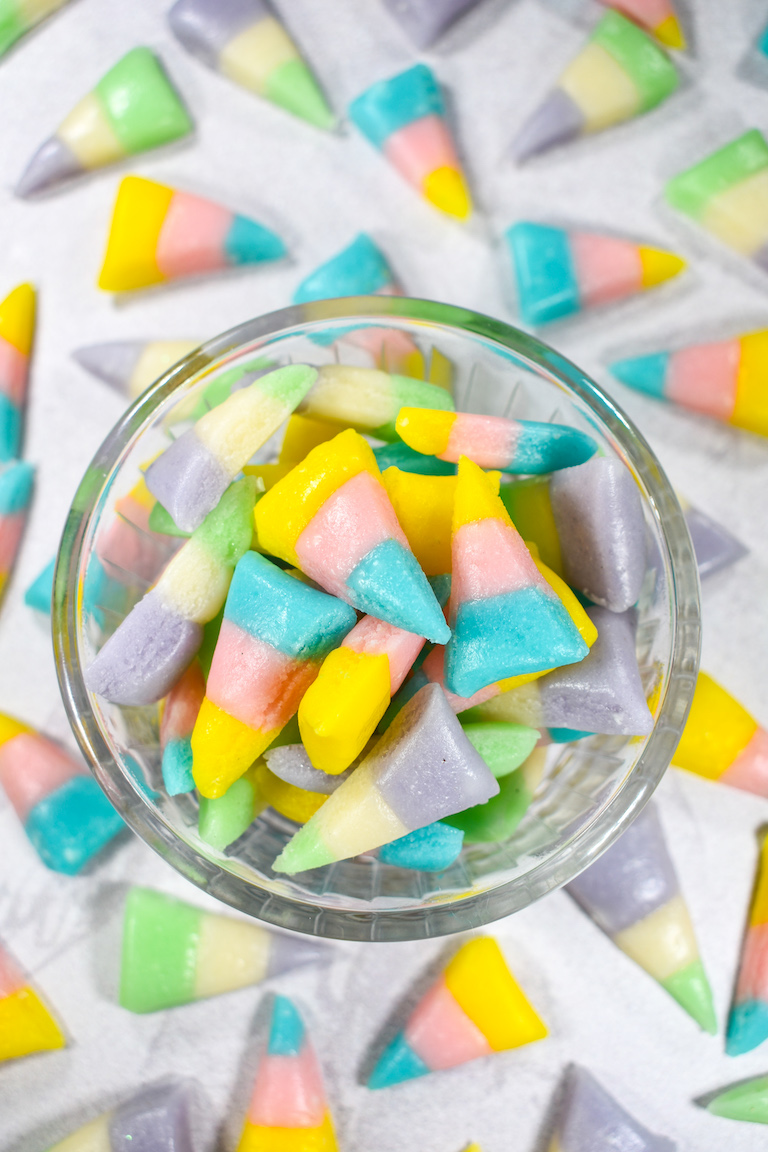

Easter Candy Corn
- Total Time: 1 hour, 45 minutes
- Yield: Approximately 100 - 115 1-inch pieces of candy corn 1x
Description
Make your own Easter candy corn! This easy homemade candy corn recipe features an assortment of pretty pastel colors, just in time for for spring.
Ingredients
120 grams confectioner’s sugar (1 cup)
14 grams dry milk powder (2 tablespoons)
1/8 teaspoon kosher salt
105 grams granulated sugar (1/2 cup)
100 grams liquid glucose, or light corn syrup (1/3 cup)
30 grams unsalted butter (2 tablespoons)
1 teaspoon vanilla extract
Gel food coloring – pink, purple, yellow, green, blue
Instructions
Line a tray with a silicone baking mat.
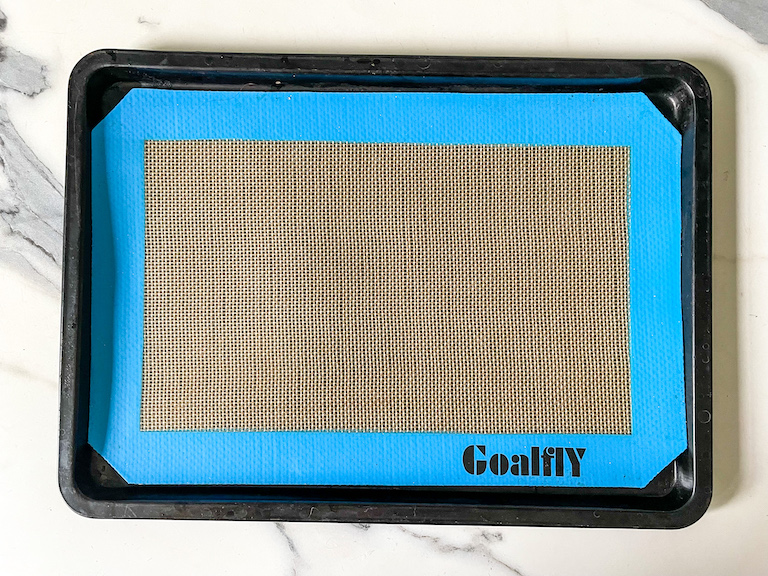
Place a second large silicone mat on the countertop.
Sieve the confectioner’s sugar to remove any lumps.*
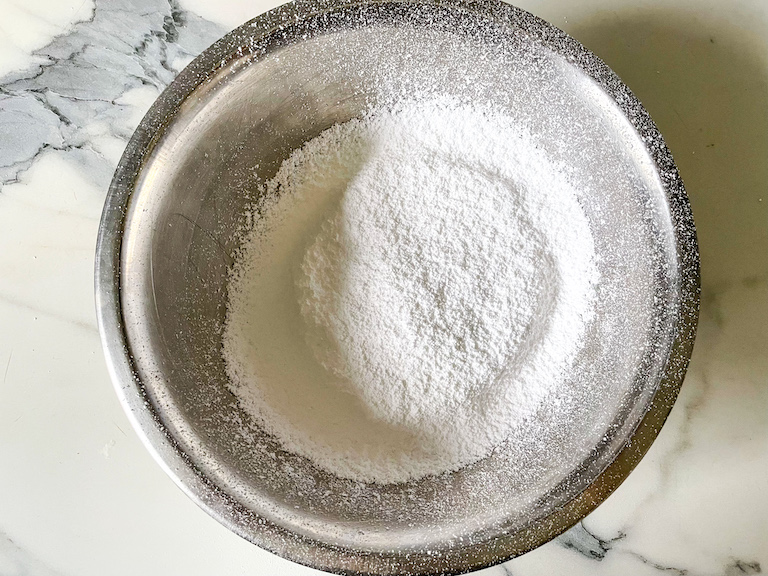
In a mixing bowl, whisk together the confectioner’s sugar, milk powder, and salt. Set aside.
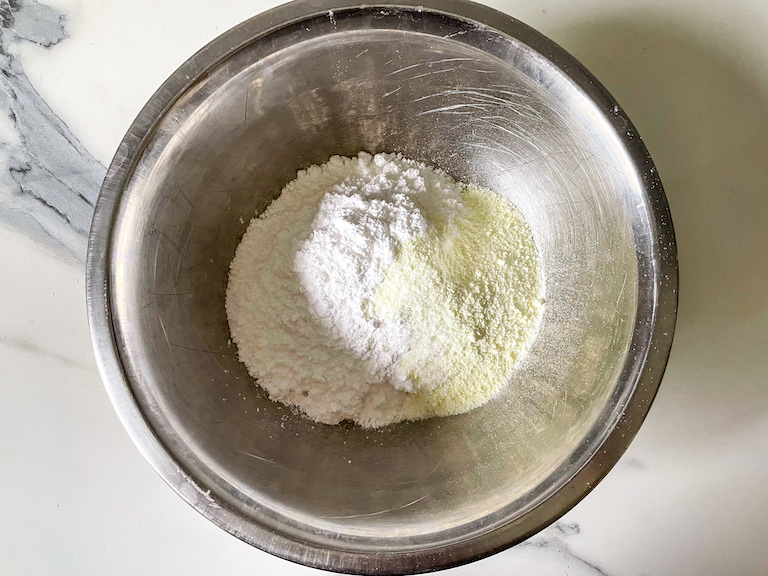
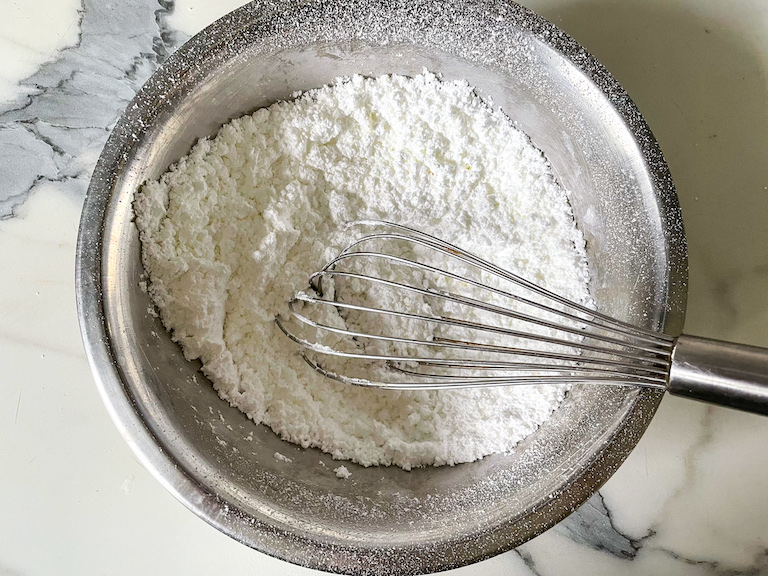
In a large saucepan or stock pot, combine the granulated sugar, liquid glucose, and butter. Stir until sugar dissolves and the butter melts, then stop stirring.
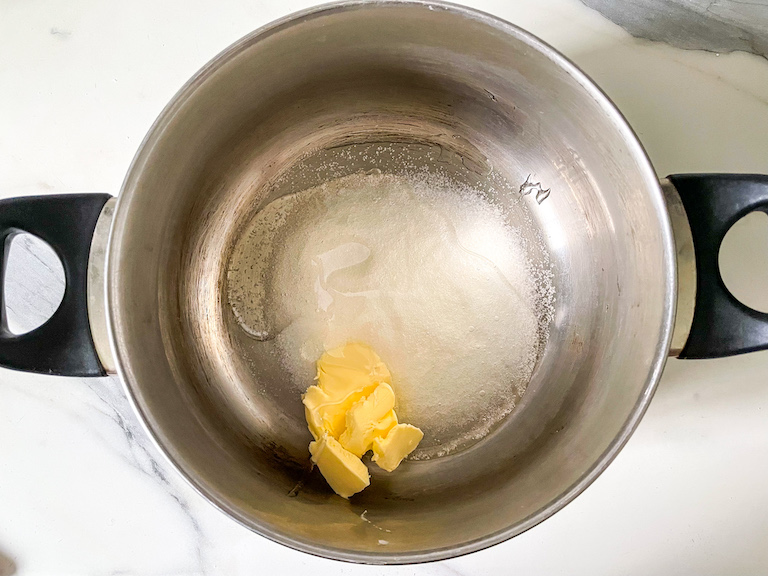
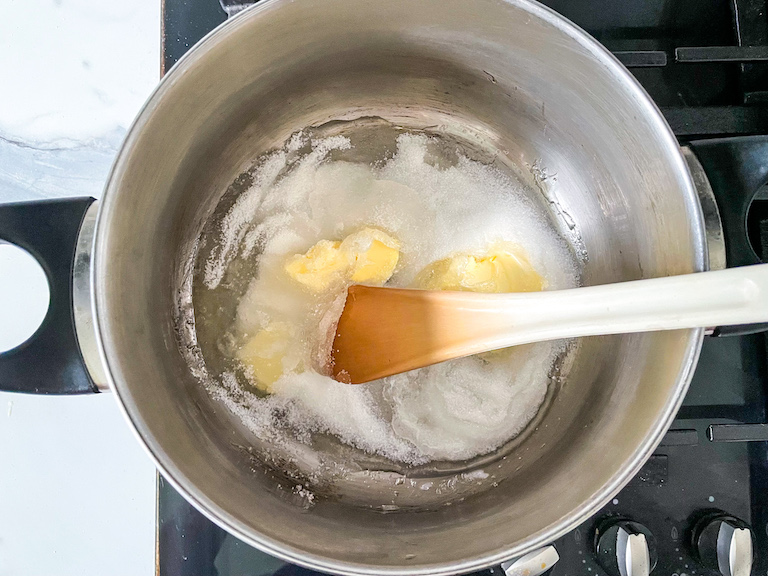
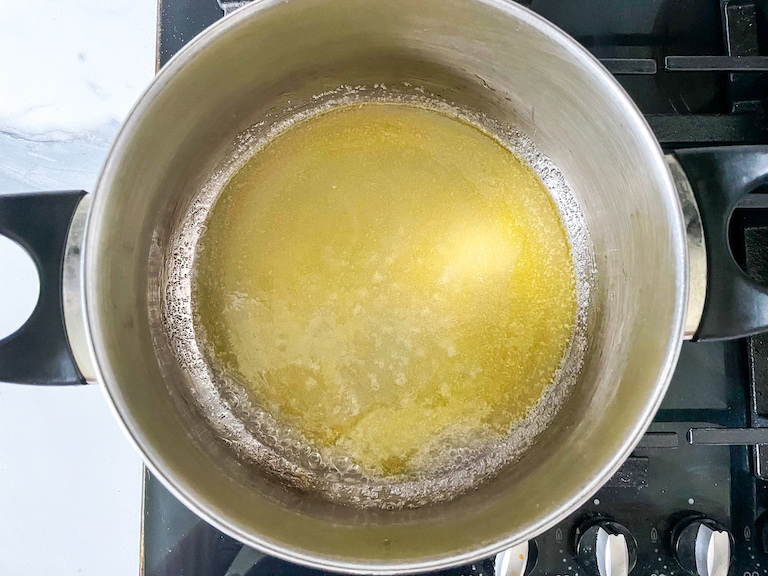
Cook over medium heat, without stirring, until mixture reaches 245° F / 118° C on a candy thermometer, about 2 minutes. Remove from heat.
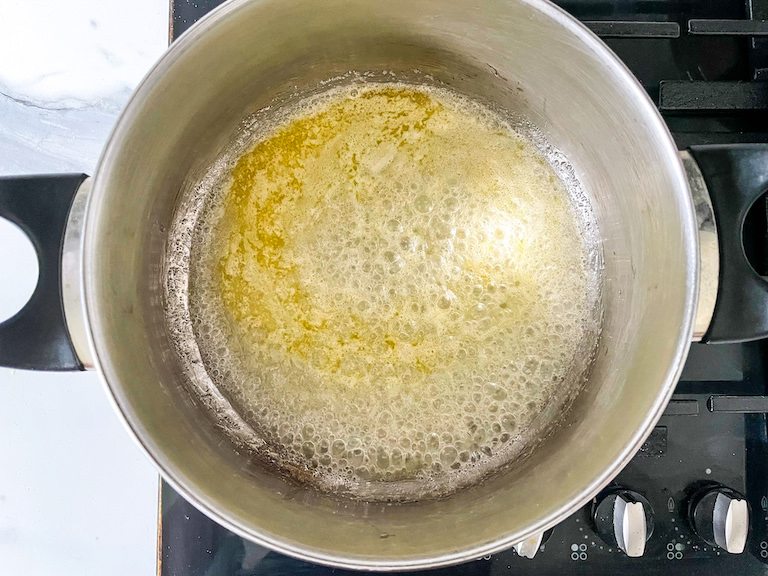
Stir in the vanilla extract.
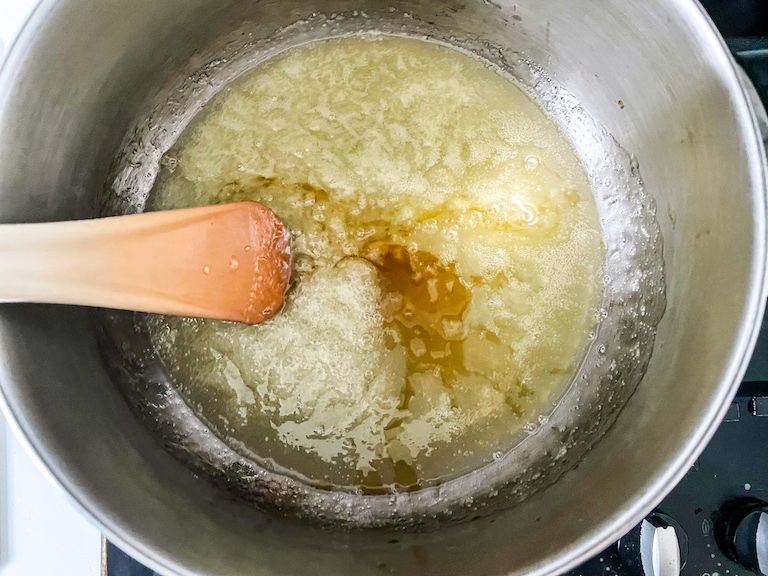
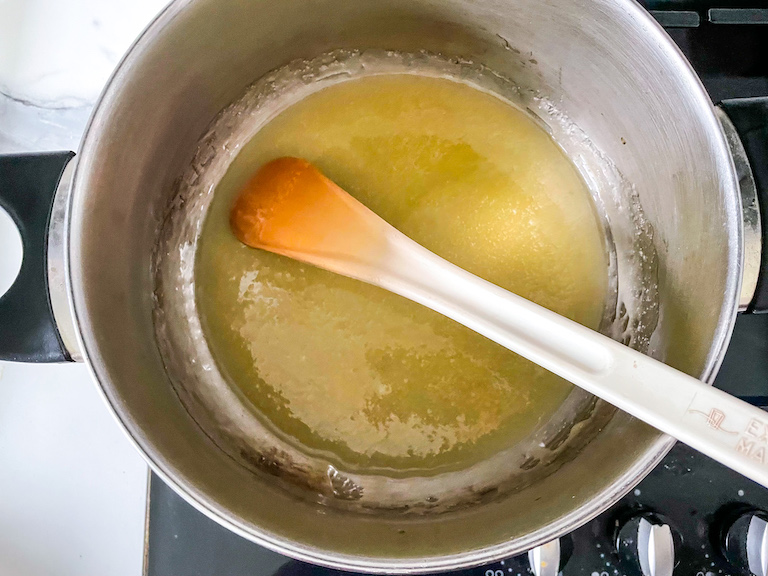
With a heat-proof spoon or spatula, stir in the dry ingredients until fully incorporated.
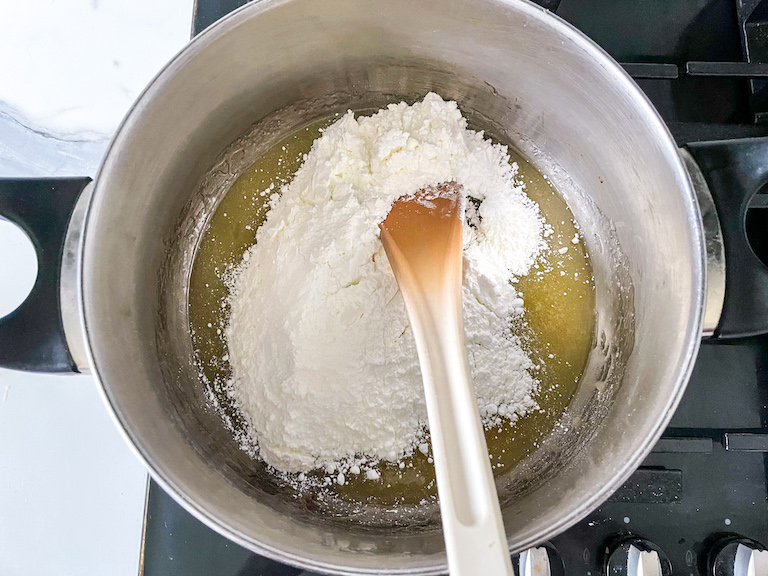
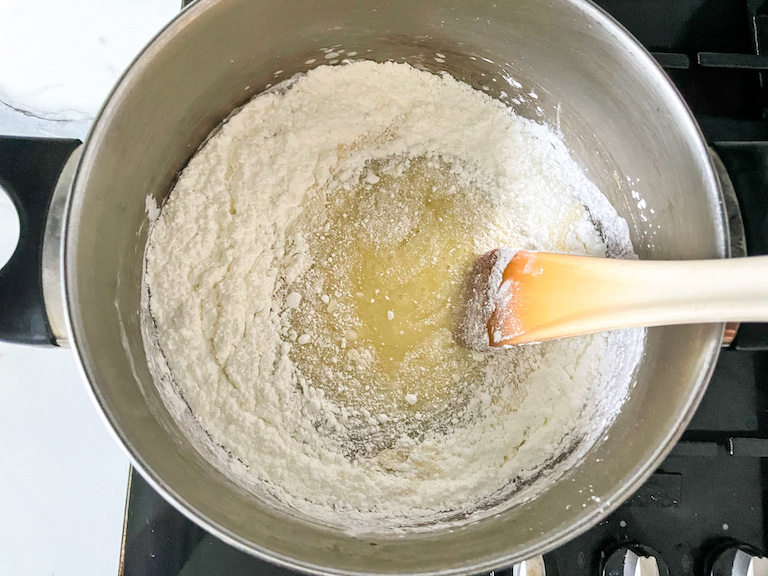
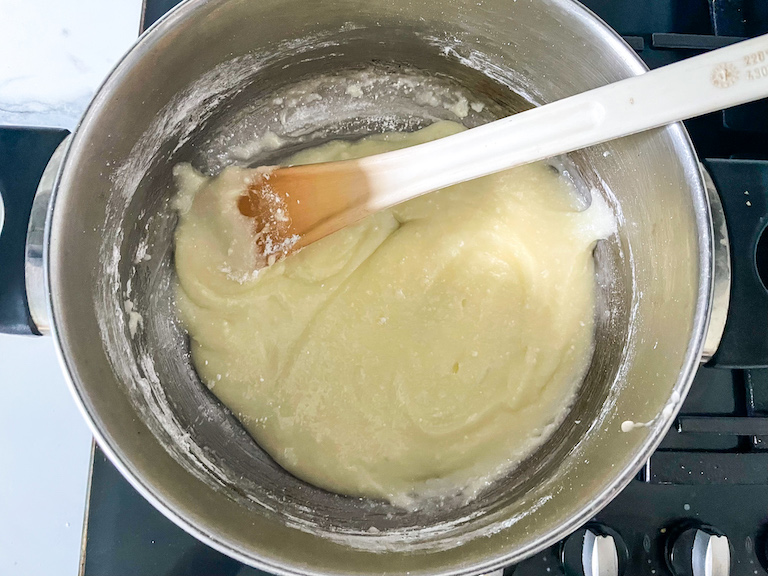
Pour mixture out onto prepared silicone mat. Allow to cool for 3-5 minutes, or until just cool enough to handle.

While waiting for it to cool, put on your cotton gloves, with rubber gloves over top.
With gloved hands, divide the candy corn batter into 6 portions.
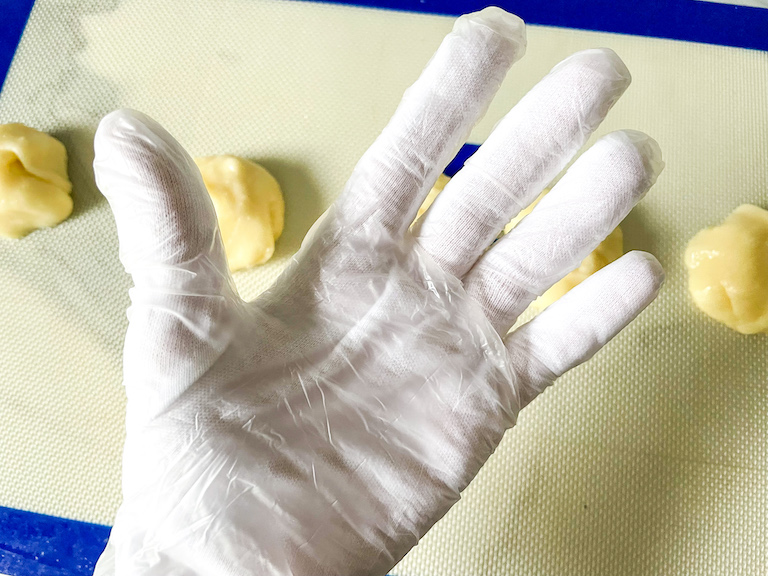
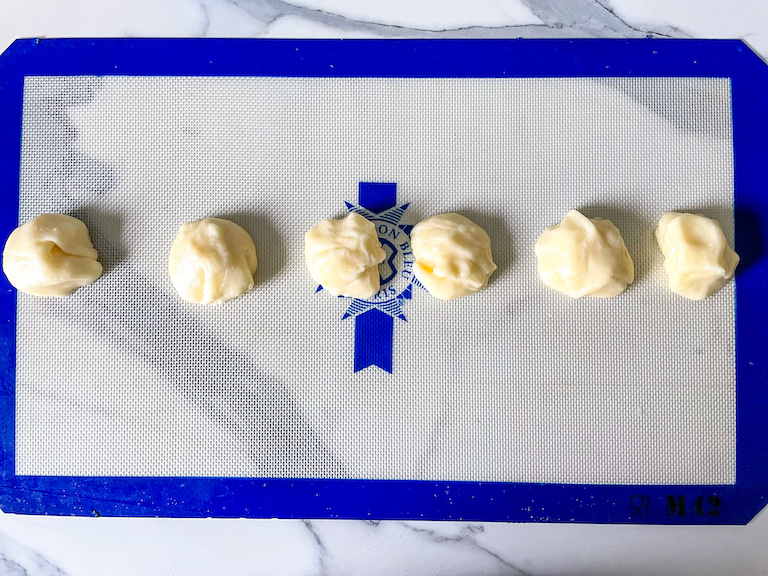
Tint each with gel food coloring (I left one ball of dough white) and knead until the color is evenly distributed throughout the dough.
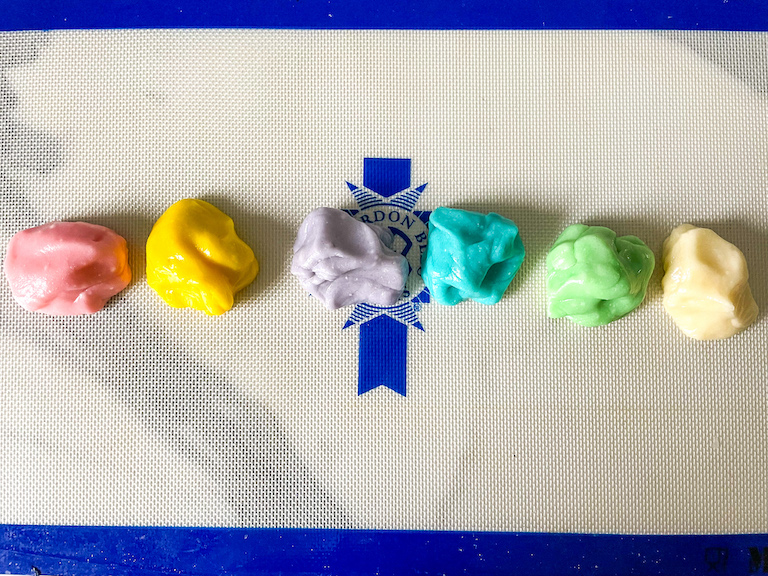
Working in small batches, roll each color into a rope, about 1/2-inch wide and 16-18 inches long.
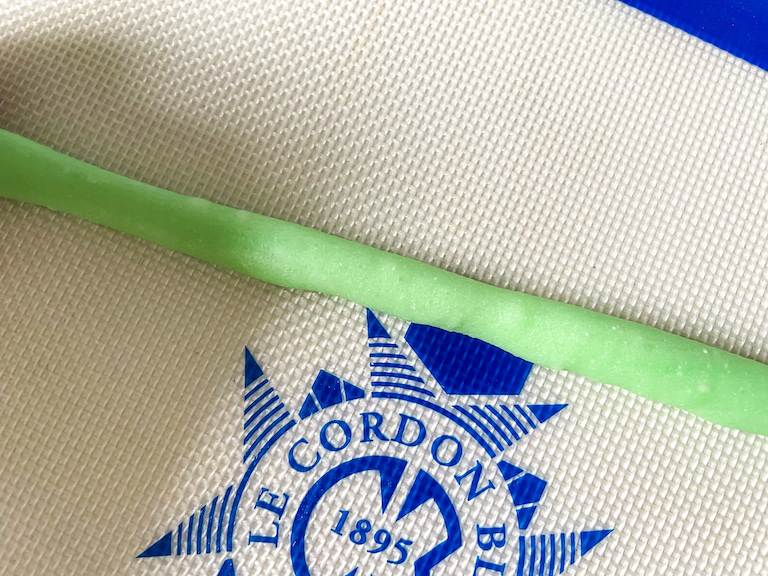
With your fingers, join three of the ropes together. Repeat with remaining three ropes.
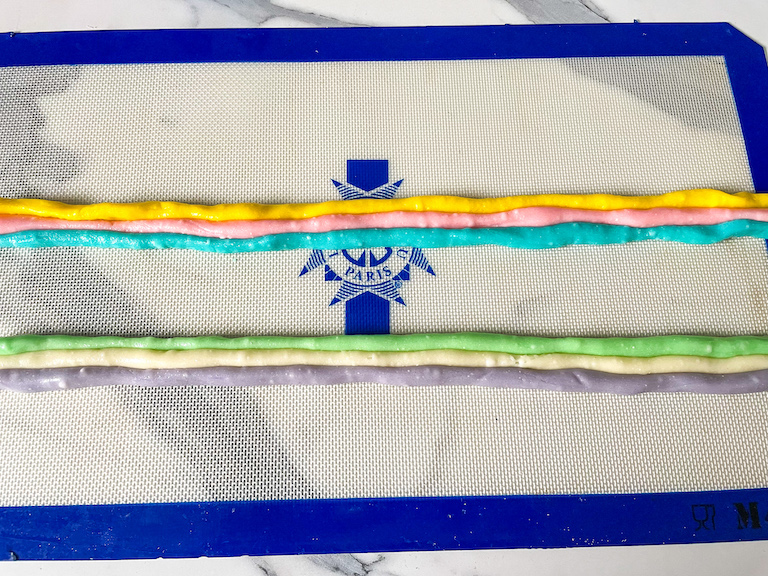
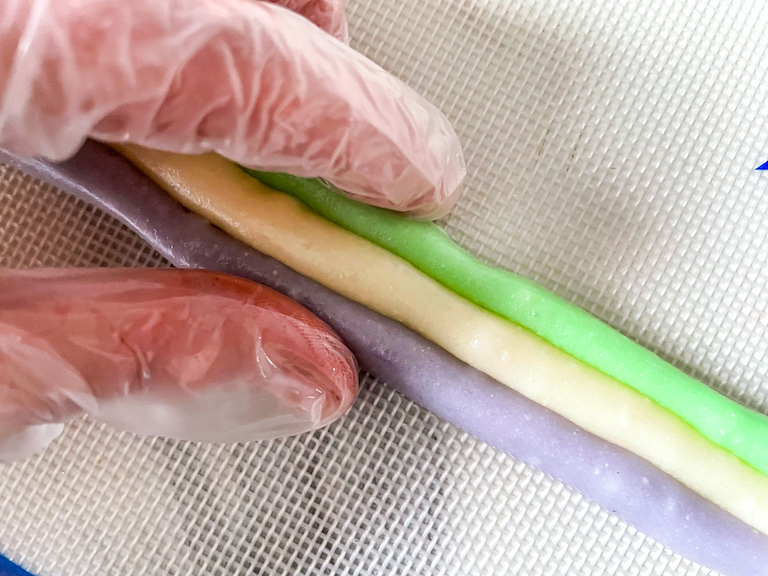
Use your fingertips to smooth the tops of the ropes, then flip them over.
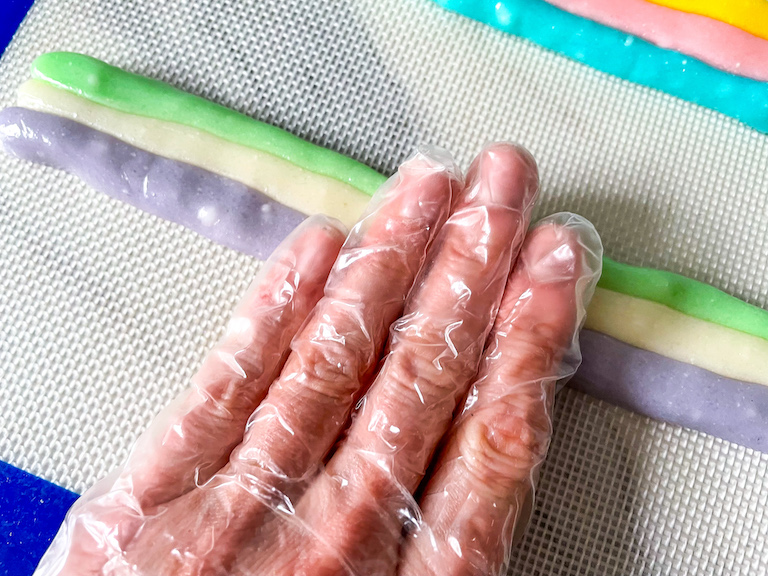
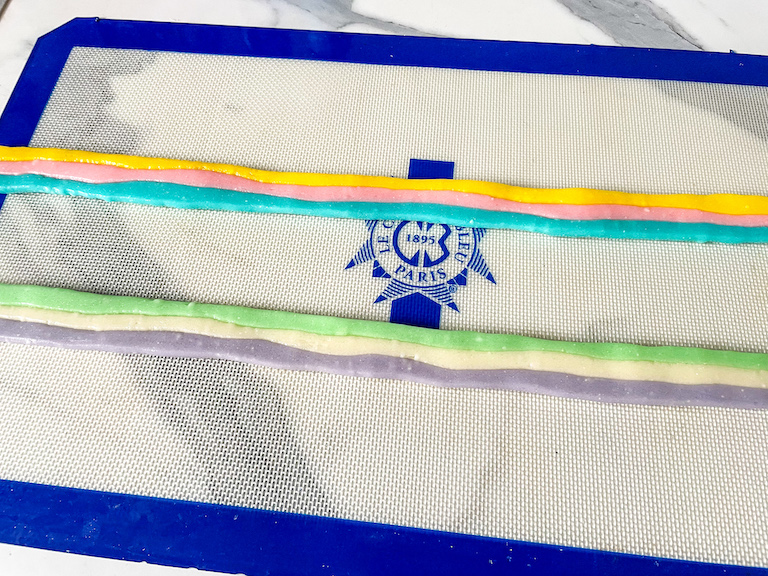
Use a bench scraper to cut the ropes into triangles, each about 1/2 inch at the widest part.

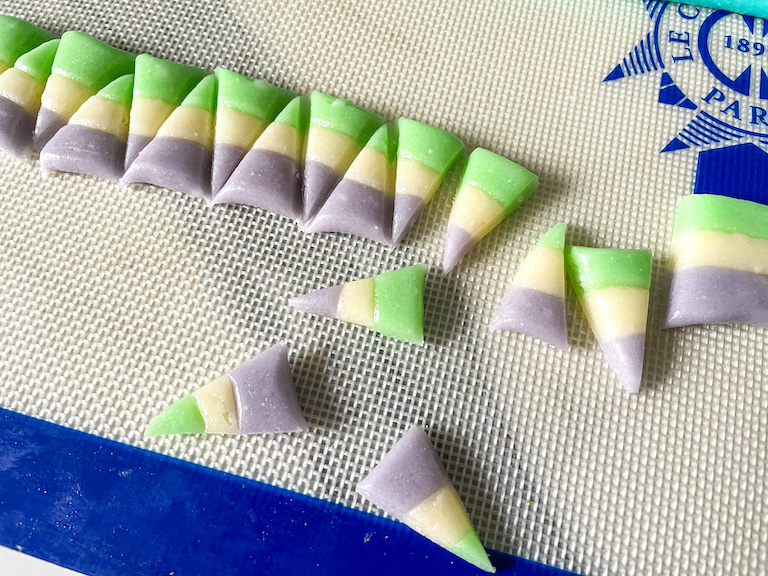
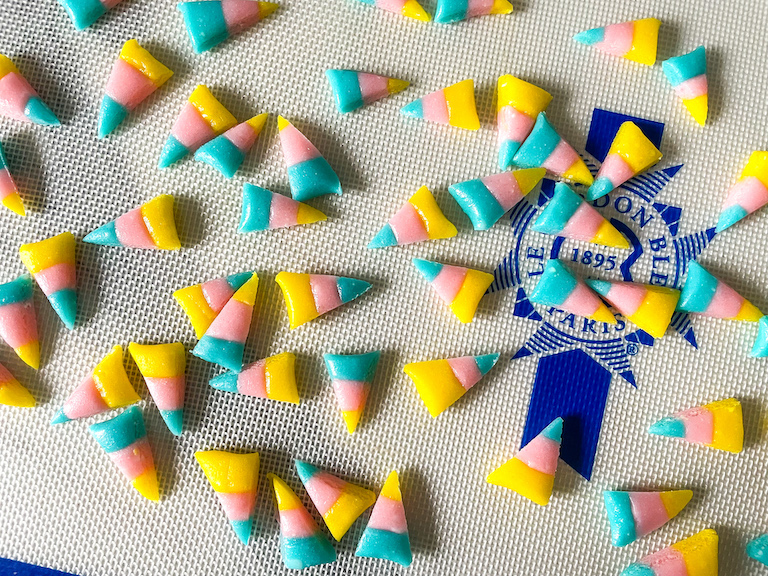
Transfer candy corn pieces to prepared tray and allow to dry, uncovered, for 1 hour.
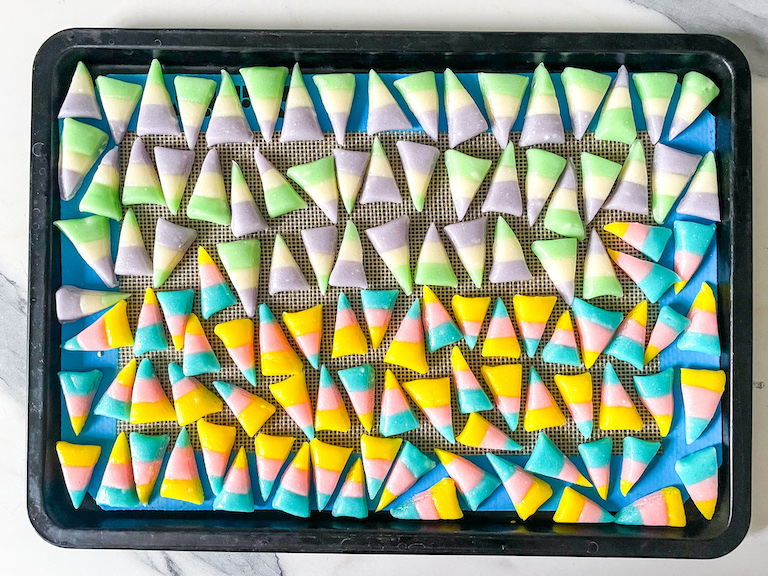
Store homemade candy corn in an airtight container, layered between sheets of parchment or wax paper, for up to two weeks.
Notes
*Do not skip this step!
- Prep Time: 45 minutes
- Setting Time: 1 hour
- Category: Candy and Confectionery
- Method: Stovetop
- Cuisine: Sweets
