
Dried Citrus Wreath
This post may contain affiliate links. Please read the disclosure policy to learn more.
Thank you for supporting this blog!
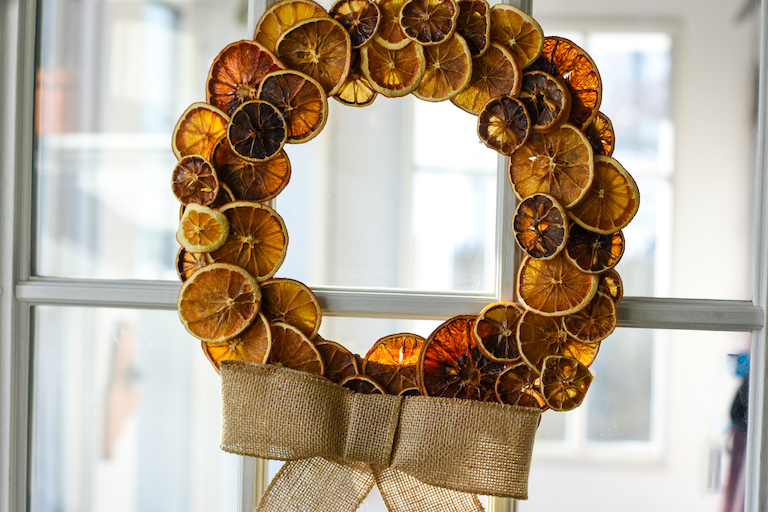
Step-by-step instructions for making a rustic dried citrus wreath with homemade dried orange and lemon slices, a cardboard ring, hot glue, ribbon, and some twine. Ideal for summer decorating or gifting!

Although as a pastry chef I spend most of my time developing and testing recipes for cakes and confections, I also enjoy all things crafty. Thanks to my background in costume design I’ve spent many a workday creating weird and wacky costumes like toy soldiers, four-legged snowsuits, or life-sized sticks of butter. And at home, I always have my hands in something creative. I love to draw and paint, and over the years I’ve dabbled in everything from pottery and sculpture, to cardmaking and handmade papers.
In the same way that I often blend my costume design skills with my culinary work (thinking of the time I built an entire outfit out of real celery…) I also like finding ways to incorporate food items into craft projects. So, soon after I developed this dried citrus peels recipe, which I’d originally intended for use as a cocktail garnish, I began to brainstorm crafty ways that would allow me to display the dried fruit slices all year round.
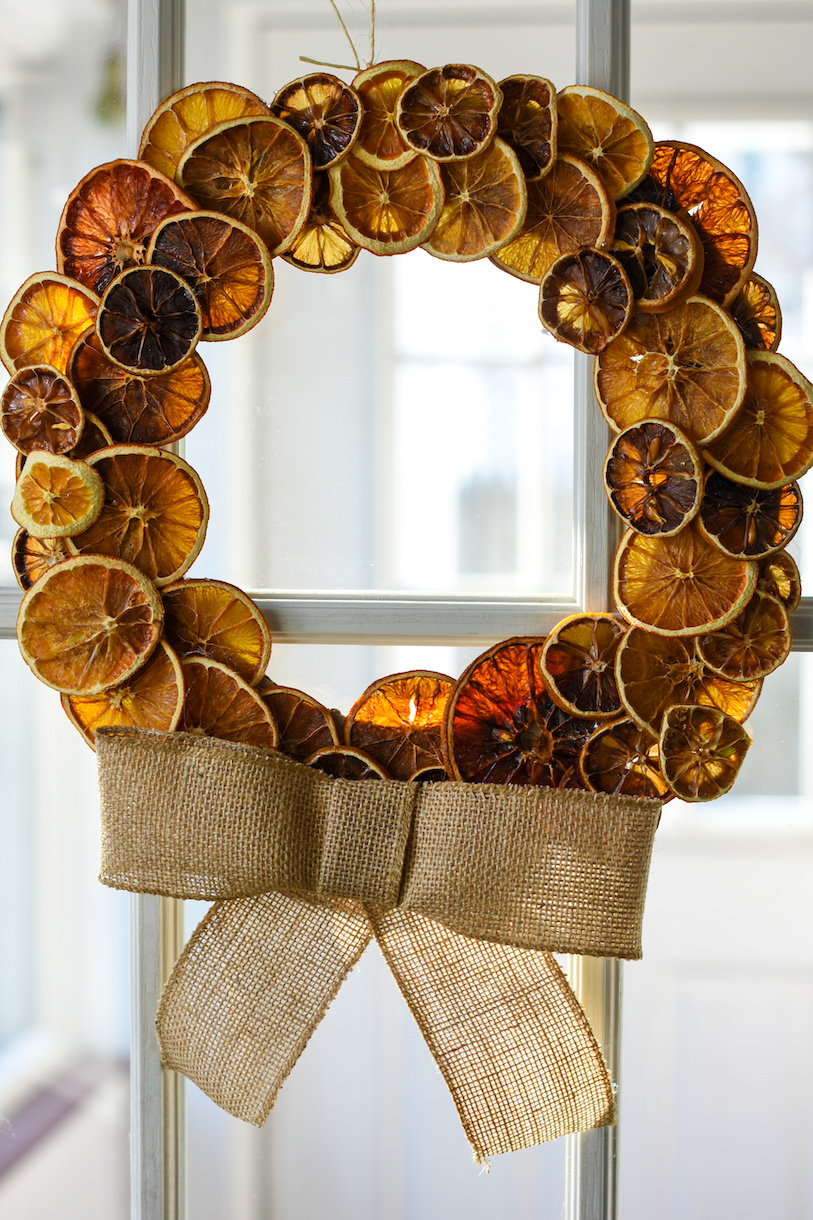
Made from homemade dried citrus slices, assembled on a cardboard wreath ring, and decorated with a large hand-crafted bow, this citrus fruit wreath looks lovely when displayed on a door, window, or mantle. It’s incredibly easy to make, and you can even have fun customizing the wreath’s color palette with different types of citrus fruit, or ribbon patterns and colors that coordinate with your decor.

Important Tools and Supplies
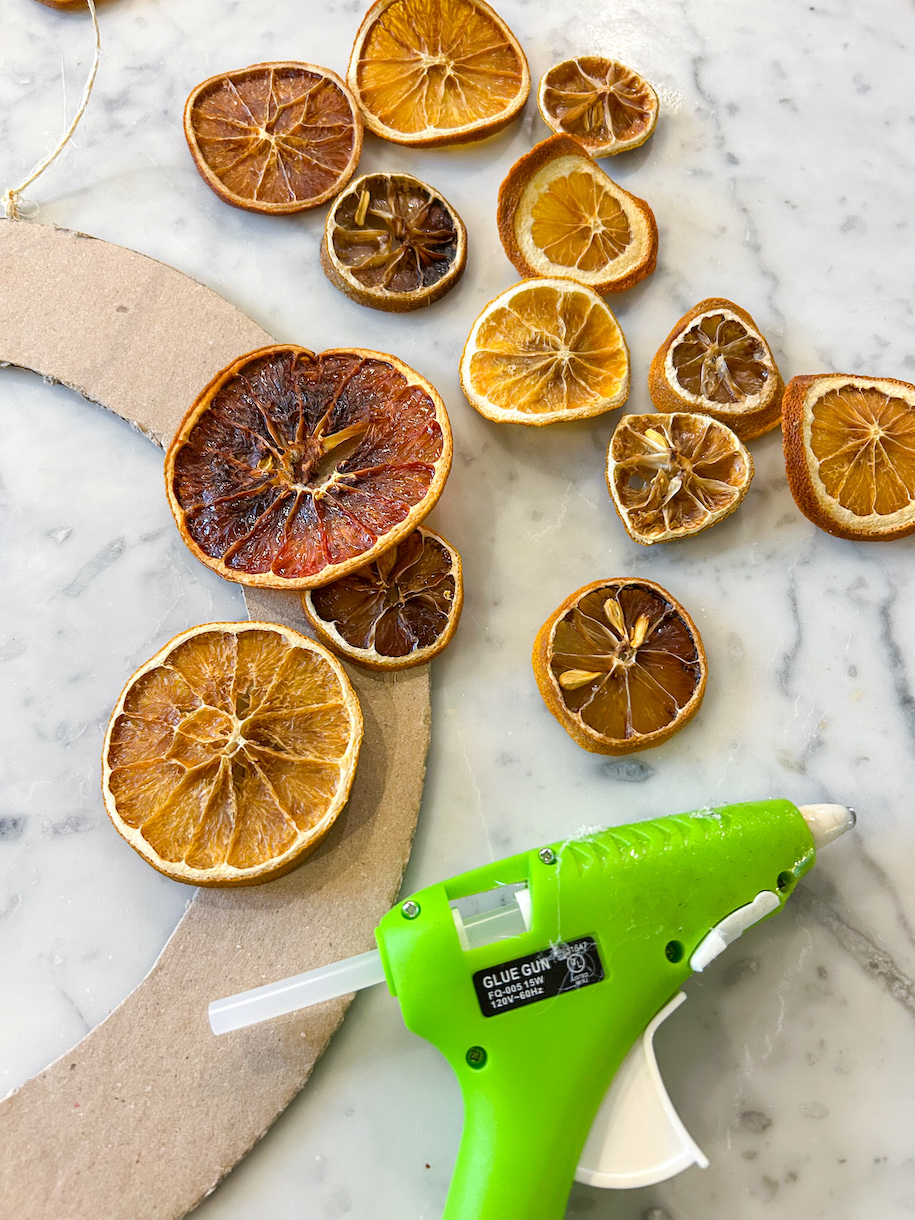
- Dried Citrus – Start by consulting my dried citrus peels recipe to learn how to prepare and dry the fruit. For the wreath shown here I used four oranges, four lemons, and half of a grapefruit, but you can use any combination you’d like. This process can take anywhere from 4-8 hours, so I recommend drying the citrus slices at least a day or two before you plan to assemble your citrus wreath. If you have some extra slices, save them to garnish cocktails, cake slices, or mugs of hot chocolate; or float them in sparkling water or grapefruit-infused water for flavor and color.

- Cardboard Wreath Ring – You can purchase a pre-made cardboard wreath ring from Amazon or a local craft supply shop, or cut a DIY cardboard ring from an old cardboard box or a piece of heavy cardboard.
- Hot Glue Gun and Glue Sticks – You’ll need a hot glue gun and coordinating glue sticks to attach the citrus slices to the ring, and the bow to the citrus slices.
- Ribbon – I used a 2 1/2-inch wired burlap ribbon for the wreath in the photos, but any ribbon will work. Feel free to experiment with wired vs. non-wired ribbon, different widths, different textures, or different colors.
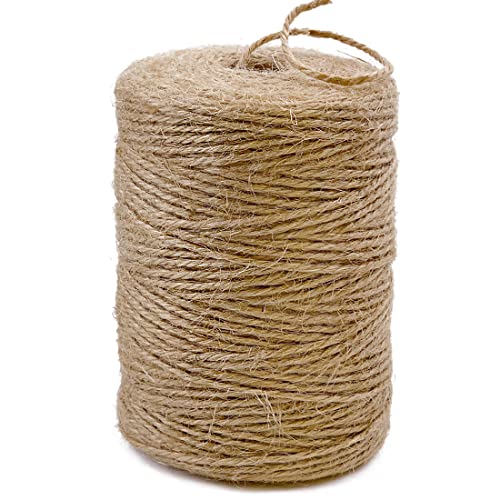
- Twine – You’ll need a strip of twine, yarn, thin cord, or string to hang the finished wreath.

Dried Citrus Wreath
- Total Time1 hour (plus drying time)
- Yield12-inch wreath 1x
Step-by-step instructions for making a rustic dried citrus wreath.
Ingredients
Dried citrus slices, such as oranges, lemon, or grapefruit*
12-inch cardboard wreath ring, or cardboard cut into a 12-inch ring
Hot glue gun and glue sticks
Ribbon, to decorate**
String or twine, for hanging
Instructions
Slice and dry the citrus, using my dried citrus peels recipe.*

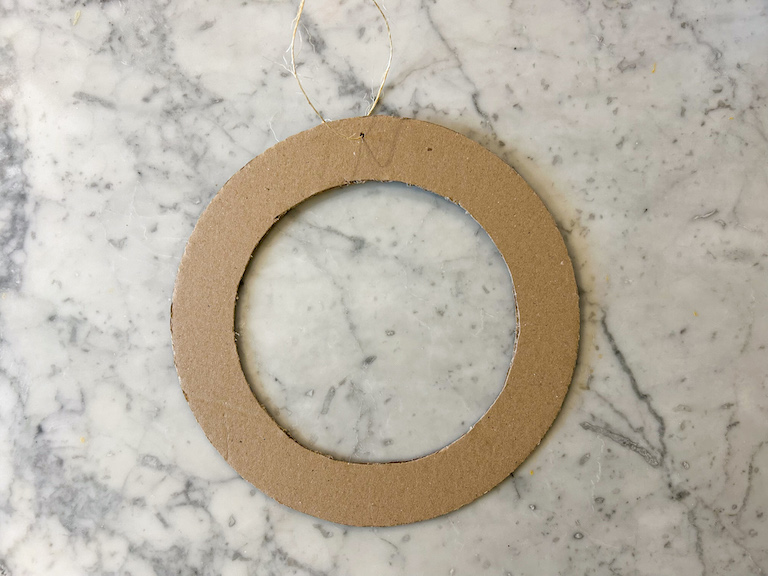
Cut a 12-inch ring from a piece of cardboard or a sturdy cardboard box, or purchase a pre-made cardboard wreath ring.
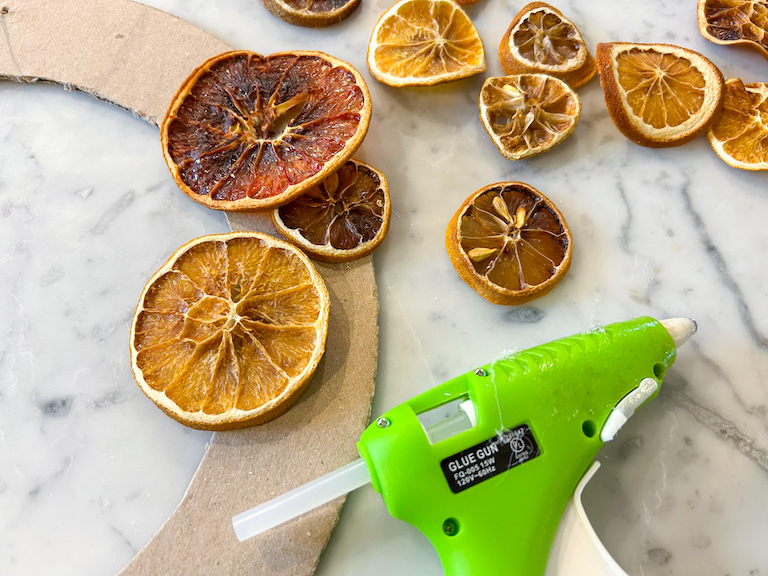
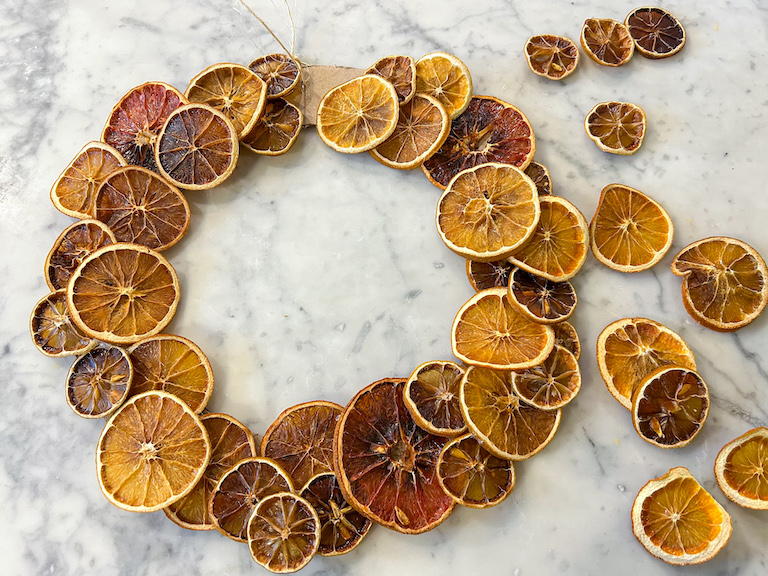
With a hot glue gun, secure the citrus fruit slices to the cardboard ring. As you build the layers, glue the fruit slices to one another, rather than directly to the ring.
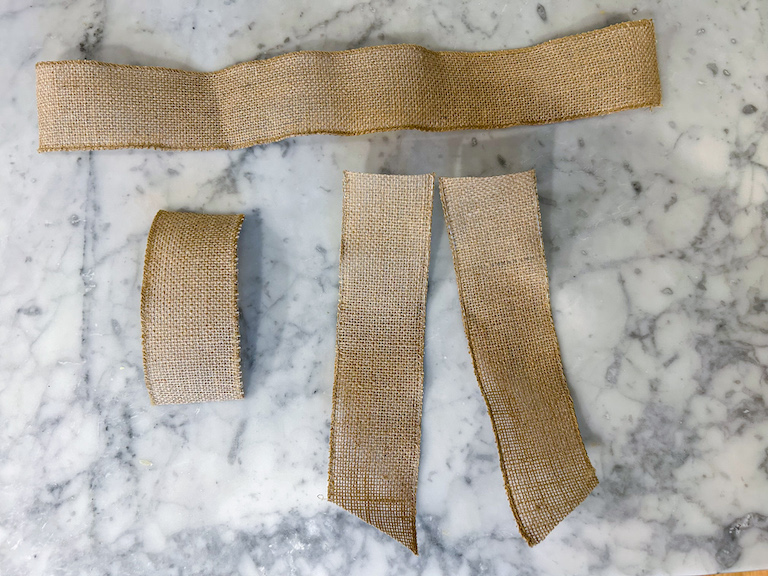
Make the ribbon bow by using sharp craft scissors to cut one 18-inch strip of ribbon** for large bow piece; two 10-inch strips for the tails, and one 6-inch piece to wrap around the middle of the bow. Then, cut an angled edge on each of the 10-inch “tail” strips.
Fold the edges of the 18-inch piece inward to make the body of the bow.
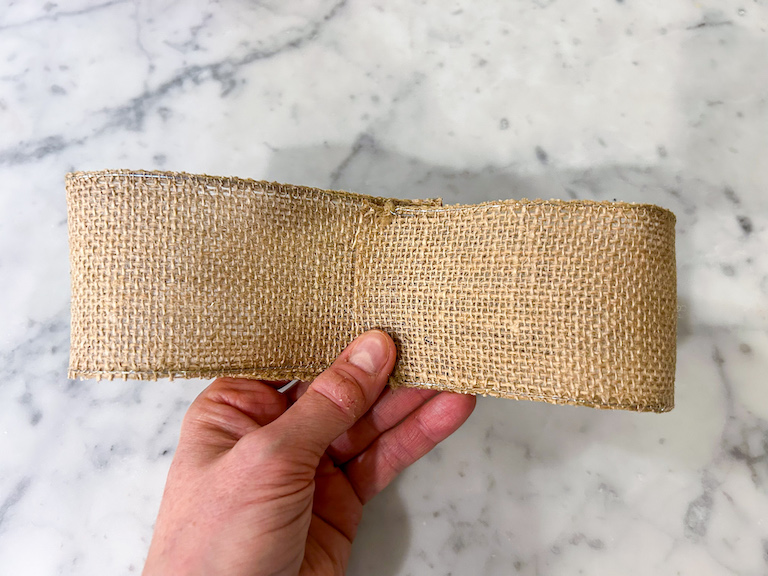
Wrap the 6-inch piece around the middle, covering the seam. Secure with hot glue.
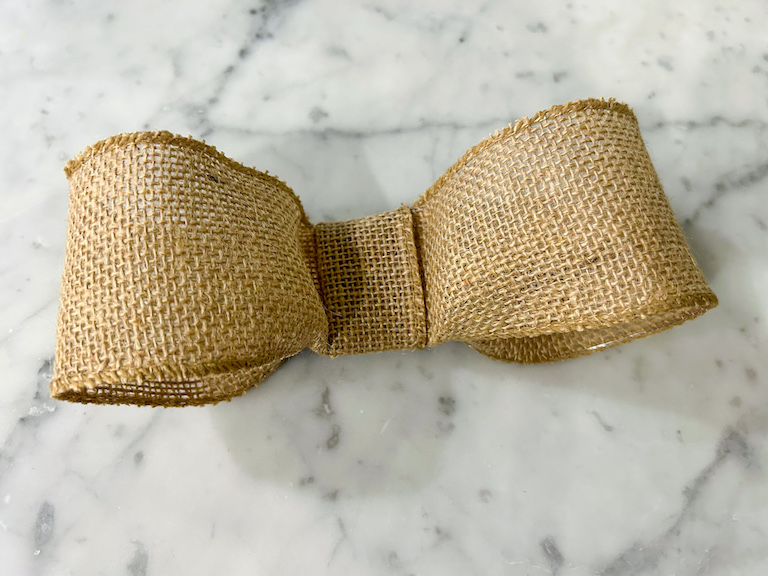
Finally, flip the body over. Use a hot glue gun to adhere the tails to the back of the bow.
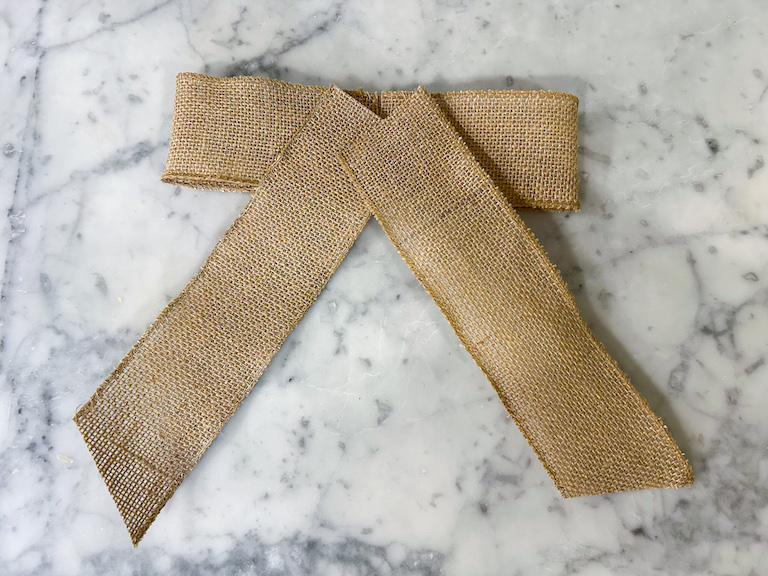
Use hot glue to secure the bow to the dried citrus fruit.
Punch a hole in the cardboard. Thread with a loop of twine, string, or thin ribbon.

Display as desired.


Notes
*This will take approximately 4-8 hours, so I recommend drying the fruit the day before you plan to assemble your wreath. For the wreath shown here, I used 4 oranges, 4 lemons, and 1/2 grapefruit.
**I used a 2 1/2-inch wide wired burlap ribbon; you can use the same techniques with a wider or thinner wired ribbon, or with a non-wired ribbon.
- Cook Time: 4-8 hours
- Category: Miscellaneous
- Method: No Cook

How to Display Your Homemade Citrus Wreath
Hang the wreath on on an interior door, wall, or window where its colors can catch the light. Beyond traditional display, this wreath can also double as a centerpiece.
To help preserve the fruit’s color and texture, display your finished wreath in a dry area away from direct moisture. Because the citrus slices can draw damp or turn moldy if exposed to moisture, I don’t recommend displaying your wreath outside.
Make-Ahead and Storage Suggestions
You can dry the citrus slices a few days (or a few weeks, or months) in advance. Because the drying process can take up to eight hours, I don’t recommend drying the citrus on the same day you plan to assemble your wreath.
If you do not plan to display your wreath immediately, wrap the wreath loosely in tissue paper and place it in a flat box or lidded storage container, along with silica gel packets to prevent moisture. Store in a cool, dry place for up to one year.
Other Weekend Projects You Might Enjoy
Lavender Sugar Cubes
Dried Citrus Peels
Citrus Simmer Pot
Homemade Playdough
Rainbow Meringue Wreath
And if you do make these, or any of my recipes, don’t forget to tag me @bastecutfold or use the hashtag #bastecutfold on Instagram. I always love to see what you’re making!