Butter Mints Recipe
This post may contain affiliate links. Please read the disclosure policy to learn more.
Thank you for supporting this blog!
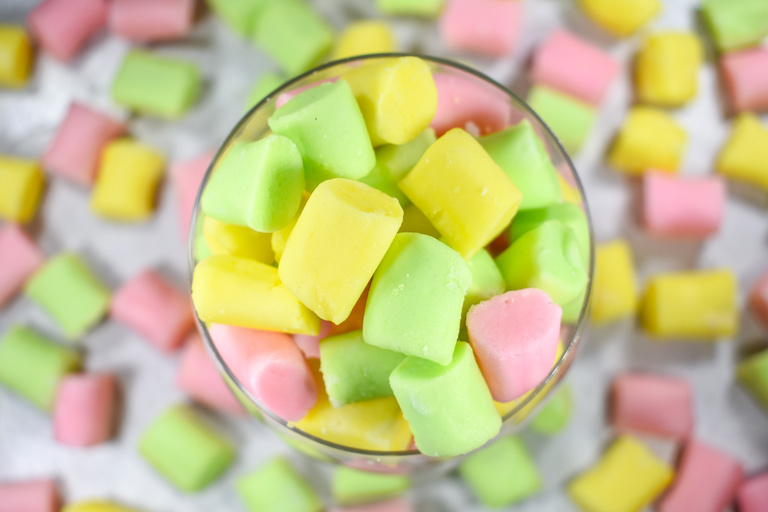
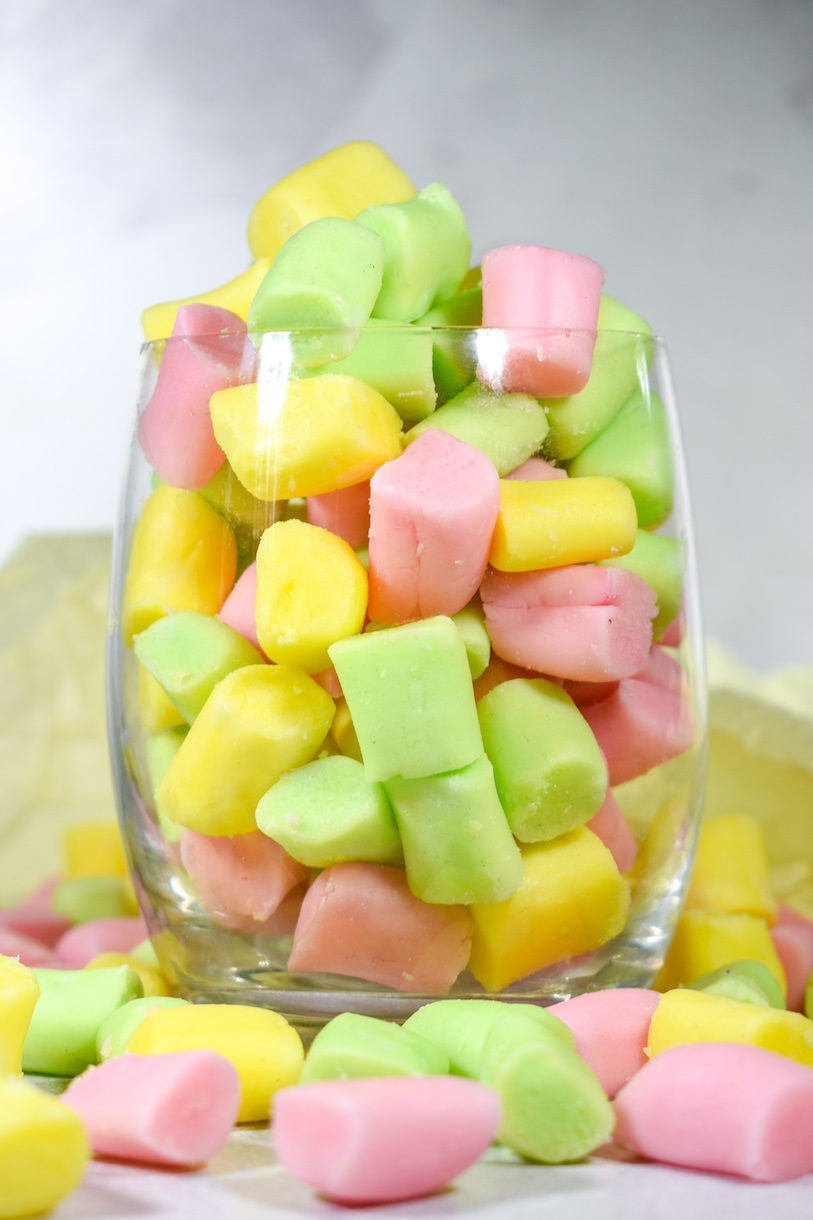
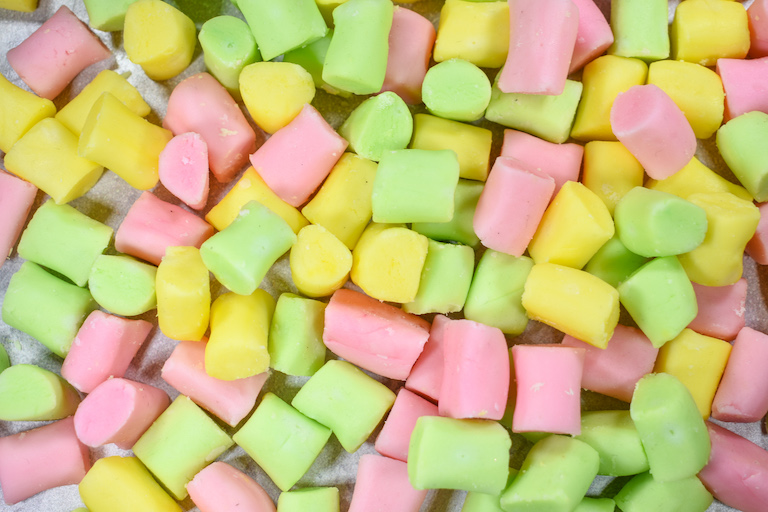
Learn how to make butter mints with this homemade butter mints recipe! Ubiquitous at weddings, baby showers, and other celebratory events, these soft and creamy pastel-colored mints are easy to make and require just six ingredients, most of which you probably already have in your kitchen cabinet. They’re also fun and easy to make, almost like working with clay or playdough. The hardest part is waiting 8-10 hours for the mints to dry!
Why Did I Create This Butter Mints Recipe?
I’ve always loved butter mints. Known for their creamy, “melt in your mouth” texture and sweet, slightly minty flavor, butter mints make popular party favors and after dinner treats. You’ll often find them at weddings (they’re sometimes called ‘wedding mints’ for a reason), bridal showers, baby showers, and other special events. I’ve also seen dishes of butter mints at restaurants, usually on the host’s stand, or in business waiting rooms or reception areas. Butter mints consist of butter, along with confectioner’s sugar, milk, and peppermint oil, which blend together to give these tiny sweets their distinctive texture and flavor profile. And while store-bought butter mints will work in a pinch, I prefer to make my own from scratch.
Key Ingredients
- Butter – Choose a good-tasting, unsalted butter (these are called butter mints for a reason!) and allow it to come up to room temperature before use. If you do choose to substitute salted butter, omit the kosher salt.
- Confectioner’s Sugar – Confectioner’s sugar (icing sugar) gives the mints their sweet taste and slightly crumbly texture. The high sugar content in this recipe also acts as a preservative, allowing for room temperature storage.
- Whole Milk – Use just enough to bring the dough together. It’s okay to add a tiny splash of extra milk if the mixture seems too dry, but resist the urge to add too much liquid. Sticky dough will be difficult to roll and cut, and won’t dry properly.
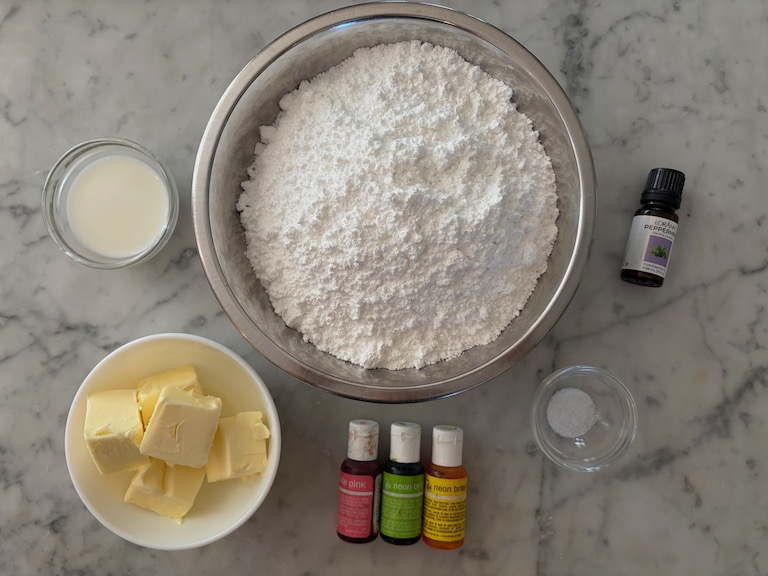
- Kosher Salt – Salt acts as a preservative, and cuts the cloying sweetness of the confectioner’s sugar. My go-to is Diamond Crystal, but any type of kosher salt will work. You can also substitute another salt, like fine sea salt.
- Peppermint Oil – Choose natural peppermint oil, not flavoring or extract. I use LorAnn Oils in most of my candy recipes, including these butter mints (as well as my peppermint patties and cream cheese mints!) but any good-quality peppermint oil will work. Start with a few drops, then add more oil to taste. With peppermint oil, a tiny bit goes a long way, so don’t go overboard or your candies will taste overpoweringly minty.
- Gel Food Coloring – I went with yellow, pink, and green for spring, but you can choose any colors you’d like. These mints are highly customizable—try tinting the dough to match your wedding scheme; make blue and pink for a gender reveal; create red and green for Christmas; or whip up a batch of butter mints in the colors of your favorite sports team. I prefer the Chefmaster brand of gel food colorings.
Tips and Tricks
- Sift the sugar. Take the time to properly sift the confectioner’s sugar before adding it to the butter mixture. If your sugar contains lumps or clumps, there will be lumps in the finished mints, too.
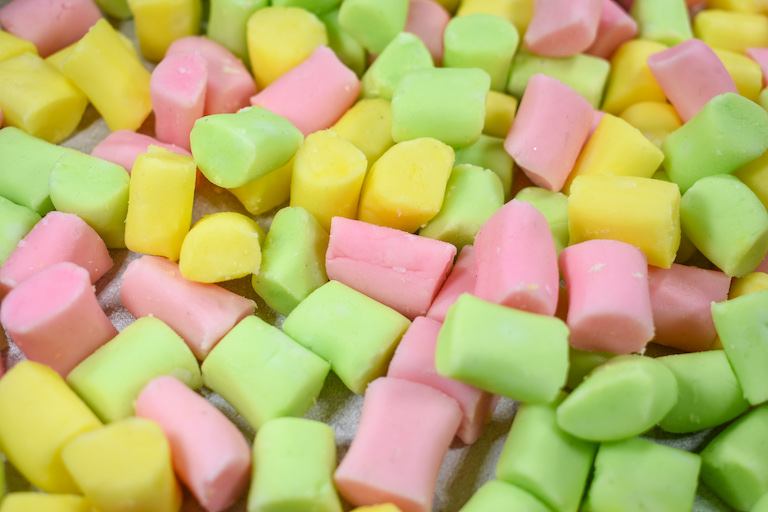
- Allow plenty of drying time. After slicing, allow the mints to sit uncovered until dry. Depending on the temperature and humidity levels in your home, this may take 8-10 hours. If drying overnight, gently place a sheet of parchment over top of the tray to avoid the mints collecting dust.
- Blend patiently. When mixing the butter and sugar, you’ll notice that the dough seems very dry at first. Keep going! As you mix, and then mix in the whole milk, the dough will clump together until it resembles the texture of playdough. Resist the urge to add lots of extra milk, or the dough will be too sticky, and the mints will take a very long time to dry.
- Wrap in plastic wrap. While shaping the mints, keep balls or pieces of un-used dough wrapped tightly in clingfilm/plastic wrap to prevent it from drying out.

Butter Mints Recipe
- Total Time1 hour (+ drying time)
- YieldApproximately 600 grams (4 cups); or approximately 170-180 mints 1x
Learn how to make butter mints with this homemade butter mints recipe! These creamy, pastel-colored mints are easy to make and require just six ingredients.
Ingredients
113 grams unsalted butter, softened (1/2 cup; 1 stick)
540 grams confectioner’s sugar (4 cups), plus more for dusting
30 milliliters whole milk (2 tablespoons), plus more to adjust consistency
Generous pinch kosher salt
3-4 drops peppermint oil, or to taste
Gel food coloring, optional
Instructions
Line a large tray, or several smaller trays, with parchment, wax paper, or a silicone mat. Set aside.
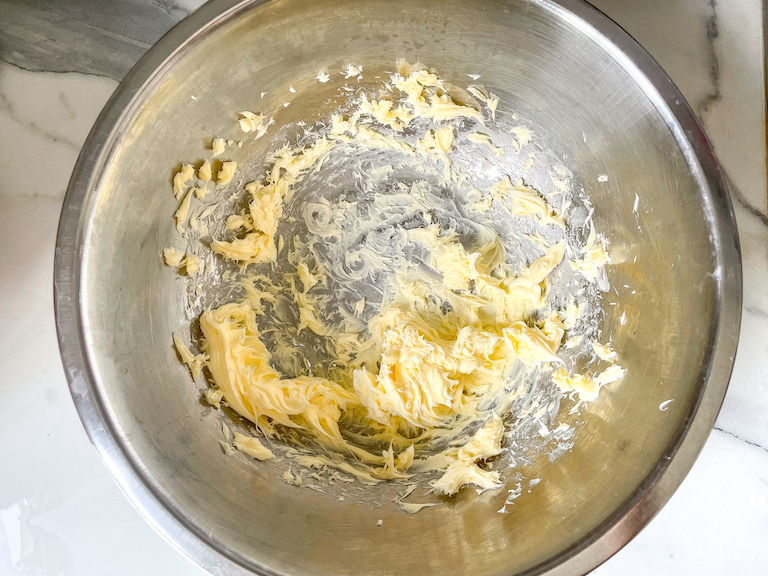
In a large mixing bowl or the bowl of a stand mixer, whip butter on high speed until light and fluffy.
With a fine mesh strainer, sift the confectioner’s sugar to remove any lumps or clumps.
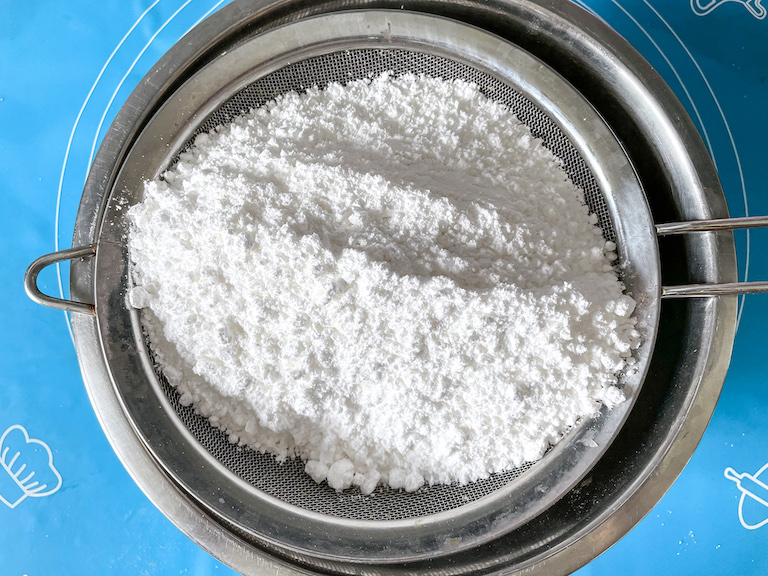
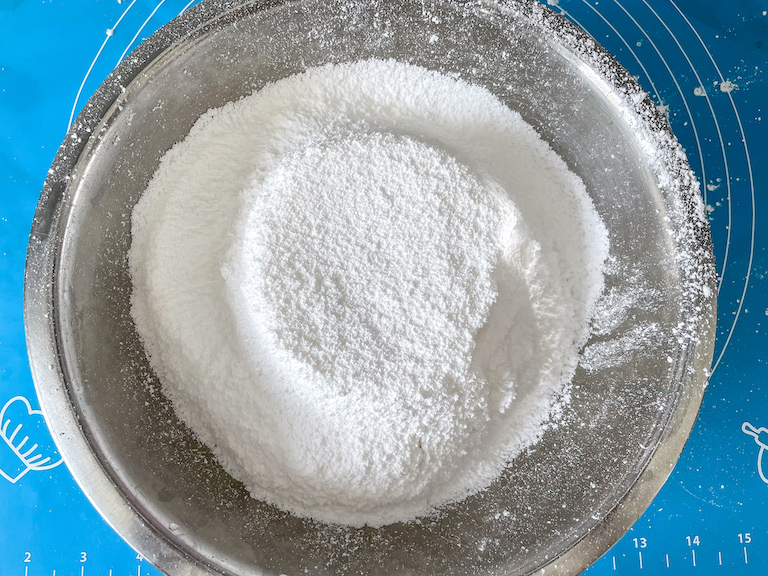
Gradually add the confectioner’s sugar to the butter, 1 cup at a time, mixing well after each addition.
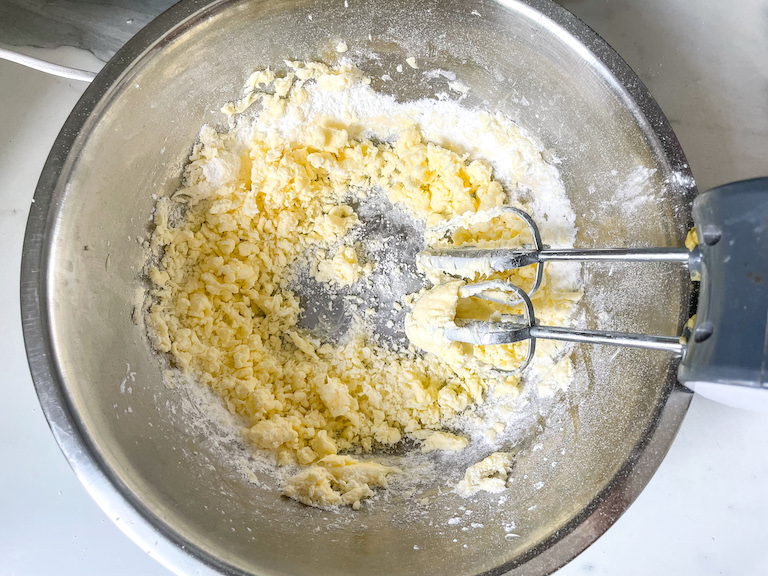
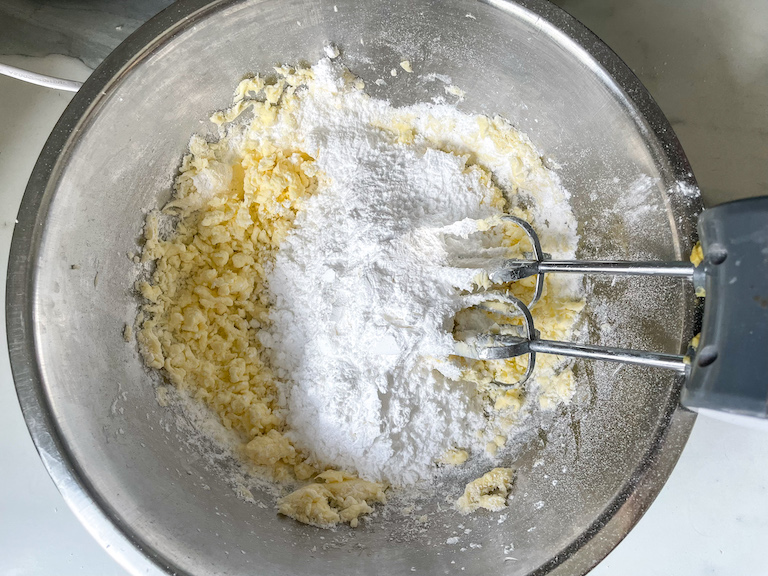
Mix in the whole milk, salt, and peppermint oil. Continue mixing until a crumbly dough forms.
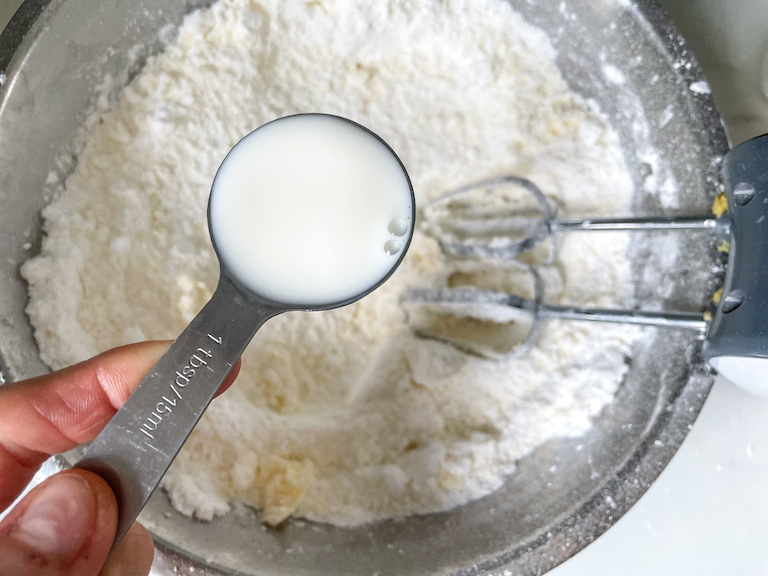
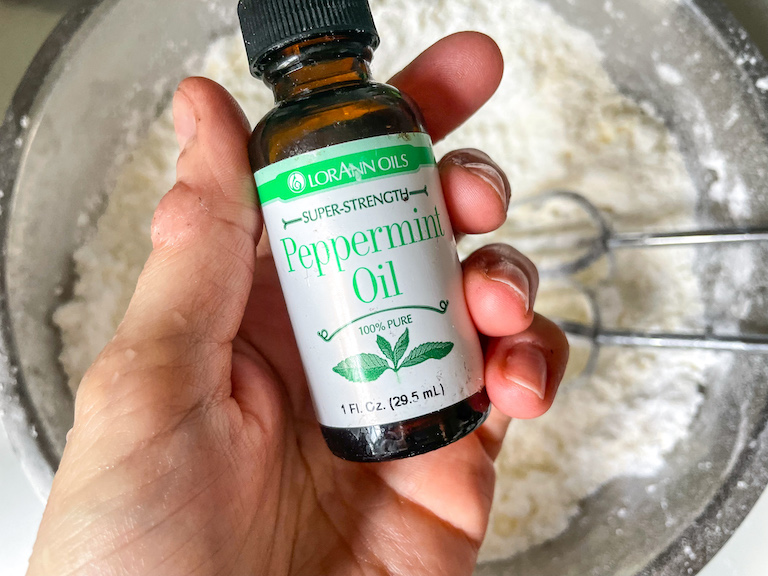
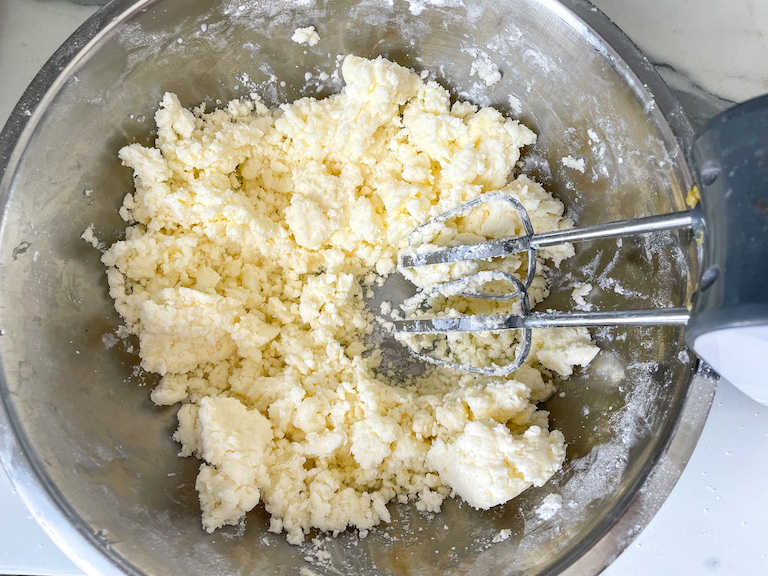
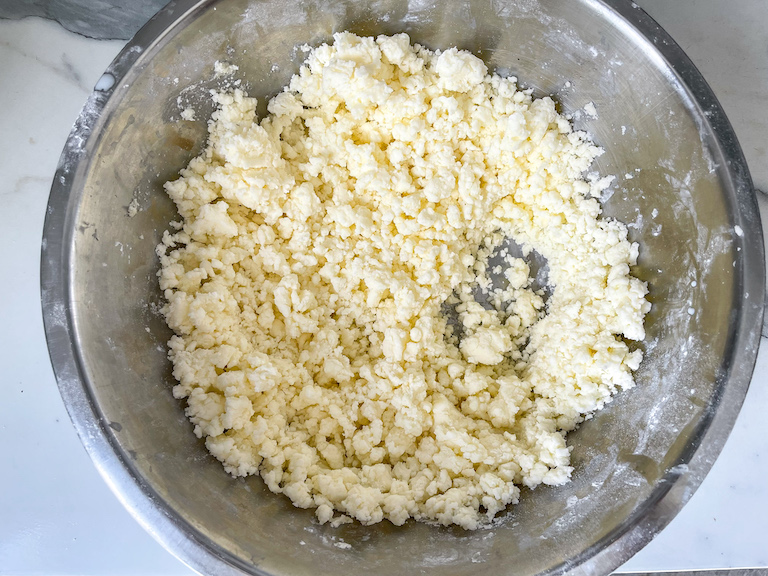
Turn dough out onto a silicone rolling mat, or a countertop dusted with confectioner’s sugar.
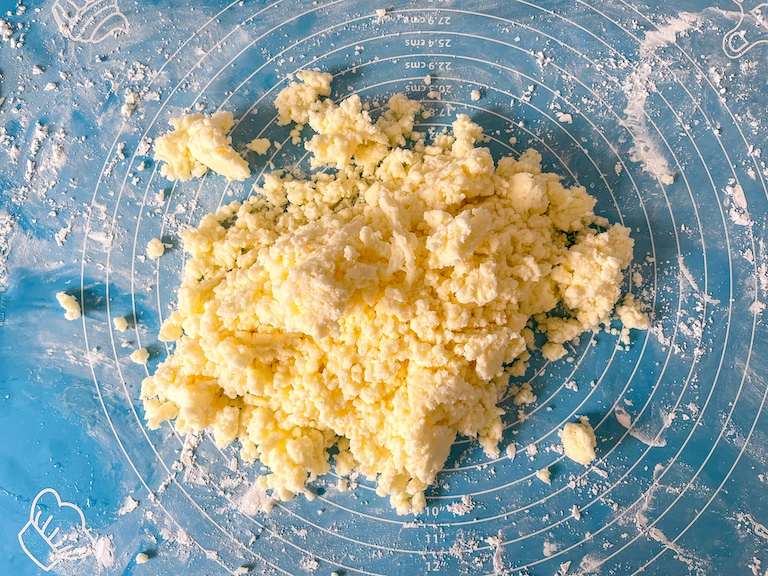
Use your hands to bring the mixture together until a soft dough forms.
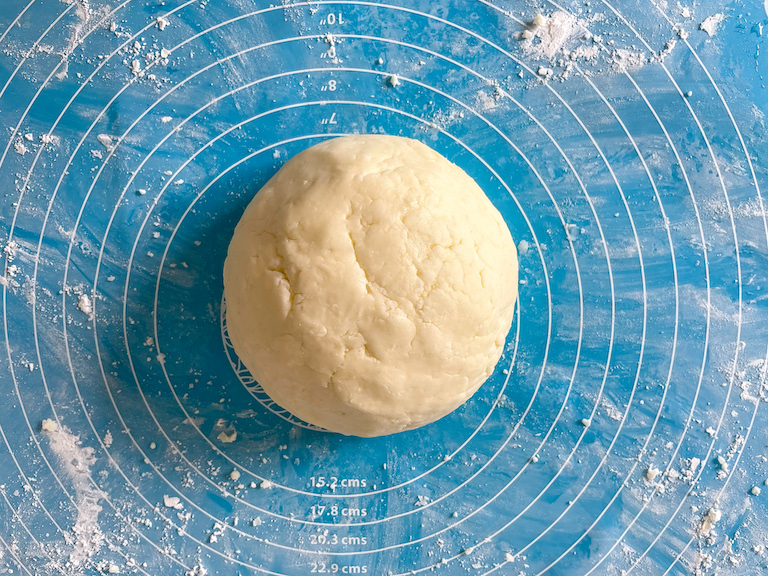
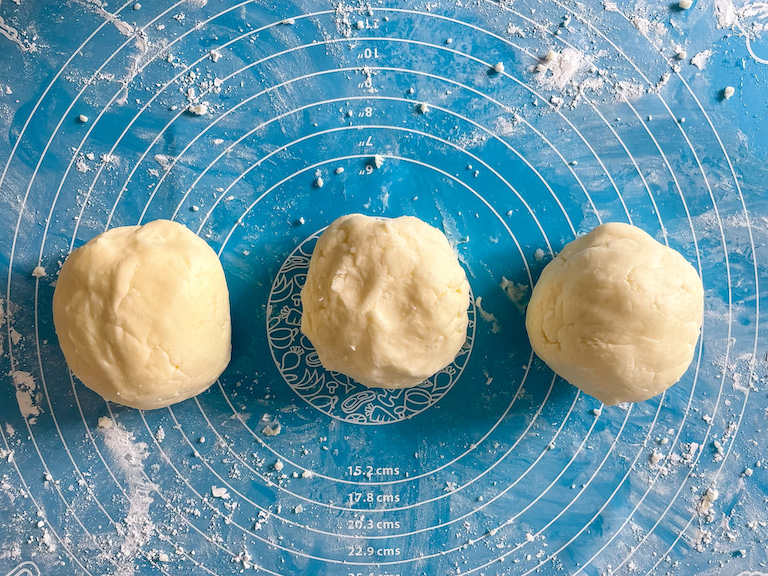
Divide into portions, one for each color you plan to make.
Add 1-2 drops of gel food coloring. With gloved hands, knead to evenly distribute the color thoughout the dough.
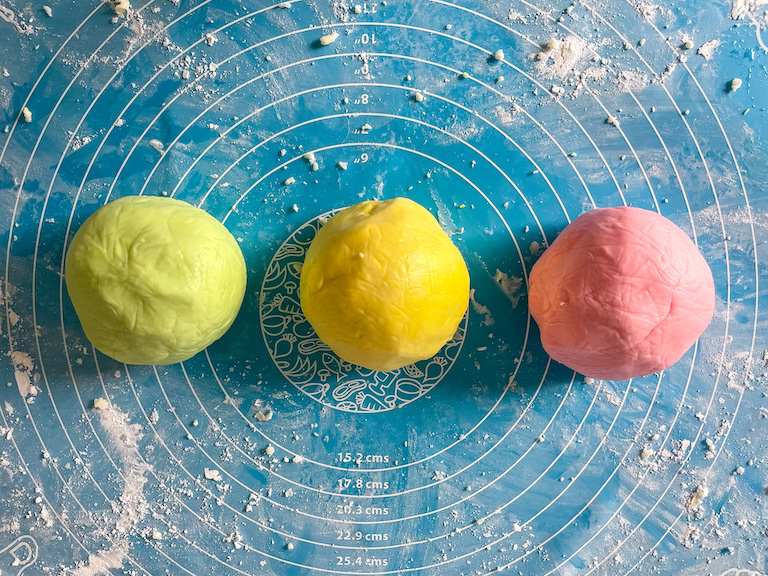
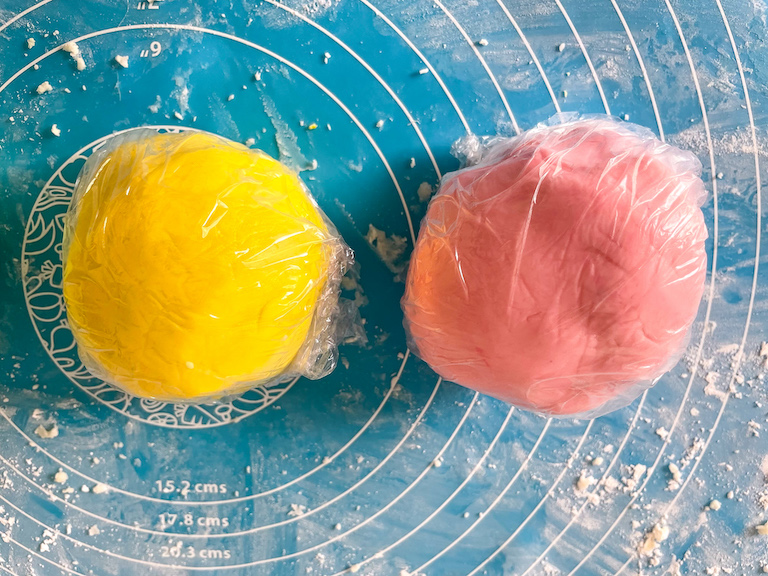
Wrap balls in clingfilm/plastic wrap. (This will prevent the butter mint dough from drying out while you work.)
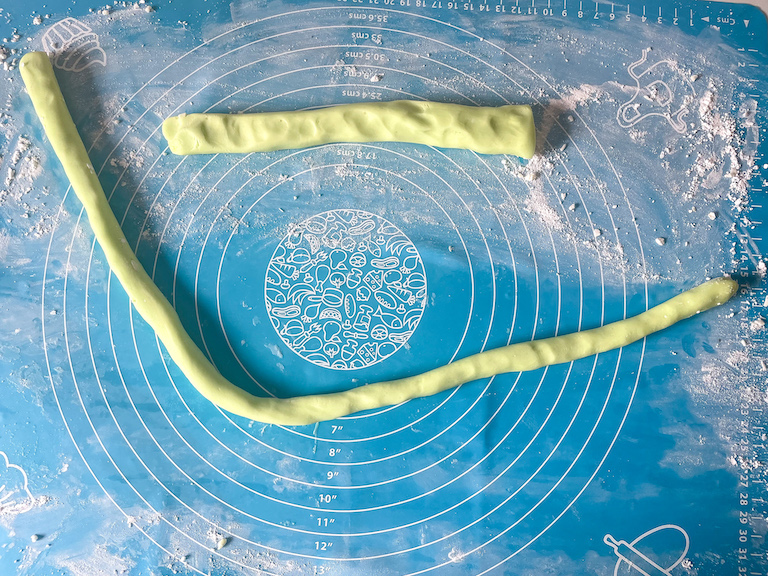
Beginning with 1 color, roll dough into a long rope, about 1/2-inch thick.
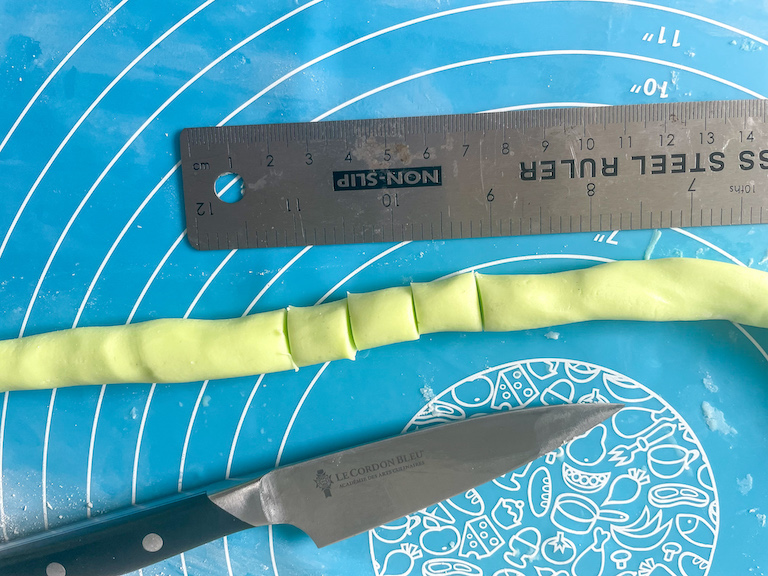
With a sharp knife, slice the rope into 1/2-inch pieces.
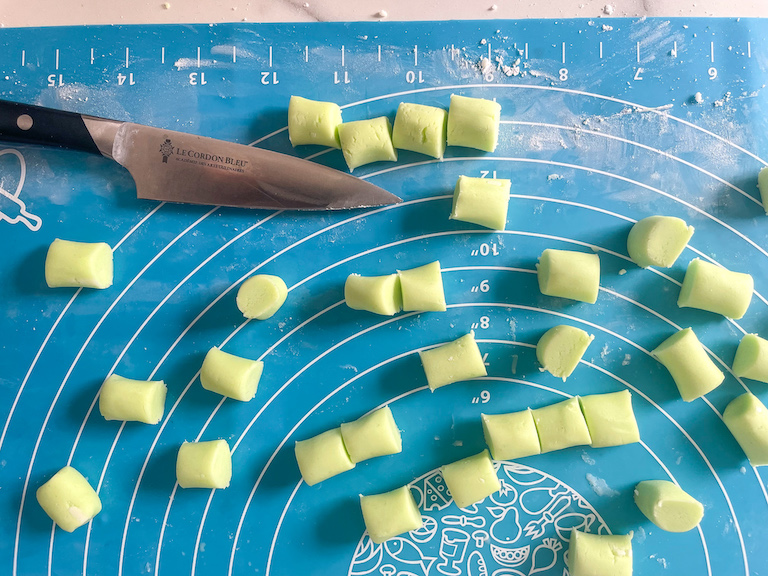
With sugared fingertips or a small stepped palette knife, transfer mints to prepared tray.
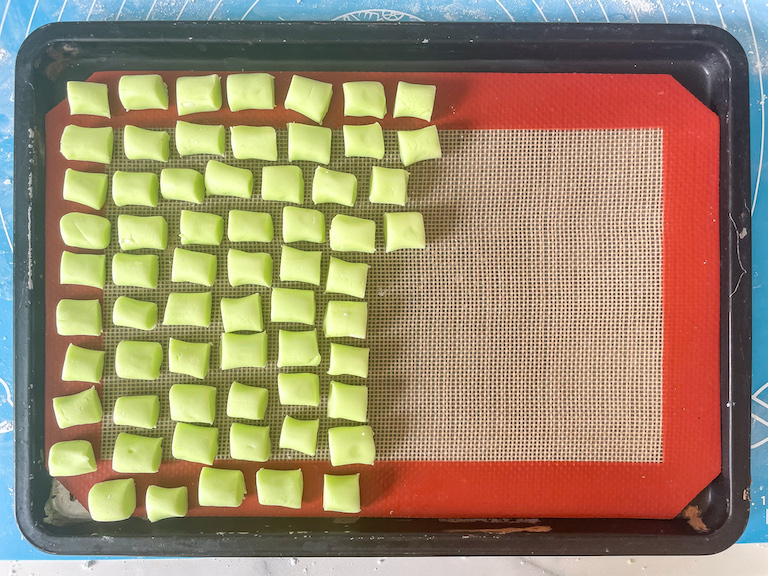
Repeat with remaining colors.
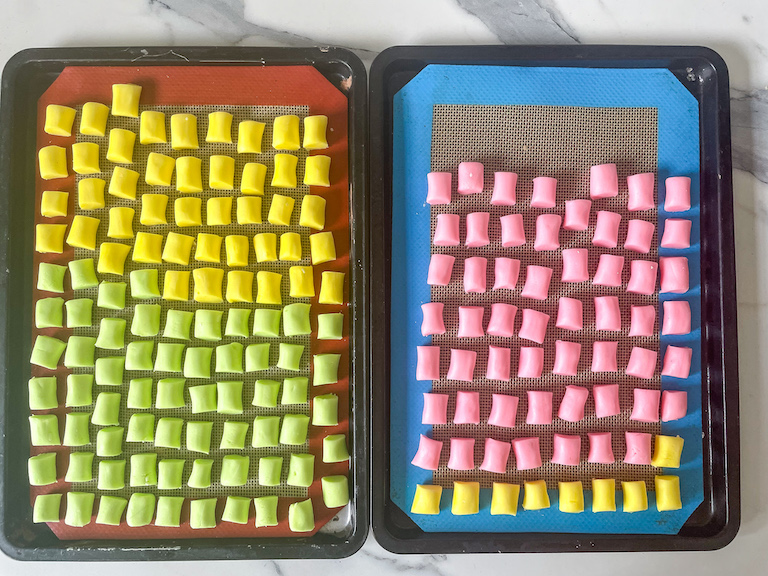
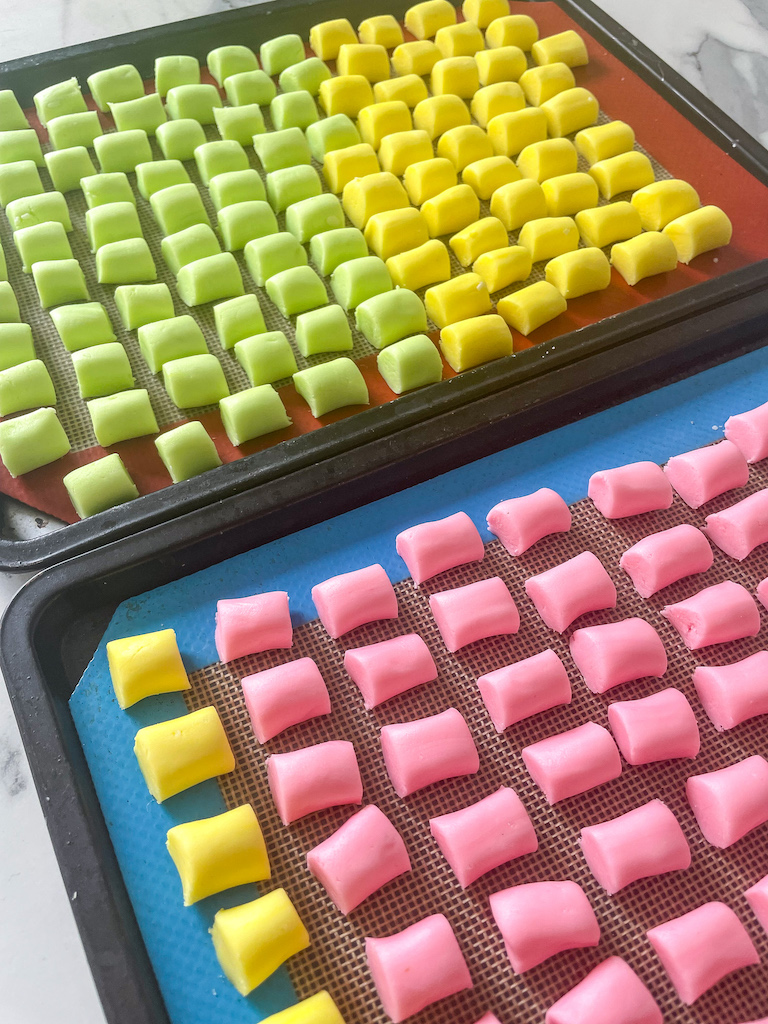
Allow butter mints to sit uncovered at room temperature for 8-10 hours, or until dry.*
Layer between sheets of parchment or wax paper. Store in an airtight container at room temperature for up to 3 weeks.


Notes
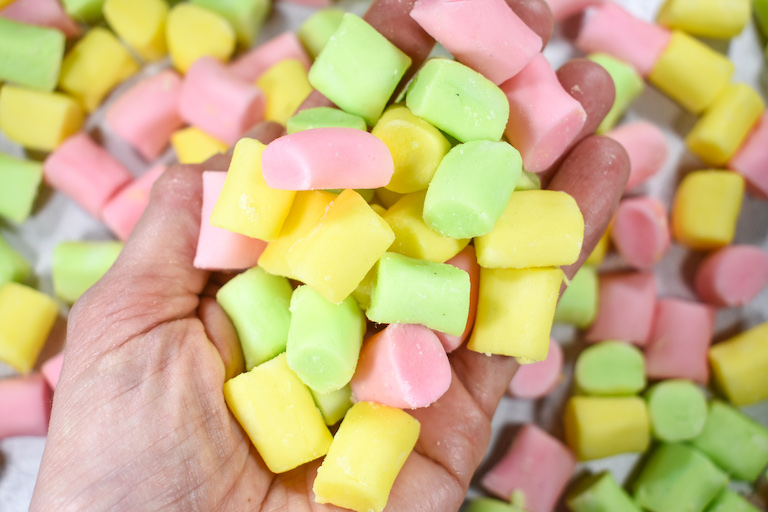
*Finished mints should feel dry to the touch, but with a soft, smooth interior. They should not be crumbly, hard, or difficult to bite. Check the mints periodically to prevent them from over-drying.
- Prep Time: 1 hour
- Drying Time: 8-10 hours, or overnight
- Category: Candy and Confectioner
- Method: No Cook
Make-Ahead and Storage Suggestions
Thanks to the high sugar content, you can safely store your homemade butter mints at room temperature for up to three weeks. (Just be careful where you store your mints—see my notes below!) Because they don’t need refrigeration, homemade butter mints make great gifts. For gifting, try packaging homemade butter mints in small mesh bags or pretty cello bags.
Think carefully about where and how you choose to store your homemade butter mints. These will absorb odors! Pick a location without strongly-scented food items (coffee, onions, teas, cinnamon sticks, etc.) or you’ll find that your butter mints soon taste and smell like their cabinet companions.
Other Candy Recipes You Might Enjoy
Homemade Candy Corn
Cream Cheese Peppermints
Cookies and Cream Marshmallows
Lemon Drops Candy
Blueberry Marshmallows
Old-Fashioned Hard Candy
And if you do make these, or any of my recipes, don’t forget to tag me @bastecutfold or use the hashtag #bastecutfold on Instagram. I always love to see what you’re making!