This post may contain affiliate links. Please read the disclosure policy to learn more.
Thank you for supporting this blog!
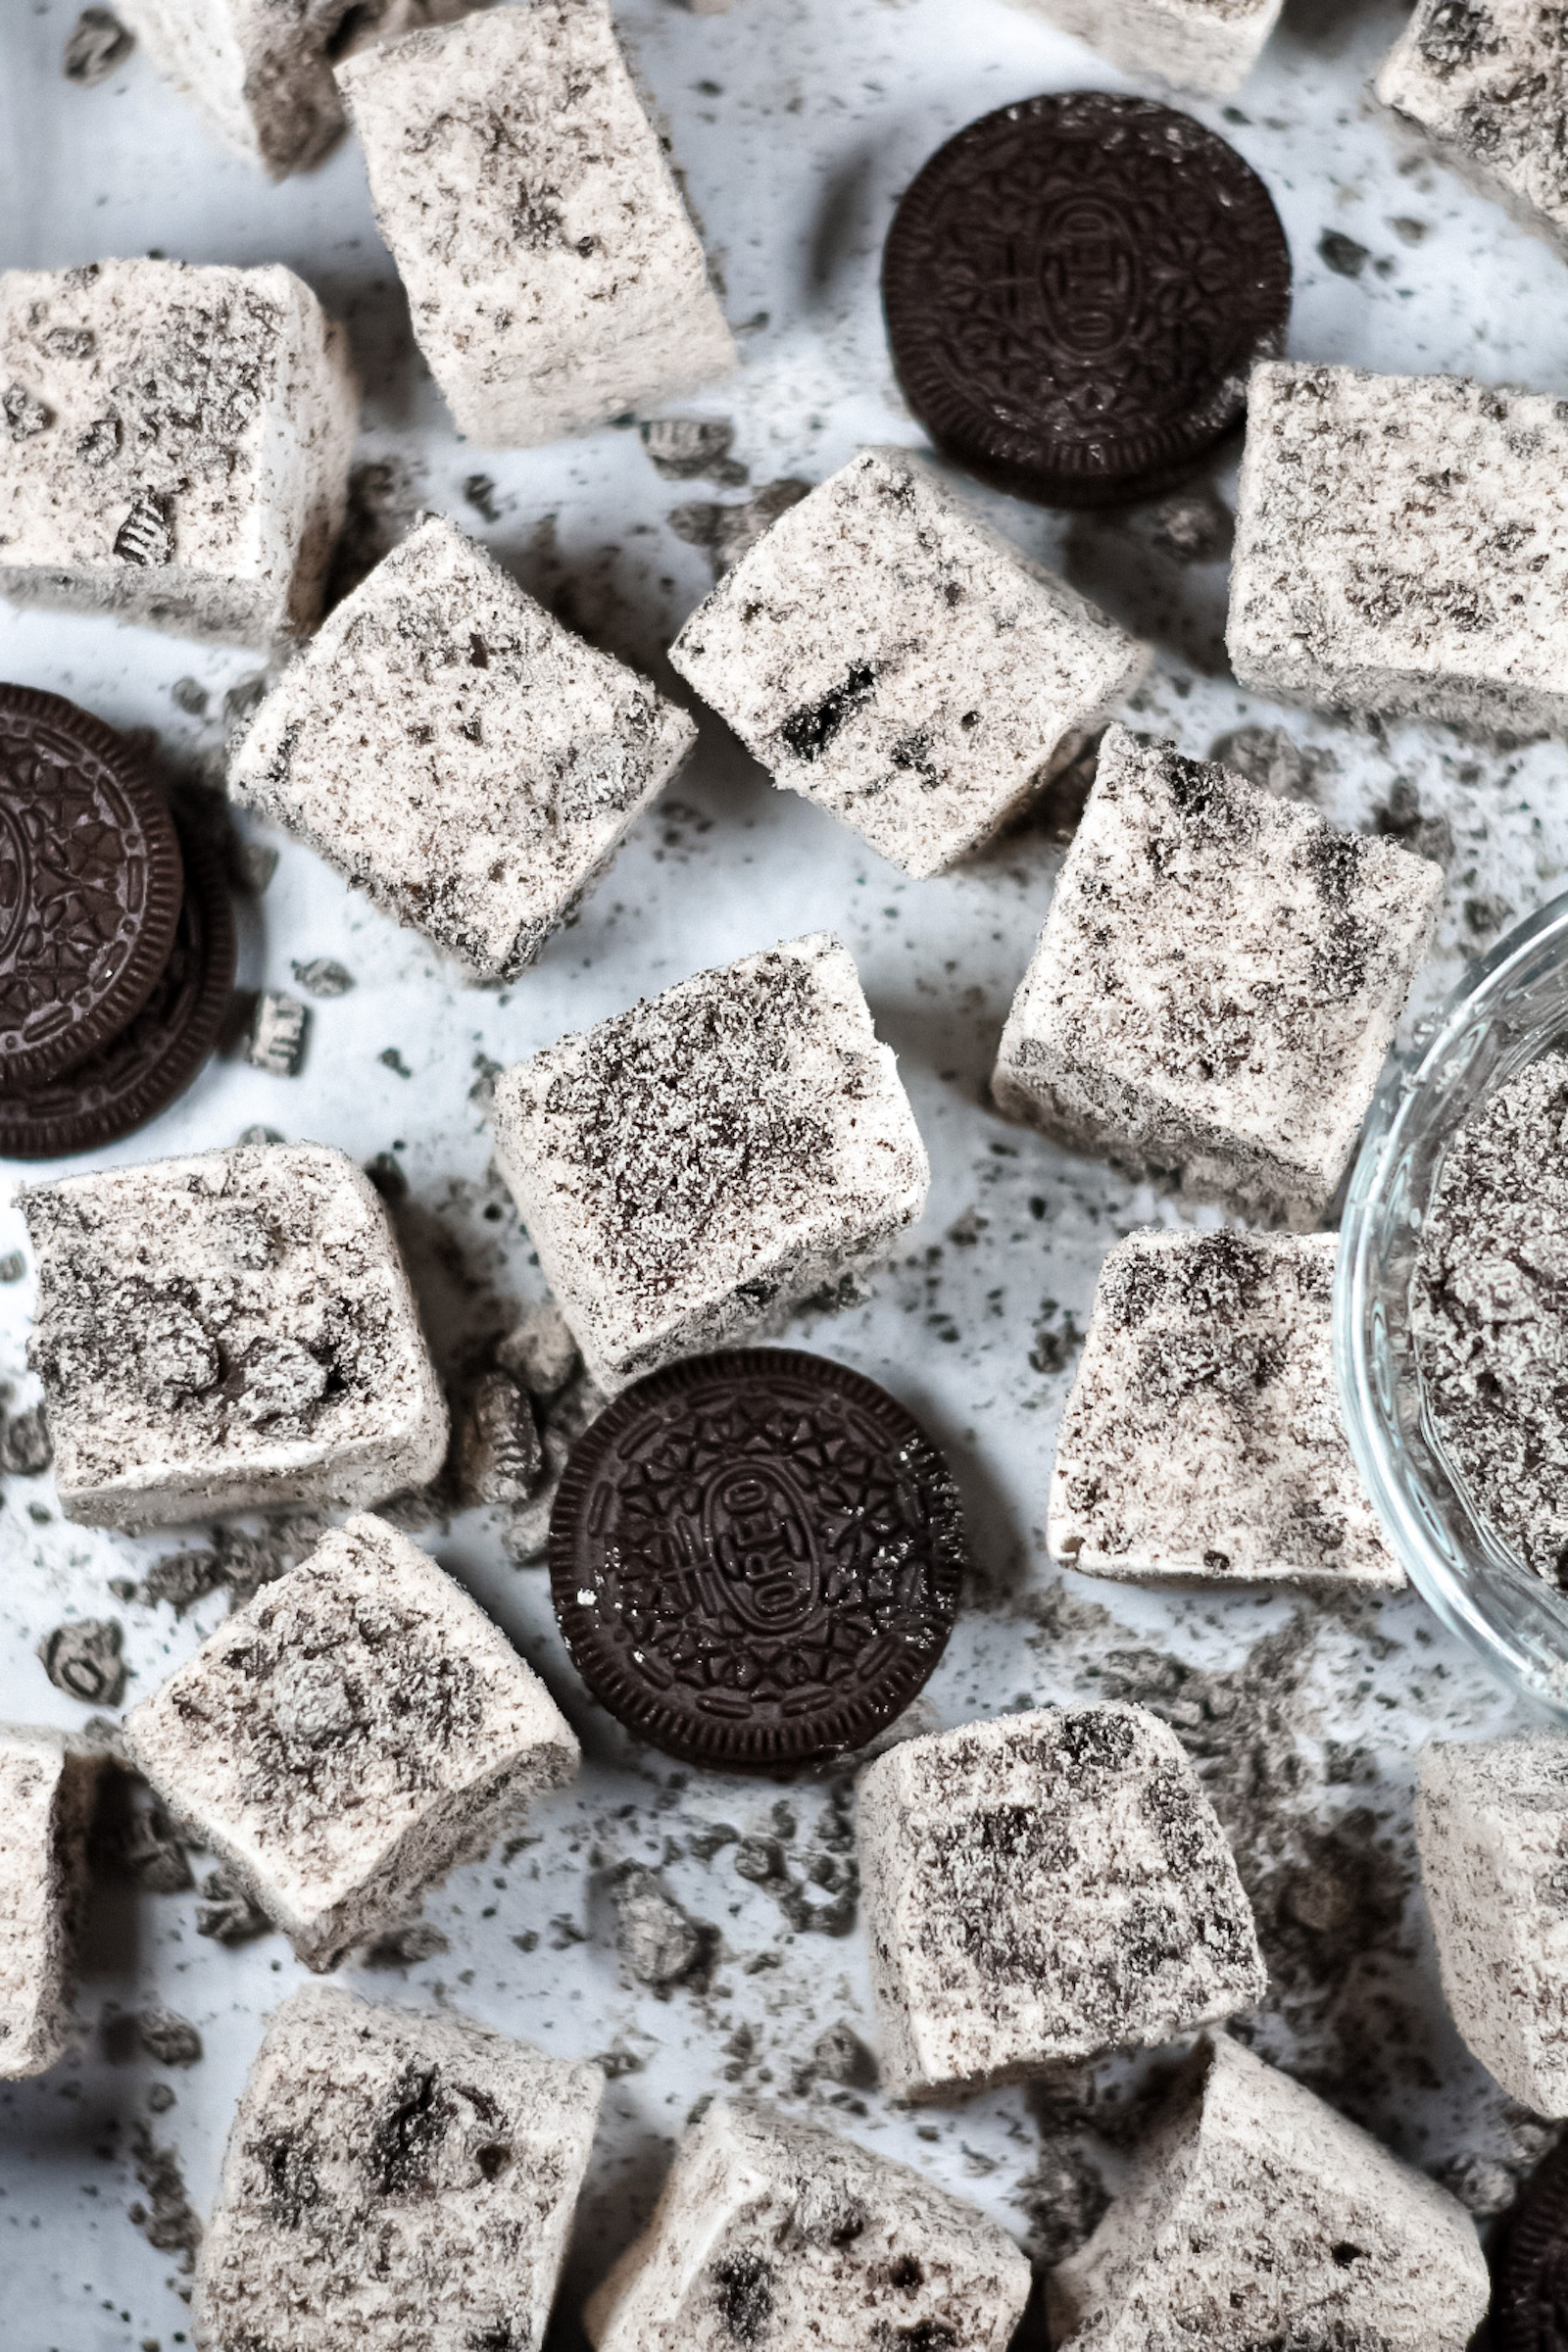
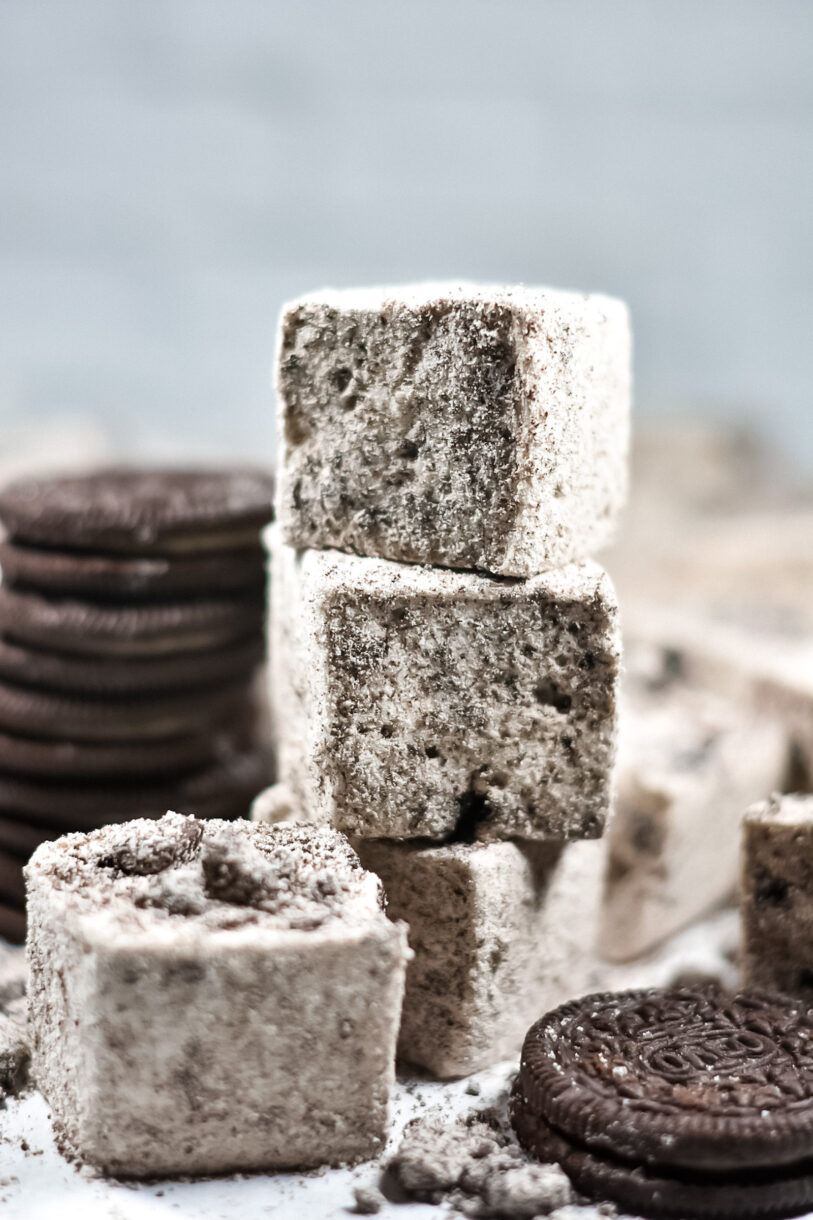
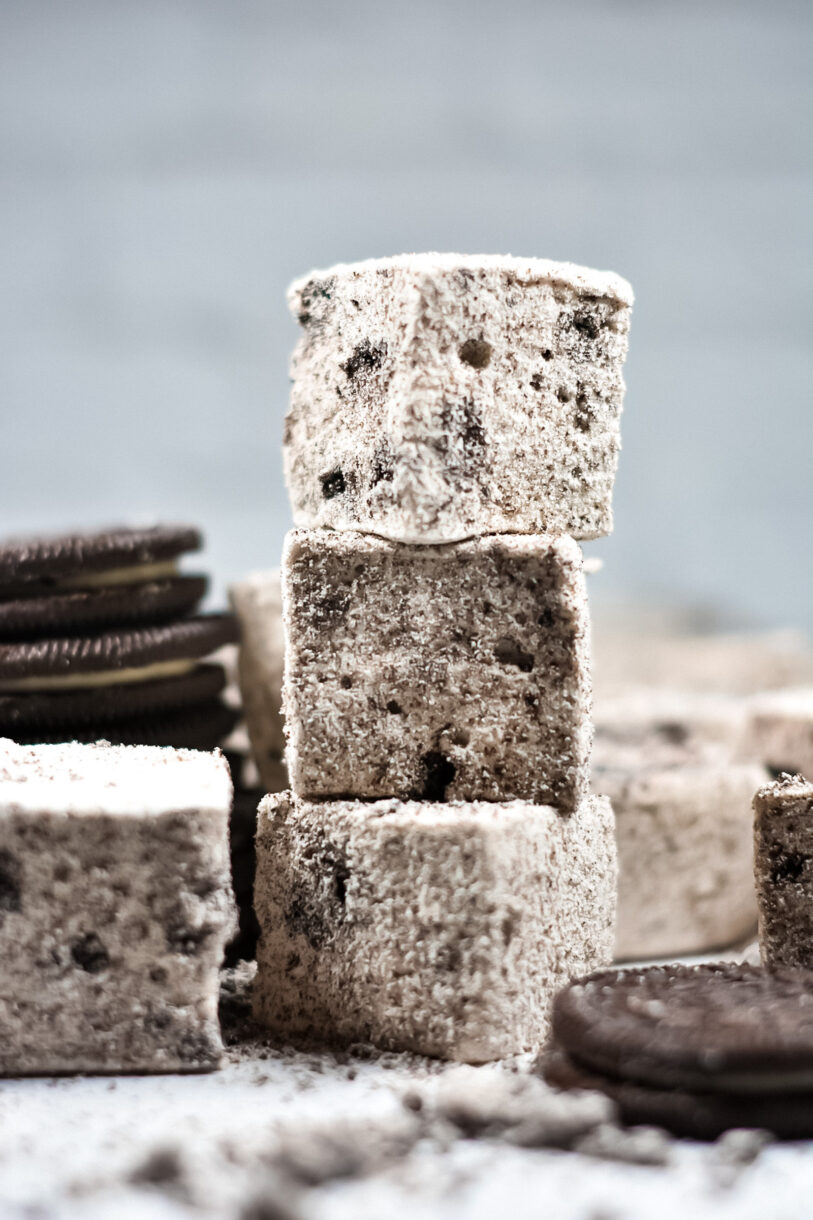
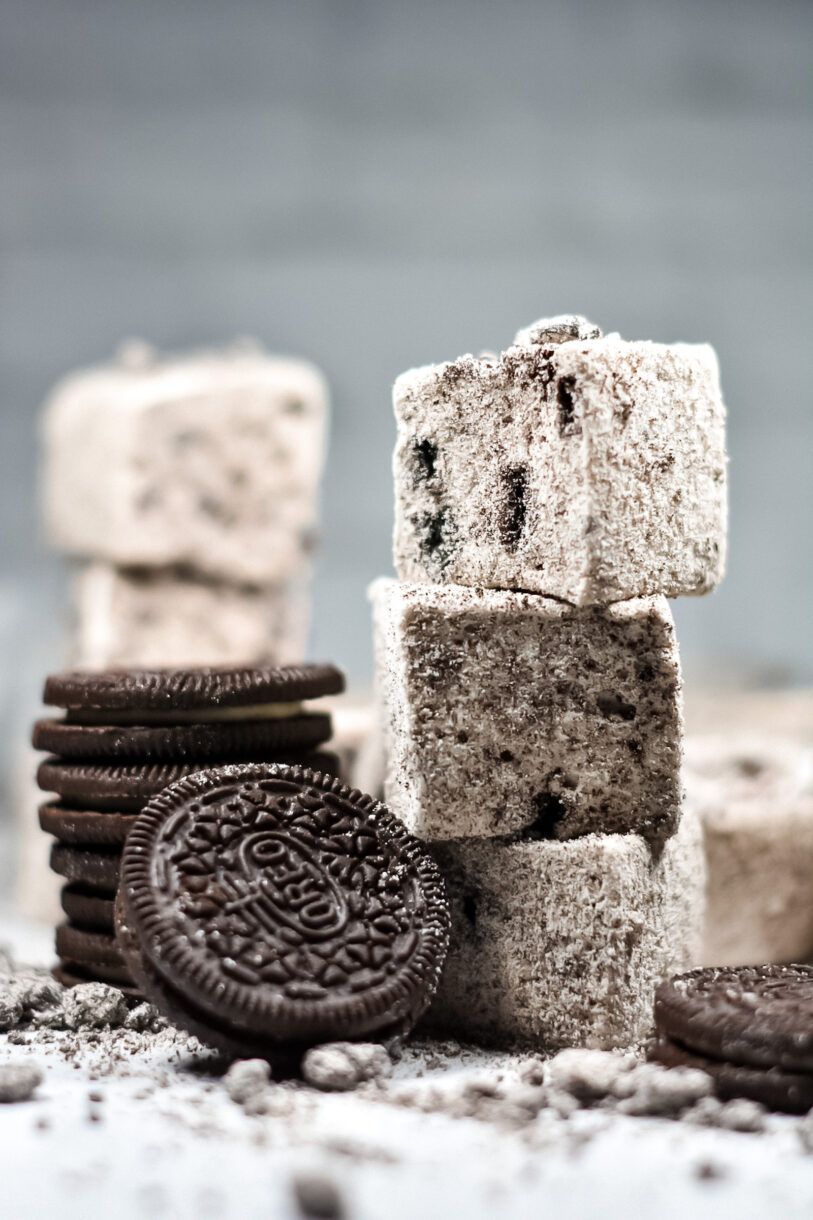
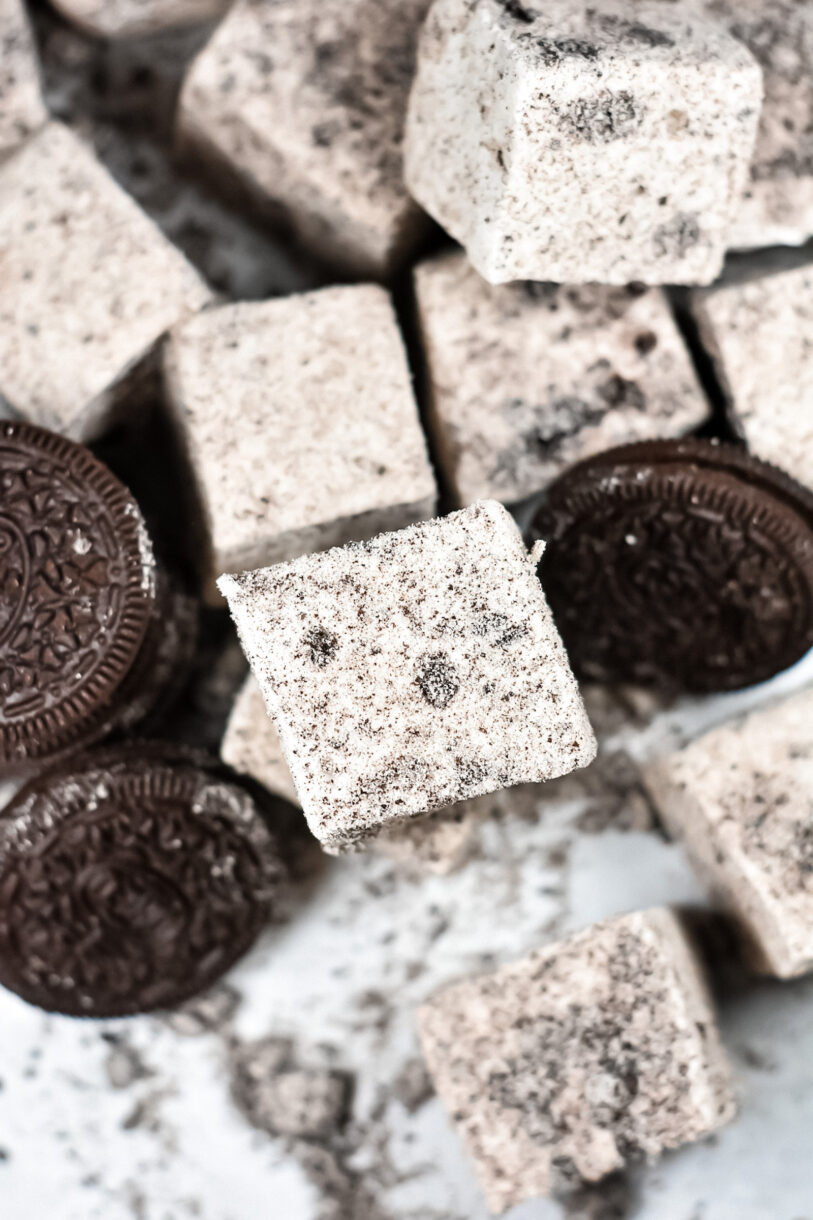
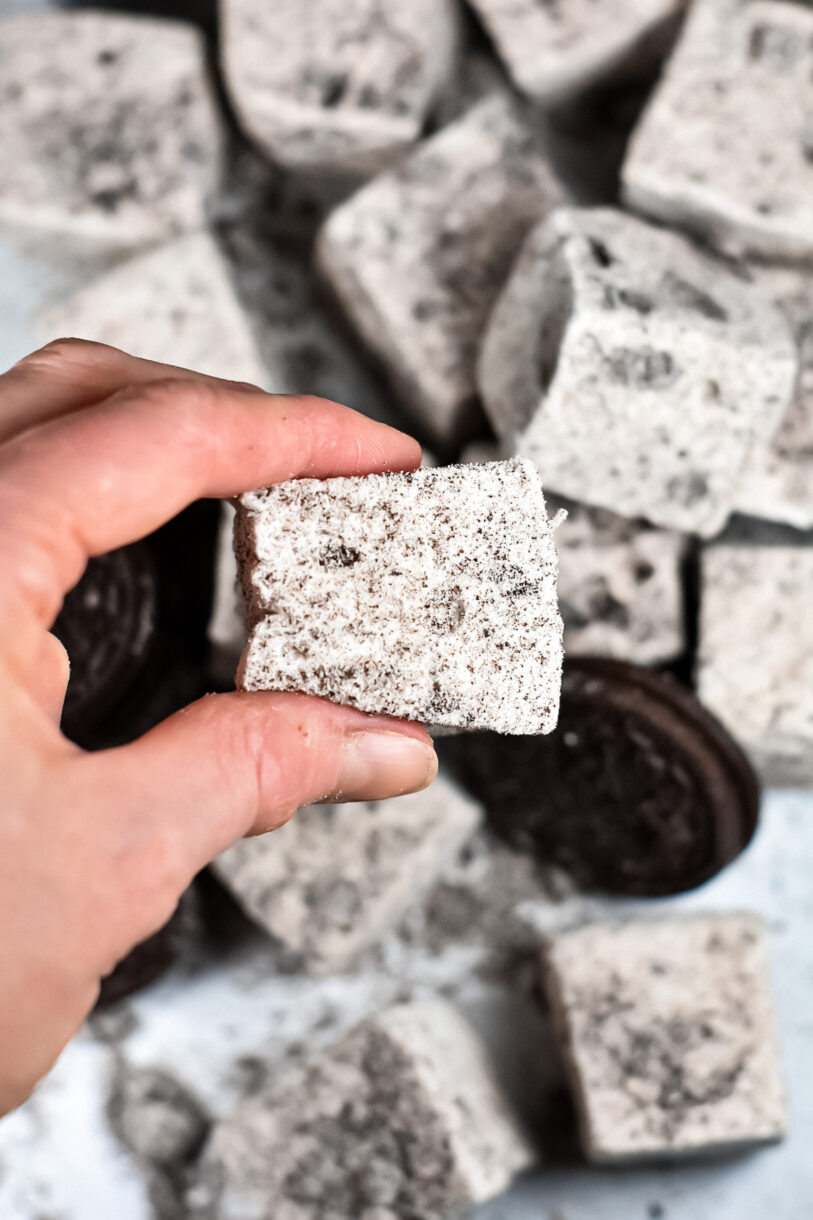
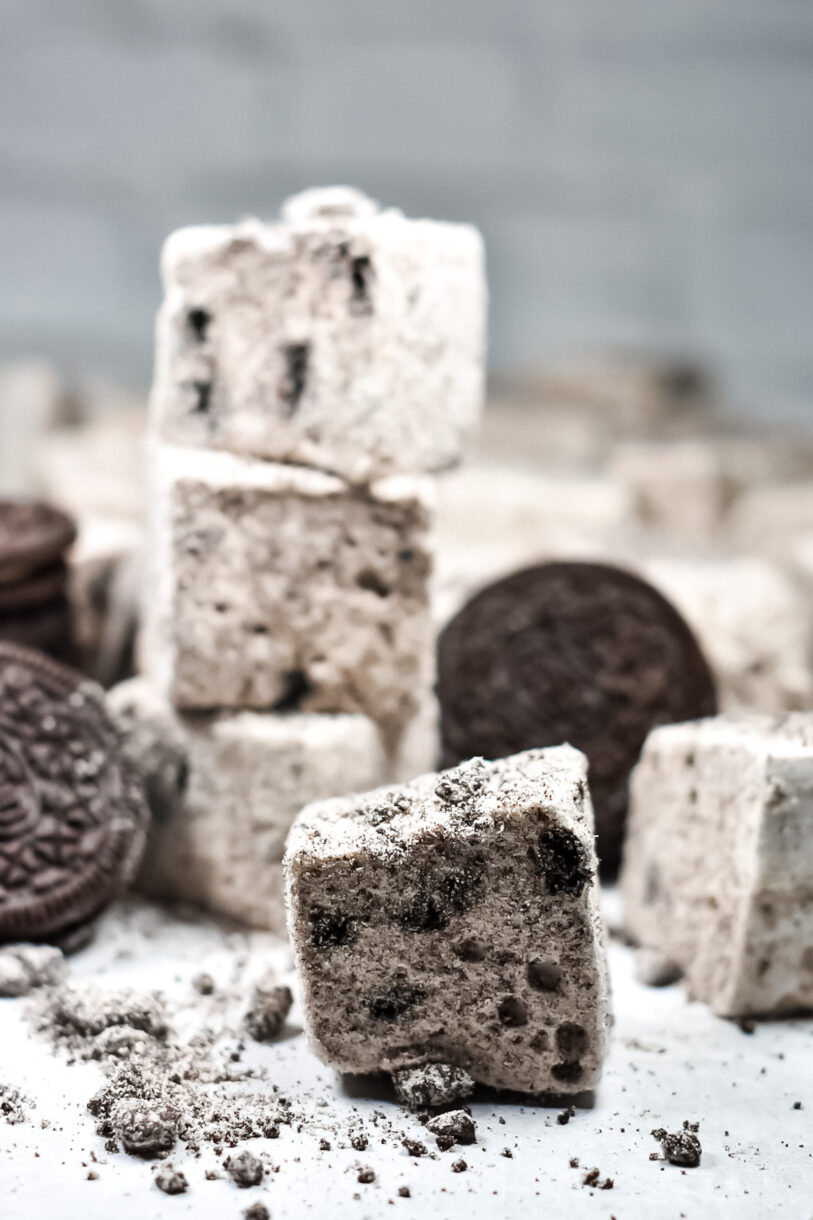
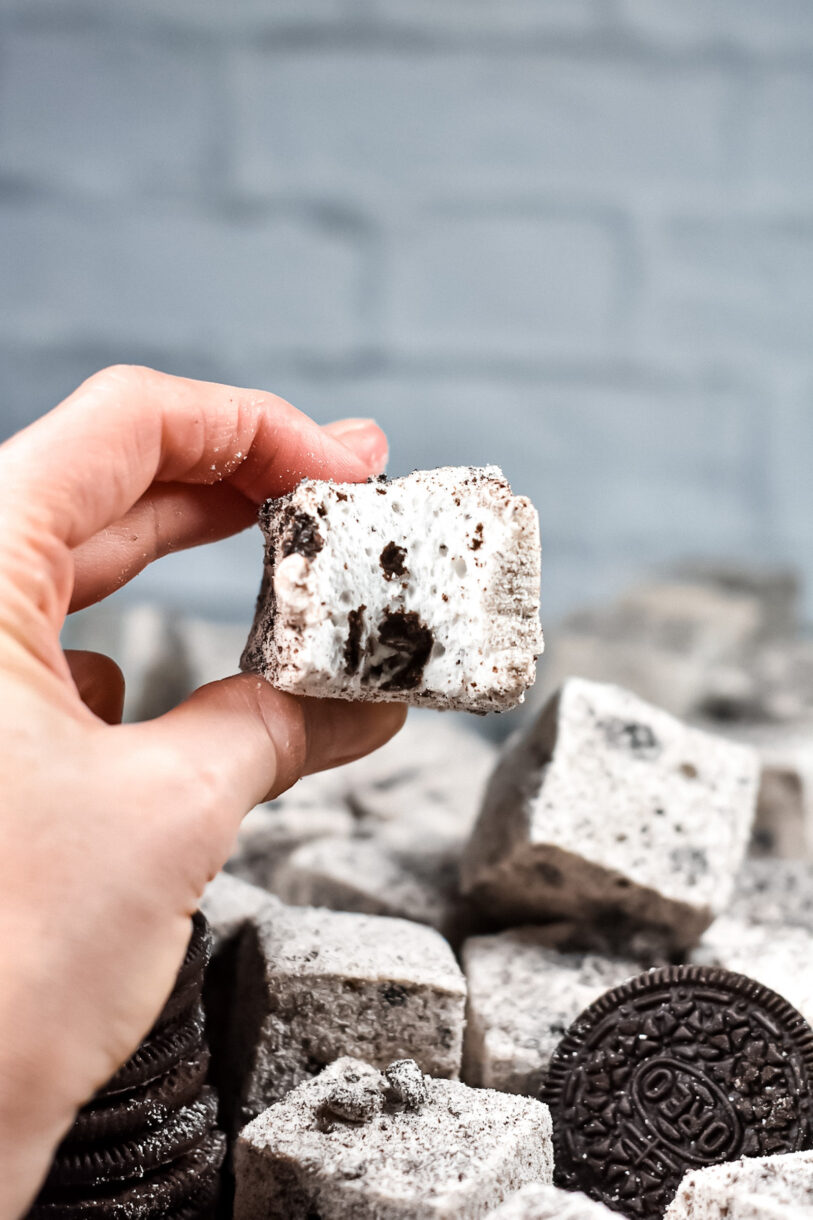
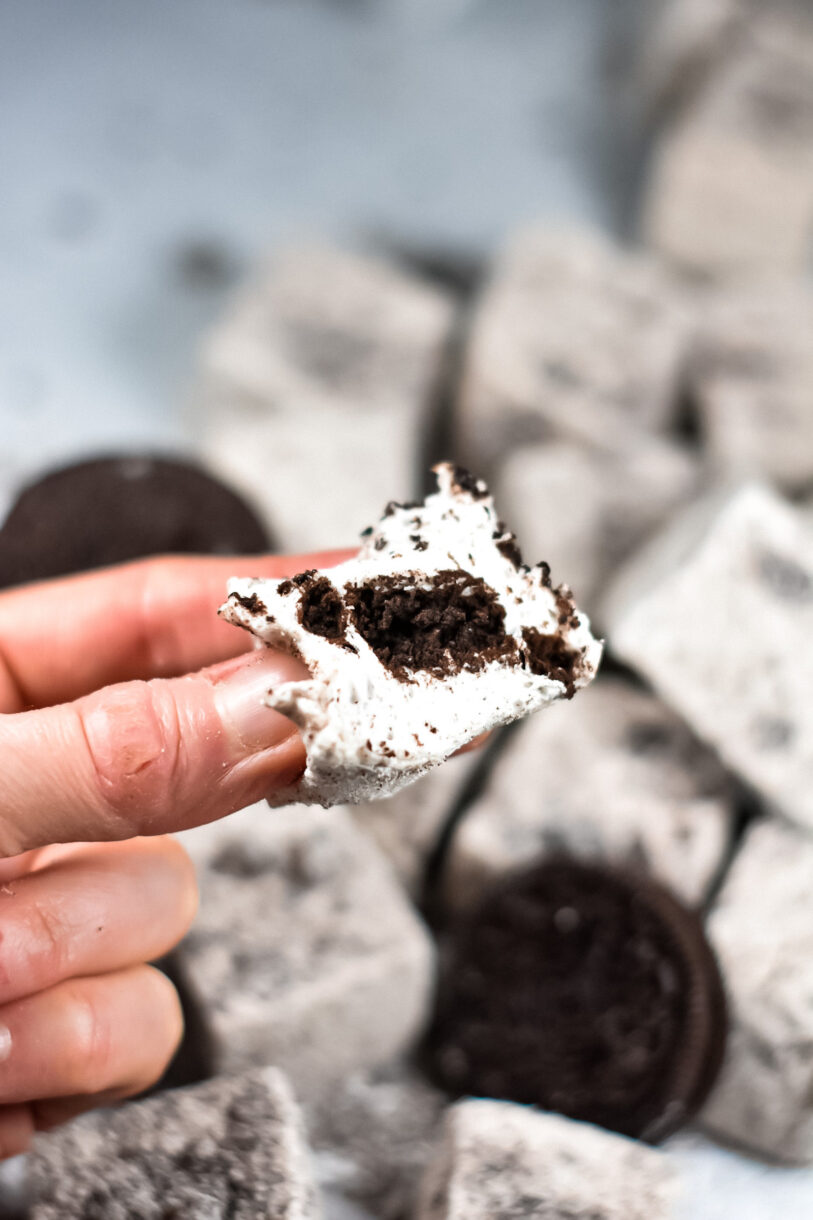
This recipe for cookies and cream marshmallows is one of my all-time favorites to make. Filled with chunks of Oreo cookie, and tossed in a powdery Oreo coating, these fluffy homemade marshmallows taste just like cookies and milk, but better!
Why Do I Love These Cookies and Cream Marshmallows?
Cookies and cream has long been one of my go-to ice cream flavors of choice. Whether scanning the freezer section at the grocery store or enjoying a scoop from one of my favorite ice cream shops (like Udderlicious in London or Emack and Bolio’s in NYC) I’ll always go straight for the cookies and cream.
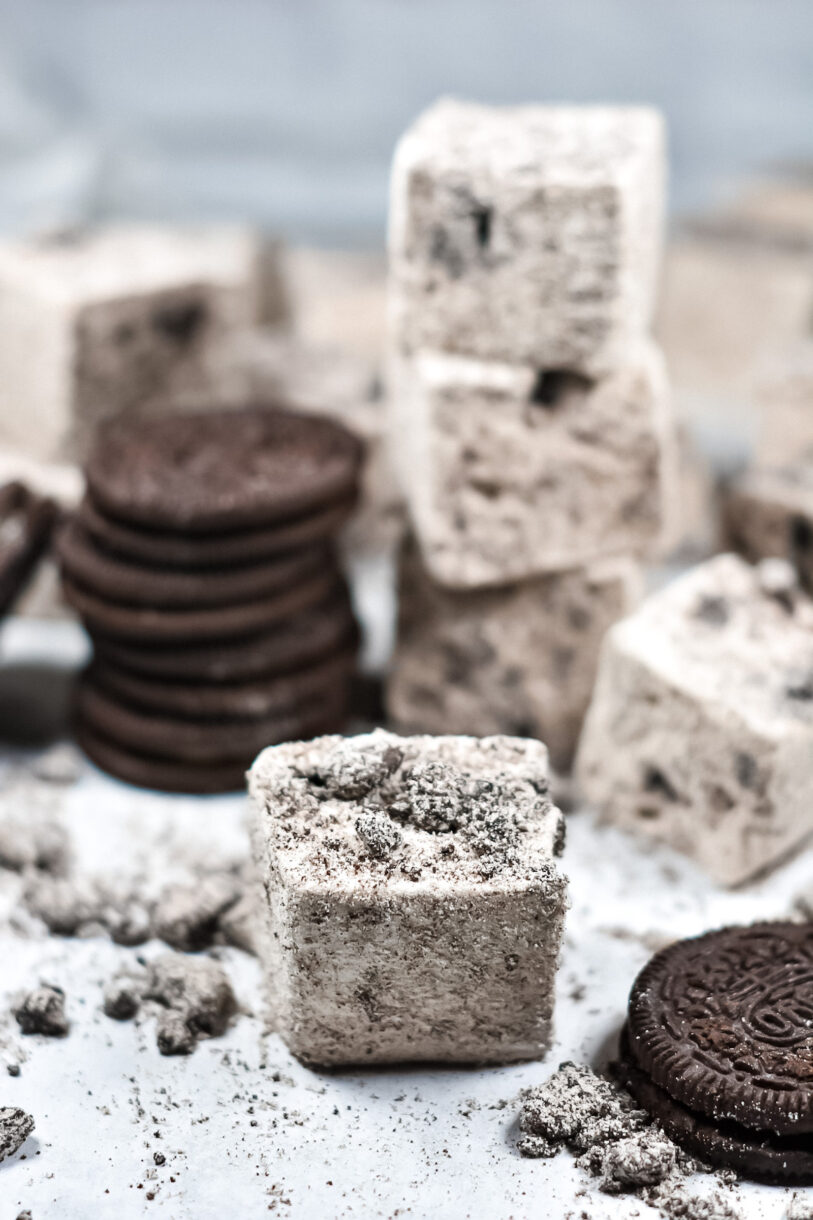
In this recipe, I’ve combined the best elements of cookies and cream ice cream with the fluffy, sticky sweetness of a classic homemade marshmallow. Filled with chunks of Oreo cookie (cream parts and all!) and tossed in a powdery, milk-and-cookies coating, these marshmallows remind me of dunking a stack of Oreos in a cold glass of milk, but better.
How to Use Cookies and Cream Marshmallows
These cookies and cream marshmallows taste terrific all by themselves, but you can also:
- Add them to a cup of homemade hot chocolate
- Make s’mores around the campfire
- Whip up a batch of Rice Krispie treats or British-style rocky road
- Dip in tempered chocolate for an ultra-indulgent treat
- Assemble skewers or marshmallow pops
- Gift cookies and cream marshmallows to friends and family, along with some homemade hot cocoa mix
Oreo Marshmallow Tips & Tricks
Do not attempt this marshmallow recipe without a candy thermometer! (My go-to is this Taylor digital thermometer, but any good-quality candy thermometer will work.) And pay close attention to your the temperature of your sugar mixture. Too cold or too hot, and your marshmallows won’t set properly.
Use LOTS of oil or cooking spray! Spray your tin, your spatula, and your knife—trust me, it will make your life so much easier. If you cover your tin of marshmallow overnight, be sure to spray the aluminum foil or clingfilm/plastic wrap you use to cover the slab, otherwise you’ll wake up to find it stuck to marshmallow, and near-impossible to remove.
Pay careful attention to the way you line your tin. Not enough parchment or oil, and your marshmallow will stick to the pan. Visit this recipe for a more detailed guide to lining your tin.
The dry milk powder in this recipe adds a creamy, slightly salty element to the marshmallows. If you don’t have dry milk powder, you can substitute cornflour/cornstarch or potato starch instead. I would not recommend substituting confectioner’s sugar, because it will make your marshmallows overwhelmingly sweet.
Some Notes on Gelatin
I usually make marshmallows with powdered gelatin. However, you can just as easily make this recipe using leaves instead of powder. To do so, visit this page to learn how to convert gelatin measurements, as well other tips for making marshmallows with leaf gelatin.
Cookies and Cream Marshmallows Make-Ahead and Storage Suggestions
Marshmallows are the perfect make-ahead project, because they keep for a long time (at least 3-4 weeks, and often longer). You can easily prepare these cookies and cream marshmallows a week or two in advance.
Homemade marshmallows are also great for shipping to out-of-town friends, because they don’t require refrigeration. Even if the parcel goes missing in transit, your marshmallows should still be perfectly edible whenever they arrive at their destination.
To store, place homemade marshmallows in a large ziploc bag or an airtight container. Keep at room temperature (a cool place works best) until ready to eat.
Other marshmallow recipes you might enjoy:
Peppermint Marshmallows
Heart-Shaped Strawberry Marshmallows
Boozy Red Wine Marshmallows, too!
And if you do make these, or any of my recipes, don’t forget to tag me @bastecutfold or use the hashtag #bastecutfold on Instagram. I always love to see what you’re making!
Print
Cookies and Cream Marshmallows
- Total Time: 30-40 minutes (+overnight resting time)
- Yield: 1 8x8-inch / 20x20-centimeter slab 1x
Description
Cookies and cream marshmallows filled with chunks of Oreo cookie, and tossed in a powdery milk-and-cookies coating!
Ingredients
210 milliliters water, divided (about 1 cup, divided)
20 grams powdered gelatin (2 tablespoons)
400 grams granulated sugar (2 cups)
200 grams corn syrup (1/2 cup)
1/4 teaspoon salt
1 teaspoon vanilla bean paste
140 grams Oreos, crushed (1 1/2 cups)
Canola oil or nonstick cooking spray, for greasing tin and knife
Coating:
100 grams Oreos, finely crushed (about 12 Oreos, cookie parts only)
40 grams dry milk powder (1/3 cup)
Instructions
Marshmallow Slab:
Line an 8×8-inch / 20 x 20-centimeter square tin with parchment, and coat generously with oil. (See this recipe for the best lining technique!) Set aside until ready to use.
Pour 105 milliliters (1/2 cup) water into a large mixing bowl (if using a hand mixer), or the bowl of a stand mixer. Sprinkle the gelatine evenly over the water, and set bowl aside.
Combine sugar, corn syrup, remaining water, and salt in a large saucepan. Bring mixture to a boil and boil, without stirring, until syrup reaches 240° F / 116° C on a candy thermometer.
Carefully pour hot syrup into gelatine mixture. Mix on high speed for 2-3 minutes, until mixture begins to thicken. Add vanilla bean paste and continue to mix on high speed until very thick, about 8-9 minutes more.
Add 140 grams crushed Oreos and mix on low for 15-30 seconds, just long enough to incorporate them into the mixture.
Using an oiled spatula, scrape marshmallow mixture into prepared tin. Loosely cover with a well-oiled sheet of aluminum foil. Allow to set until firm, at least 4 hours or overnight.
Cutting and Coating:
Remove cream portion from 100 grams Oreos (about 12 sandwich cookies). Blitz in a food processor, or place cookies in a sealed plastic bag and use a rolling pin or mallet to crush. The Oreos should resemble breadcrumbs, although it’s fine if a few larger cookie chunks are still present.
In a small bowl, combine the dry milk powder** and crushed Oreos.
Cover a large chopping board with a sheet of parchment, and dust generously with milk-and-cookies mixture.
Turn marshmallow slab out onto dusted surface. Sift top of slab with more of the powdered milk and cookies.
Use a well-oiled knife to cut the slab into squares. I usually cut 4 rows x 4 rows for oversized marshmallows, or 6 rows x 6 rows for smaller marshmallows. If desired, you can also use a metal cutter to cut your marshmallow slab into shapes, such as hearts, stars, or circles, instead.
Toss cut marshmallows in additional cookies-and-cream mixture, making sure all sides are evenly coated in the powder.
Marshmallows will keep well for several weeks when stored in an airtight container at room temperature.
Notes
*You can also make these marshmallows using leaf gelatin instead of powder. To do so, visit this page for the proper conversion and other recipe tips.
**I used dry milk powder for this recipe because it adds a creamy, slightly salty element to the marshmallows. If you don’t have dry milk powder, you can substitute cornflour/cornstarch or potato starch instead. I would not recommend substituting icing sugar, as it will cause your marshmallows to be overwhelmingly sweet.
Pay careful attention to the way you line your tin–not enough parchment or oil, and your marshmallow slab will stick to the pan. Visit this recipe to see a step-by-step guide to lining your marshmallow tin.
- Category: Candy and Confectionery
- Method: Stovetop
- Cuisine: Sweets
