Creamsicle Rice Krispie Treat Pops
This post may contain affiliate links. Please read the disclosure policy to learn more.
Thank you for supporting this blog!
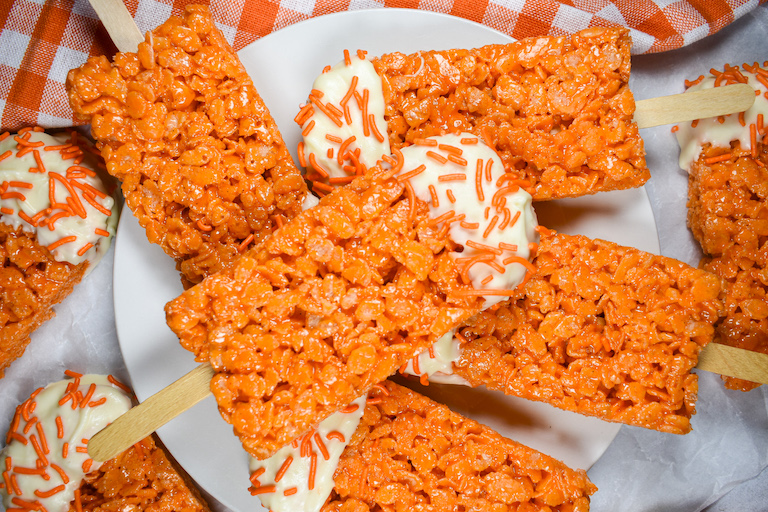
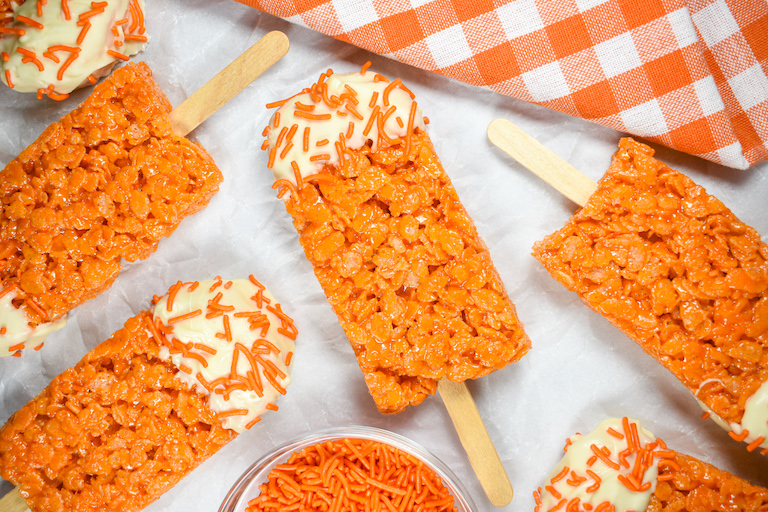
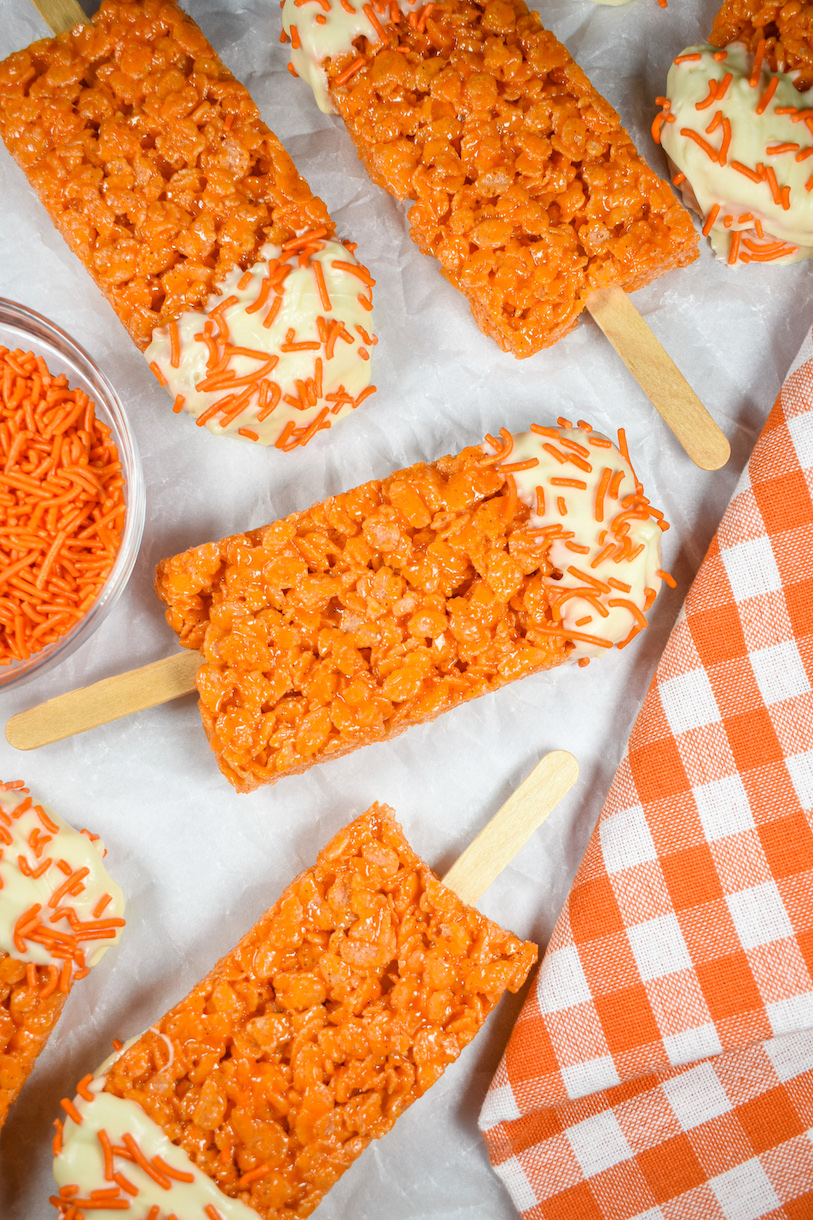
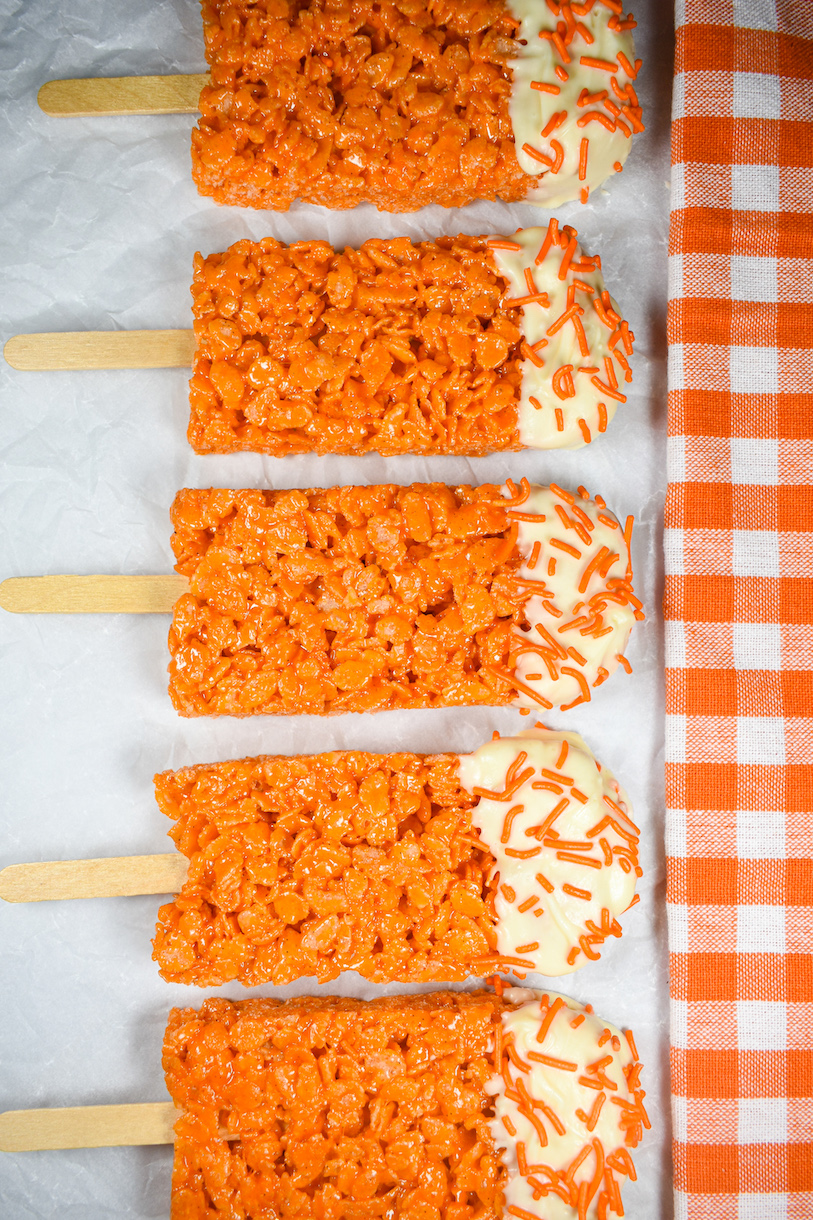
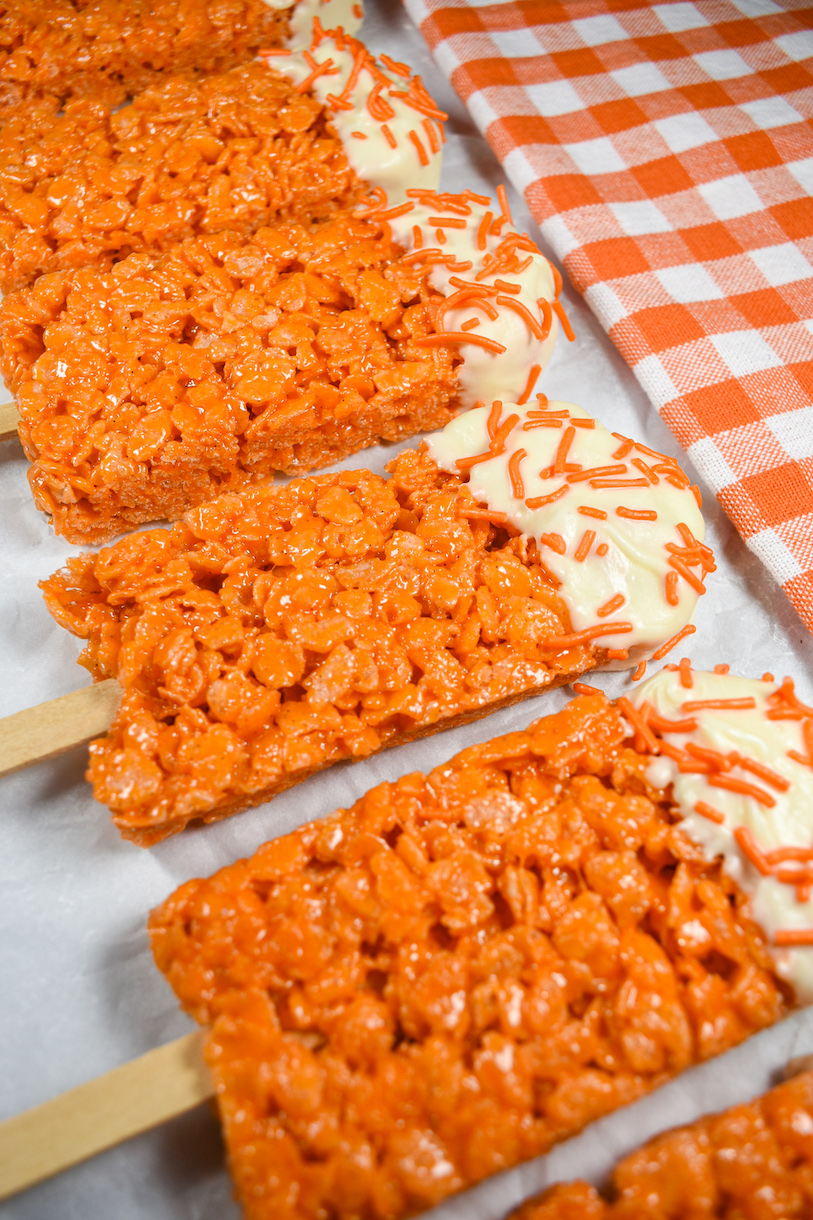
Creamsicle Rice Krispie treat pops featuring a popsicle-shaped orange cereal treat, dipped in orange and vanilla flavored white chocolate, decorated with orange sprinkles, and assembled on a wooden popsicle stick. These cereal pops are the perfect non-melty version of the quintessential ice cream truck treat.
What Inspired These Creamsicle Krispie Treat Pops?
Nothing says summer quite like a Creamsicle. Famous for their icy, orange-flavored exterior and creamy vanilla ice cream center, these frozen childhood treats never fail to remind me of summer afternoons in our suburban Pennsylvania cul-de-sac, playing with friends, riding bikes, making endless runs down the Slip ‘N Slide, and chasing after the ice cream truck. So, just like my Creamsicle iced coffee and orange Creamsicle truffles, I created these Rice Krispie treat pops as a way to capture the flavors of the classic Creamsicle, in the form a more easily portable treat.
Key Ingredients
- Butter – You’ll need 90 grams (6 tablespoons) of unsalted butter. Omit the fine sea salt if using salted butter. And don’t worry about softening, since you’ll melt the butter before combining it with the marshmallows.
- Marshmallows – You’ll need 300 grams, or about 10 1/2 ounces, of marshmallows. I recommend measuring marshmallows by weight rather than volume, since sizes vary depending on brand, country, and whether you’re using homemade or store-bought marshmallows. I have not tested this recipe with vegan marshmallows.
- Vanilla Bean Paste – Vanilla is a key flavor in a Creamsicle, so it’s important in this recipe, too. Rather than extract or imitation flavoring, opt for a good-quality vanilla bean paste, or the scrapings of a vanilla pod. Cheap vanilla flavorings are mostly alcohol or water, so they lack the vanilla flavor (and pretty speckles) of real vanilla beans.
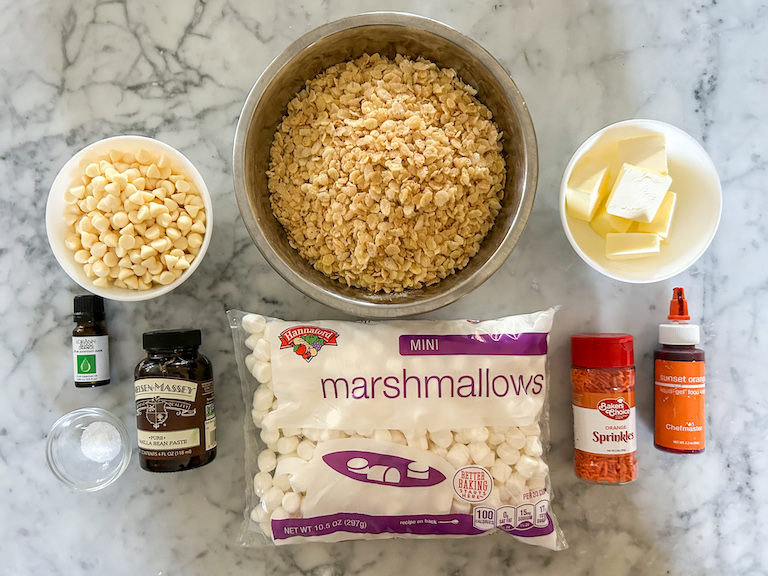
- All Things Orange – I tinted my cereal treats with Chefmaster’s Sunset Orange gel food coloring, but any good-quality gel color will work. (Avoid water-based colorants, which aren’t vibrant enough to produce the colors shown here.) For flavor, choose pure orange oil (you’ll only need a few drops!) rather than flavoring or extract. I tested this recipe with the LorAnn Oils brand. And orange sprinkles add a colorful finishing touch. You can purchase store-bought sprinkles, or use my homemade sprinkle recipe to make your own orange-flavored and colored sprinkles.
- White Chocolate – Chopped white chocolate, white chocolate callets, or white chocolate chips will all work for dipping the tops of the popsicles. If you use cheaper chocolate or chocolate chips, you might find that you need to stir in a small amount of oil to make the chocolate fluid enough for dipping; this won’t be necessary if using couverture chocolate. For quick-setting pops, temper the chocolate or use confectionery coating for dipping.
Tips for Dipping and Decorating
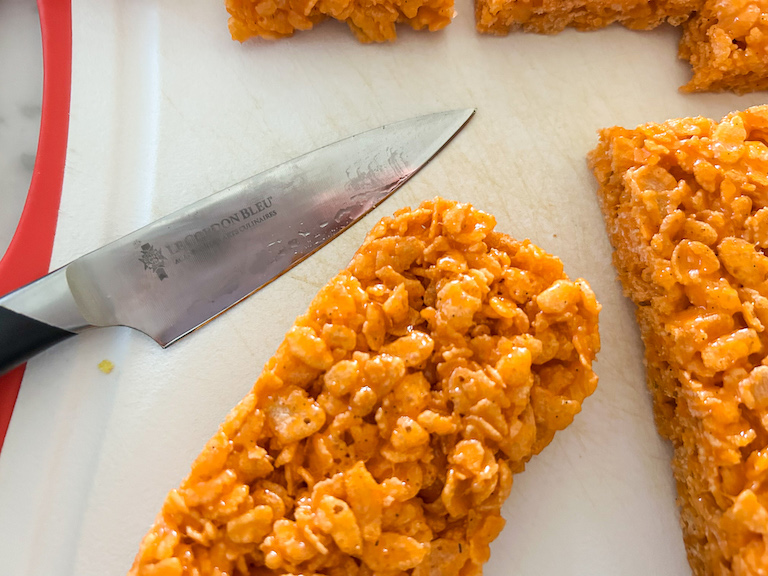
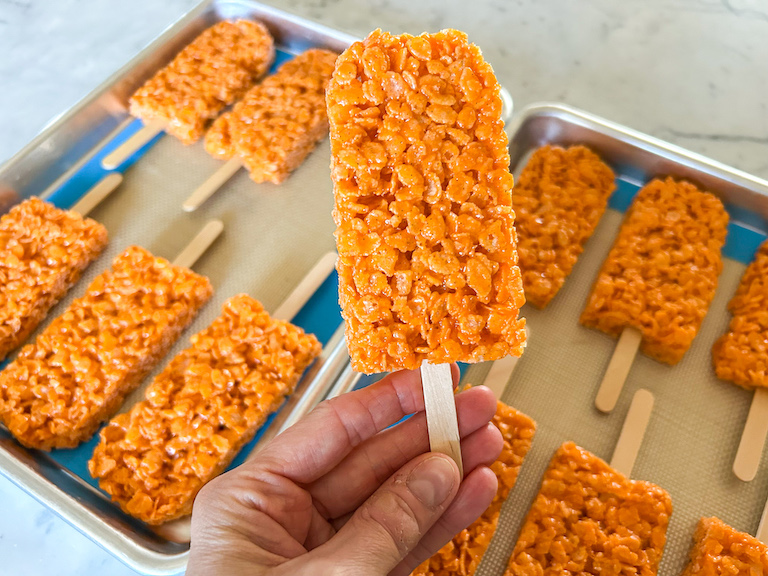
- Create the classic shape. After allowing the cereal treat slab to cool, I used a sharp to trim and round the top corners of each rectangle. This is totally optional (if it’s easier, you can just keep the rectangle shape) but I like rounding the corners because it gives the treats the classic “popsicle” shape, so they look more like the real thing.
- Insert the sticks carefully. When adding the popsicle sticks, do so carefully, and slowly. (They’re thin, so if you move too quickly, the stick will pop out the back side of the treat.) Aim for the middle, and stop when the stick is positioned about halfway through the cereal treat.
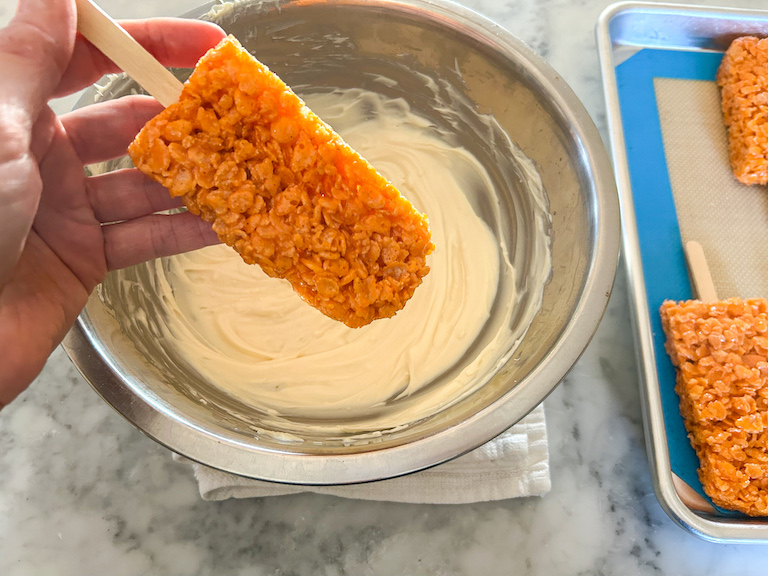
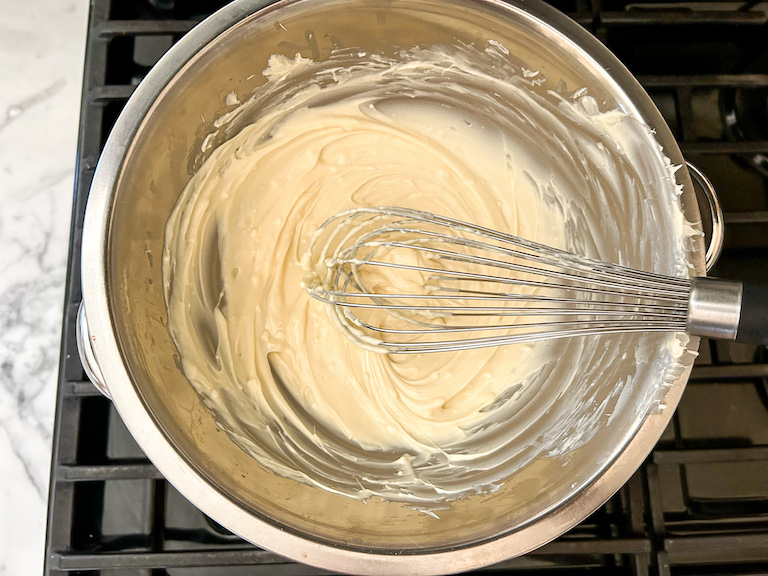
- Thin the chocolate. If your melted chocolate feels too thick for dipping, stir in 1-2 teaspoons vegetable oil or canola oil. The extra oil will increase the fluidity, making dipping easier. Remember that the melted chocolate should be thin enough to dip easily, but not so thin that it looks transparent or immediately slides off the end of the treat.
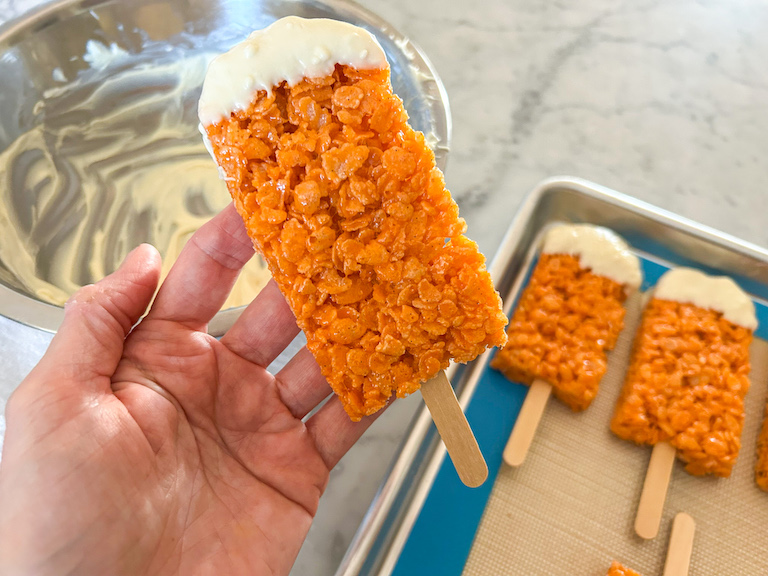
- Play with garnishes. You can sprinkle the melted white chocolate with orange sprinkles, homemade orange sprinkles, or other decorations like orange nonpareils, orange edible glitter, or pieces of finely chopped candied orange peel. Remember to add the toppings immediately after dipping; they won’t adhere once the chocolate sets.
- Temper the chocolate. I chose not to temper the white chocolate for this recipe, but if you’re familiar with tempering (the process of heating and cooling the chocolate to specific temperatures, so it sets quickly, with a shiny appearance) you definitely can. If you do choose to temper, opt for good-quality callets or chopped couverture chocolate.
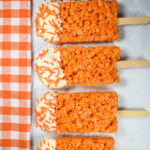
Creamsicle Rice Krispie Treat Pops
- Total Time1 hour 45 minutes
- Yield12 pops 1x
Creamsicle-inspired Rice Krispie treat pops featuring a popsicle-shaped orange cereal treat, orange-vanilla white chocolate, and plenty of orange sprinkles.
Ingredients
Krispie Treats:
90 grams unsalted butter (3 ounces; 6 tablespoons)
300 grams marshmallows (10 1/2 ounces; about 45 US-sized large marshmallows)
2 teaspoons vanilla bean paste
1/8 teaspoon fine sea salt
5-6 drops orange gel food coloring
140 grams puffed rice cereal (about 4 1/2 cups)
Nonstick spray, for greasing spatula and knife
Decoration:
200 grams chopped white chocolate, or white chocolate chips (7 ounces; 1 cup)
2-3 drops pure orange oil
Orange sprinkles, to decorate
Instructions
Line a quarter sheet tray with a silicone baking mat.
Add the butter to a large, heavy-bottomed saucepan or stock pot. Melt the butter.
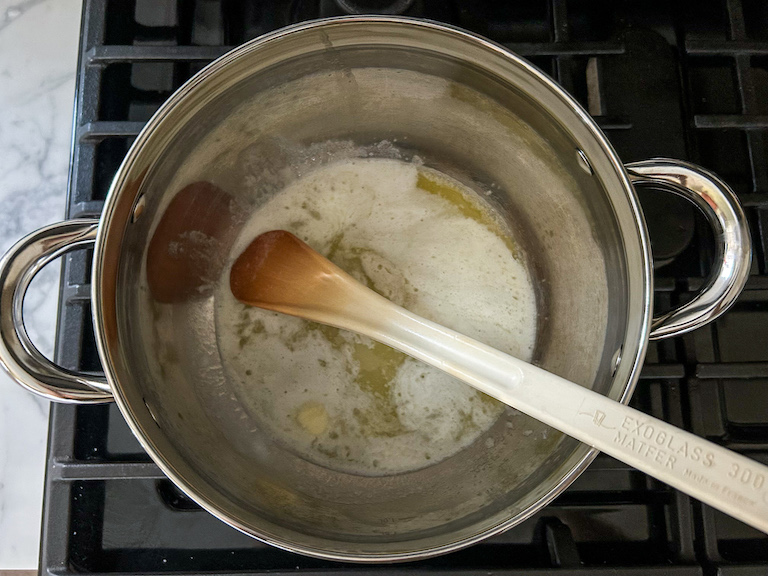
Add the marshmallows, and continue stirring until completely melted.
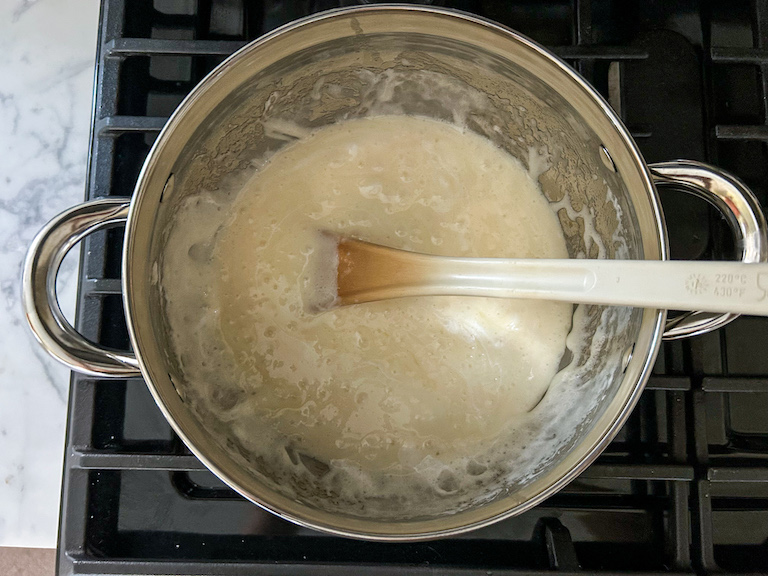
Remove from heat. Stir in vanilla bean paste, fine sea salt, and orange gel food coloring.
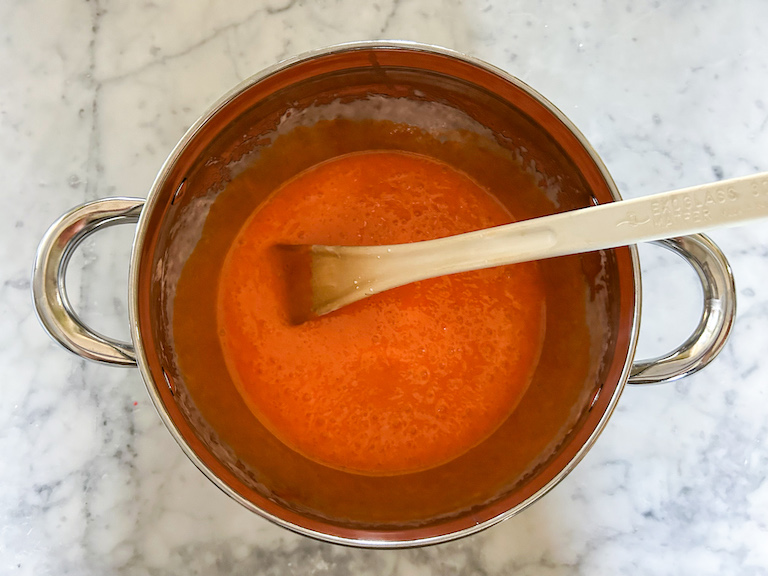
Add the puffed rice cereal and stir until well combined, with no dry cereal remaining.
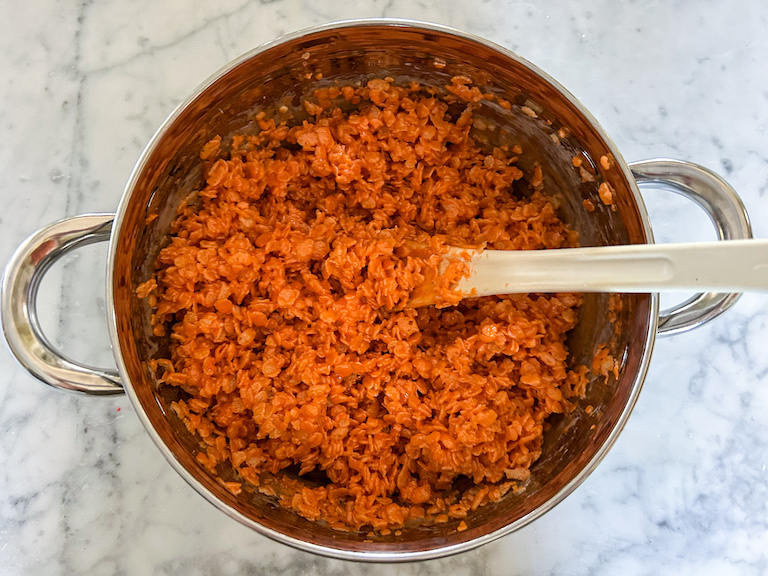
Pour mixture onto prepared tray. With oiled fingertips, press down gently until evenly distributed across entire surface, about 8×12 inches and 3/4-inch thick.
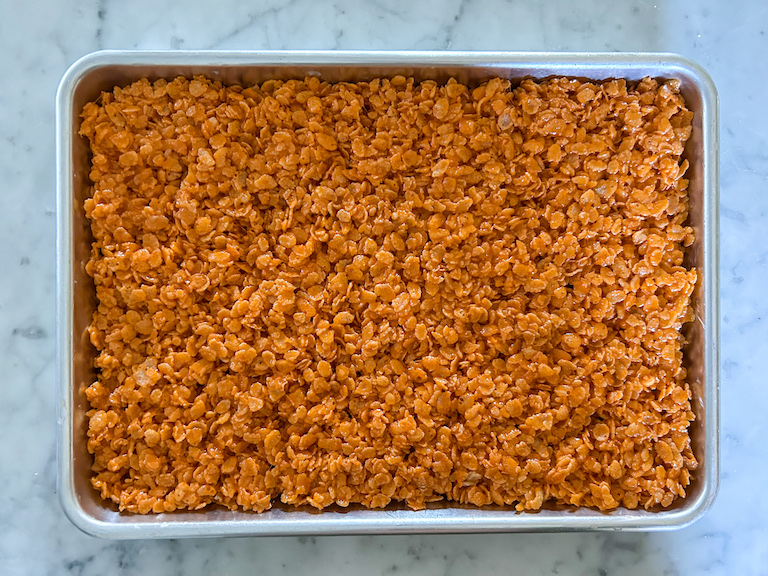
Set aside and allow to cool at room temperature, at least 1 hour. Meanwhile, line a large tray, or two smaller trays, with silicone baking mats.
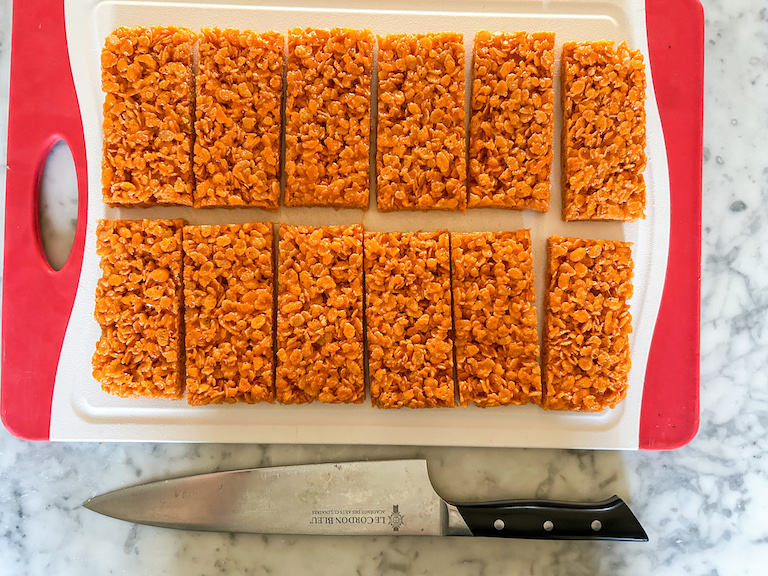
With a sharp chef’s knife, slice slab into rectangles, each measuring about 4 inches tall and 2 inches wide. If desired, use a sharp paring knife to trim the top 2 corners so the rectangles resemble a popsicle.
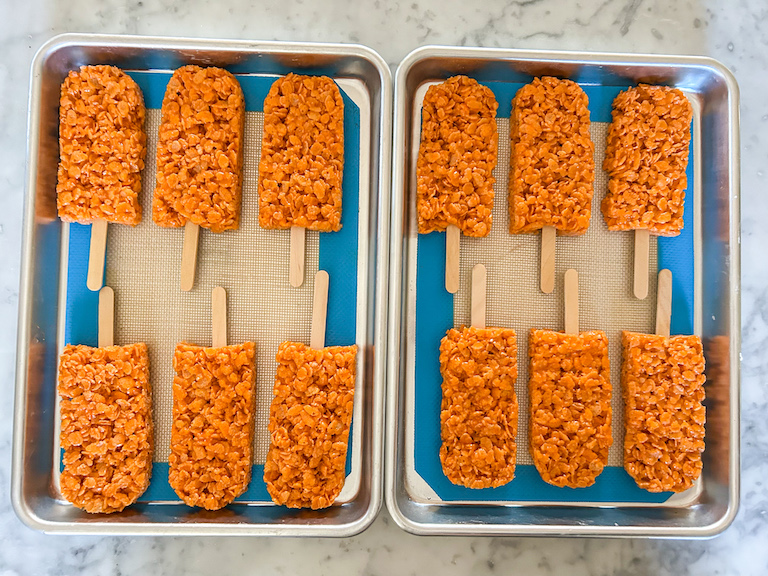
Insert a popsicle stick into each rectangle. Arrange on prepared tray(s).
Melt the white chocolate in a bain marie, or double boiler, or microwave-safe bowl.* Stir in the orange oil.
Holding by the popsicle stick, dip the top of each rectangle in the melted chocolate. Arrange on prepared tray.**
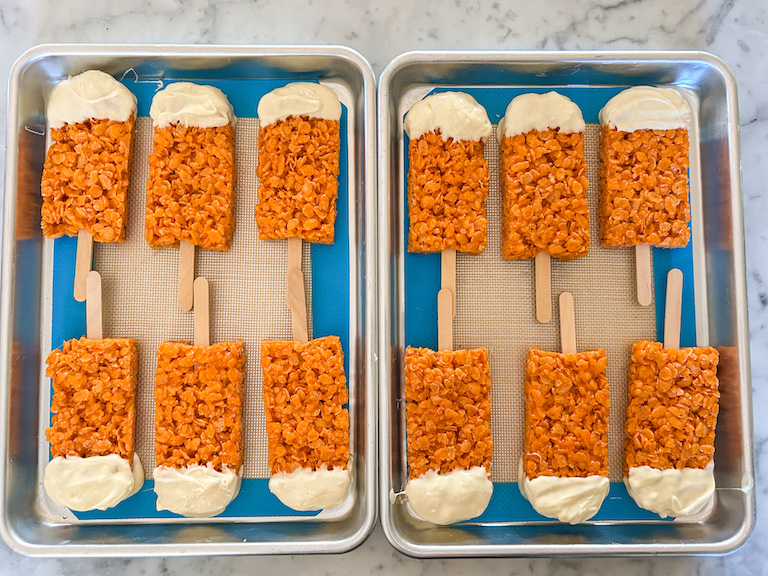
Decorate with orange sprinkles. Set aside and allow to cool at room temperature until chocolate sets.
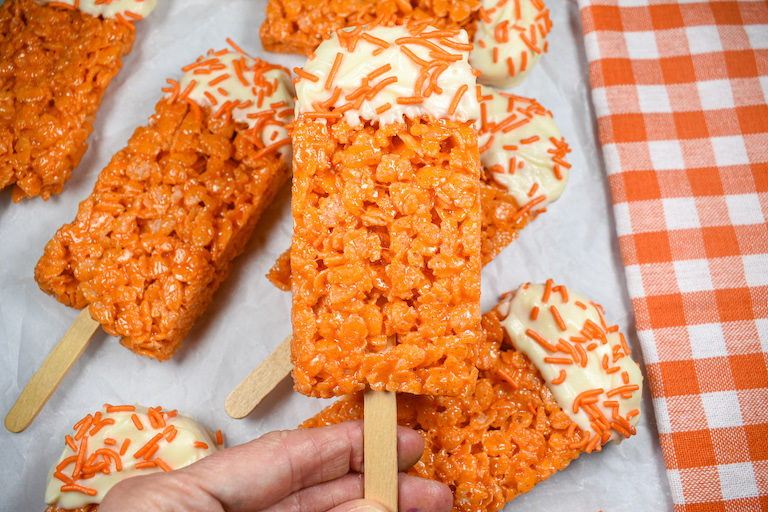
Krispie treat pops are best enjoyed on the day they are made. Layer leftover popsicles between sheets of parchment. Store in an airtight container at room temperature for up to 3 days.


Notes
*If the chocolate feels too thick for dipping, stir in 1-2 teaspoons vegetable oil or canola oil.
**For more on melting, dipping, and decorating, see my notes in the post above.
- Prep Time: 45 minutes
- Cooling Time: 1 hour
- Category: Rice Krispie Treats
- Method: Stovetop
Special Tools and Equipment
To make these Rice Krispie pops, I recommend: A sharp, well-oiled chef’s knife (for cutting the cereal treat slab into popsicle shapes); a bain marie, double boiler, or microwave and microwave-safe bowl (for melting the white chocolate); a quarter sheet tray and silicone mat (for arranging the pops after dipping); a large, heavy-bottomed stock pot and a heat resistant spoon (for melting the butter and marshmallow); and 12 wooden popsicle sticks (for decoration and dipping!)
Other Creamsicle Recipes You Might Enjoy
Creamsicle Orange Coffee
Orange Vanilla Curd
And if you do make these, or any of my recipes, don’t forget to tag me @bastecutfold or use the hashtag #bastecutfold on Instagram. I always love to see what you’re making!