Chocolate Peppermint Christmas Lollipops
This post may contain affiliate links. Please read the disclosure policy to learn more.
Thank you for supporting this blog!
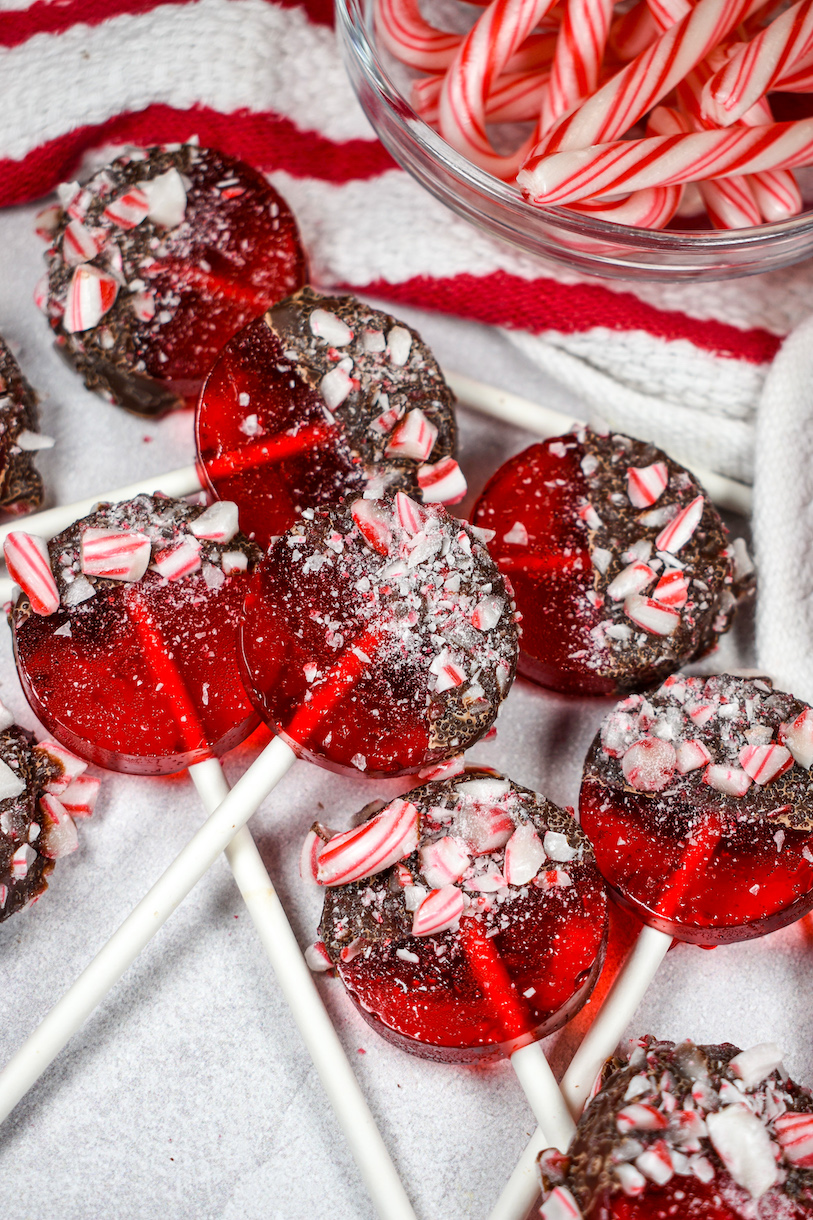
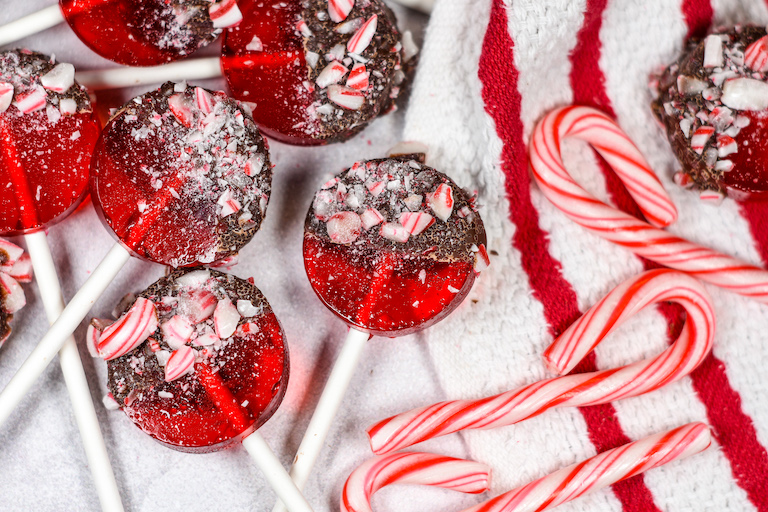
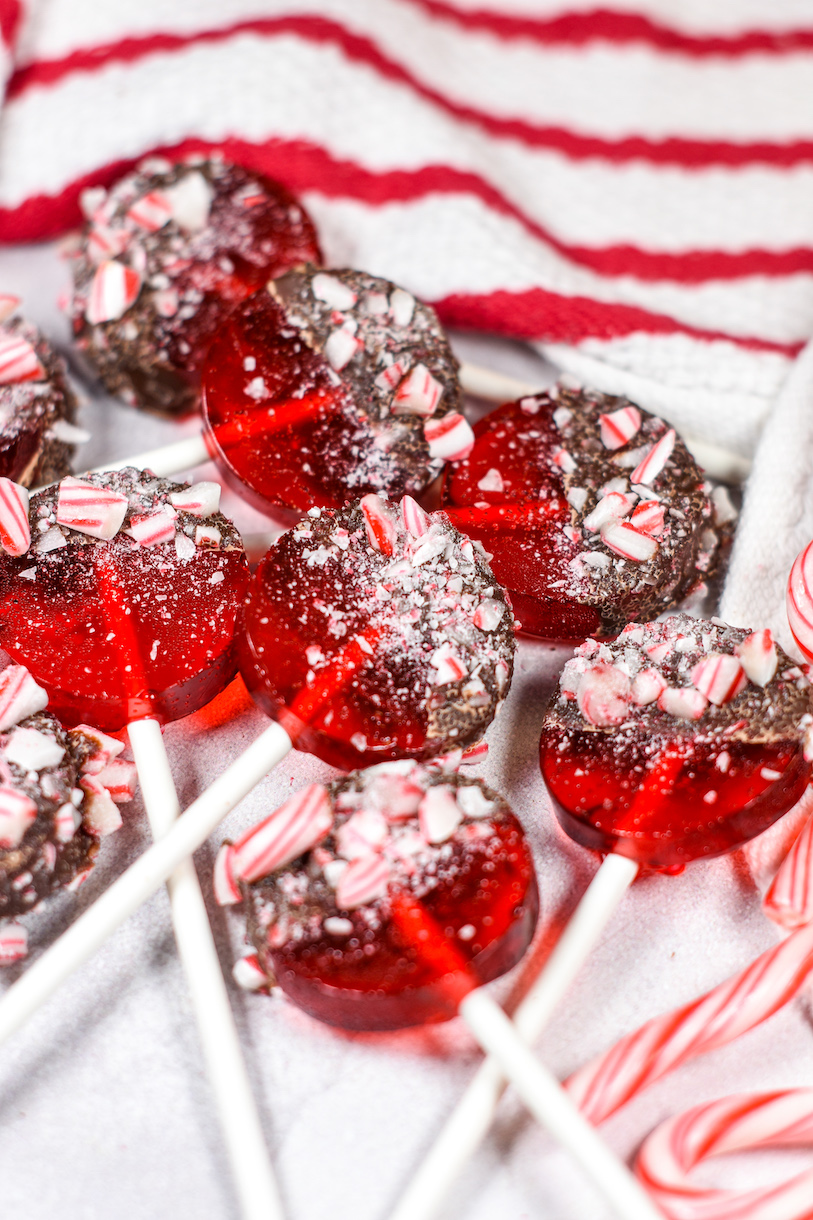
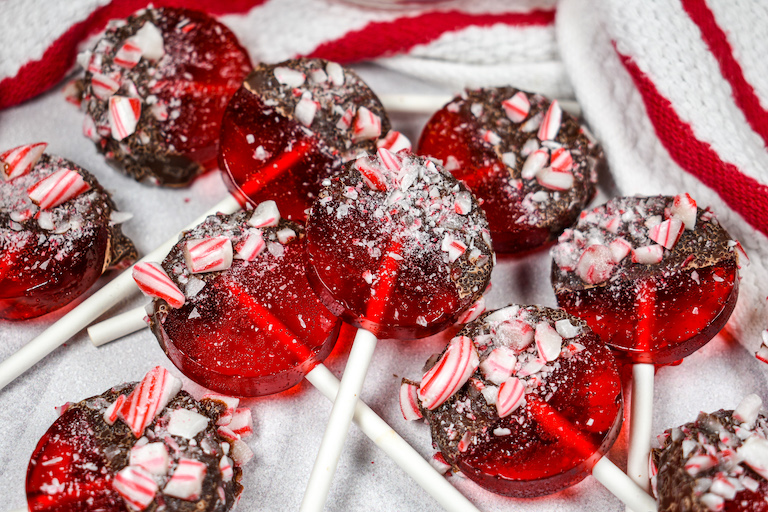
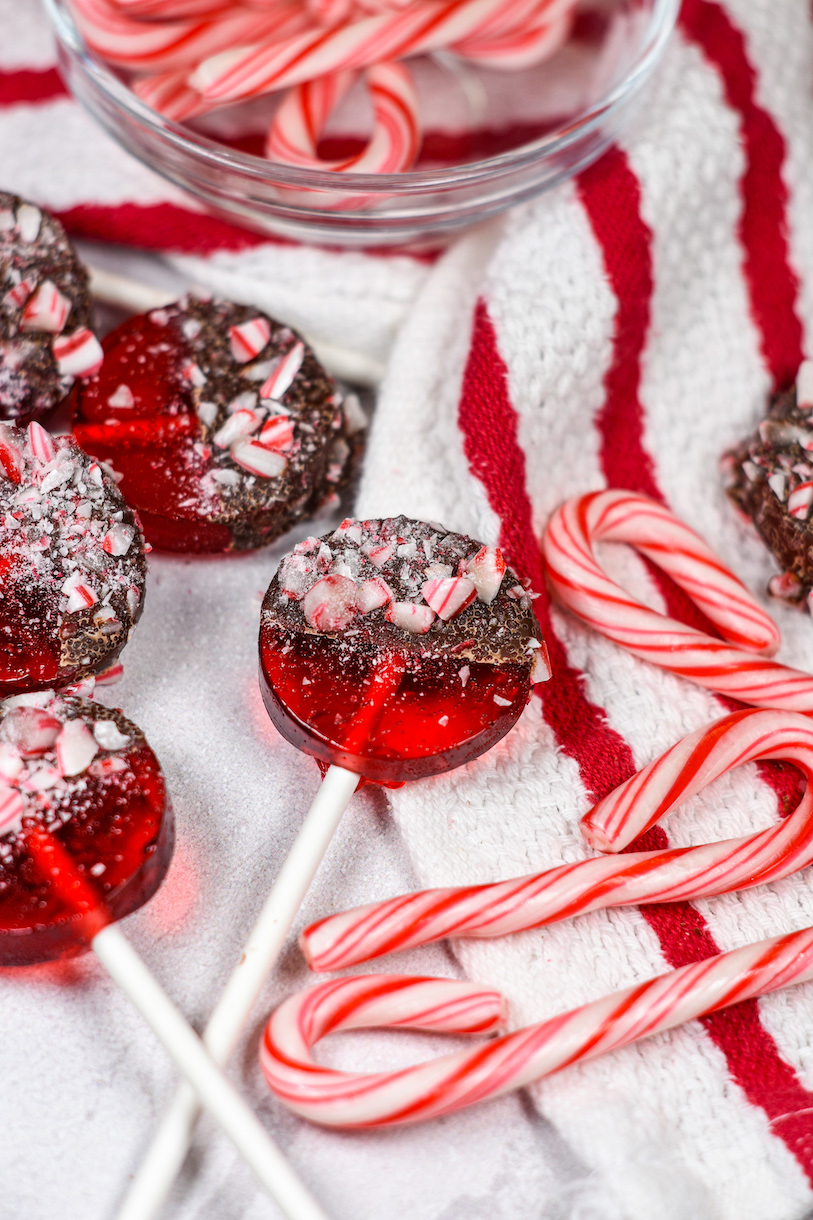
Dipped in dark chocolate and sprinkled with crushed candy canes, my homemade chocolate peppermint Christmas lollipops are actually very easy to make, use fairly basic ingredients, and contain minimal allergens (no nuts, eggs, or gluten). They make a festive finishing touch when tied atop wrapped holiday presents. And because they keep well at room temperature, these pops are also ideal for including in care packages sent to out-of-town friends and family. Even if your parcel gets lost in the craziness of the Christmas rush, these pops will still look and taste great upon arrival!
Key Ingredients
- Corn Syrup – To prevent crystallization, you can make the sugar syrup with corn syrup, or replace it with another invert sugar such as liquid glucose, or Light Karo Syrup. For accuracy, use a kitchen scale to measure by weight rather than volume to avoid losing too much of the sticky syrup in the measuring cup.
- Peppermint Oil – Choose real peppermint oil, not an extract or flavoring. But use it sparingly! Natural peppermint oil is strong, and a few drops will go a very long way. You’ll have plenty left over to make other peppermint recipes like marshmallows, stirring spoons for hot chocolate, or Christmas candy corn.
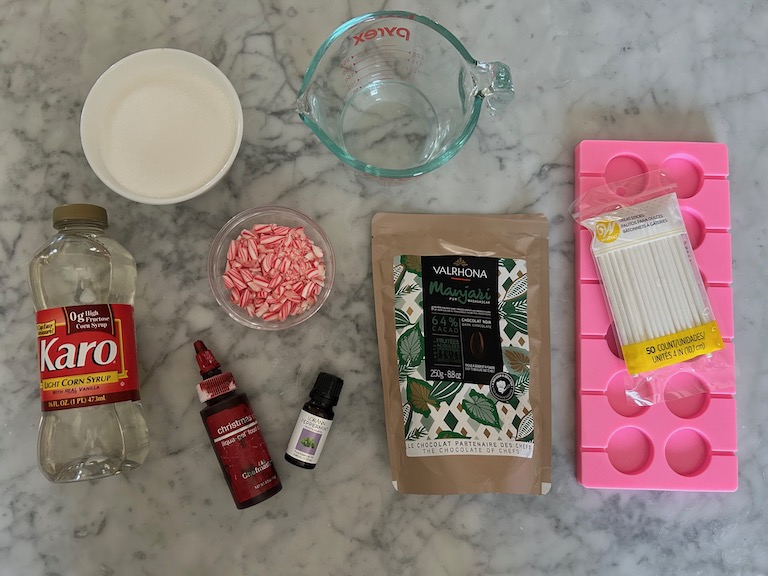
- Peppermint Candy – You can use candy canes, starlight mints, or another hard candy. Place the candy canes or peppermints in a sealed food storage bag, and use a kitchen mallet or the back of a metal ladle to crush. Do not work directly on the countertop! Place a chopping board or a thick folded towel underneath the plastic bag to avoid damaging the countertop.And if you have leftovers, save them to make candy cane truffles, or to churn up some peppermint ice cream.
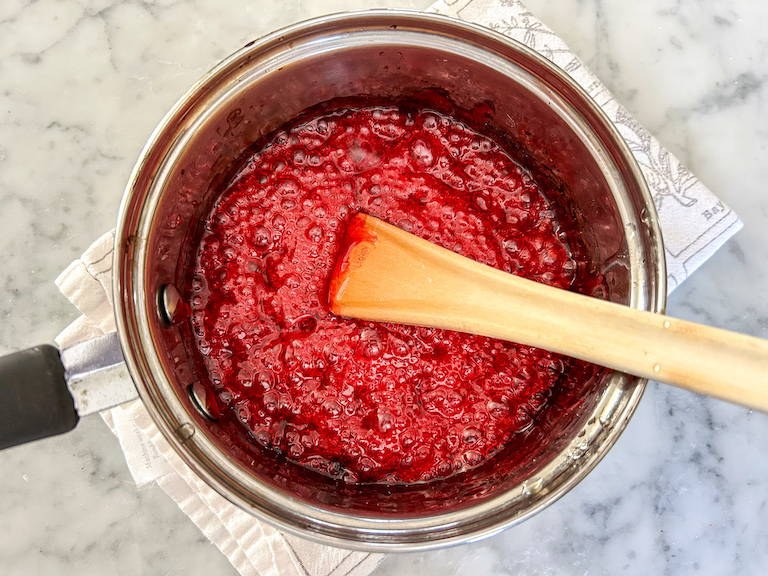
- Gel Food Coloring – For tinting the sugar syrup. I used Chefmaster‘s Christmas Red. Leaf Green would also be fun, especially if paired with green starlight mints. You’ll only need a drop or two. And instead of stirring, I recommend holding the pan by the handle (use a pot holder or towel—it might be hot!) to “swirl” the color into the syrup.
- Dark Chocolate – My favorite chocolate for these pops is Valrhona’s Manjari 64% dark chocolate, but any good-quality chocolate will work. I don’t recommend using chocolate chips; these are better for baking cookies than for decorating homemade candy.
Tips and Tricks
- Repurpose the extra syrup. The total number of lollipops will depend on the size and depth of your lollipop mold. If you have some sugar syrup left over after filling the mold, pour it out onto a silicone mat, cool, and toss in confectioner’s sugar, like my old-fashioned hard candy recipe.
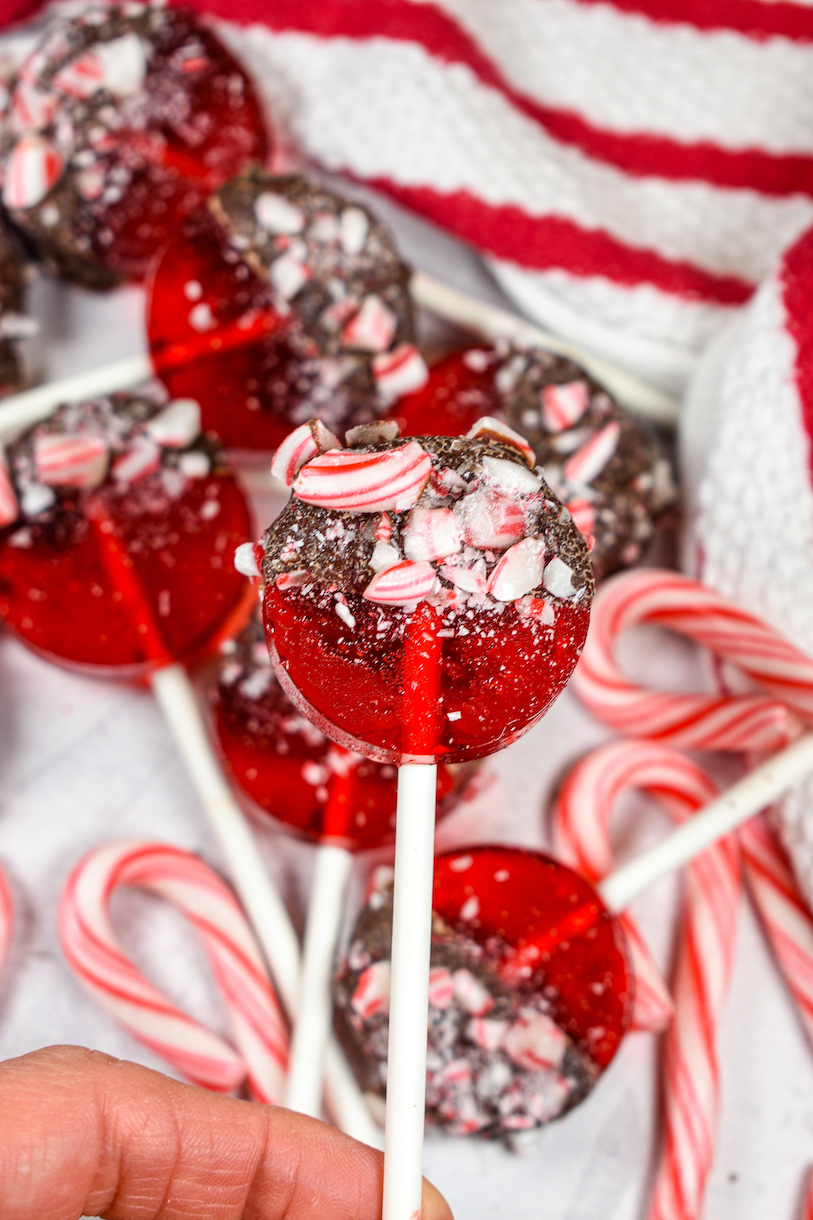
- Sprinkle, or dip! You can dip or sprinkle the pops in the crushed peppermint. If dipping, I suggest dividing the peppermint into 2-3 smaller portions, so when too much melted chocolate mixes with the candy, you can swap it out for a fresh bowl.
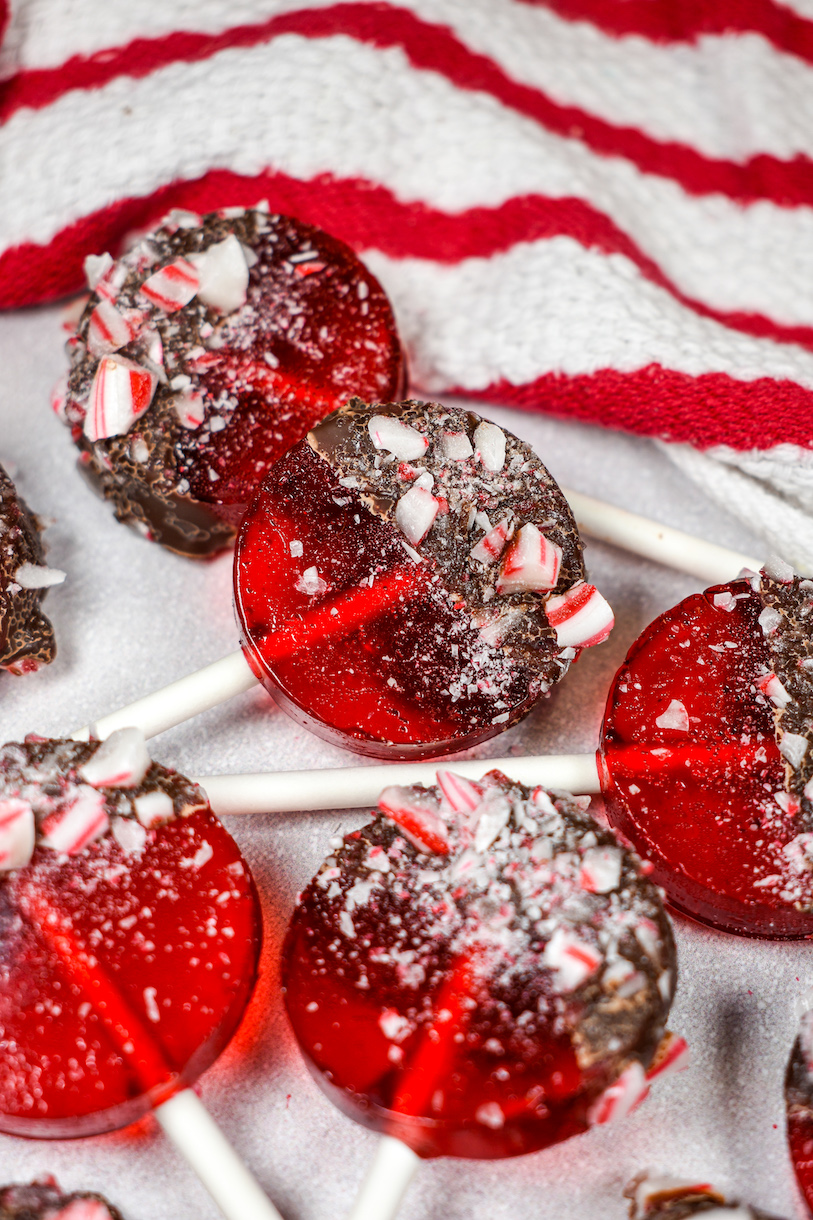
- Allow chocolate to set at room temperature. Never refrigerate homemade lollipops. The damp, humid refrigerator will create condensation, leading to sticky lollipops.
Notes on Tempering
Tempering is the process of heating and cooling chocolate to specific temperatures, for fast-setting chocolate with a distinctive shine and snap. I’ve tested this recipe with tempered and untempered chocolate, and either works. Tempering is best for treats that will remain shelf stable in all conditions, without the risk of melting. But it’s it’s certainly easier (and more beginner-friendly!) to skip the tempering step.
If you aren’t familiar with tempering, you can melt and dip in untempered chocolate, or use discs of coating chocolate. Unlike couverture, coating chocolate (also known as candy melts, melting chocolate, melting wafers, confectionery coating, or candy wafers) is pre-tempered. Note that if you do not use coating chocolate and do not temper, your chocolate will take longer to set. Resist the urge to refrigerate to speed things along. Refrigeration creates condensation, and sticky lollipops!

Chocolate Peppermint Christmas Lollipops
- Total Time1 hour
- Yield12-16 lollipops 1x
Festive red peppermint Christmas lollipops dipped in dark chocolate and topped with crushed candy canes.
Ingredients
200 grams granulated sugar (1 cup)
160 grams corn syrup (1/2 cup)
60 milliliters (1/4 cup) water
2-3 drops natural peppermint oil
Red gel food coloring or green gel food coloring
50 grams dark chocolate, such as Valrhona or Callebaut (about 1 3/4 ounces)
50 grams crushed candy canes or peppermints (1/4 cup crushed candy)
Instructions
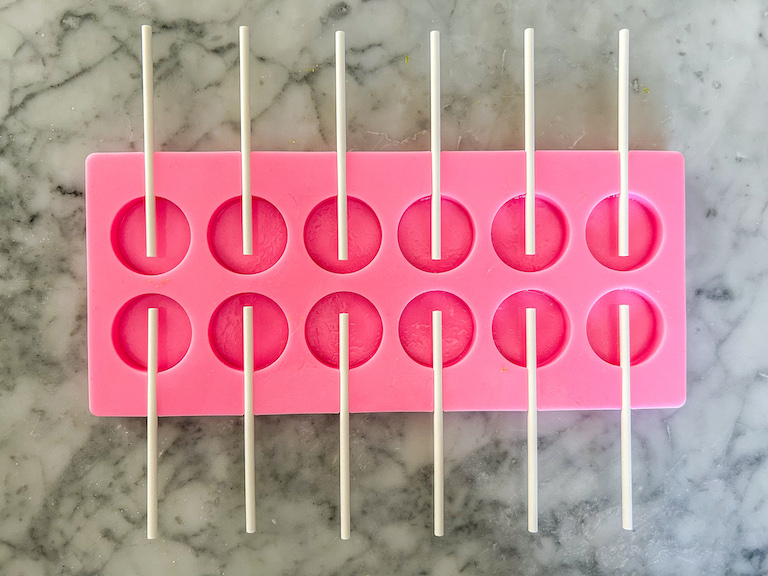
Spray lollipop mold with nonstick cooking spray. Add lollipop sticks. Set aside.
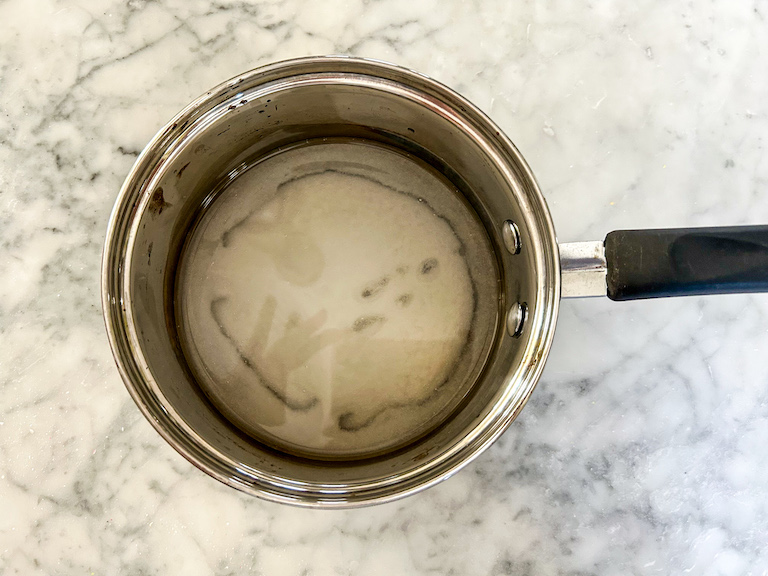
Combine granulated sugar, corn syrup, and water in a saucepan over medium-high heat. Stir until sugar dissolves, then stop stirring.
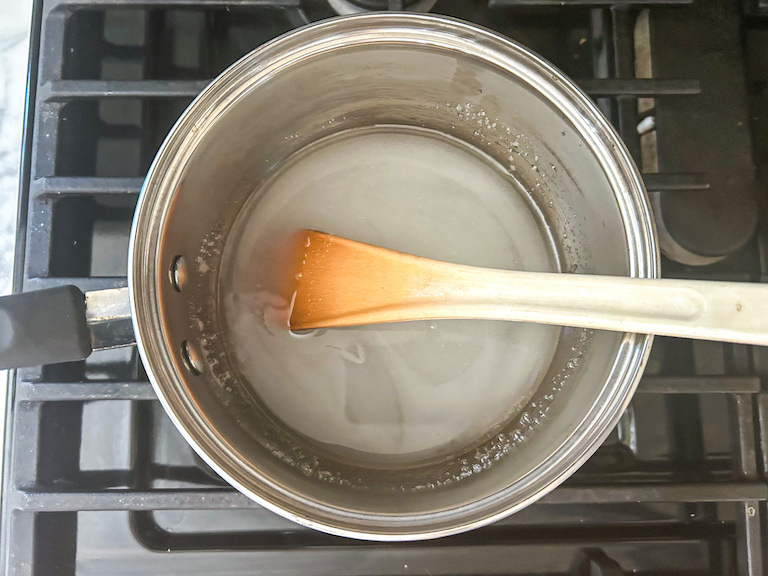
With a pastry brush, brush down the sides of the pan with water.
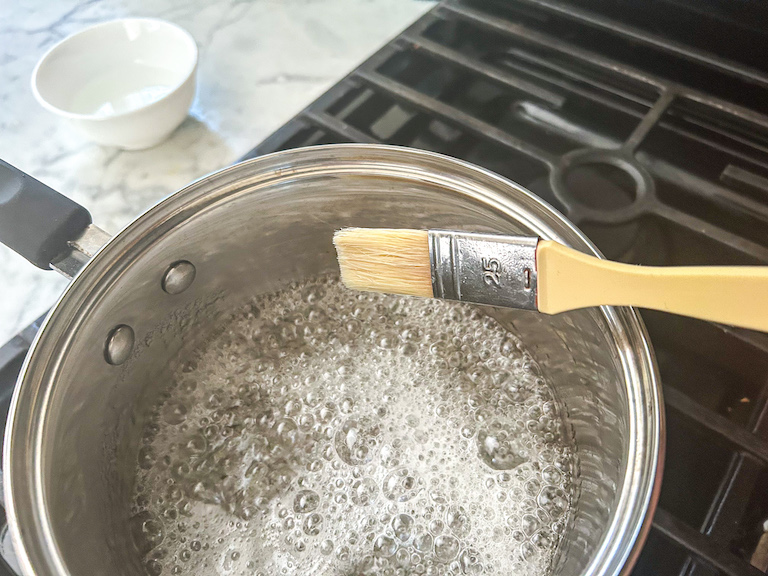
Bring to a boil. Boil without stirring until syrup reaches 300° F (150° C) on a digital thermometer.
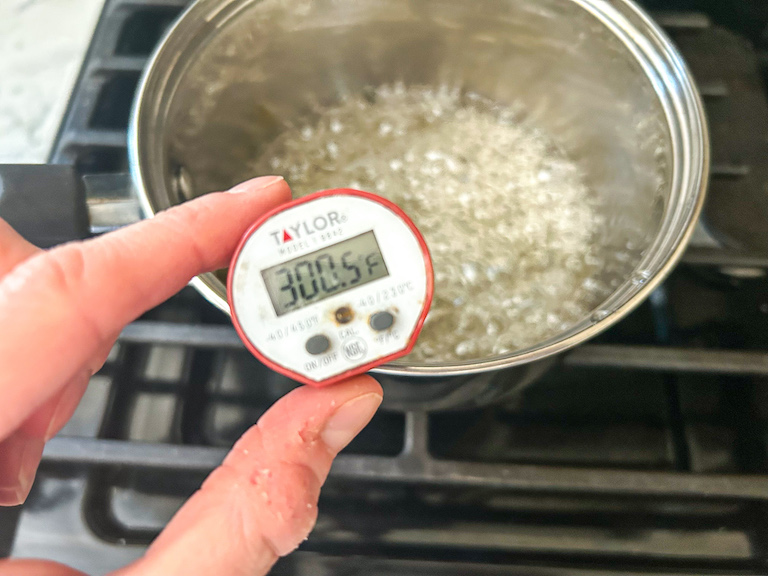
Remove from heat. Swirl in peppermint oil and gel food coloring.
Carefully pour hot sugar mixture into prepared mold.
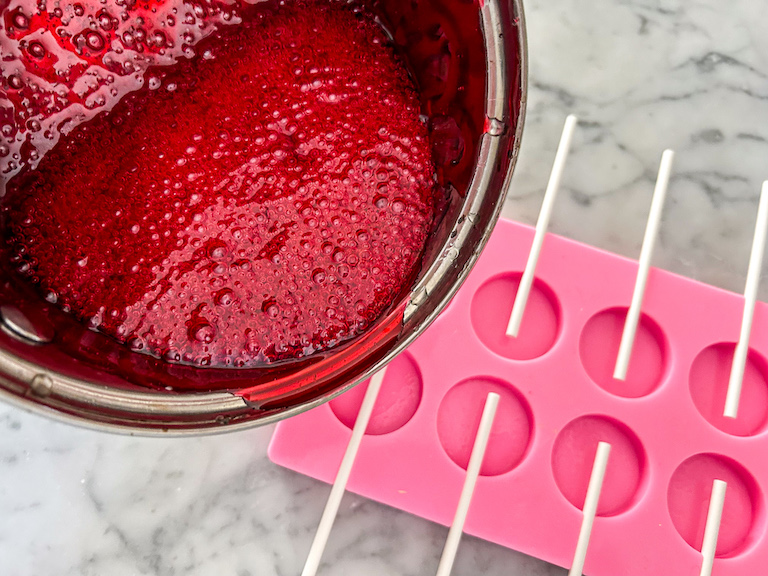
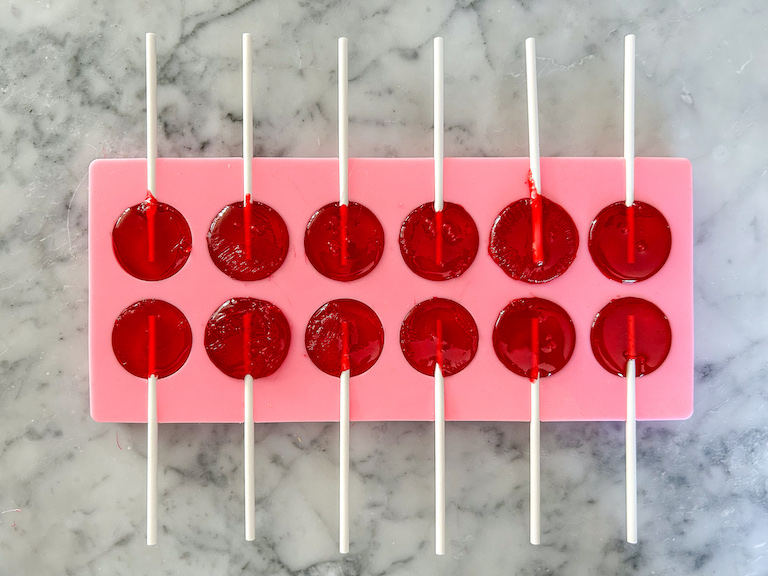
Set aside and allow to cool completely, about 15 minutes. Pop lollipops from the mold onto a small tray lined with parchment or a silicone baking mat.
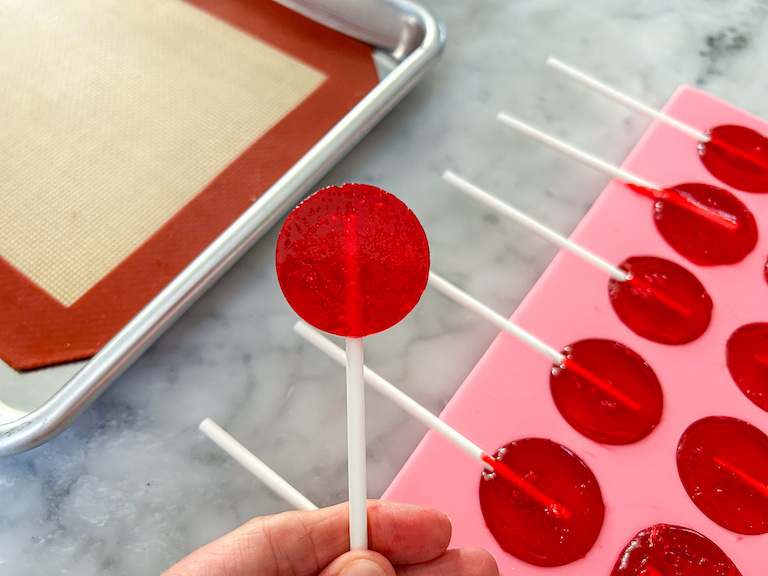
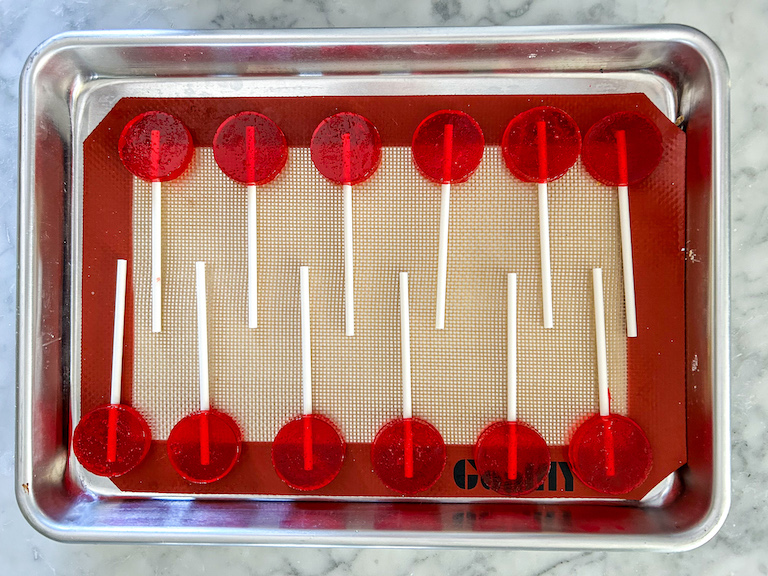
In a small, microwave-safe bowl, microwave chocolate on medium power, stirring every 15-20 seconds, until completely melted. Dip each lollipop in the melted chocolate, coating the top portion of the lollipop only.
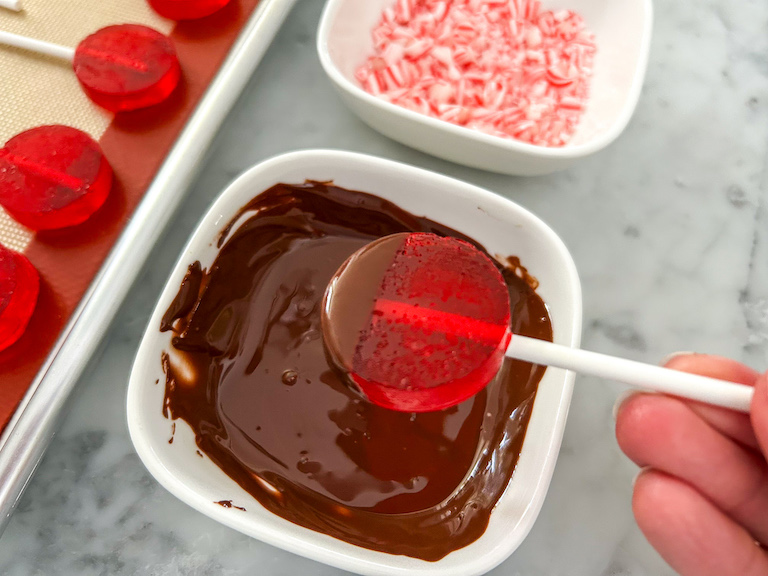
Sprinkle each lollipop with crushed peppermint.
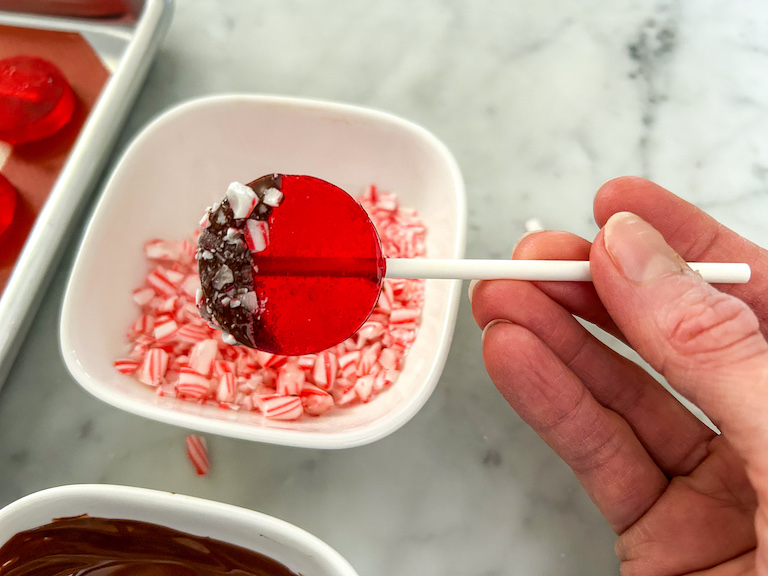
Arrange on a small tray lined with parchment or a silicone mat. Allow chocolate to set at room temperature. Do not refrigerate.
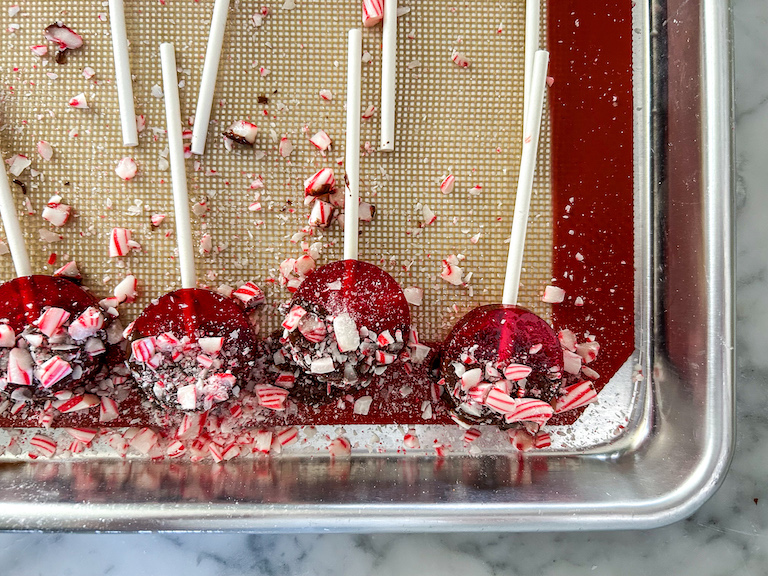
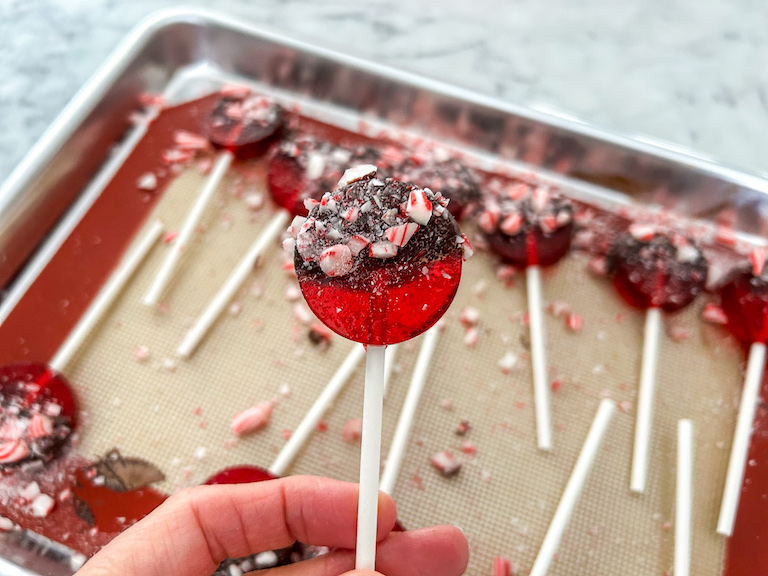
Individually wrap peppermint lollipops in cello bags. Store in an airtight container at room temperature for up to 1 month.



- Prep Time: 30 minutes
- Cooling Time: 30 minutes
- Category: Candy and Confectionery
- Method: Stovetop
Special Tools and Equipment
- Lollipop Mold – You will need a silicone lollipop mold to make this Christmas lollipop recipe. The cavities in my mold measure about 1 1/2 inches in diameter; you can go slightly bigger or smaller, if desired.
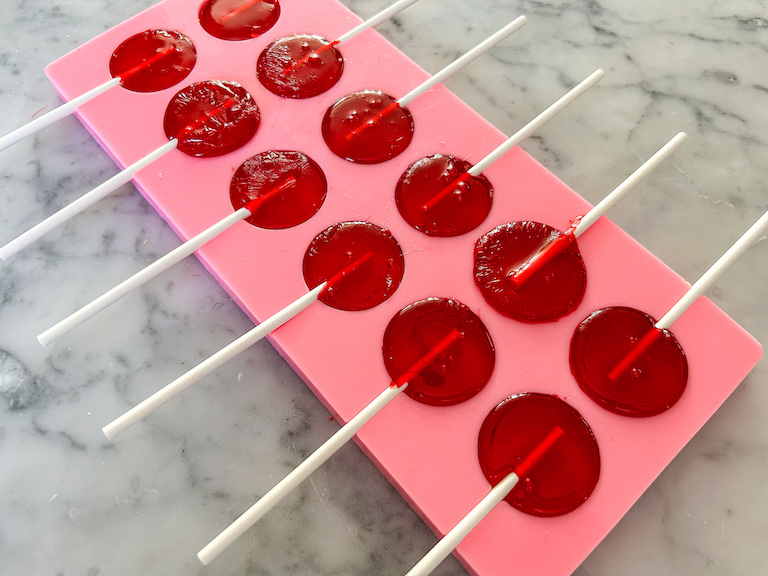
- Lollipop Sticks – Lollipop sticks are available from craft supply stores like Michael’s. They are also sold on Amazon. Double-check to make sure the sticks you’ve chosen will fit in your mold.
- Digital Thermometer – You’ll need to cook the hot sugar to 300° F / 148° C on a candy thermometer. Because sugar temperatures must be precise, I do not suggest making this lollipop recipe without a thermometer. (You’ll also need a thermometer if you intend to temper your chocolate.) This Taylor digital thermometer is my go-to.
- Pastry Brush – For brushing down the sides of the pan to prevent crystallization.
- Silicone Mats – Placing the dipped lollipops on a silicone baking mat prevents the lollipops from sticking, and makes for easy cleanup, too.
Make-Ahead and Storage Suggestions
These peppermint lollipops will keep for at least a month, if not longer. Small cello bags and twist ties work best for packaging, allowing you to wrap each lollipop individually (and catching any errant pieces of peppermint in the process!) Because of their long shelf life, homemade lollipops also ship extremely well. Even if the package is delayed or lost in the craziness of the Christmas rush, these pops will still arrive in perfectly edible condition.
Other Christmas Candy Recipes You Might Enjoy
Christmas Candy Corn
Old Fashioned Hard Candy
Soft Christmas Peppermints
Festive Cranberry Jelly Candy
Chocolate Peppermint Bark
Candy Cane Truffles
And if you do make these, or any of my recipes, don’t forget to tag me at @bastecutfold or use the hashtag #bastecutfold on Instagram. I always love to see what you’re making!