Homemade Ice Cream Cone Recipe
This post may contain affiliate links. Please read the disclosure policy to learn more.
Thank you for supporting this blog!
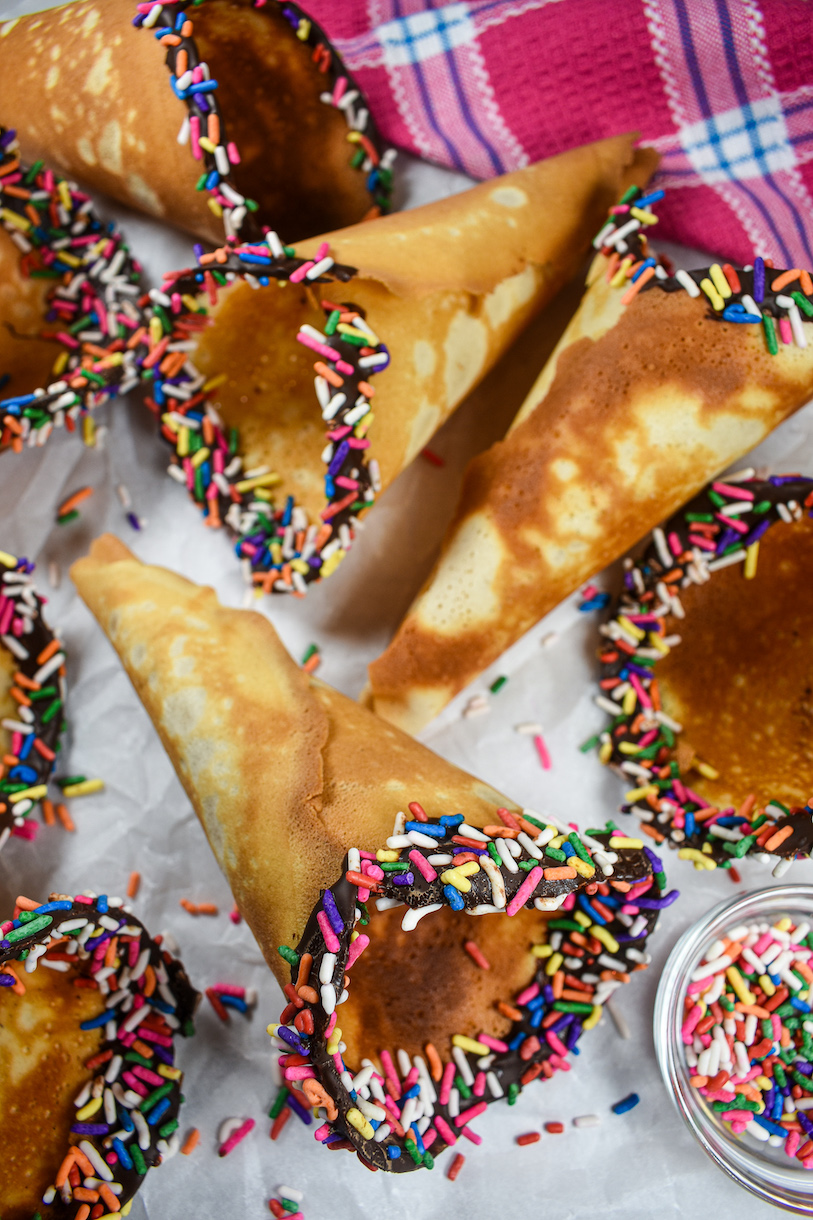
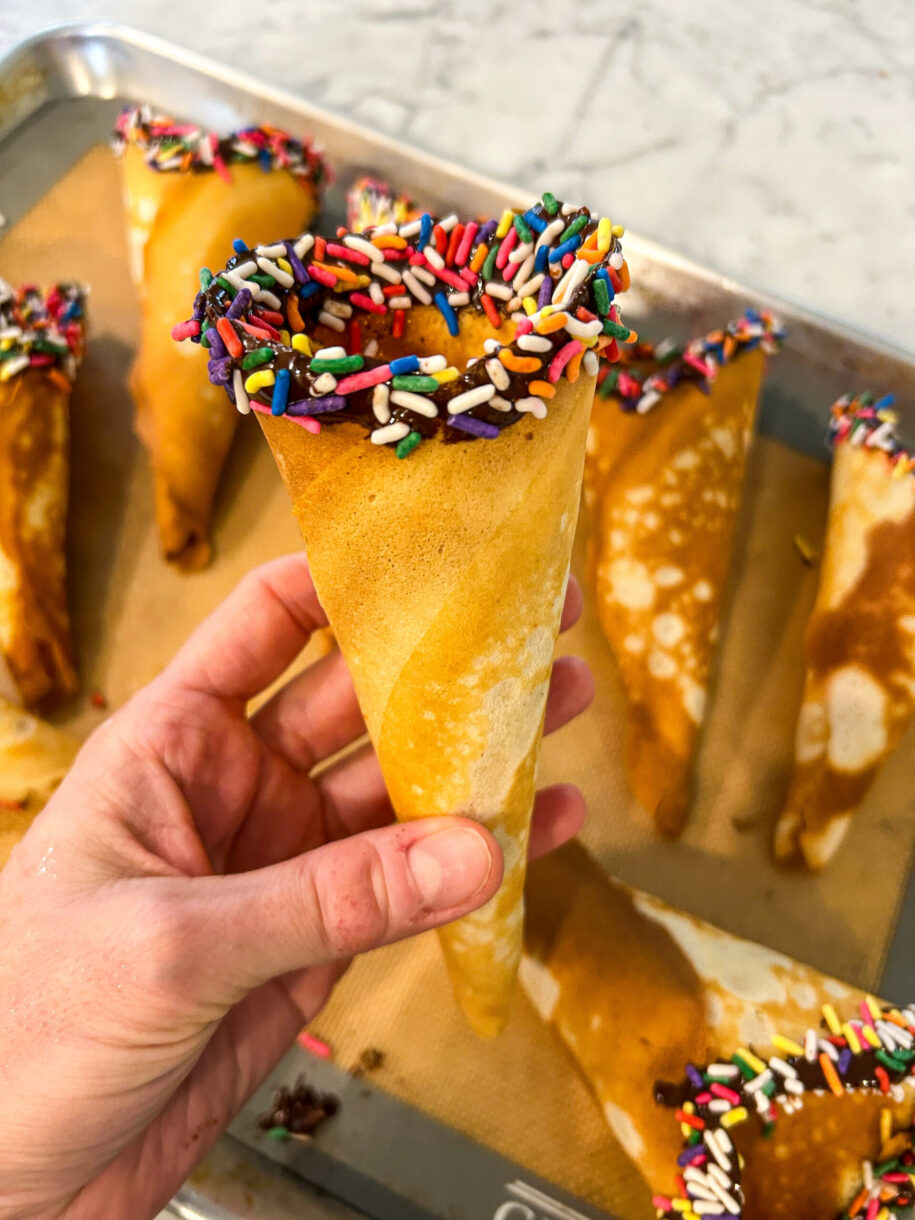
This easy ice cream cone recipe shows you how to make homemade ice cream cones using simple ingredients and a standard kitchen skillet. Customize your cones with chocolate and rainbow sprinkles for a fun, colorful treat that pairs perfectly with any scoop!
Why Make This Homemade Ice Cream Cone Recipe?
I’m a fan of anything ice cream related. I love ice cream-scented candles, ice cream lip balm, ice cream art, and ice cream cake (and ice cream cupcakes!) And I love making homemade ice cream, like homemade cookies and cream ice cream or s’mores ice cream, or just a classic, home-churned vanilla bean ice cream. I also have a go-to ice cream shop in all of the places I spend time—for me that’s Emack & Bolio’s in NYC, Udderlicious in London (or a sundae at Fortnum & Mason, if I’m feeling extra fancy…), Willard Scoops in Portland, Maine, or Kohr Bros. on the boardwalk in Rehoboth Beach.
No matter which ice cream shop I visit, I’m presented with the same choice: cone or cup? And for me, it’s cone every time. I like the flavor contrast, the crunch, the edible vessel, those last bits of melted ice cream at the bottom of the cone. I especially enjoy an oversized waffle cone or pretzel cone, but a classic sugar cone runs a close second.
In this recipe, I’ve created a homemade version of a sugar cone that tastes just as good as the real thing. In fact, these cones taste so good that when I gave a test batch to some family members to sample, they didn’t even bother to add ice cream, just ate the empty cones straight from the tray.
This recipe doesn’t require any special ingredients or fancy equipment, but you will need a healthy dose of patience. Don’t get discouraged if you don’t get everything right on the first try. You’ll probably need to discard the first batch (I did!) but it won’t be long before you’re making ice cream cones like a pro. And once you’ve made ice cream cones from scratch, it’s hard to go back to the store bought kind. My family is already begging me for more!
Ice Cream Cone Recipe Ingredients
To make and decorate these homemade ice cream cones, you’ll need the following ingredients:
- Egg Whites – You’ll need 60 grams, or the whites of about 2 large eggs. You won’t need the yolks for this recipe, so save them to make homemade ice cream (my coconut ice cream recipe requires egg yolks) or lemon curd.
- Sugar – Granulated sugar sweetens the cones, and helps to create the golden brown color.
- Whole Milk – You’ll need about 120 milliliters (1/2 cup), but keep extra on hand to adjust the consistency of the batter.
- Vanilla Bean Paste – While vanilla extract works as a substitute in many of my recipes, I strongly recommend using vanilla bean paste (or the scrapings of 1 vanilla pod) for homemade ice cream cones. Nielsen-Massey is my go-to brand.
- Sea Salt – Fine sea salt cuts the sweetness of the sugar. Omit if using salted butter.
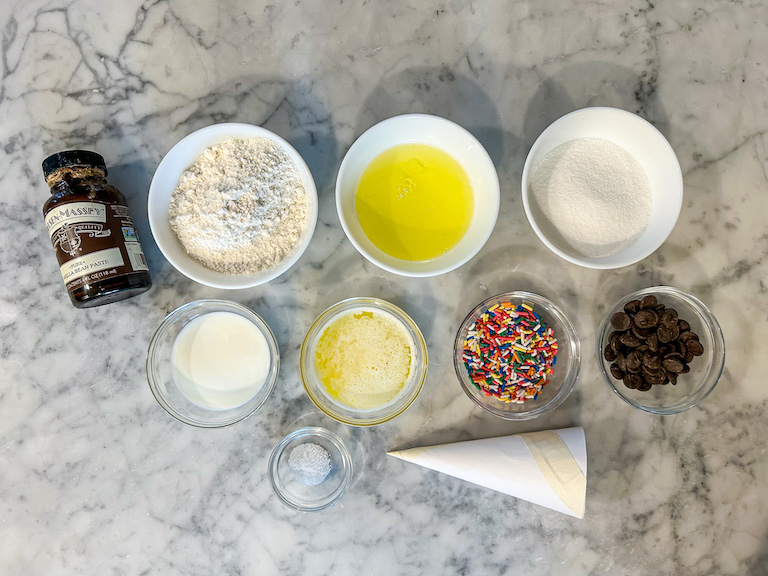
- Flour – All purpose flour (or plain flour, in the UK) forms the base for a batter similar to crepe or pancake batter.
- Unsalted Butter – You’ll need 45 grams (3 tablespoons) of unsalted butter, melted and cooled. You can substitute salted butter, but omit the fine sea salt if you go this route, or the cones will be too salty.
- Chocolate – To decorate, you’ll need at least 60 grams (about 1/3 cup) of milk, dark, or semisweet chocolate. If you plan to dip a larger portion of the cone, or want to add chocolate to the bottom, I recommend melting more than 60 grams.
- Decorations – Such as rainbow sprinkles, crushed peanuts, or candy pieces. For ideas, see my decorating tips below.
How to Make Homemade Ice Cream Cones
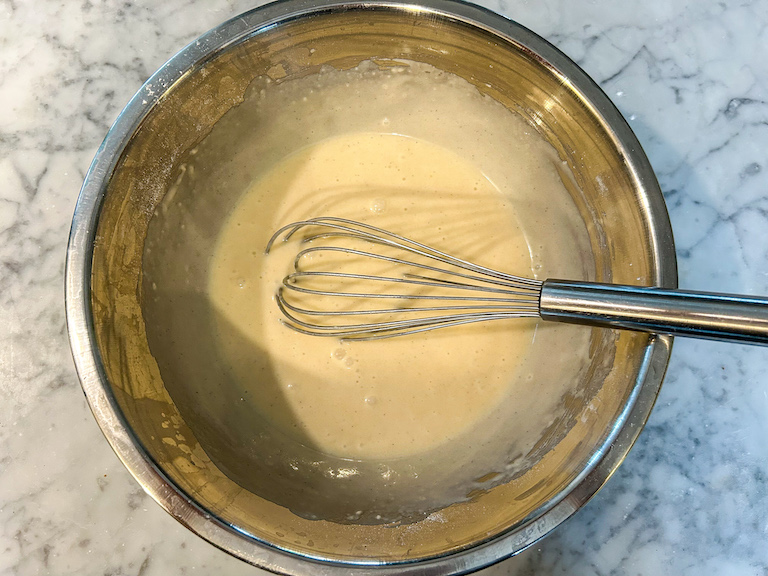
To make homemade ice cream cones, you’ll start by whisking egg whites, sugar, milk, vanilla, salt, flour, and melted butter to create a smooth, thin batter. Next, you’ll cook small portions of the batter on a skillet, swirling it into a flat disc in a technique similar to making crepes or pancakes, until both sides of the “pancake” turn golden brown.
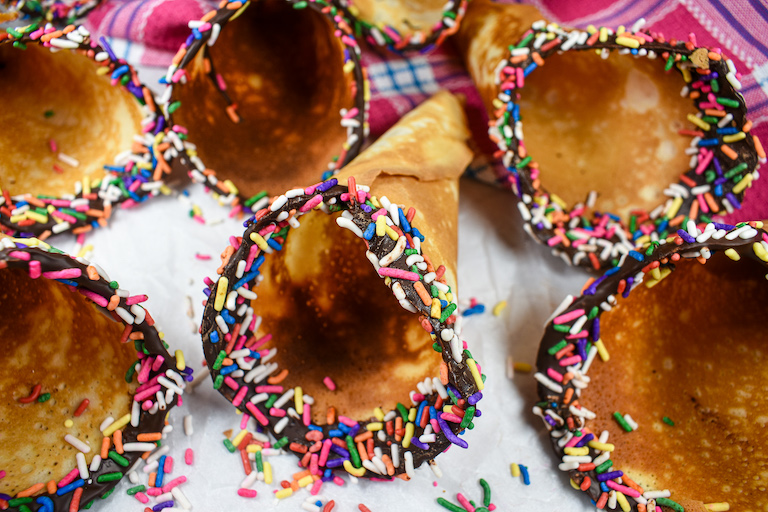
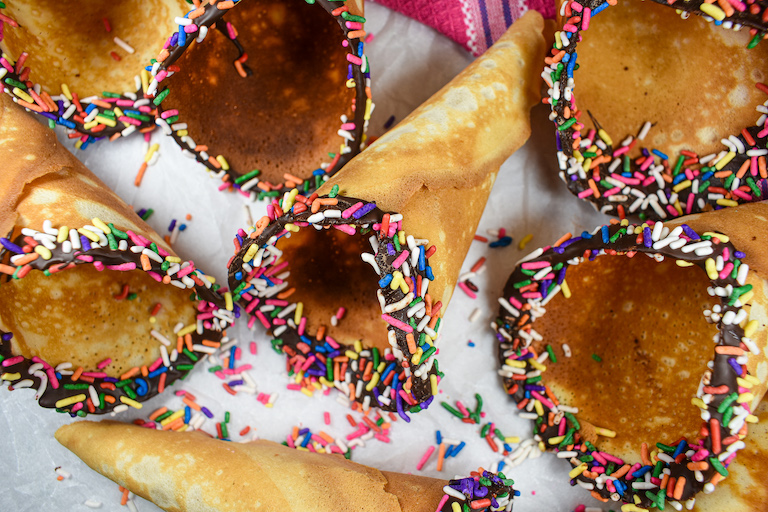
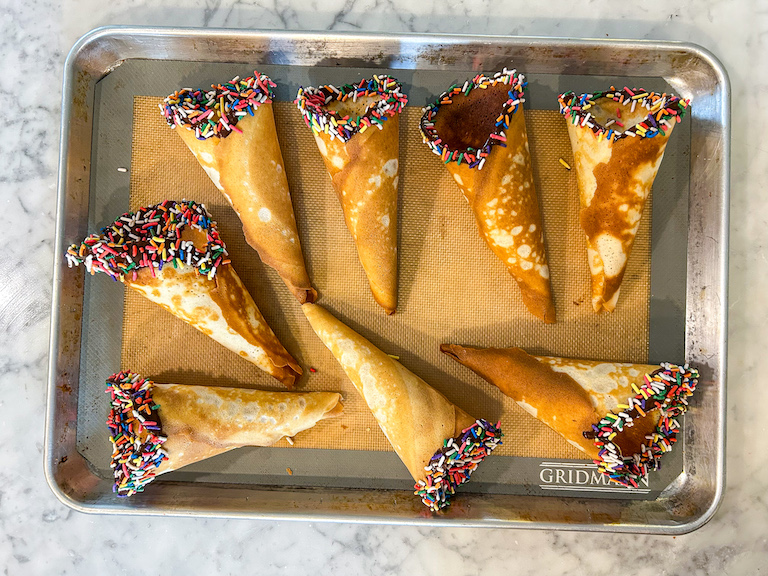
After cooking you’ll quickly shape the warm disc around a cone mold and allow it to cool, then dip the tops of the cooled cones in melted chocolate and rainbow sprinkles to decorate. Homemade ice cream cones can be used right away or stored in an airtight container for a few days.
Read on to learn how to shape the hot cones.
For detailed, step-by-step instructions and quantities, scroll down to the recipe card below,
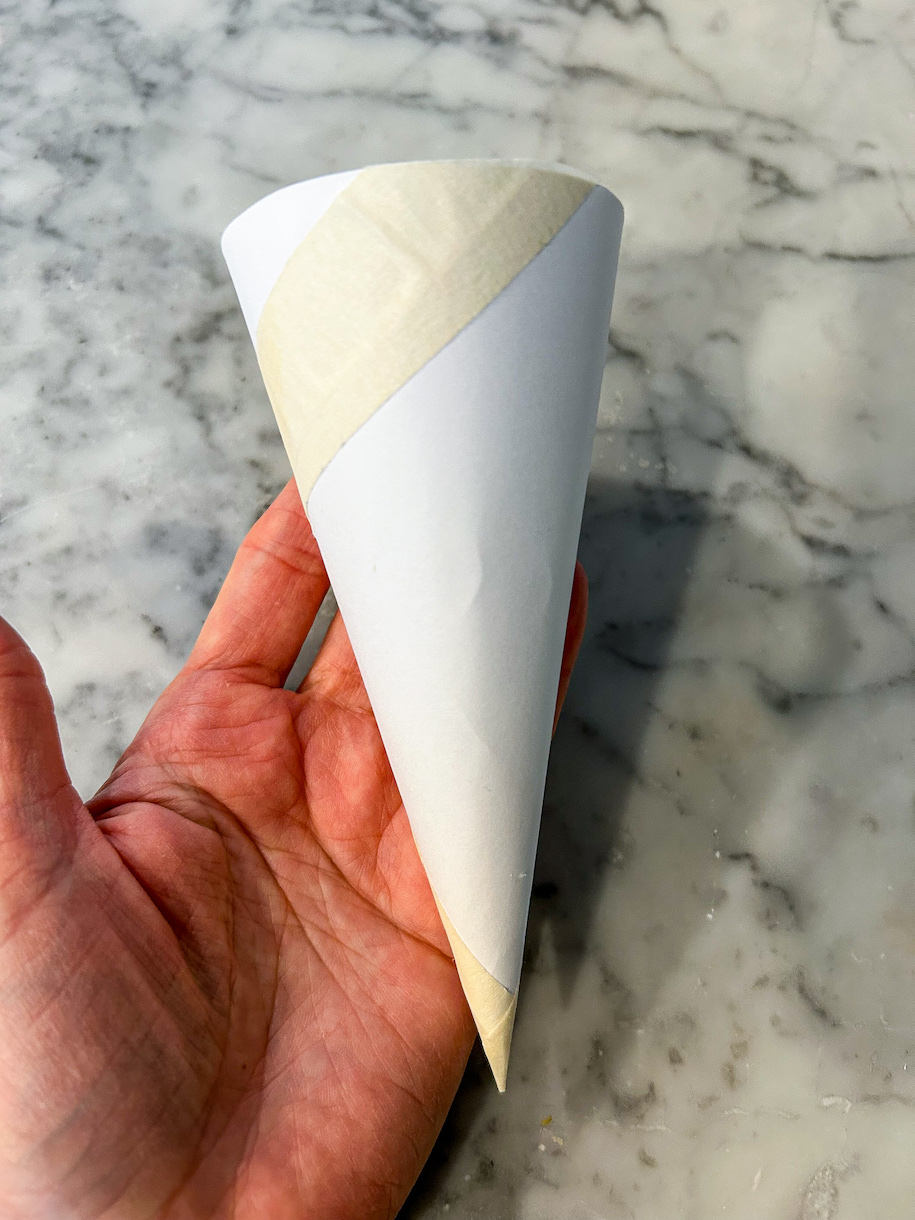
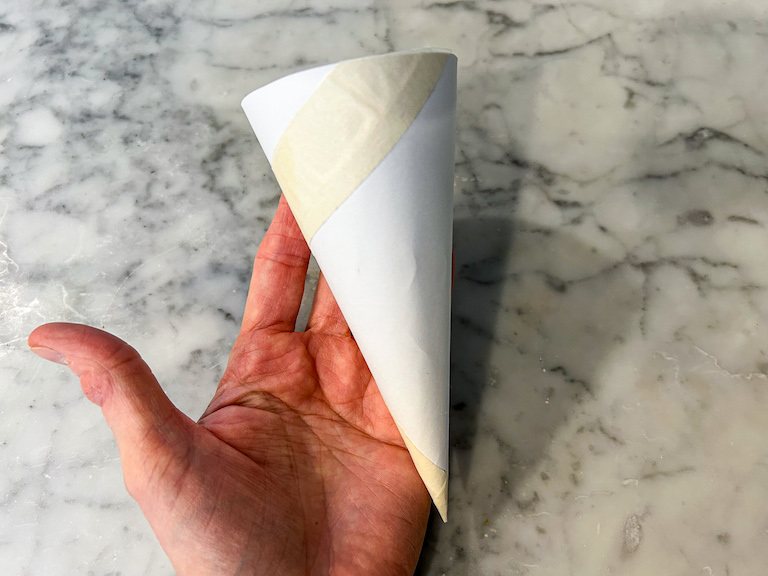
Preparing the Cone Template
A template works as a guide for shaping the cones, ensuring that they all remain roughly the same shape and size.
To make the template, you’ll need a clean piece of flexible, lightweight cardboard, cardstock, poster board, or heavy paper. Roll it into a cone shape, approximately 5-6 inches tall and about 2-2 1/2 inches wide. Use masking tape to secure the cardboard.
If you don’t have cardboard or cardstock, you can make an aluminum foil cone template. I’m less fond of this technique because of the less smooth surface (meaning the insides of your cones will be a bit rough) but it works in a pinch.
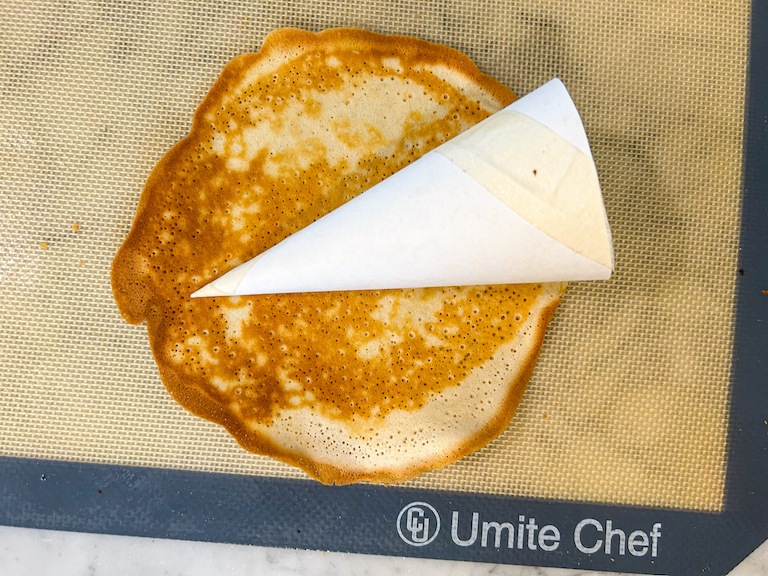
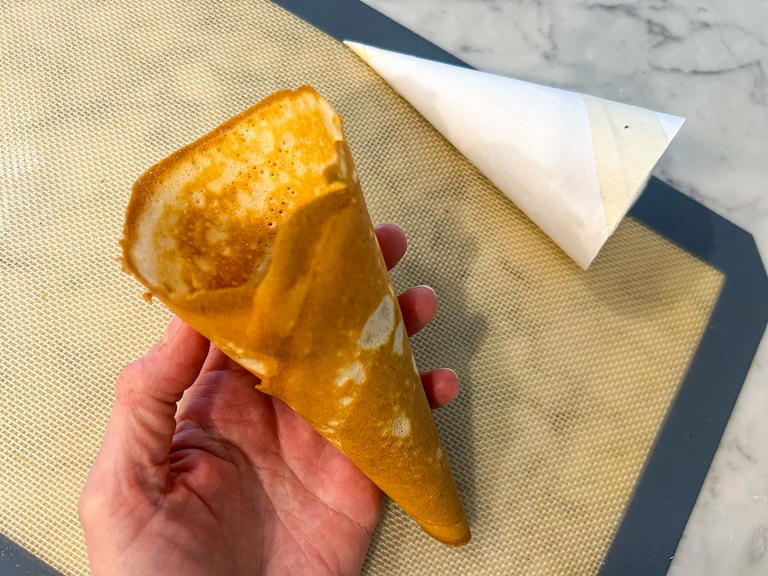
Shaping the Cones
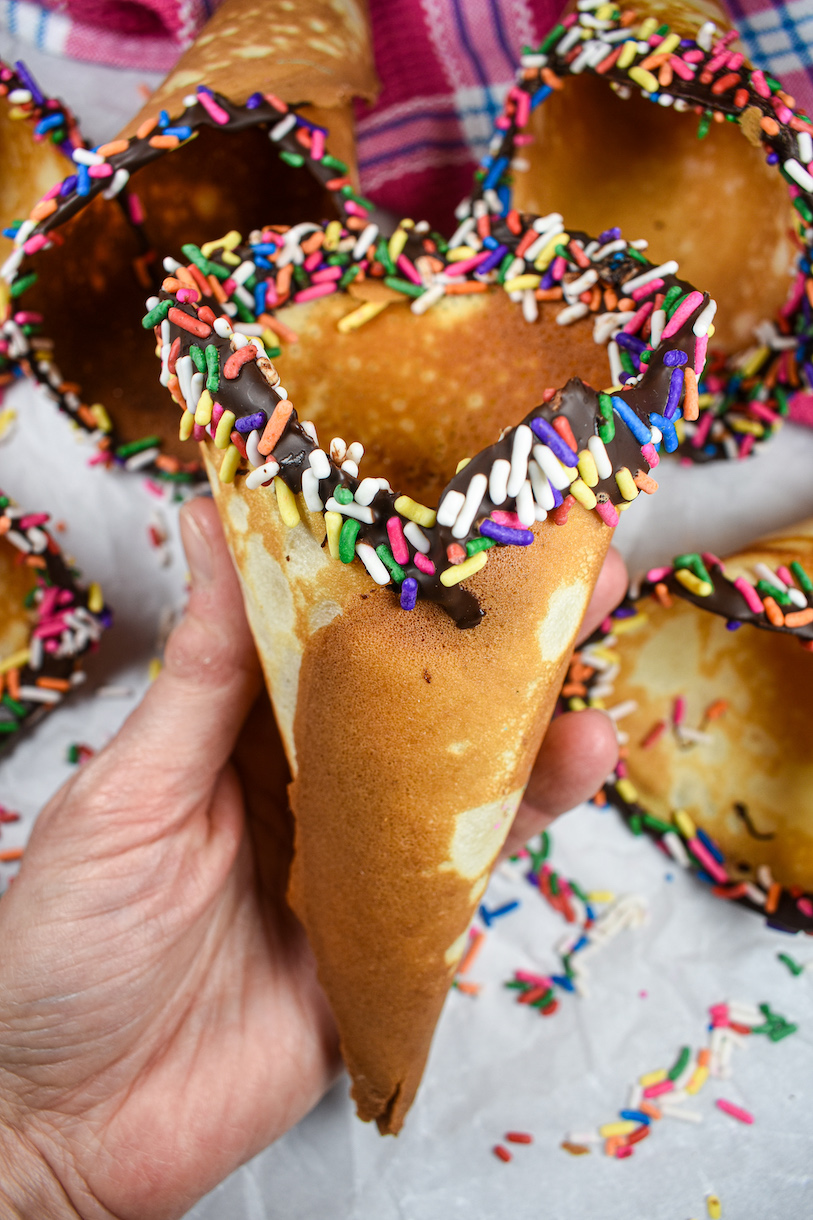
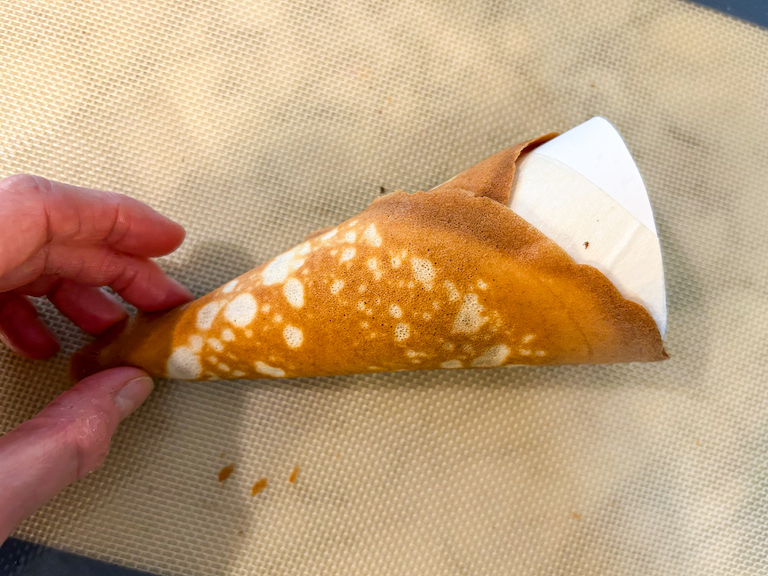
After cooking, use your hands to shape the “pancake” around the template. It will be very hot, so I suggest wearing gloves or using a clean tea towel for this step, to avoid touching the cone directly.

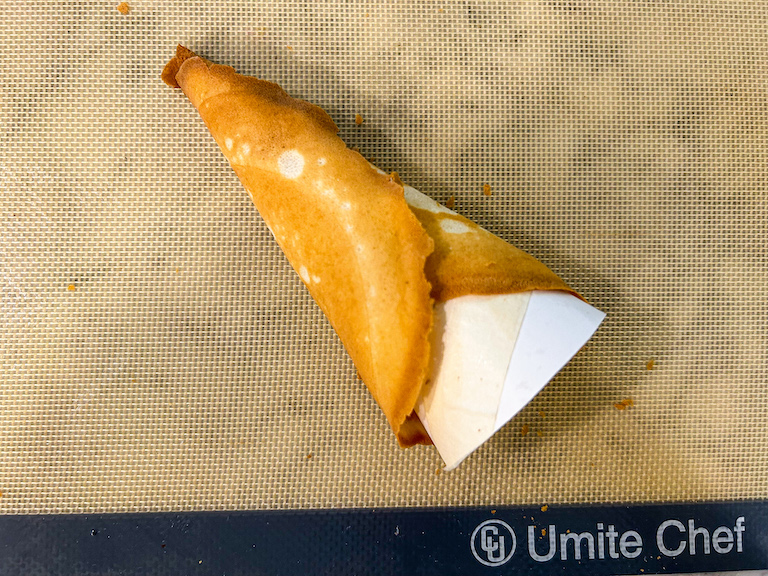
Next, use your fingertips to gently pinch the pointy end of the cone. This creates a seal and prevents ice cream drips.
Hold the cone in place until it sets, about 15-30 seconds.

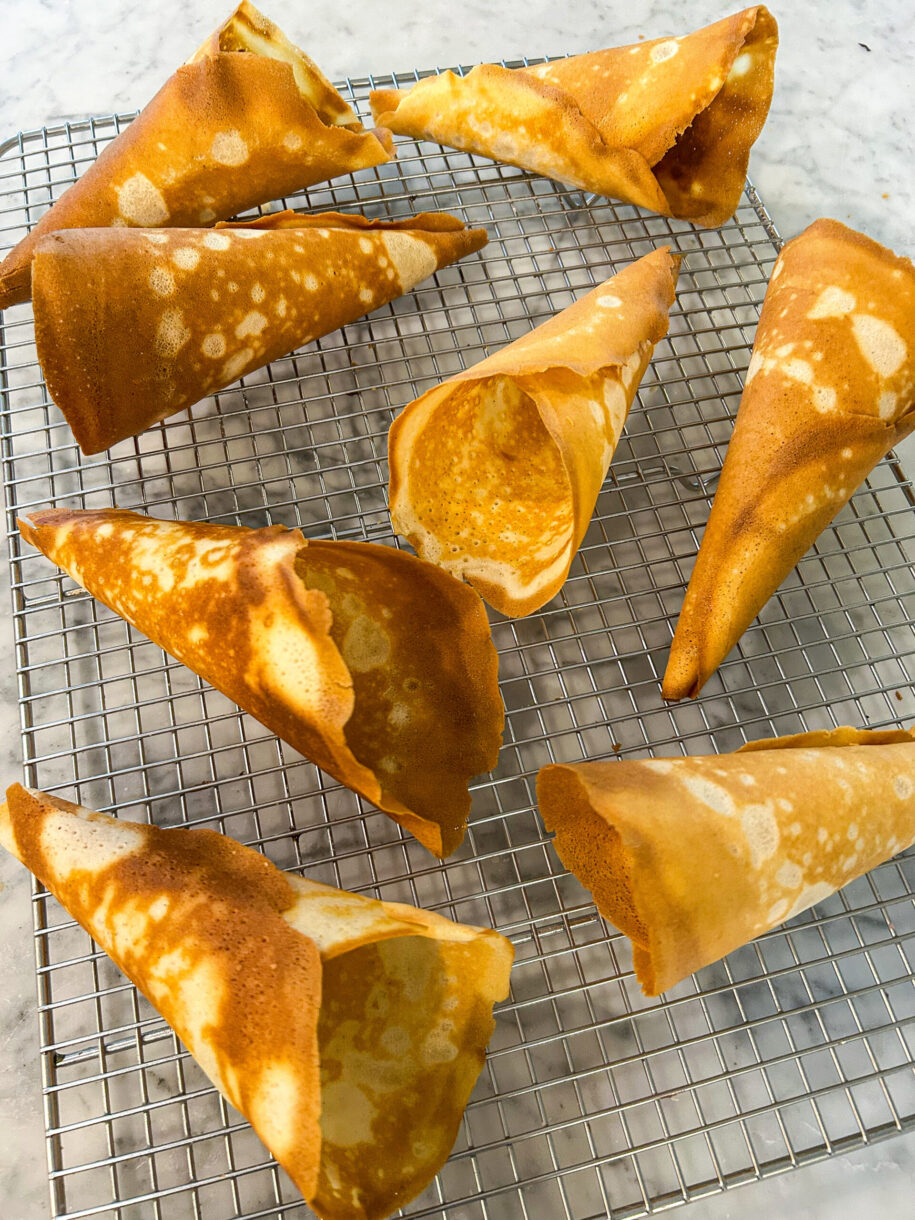
Then, carefully remove the template to reveal the finished cone.
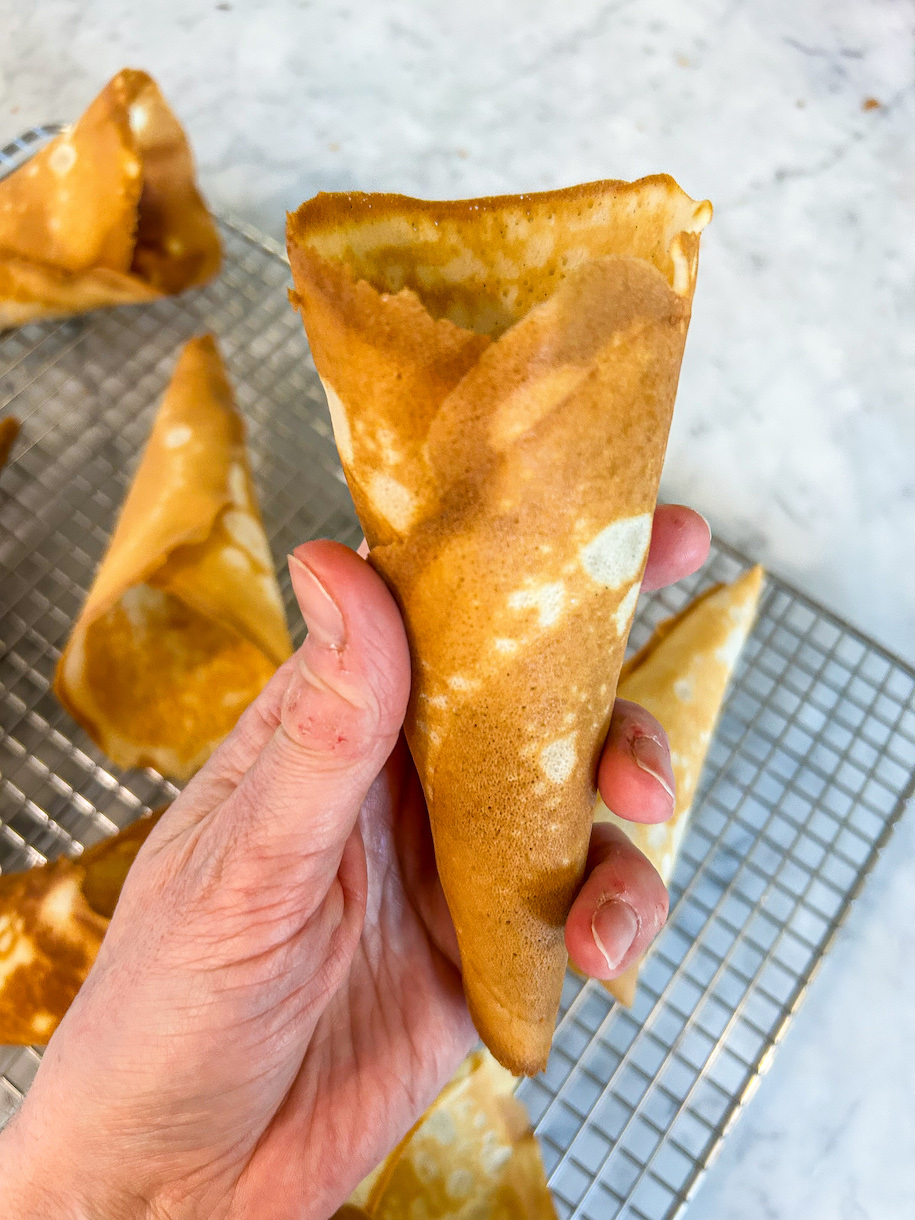
As you finish each cone, sit in on a wire rack to cool.
Ice Cream Cone Recipe Tips and Tricks
Be patient. First things first! This recipe comes with a learning curve, so don’t get discouraged if your first few cones aren’t very successful. You’ll probably discard one or two, or even your first batch.
Skip the nonstick spray. I tested this recipe with nonstick spray, and with a nonstick pan without any spray. I found that the cones browned more evenly without the use of nonstick spray; your results may vary depending on the pan you’ve chosen.
Take your time. Reserve homemade ice cream cones for a day when you have 2-3 hours of uninterrupted free time. There is no way to rush things along, and you’ll need to cook the batter and shape the cones one at a time.
Seal the bottoms. If your cone has a small hole at the bottom, add a spoonful of melted chocolate to create a “seal,” or pop a mini marshmallow in the bottom to prevent ice cream drips.
Work quickly, and protect your hands. The flat “pancake” will be very hot, but you need to shape it immediately. (If you wait until it’s cool enough to handle, the cone will crack and break.) I recommend a pair of cotton gloves with rubber gloves over top, as you’d wear for handling hot sugar. You can also shield your hands with a clean tea towel.
Batter consistency is key. Whisk the batter before making each cone. Add an extra splash of milk if it starts to feel too thick.
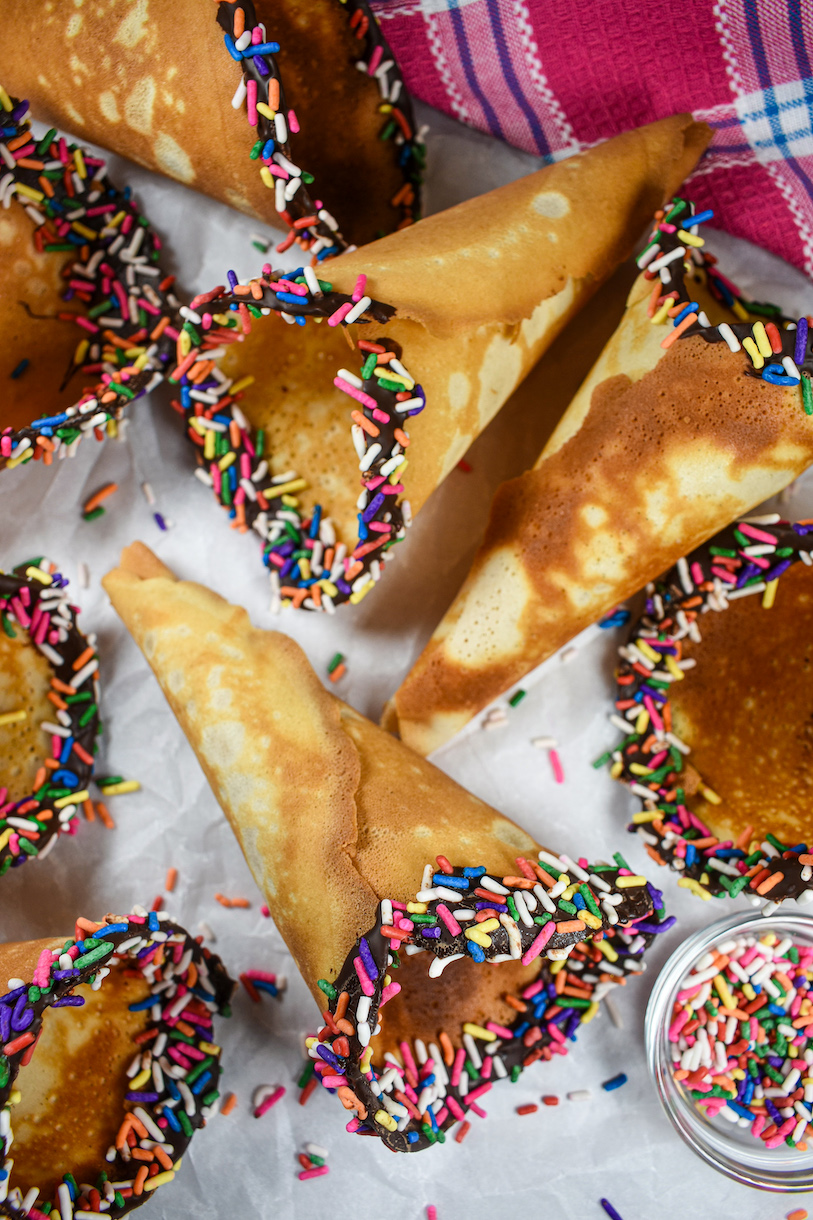
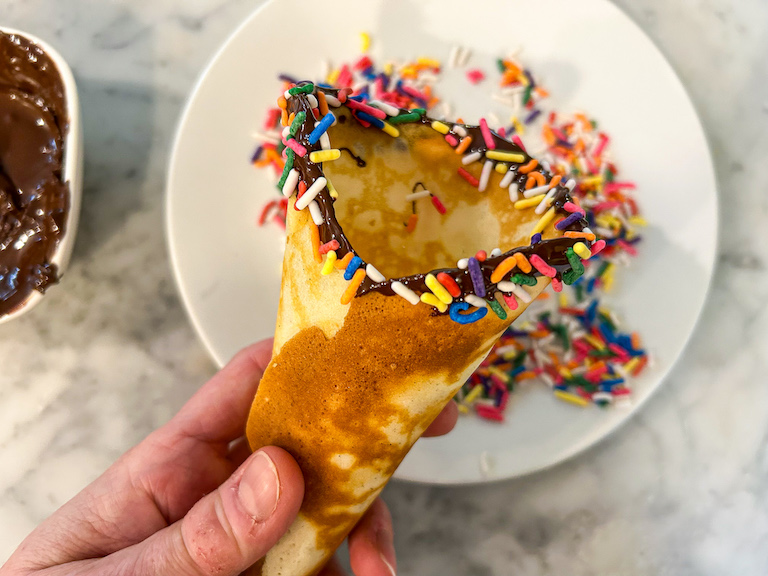
Ideas for Decorating Homemade Ice Cream Cones
I decorated my cones with dark chocolate and rainbow sprinkles, but feel free to be as creative as you’d like. You can use different kinds of chocolate (such as milk, white, or even ruby chocolate), or add a few drops of oil based food coloring to tint white chocolate into fun colors, like pink and purple for unicorn ice cream cones, or orange for Halloween.
Instead of rainbow sprinkles, try rainbow nonpareils, chocolate sprinkles or fancy sprinkles themed to your favorite holiday or celebration. (Edible glitter also makes a sparkly finishing touch!) Other topping ideas include salted peanuts, shredded coconut, crushed pretzels or crushed Oreos, cereal marshmallows, flaky sea salt, colored sugar, mini M&Ms, or even crushed candy canes at Christmastime.
Make-Ahead and Storage Suggestions
You can store leftover homemade ice cream cones in an airtight container at room temperature for up to 3 days.
My favorite ice cream recipes for serving with homemade ice cream cones:
Cookies and Cream Ice Cream
Vanilla Ice Cream
S’mores ice Cream
Peanut Butter Ice Cream with Reese’s
Mango Ice Cream
Maple Walnut Ice Cream
Birthday Cake Ice Cream
And if you do make these, or any of my recipes, don’t forget to tag me @bastecutfold or use the hashtag #bastecutfold on Instagram. I always love to see what you’re making!
Print
Homemade Ice Cream Cone Recipe
- Total TimeAbout 1 1/2 hours
- Yield6-8 7-inch cones 1x
An easy homemade ice cream cone recipe made with simple ingredients and a standard kitchen skillet.
Ingredients
Batter:
60 grams egg whites (whites of about 2 large eggs)
100 grams granulated sugar (1/2 cup)
120 milliliters whole milk (1/2 cup), plus more to adjust consistency
1/2 teaspoon vanilla bean paste
1/8 teaspoon fine sea salt
96 grams all purpose flour (3/4 cup)
45 grams unsalted butter (3 tablespoons), melted and cooled
Decoration:
60 grams milk, dark, or semisweet chocolate (2 ounces; 1/3 cup)
Rainbow sprinkles, rainbow nonpareils, chocolate sprinkles, or other toppings as desired
Instructions
Create a cone template* out of lightweight cardboard or cardstock, or shape a cone from aluminum foil. Template should measure approximately 5-6 inches tall and about 2-2 1/2 inches wide. Set aside.
Cover countertop with a large silicone baking mat.
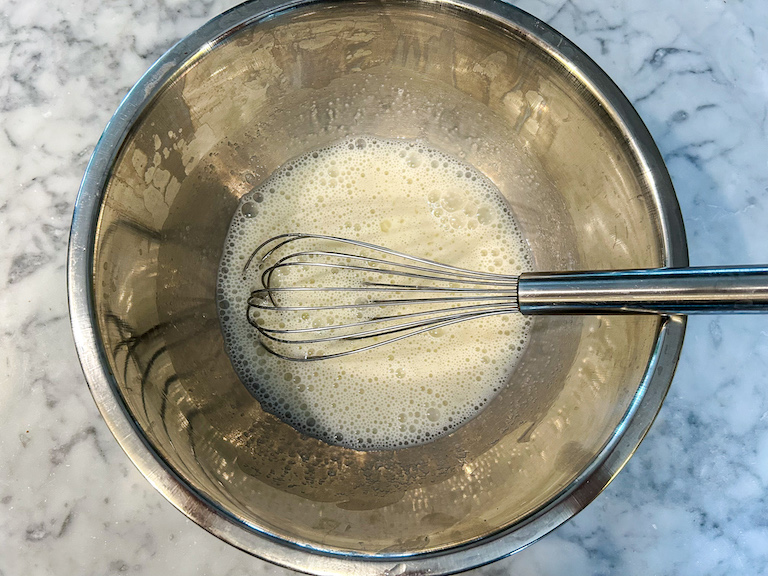
In a medium bowl, whisk together egg whites, granulated sugar, whole milk, vanilla bean paste, and fine sea salt until white and frothy.
Add the all purpose flour and whisk until smooth and pastelike, with no dry spots or lumps remaining.
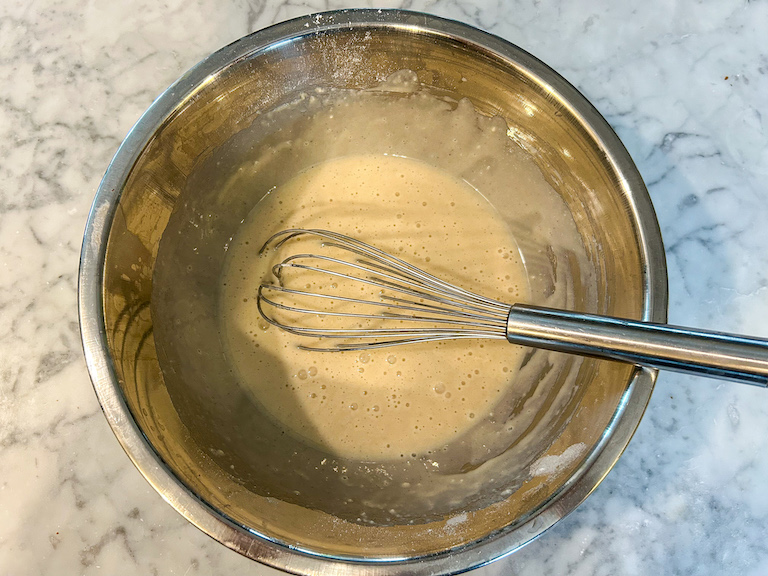
Drizzle in the melted butter and whisk until smooth. If necessary, add a bit more milk to adjust consistency. Batter should be thin enough to flow easily from the spoon or whisk.
Heat a 9- or 10-inch nonstick frying pan or skillet over medium-low heat. Add 3-4 tablespoons of batter, then use the pan’s handle to quickly “swirl” the batter into a disc, about 7-8 inches in diameter. (Avoid making the edges too thin, or they will burn.)
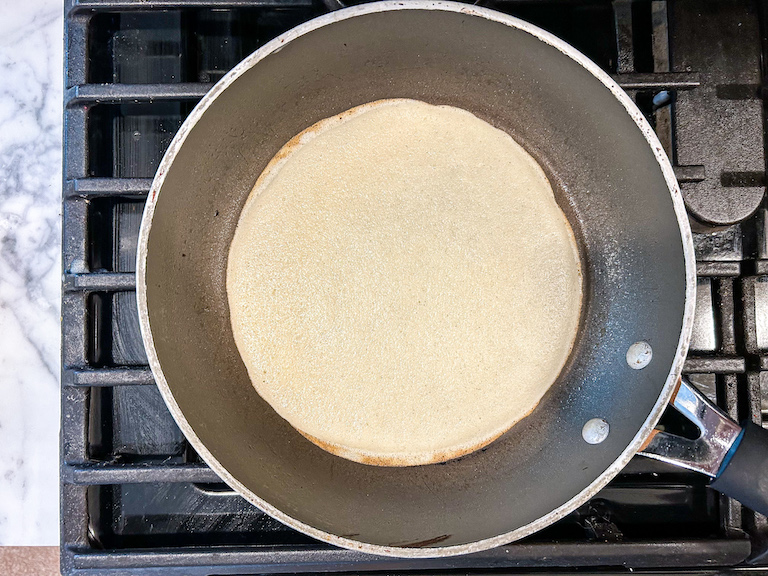
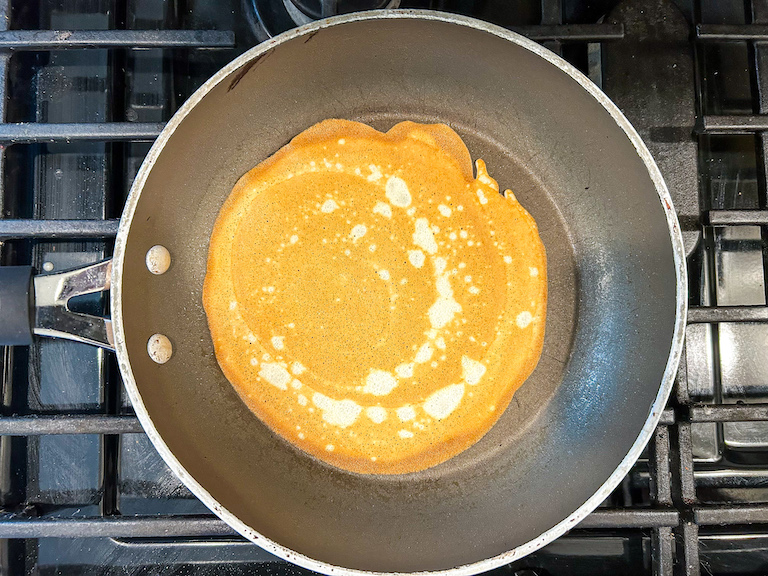
Cook for 3-4 minutes, or until underside turns golden brown and tiny bubbles form on the top. With a flat spatula, flip and cook until the other side is equally golden, about 1-2 minutes more. The disc will shrink slightly as it cooks.
With a flat spatula, lift disc from the griddle and transfer to prepared silicone mat. Working quickly, use your hands to shape the disc around the cone template. (Note: See post above for detailed, step-by-step instructions on shaping homemade cones.)
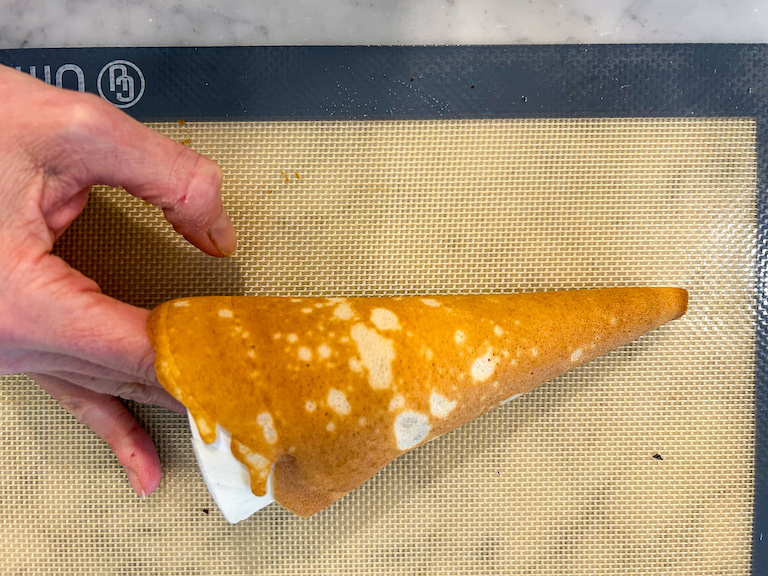
Pinch end to seal. Hold until set, about 15-30 seconds, then remove the template.
Place on a wire rack to cool. Repeat with remaining batter.

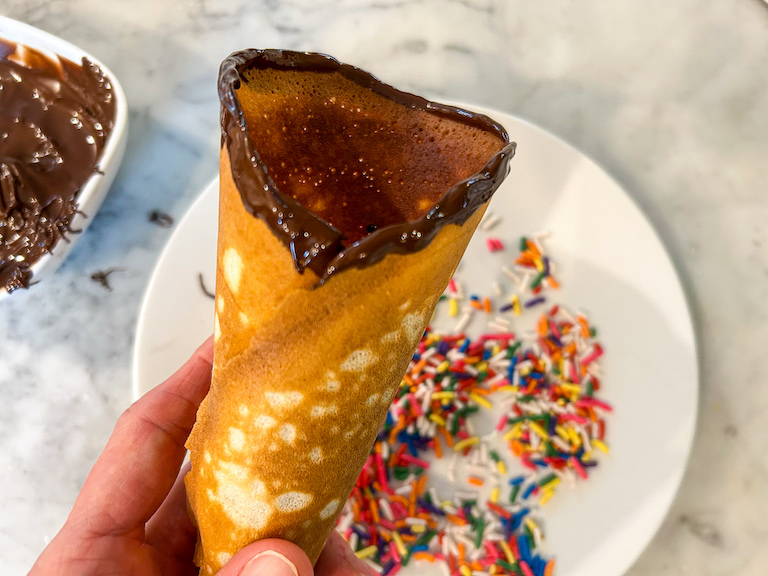
Decoration:
Place the chocolate in a microwave-safe bowl. Melt in 30-second increments, stirring occasionally, until completely melted.
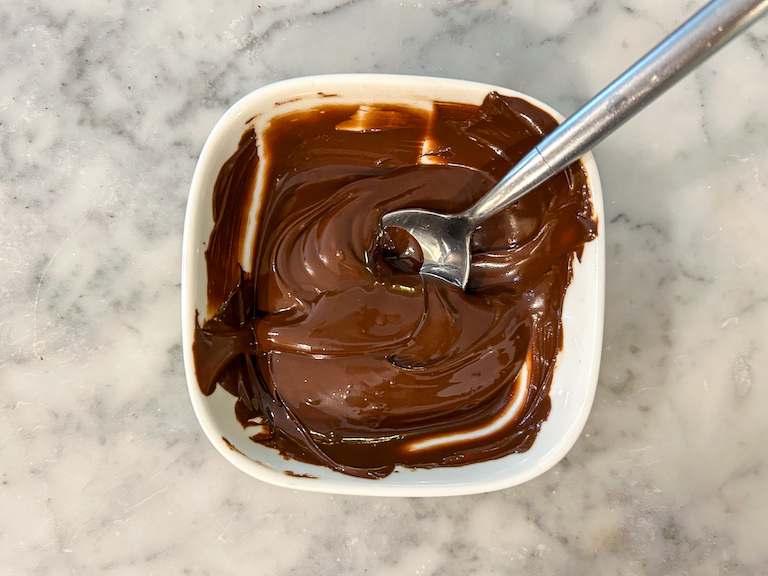
Dip the top edge of each cone in the melted chocolate. Dip or sprinkle with rainbow sprinkles.

Use immediately. Store leftover ice cream cones in an airtight container at room temperature for up to 3 days.


Notes
*See post above to learn more about making the cone template.
- Category: Miscellaneous
- Method: Stovetop