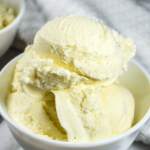
Homemade Vanilla Ice Cream
This post may contain affiliate links. Please read the disclosure policy to learn more.
Thank you for supporting this blog!
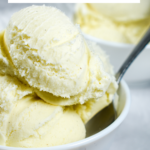
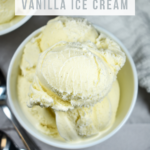
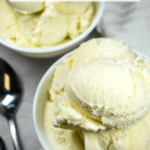
A homemade vanilla ice cream recipe made with milk and cream, and flavored with real vanilla. Churned in an ice cream maker, this easy eggless recipe offers an alternative to egg-based homemade ice creams.

Why Make Homemade Vanilla Ice Cream?
My homemade vanilla ice cream only requires six ingredients, plus an optional splash of alcohol to achieve the ideal consistency. No eggs necessary, and no time spent cooking or tempering the base—just whisk everything together, then chill, churn, and freeze!
Pair a scoop or two of homemade vanilla ice cream with everything from cherry compotes to homemade caramel sauce. Serve over a slice of warm strawberry galette or a Nutella brownie, or enjoy a bowl or cone in its purest form. Made with two kinds of vanilla, this classic ice cream tastes perfectly vanilla-y, all by itself.

Vanilla Ice Cream Recipe Ingredients
To make homemade vanilla ice cream, you’ll need the following ingredients:
- Whipping Cream – Or heavy cream, in the US. Look for a milk fat percentage around 35-36%.
- Whole Milk – For maximum creaminess, use whole milk for the ice cream base, rather than skimmed. I have not tested this recipe with plant-based or alternative milks.
- Granulated Sugar – Granulated sugar sweetens the ice cream base.

- Vanilla – I’ve used a combination of vanilla bean paste and good-quality vanilla extract. (In lieu of vanilla bean paste, you can use the scrapings of 2 vanilla pods.) Vanilla is the key flavor here, so avoid cheap imitation flavorings. For top-quality vanilla products, I recommend the Nielsen-Massey brand. And once you’ve stocked up on vanilla, you can use it to make your own homemade vanilla pudding, too!

- Fine Sea Salt – Fine sea salt balances out the sweetness of granulated sugar.
- Alcohol – A small amount of flavorless alcohol, like rum or vodka, helps to prevent the formation of ice crystals, creating a smooth, easily scoopable ice cream. You can also use vanilla-flavored vodka. See my notes on alcohol, below.
Why Add Alcohol to Homemade Ice Cream?
Store-bought ice creams contain stabilizers and emulsifiers to inhibit freezing. In this recipe, alcohol (I usually use vodka, but rum also works) serves a similar purpose, preventing rock-solid ice cream to make scooping easier. Avoid strong-tasting alcohols, unless you want to influence the flavor of the ice cream. Vanilla vodka or bourbon would work nicely in this recipe, especially if paired with Nielsen-Massey’s Madagascar Bourbon Pure Vanilla Extract.
If you do not consume alcohol, you can omit it. However, the ice cream will freeze more solidly and may require additional softening time before it’s ready to serve. It might also have a icier, less smooth consistency.

Tools and Equipment for Making Homemade Ice Cream
I’ve designed this vanilla ice cream recipe for churning in an ice cream maker. For an entry-level machine, I recommend the Cuisinart 1.5 quart ice cream maker. I personally own two of these!
For combining the ingredients for the base, you’ll also need a wire whisk. A flexible rubber spatula is also helpful for scraping the chilled base into the ice cream maker. And don’t forget an ice cream scoop for serving!
How to Enjoy Homemade Vanilla Ice Cream
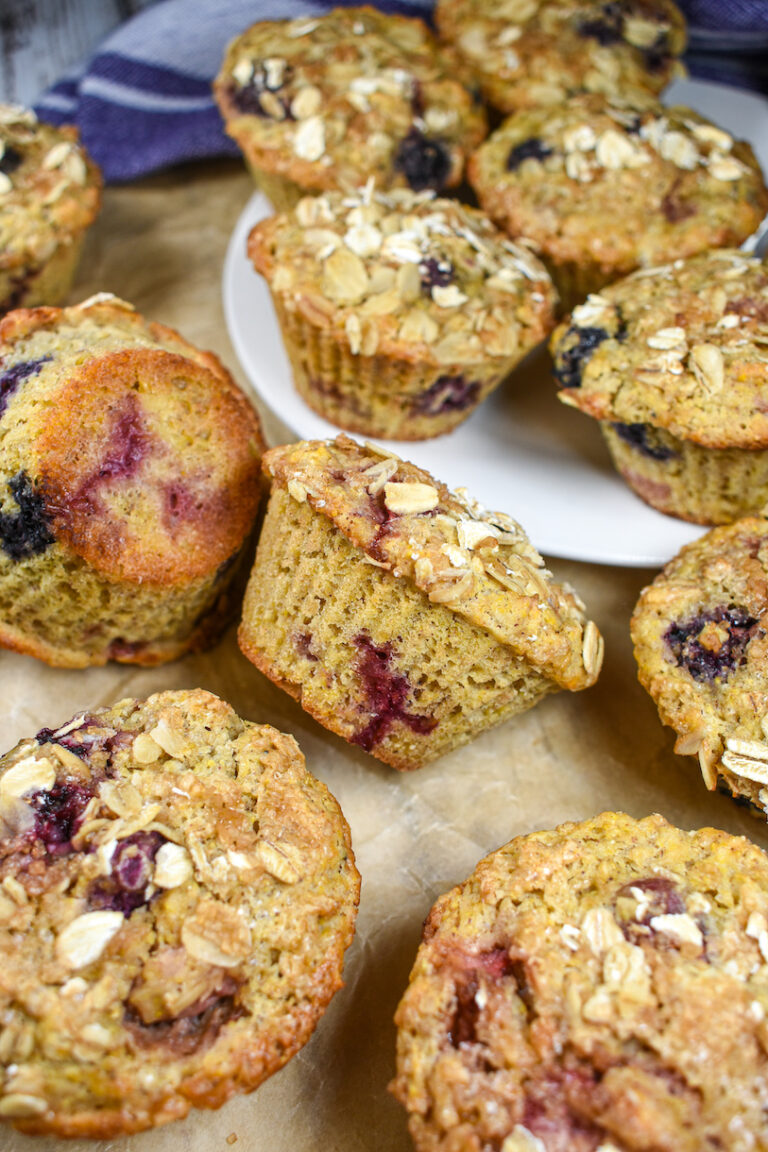
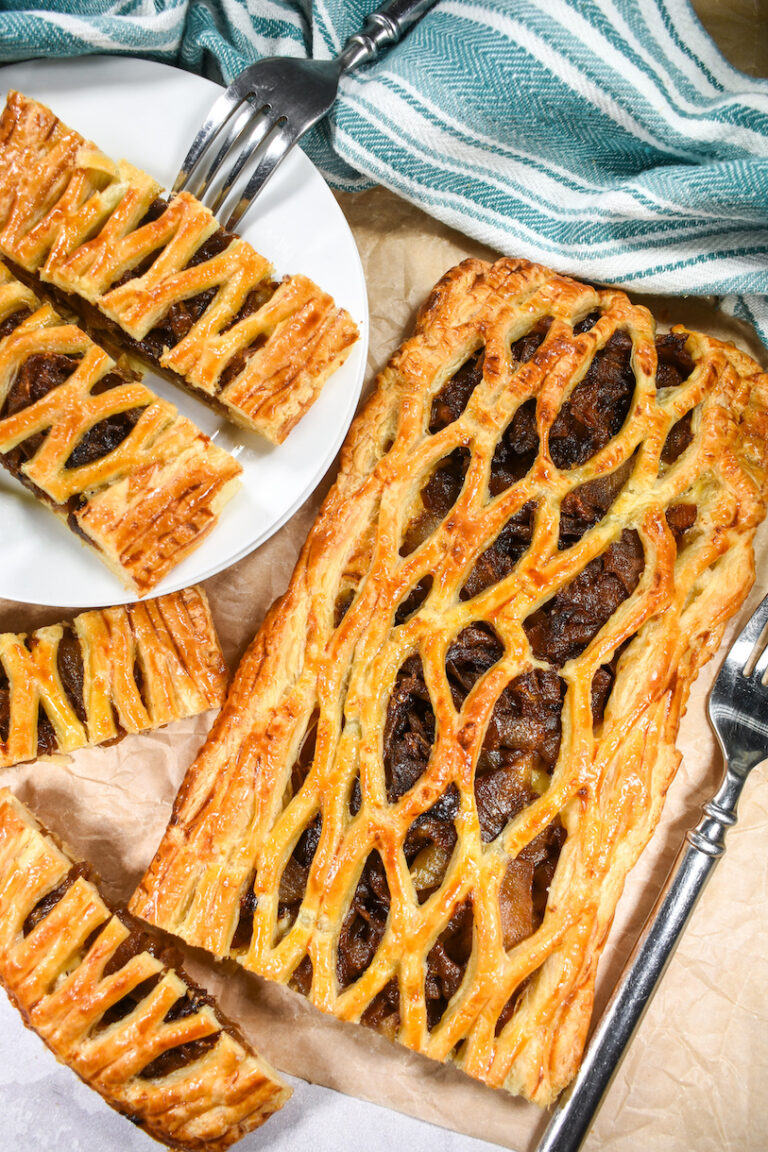
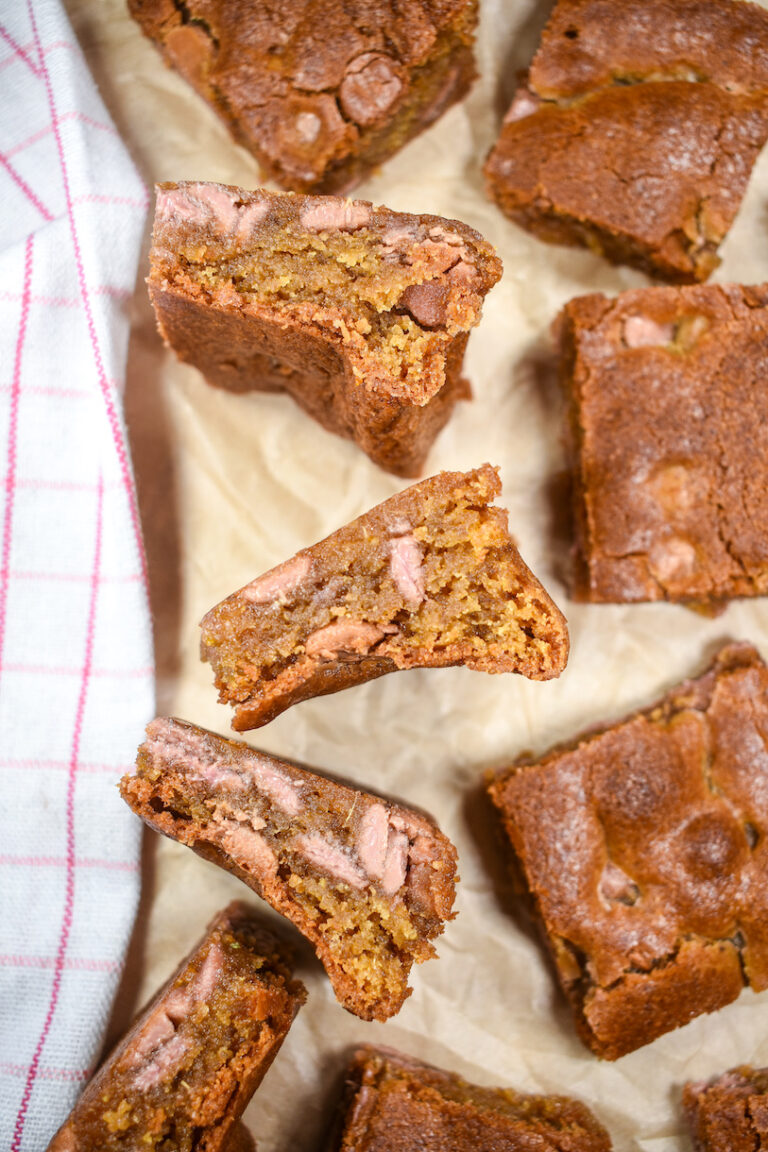
While I love making creative ice cream flavors with lots of add-ins, nothing beats the versatility of vanilla. You can use homemade vanilla bean ice cream to make milkshakes, ice cream sundaes, or a banana split. Serve it with a drizzle of homemade caramel sauce or warm blueberry or cherry compote. Scoop it over brownies and pair with homemade hot fudge sauce for a brownie sundae, or sandwich between cookies for an impromptu ice cream sandwich. I also love topping a slice of cake, pie, or apple galette with this vanilla ice cream to create a rustic summer dessert.
You can also keep things super simple and enjoy a scoop of homemade vanilla ice cream in its purest form: in a bowl or ice cream cone (even better if it’s a homemade ice cream cone!), all by itself.

Make-Ahead and Storage Suggestions
Store homemade vanilla ice cream in the freezer for up to 1 month. Prior to serving, allow ice cream to sit at room temperature for 10-15 minutes, or until just soft enough to scoop.
I often use pint or quart-size plastic food storage containers to store my homemade ice cream. You can also scoop it into reusable ice cream containers, or disposable cardboard pint containers.
Other homemade ice cream recipes you might enjoy:
S’mores Ice Cream Recipe
Oreo Ice Cream Recipe
Coconut Ice Cream Recipe
Chocolate Strawberry Ice Cream Recipe
Mango Ice Cream Recipe
Peanut Butter Ice Cream Recipe with Reese’s
Peppermint Ice Cream Recipe
And if you do make these, or any of my recipes, don’t forget to tag me @bastecutfold or use the hashtag #bastecufold on Instagram. I always love to see what you’re making!
Print
Homemade Vanilla Ice Cream
- Total TimeAbout 16 hours (including chilling/freezing time)
- YieldAbout 950 grams (2 pints) 1x
A homemade vanilla ice cream recipe made with milk and cream, and flavored with real vanilla beans.
Ingredients
420 milliliters whipping cream (1 3/4 cups)
180 milliliters whole milk (3/4 cup)
150 grams granulated sugar (3/4 cup)
2 teaspoons vanilla bean paste, or the scrapings of 2 vanilla pods
1 teaspoon good-quality vanilla extract
1 teaspoon vodka or vanilla vodka (optional, to prevent freezing)
1/4 teaspoon fine sea salt
Instructions
In a large bowl, whisk together cream, milk, and granulated sugar. Whisk until sugar dissolves.

Whisk in vanilla bean paste, vanilla extract, vodka (if using), and fine sea salt.

Cover bowl and refrigerate for at least 12 hours, or overnight.

Whisk chilled base briskly to recombine.

Pour chilled base into ice cream maker, with base frozen according to manufacturer’s instructions. Churn until thick and creamy, about 15-20 minutes. The consistency will resemble soft serve ice cream.

Scoop ice cream into a freezer-safe container. Freeze 2-4 hours prior to serving, or until ice cream reaches scoopable consistency.

Store homemade ice cream in the freezer for up to one month. For a scoopable consistency, allow to stand at room temperature for 10-15 minutes prior to serving.


- Prep Time: 5 minutes
- Chilling Time: 12 hours (base) + 4 hours (freeze)
- Cook Time: 20 minutes (churn)
- Category: Ice Cream and Frozen Desserts
- Method: Ice Cream Maker