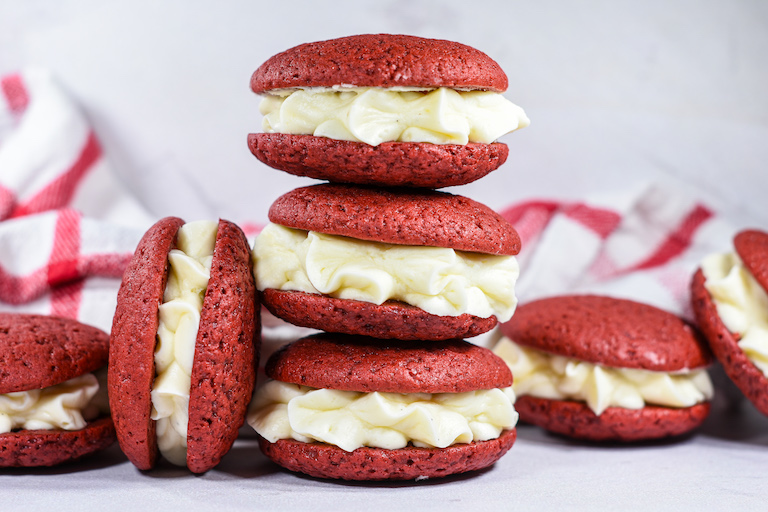
Mini Red Velvet Whoopie Pies
This post may contain affiliate links. Please read the disclosure policy to learn more.
Thank you for supporting this blog!
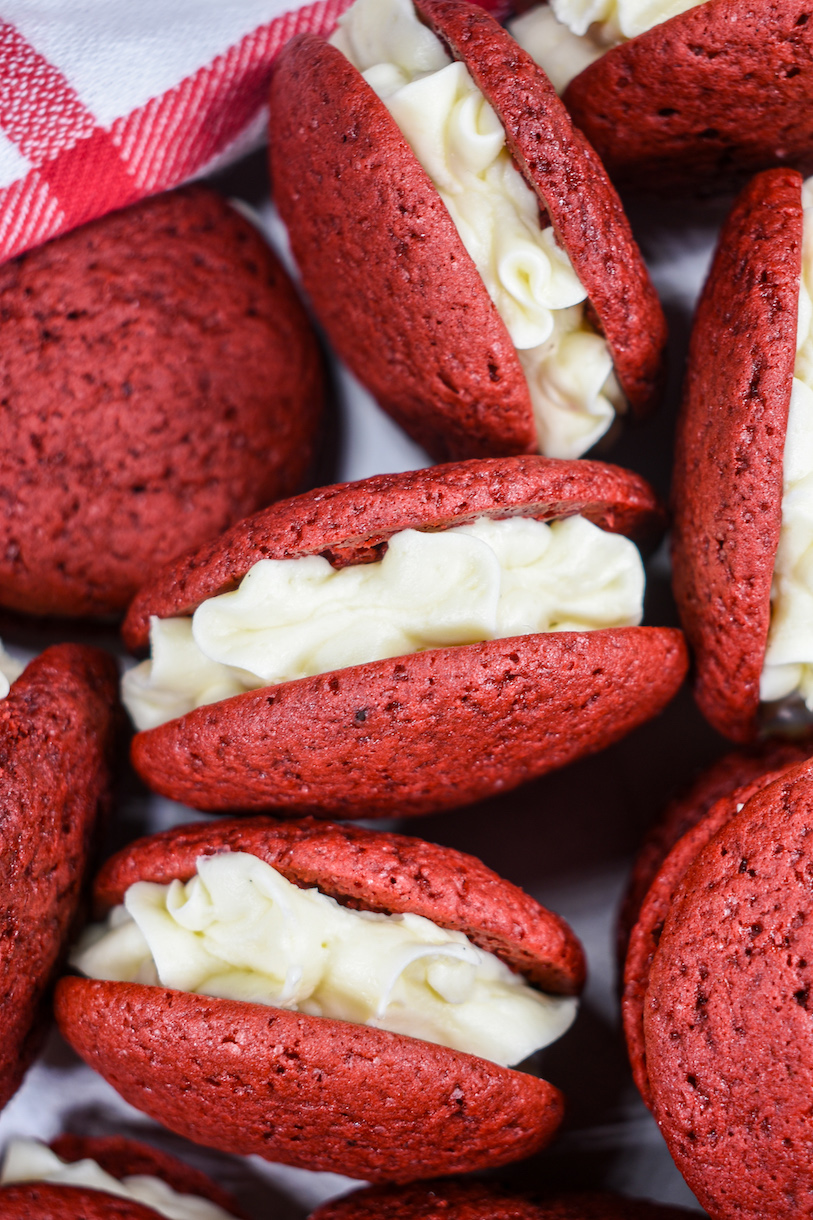
The cutest mini red velvet whoopie pies! Fill with cream cheese buttercream or your favorite frosting or ganache for a sweet Valentine’s Day treat.
What Inspired These Mini Red Velvet Whoopie Pies?
For natives of South Central Pennsylvania, an appreciation for whoopie pies is pretty much mandatory. You’ll find these classic, cream-filled PA Dutch cakes everywhere, from market houses and farmstands to bake sales and county fairs, to the bakery aisle at the local grocery store.
The most traditional whoopie pie pairing features chocolate cakes and vanilla frosting, but these days you’ll find recipes for every season and holiday. There are rainbow whoopie pies for Pride Month; lemon or raspberry mojito pies for summer celebrations; and chocolate-filled pumpkin spice whoopie pies for autumn. But for Valentine’s Day, red velvet reigns supreme.
Last year I shared a recipe for standard-sized red velvet whoopie pies with strawberry buttercream. This year, I’ve adapted that recipe to make miniature cakes. You can fill these little cuties with cream cheese frosting, with buttercream, with chocolate ganache, or with any other frosting you’d like.
Mini Whoopie Pie Ingredients
To make red velvet mini whoopie pies, you’ll need the following ingredients:
- All Purpose Flour – Brands like Gold Medal and Pillsbury are good choices for US bakers; in the UK I recommend McDougall’s plain flour in the red-and-white striped bag.
- Cocoa Powder – Make sure to select unsweetened cocoa powder intended for baking, not the sweetened kind used for making hot cocoa. Do not use Dutch processed.
- Leavening Agents – This recipe includes both baking soda and baking powder to help the cakes rise.
- Kosher Salt – A small amount of kosher salt (or fine sea salt) cuts the sweetness of the sugars. Omit if using salted butter.
- Unsalted Butter – You’ll need softened, unsalted butter to make the cake batter.
- Red Gel Food Coloring – I used Chefmaster‘s Red Red gel food coloring to tint my batter. Super Red or Christmas Red will also work. Avoid water-based food colorings; they aren’t concentrated like gels, and you’ll need to add the better part of a bottle to turn your batter vibrant red, rather than just a few drops of gel.

- Sugars – For sweetness and moisture, you’ll need a mix of light brown sugar and granulated sugar.
- Egg – You’ll need 1 large egg, at room temperature.
- Buttermilk – Acidic buttermilk helps to activate the baking soda and gives the cakes their moist, tender texture and slightly tangy flavor. Buttermilk usually comes in large containers, but save the rest! You can use it to make buttermilk ice cream, black and white cookies, soda bread, or homemade ranch dressing.
- Vanilla Bean Paste – I added a small amount of vanilla bean paste to my cakes; feel free to use vanilla extract instead.
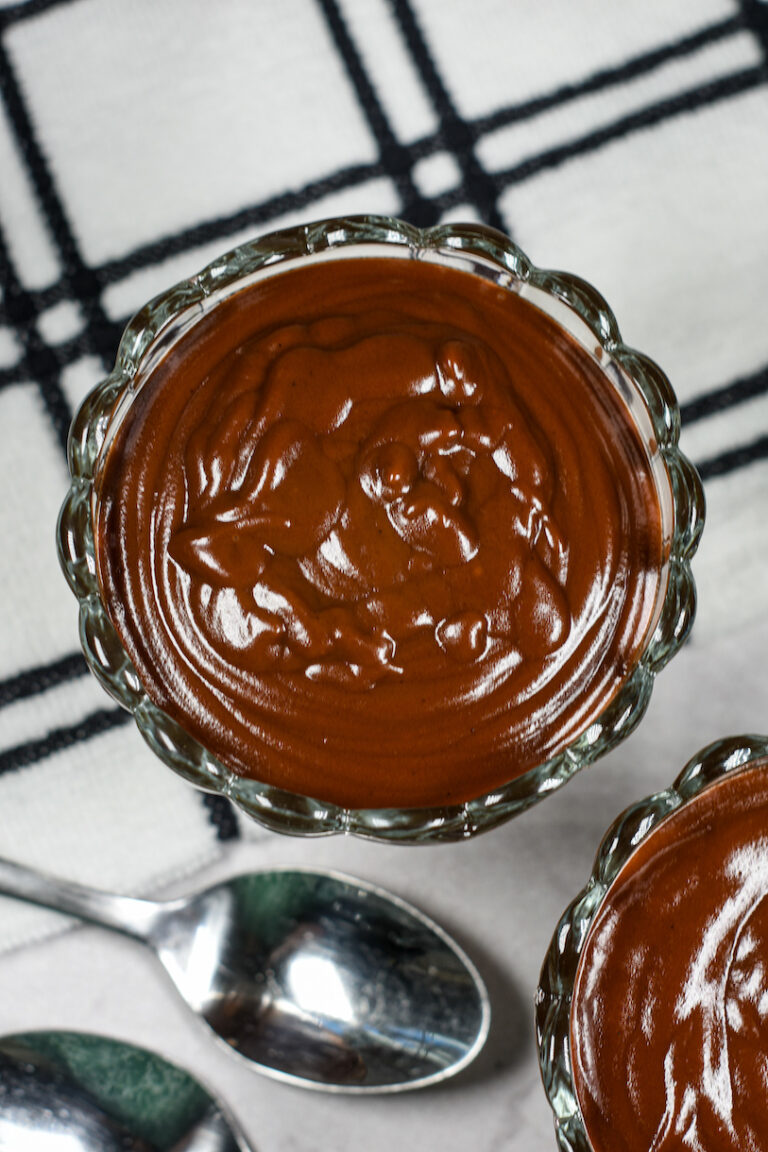
- Frosting or Filling – You’ll need cream cheese frosting, strawberry buttercream, ruby ganache, chocolate buttercream, or another one of your favorite frostings, for piping between the whoopie pie cakes. See my notes below.

Selecting the Filling
You can fill your pies with anything you’d like! Cream cheese is probably the most classic pairing for red velvet cake. For the batch shown here, I made my cream cheese frosting recipe (made with soft cheese, or spreadable cream cheese) but you can also use a traditional, homemade or store-bought cream cheese frosting.
Ruby chocolate ganache or strawberry buttercream would be fun for Valentine’s-themed treats. Chocolate buttercream, rainbow buttercream, or just a basic vanilla bean buttercream (or store-bought vanilla frosting) would also taste great.
Tips and Tricks for Making Red Velvet Mini Whoopie Pies
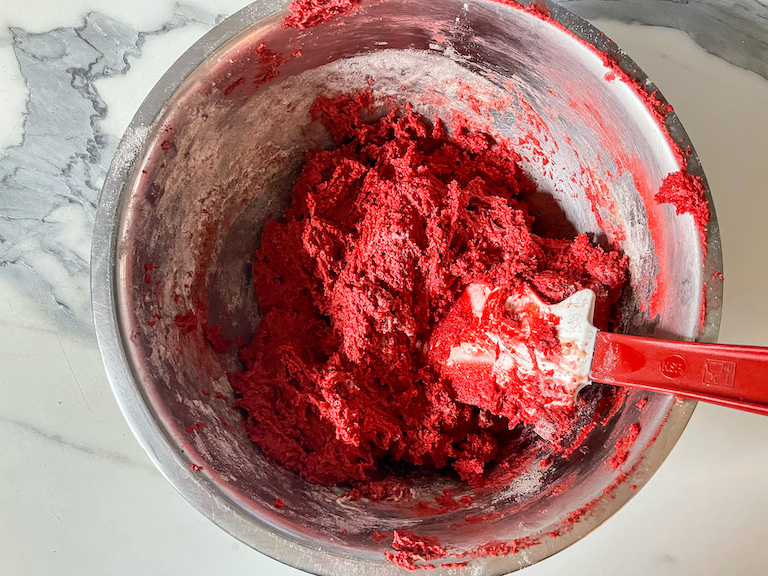
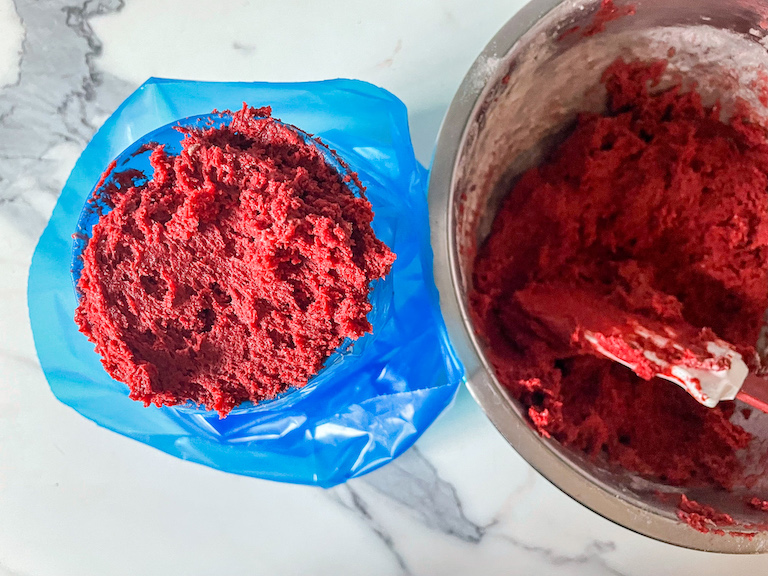
The red velvet batter will feel thick and difficult to pipe. Do not add more buttermilk. If the batter is too fluid, your pies will spread too much and will turn out thick and flat instead of thin and fluffy. I found it easiest to divide the batter into two portions, and refill the piping bag halfway. (This gave me some space at the top to manipulate the bag as I piped.) I also found that allowing the batter to rest in the piping bag for a few minutes produced smoother cakes with less cracks or lines on the tops.

After piping, I like to use my fingertips and gently pat down the top of each piped cake before baking, to create smooth tops.
I tested a version of this recipe where I added sprinkles on top of the unbaked cakes, and I don’t recommend it! The results weren’t very visually appealing, and sugar in the sprinkles caused the cakes to over-spread.
Recommended Tools
You don’t lots of fancy tools to make whoopie pies, but I recommend having the following available: A half sheet rimmed baking tray (and parchment or a silicone mat for lining—don’t pipe directly on an unlined tray); a wire whisk for combining the dry ingredients; a hand mixer or stand mixer to prepare the batter; and a disposable piping bag for piping the filling, and another disposable piping bag (or a small stepped palette knife) for spreading the frosting.

Make-Ahead and Storage Suggestions
Red velvet whoopie pies taste best on the day they are made, but will keep at room temperature for up to 1 day, or in an airtight container in the refrigerator for up to 3 days. I suggest layering the pies between sheets of parchment or wax paper to prevent them from sticking together.
Other whoopie pie recipes you might enjoy:
Rainbow Whoopie Pies
Lemon Buttercream Whoopie Pies
Raspberry Mojito Whoopie Pies
Pumpkin Chocolate Whoopie Pies
And if you do make these, or any of my recipes, don’t forget to tog me @bastecutfold or use the hashtag #bastecutfold on Instagram. I always love to see what you’re making!


Mini Red Velvet Whoopie Pies
- Total Time1 hour 15 minutes
- Yield18-20 2 1/2-inch round pies 1x
The cutest mini red velvet whoopie pies, ready to fill with cream cheese buttercream or your favorite frosting or ganache.
Ingredients
288 grams all-purpose flour (2 1/4 cups)
15 grams unsweetened cocoa powder (2 tablespoons)
1 teaspoon baking powder
1/2 teaspoon baking soda
1/4 teaspoon kosher salt
113 grams unsalted butter, softened (1/2 cup/1 stick)
105 grams light brown sugar, packed (1/2 cup)
105 grams granulated sugar (1/2 cup)
1 large egg, at room temperature
1/2 teaspoon vanilla bean paste
120 milliliters buttermilk (1/2 cup)
Red gel food coloring
Cream cheese frosting, strawberry buttercream, ruby ganache, or your favorite frosting, for filling the whoopie pies
Instructions
Preheat oven to 350° F / 176° C. Line a half sheet rimmed baking tray with parchment or a silicone baking mat. Set aside.
In a large bowl, whisk together all purpose flour, cocoa powder, baking powder, baking soda, and kosher salt.

In a separate mixing bowl or the bowl of a stand mixer, whip butter on high speed until light and fluffy. Add the sugars, followed by the egg and vanilla bean paste, and continue mixing on medium-high speed until well combined.

Add the red gel food coloring and mix to combine.

With a rubber spatula, fold the dry ingredients into the batter. Add the buttermilk and continue folding until just barely combined.
Set aside and allow batter to rest at room temperature for 10 minutes. Scoop into a piping bag fitted with a 1/2-inch round tip.
Pipe 1-inch rounds onto prepared tray, allowing space for the cakes to spread as they bake.
With your fingertips, gently pat the top of each cake to create a smooth, evenly domed surface.
Bake in preheated oven for 12 minutes, or until cakes are well-risen, set around the edges, and spring back lightly when touched. Cool completely on tray. Repeat with remaining batter.

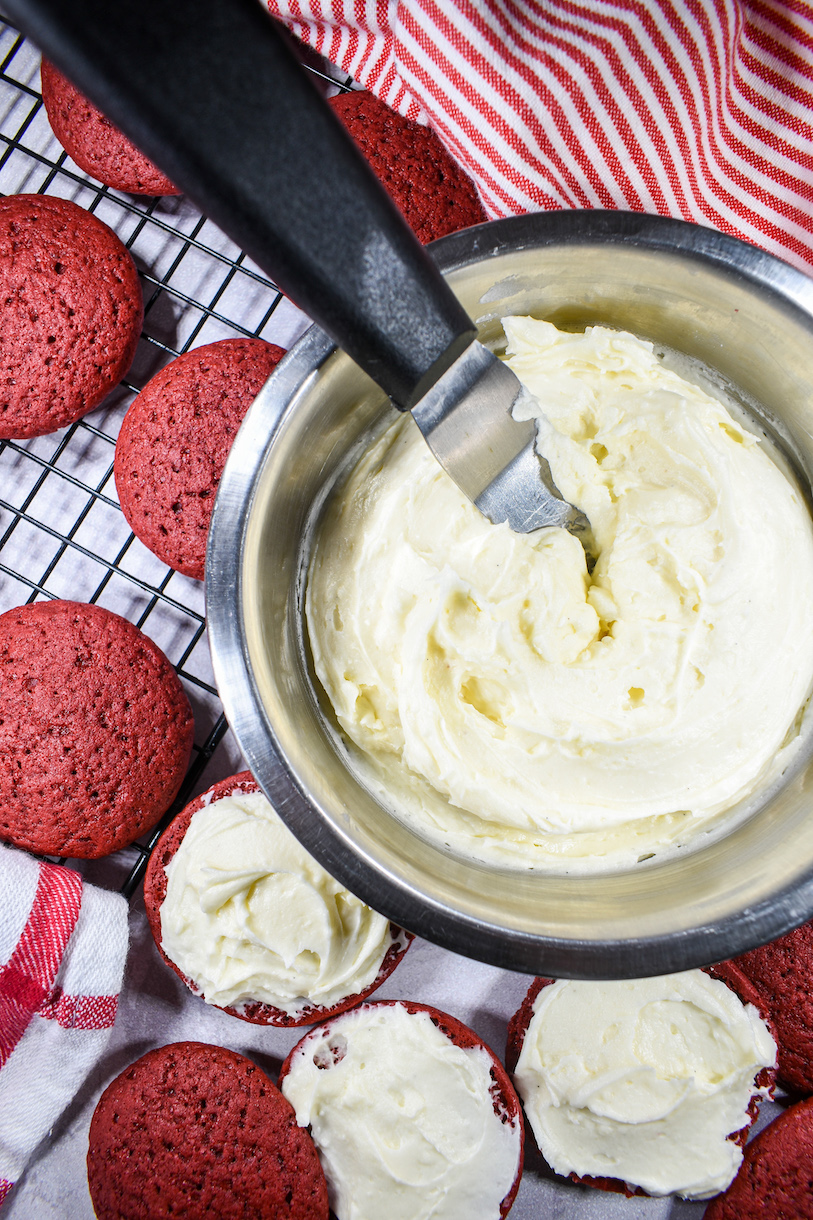
Pair cakes by size. Scoop frosting into a piping bag and pipe a generous dollop of frosting on the flat sides of half of the cakes.

Place a second cake on top of the frosting to create a sandwich.

Store mini red velvet whoopie pies in an airtight container at room temperature for up to 1 day, or in the refrigerator for up to 3 days.


- Prep Time: About 1 hour
- Cook Time: 12 minutes
- Category: Whoopie Pies
- Method: Oven
- Cuisine: Pennsylvania Dutch