This post may contain affiliate links. Please read the disclosure policy to learn more.
Thank you for supporting this blog!
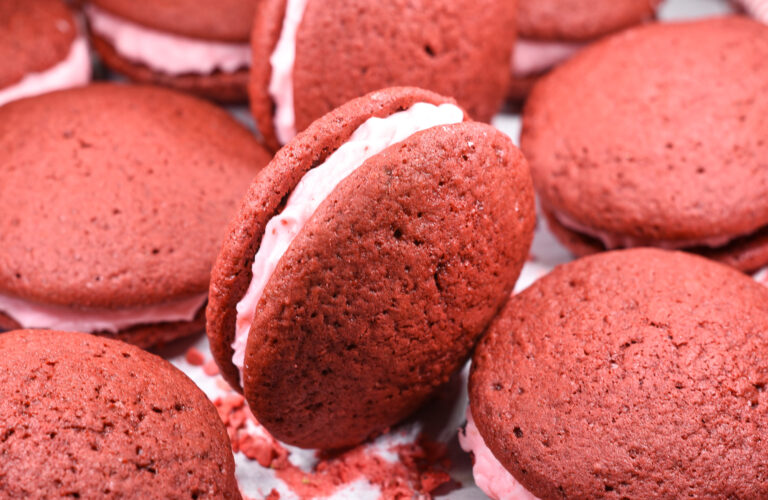
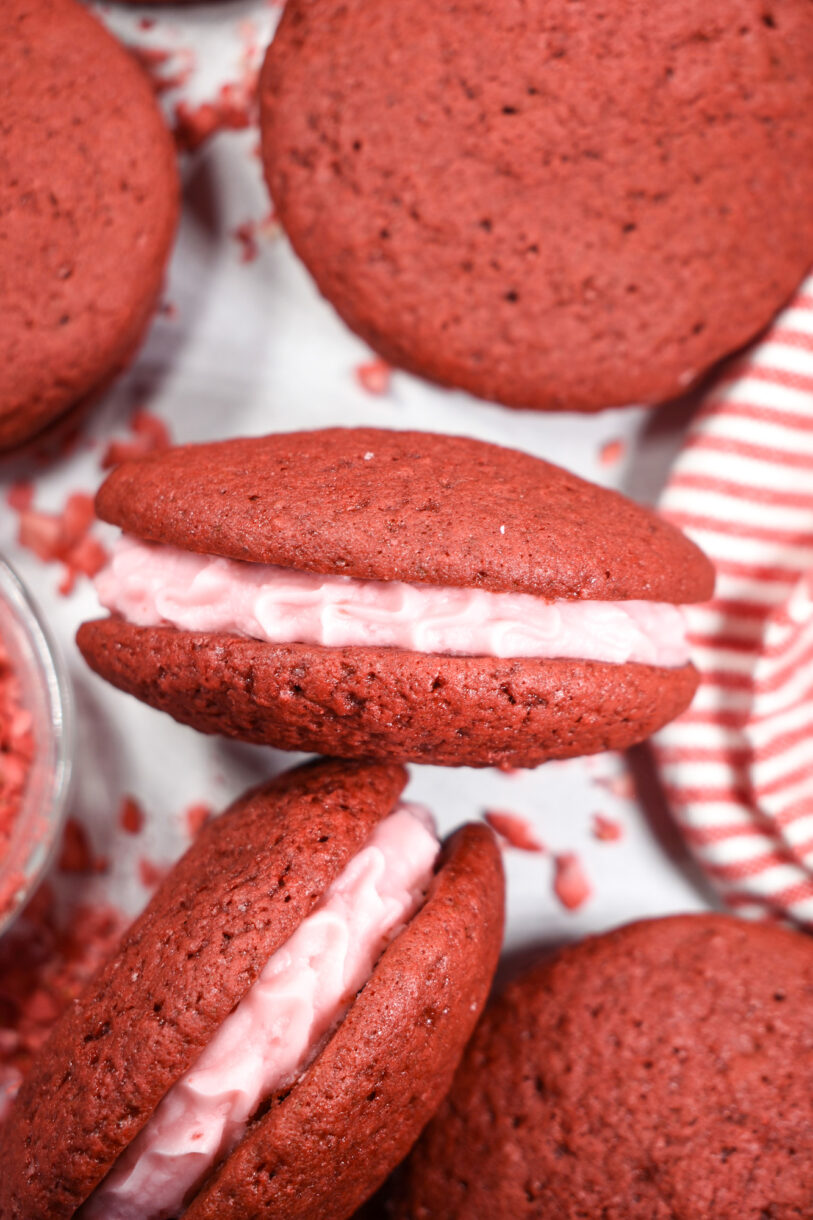
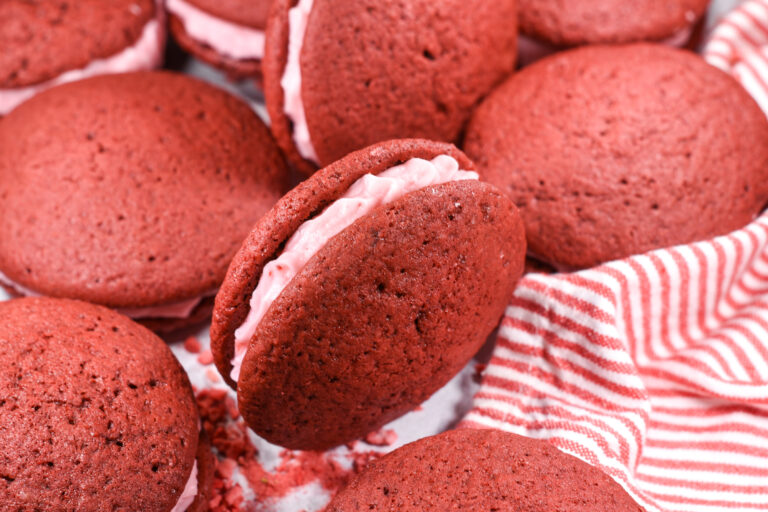
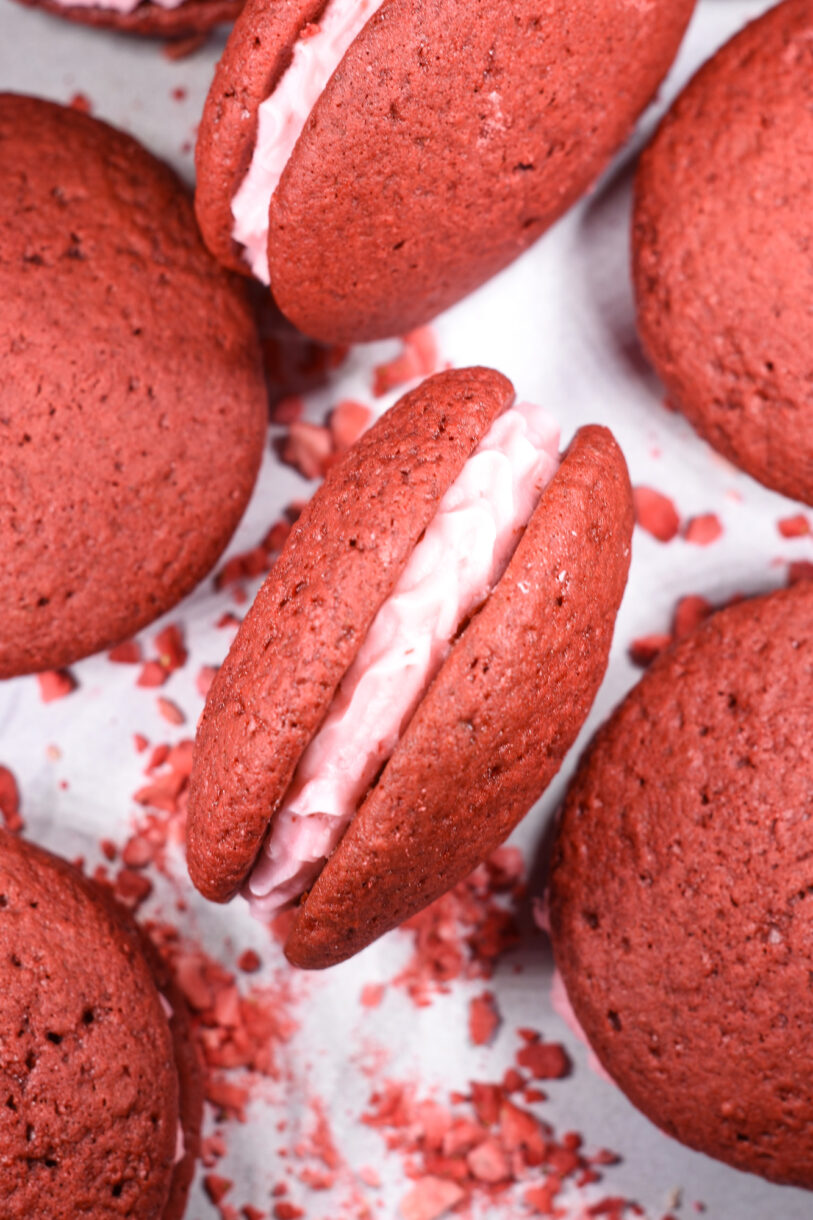
As a Pennsylvanian, these red velvet whoopie pies are in regular rotation in my kitchen, because they’re some of my favorite Pennsylvania Dutch recipes to make. I mean, a hand-held dessert (no fork or plate required!) featuring a pair of soft, moist red velvet cakes and a creamy filling sandwiched in the middle? What could be better?
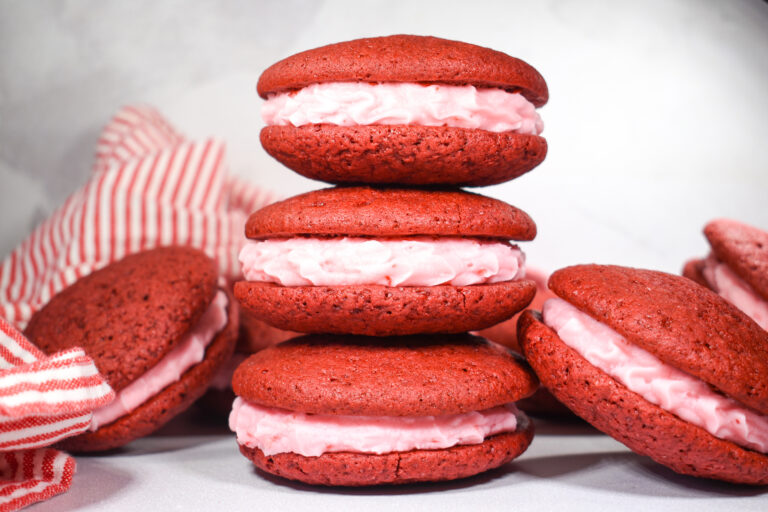
Red Velvet Whoopie Pies for Valentine’s Day
Even though I’m a fan of red velvet (the red velvet cookie from Schmackary’s in NYC is one of my favorites, and Hummingbird Bakery here in London also sells a good red velvet cupcake) I’d never attempted a red velvet whoopie pie. Until now! With Valentine’s Day just around the corner, I thought it would be perfect time to create a whoopie pie recipe highlighting these bright red cakes.
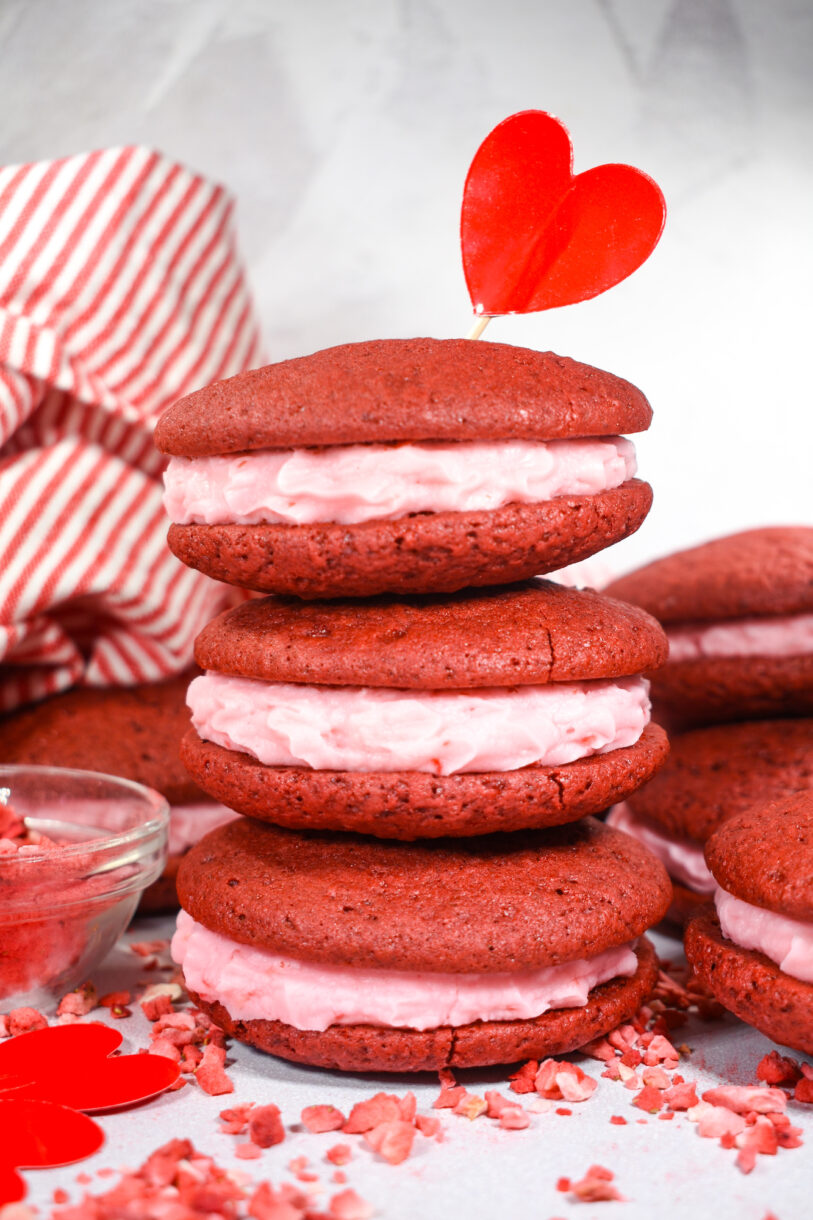
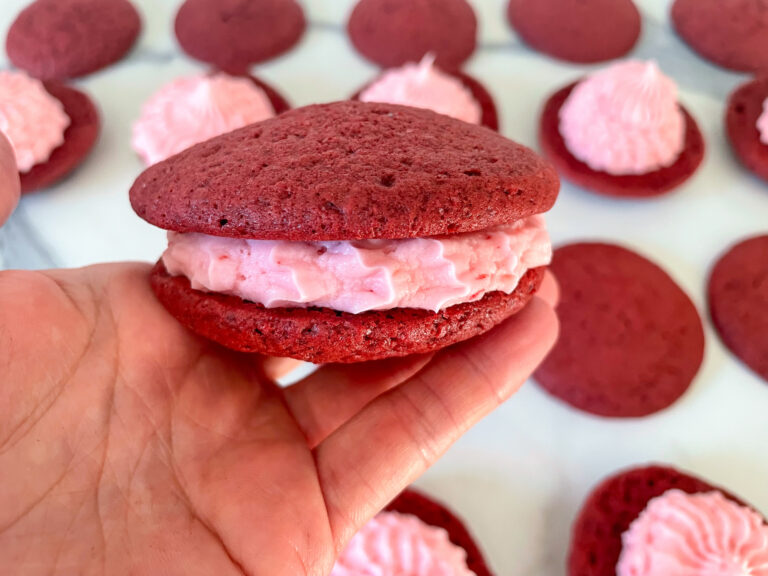
Instead of the traditional cream cheese frosting, my recipe for red velvet whoopie pies features a strawberry buttercream, and a pretty pink and red color palette for Valentine’s Day! The rich, slightly chocolate-y red velvet cake pairs nicely with the strawberry fruit filling, playing up the most classic of Valentine pairings. (If you’re a fan of the chocolate-and-strawberries combo, be sure to give my heart-shaped strawberry peppermint patties a try, too!)
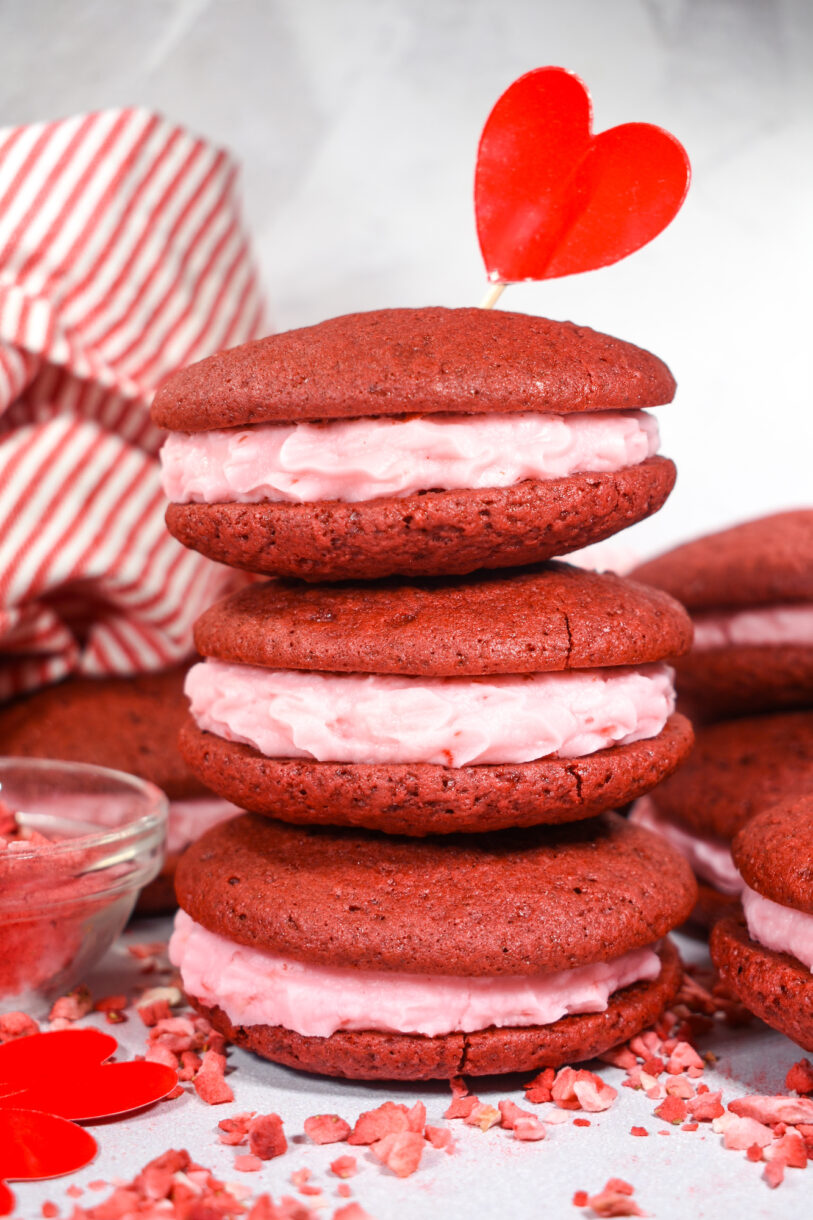
Putting the ‘Red’ in Red Velvet Whoopie Pies
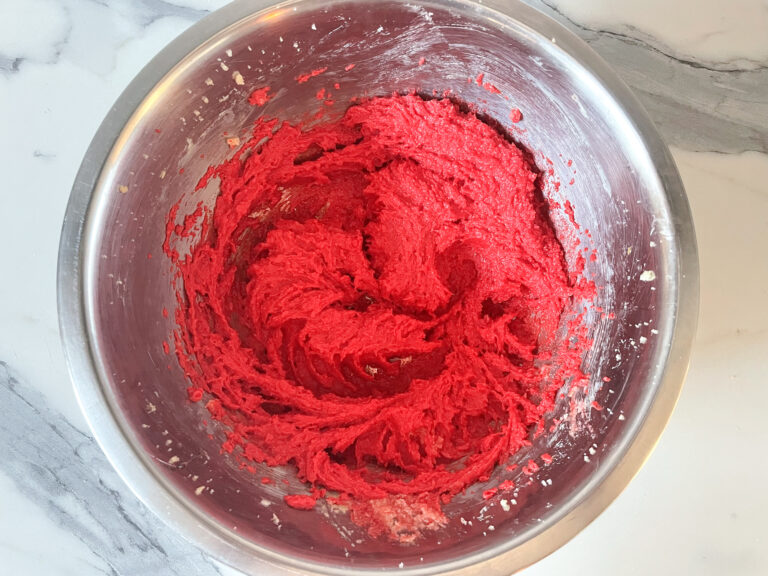
Although some red velvet cake recipes use natural colorants like beets, I suggest sticking with gel food coloring for this particular recipe. (Don’t attempt to use water-based food coloring; you won’t be able to achieve the super-vibrant shade of red.) You do have some flexibility in terms of the product—Chefmaster‘s Red Red and Super Red are both good choices!
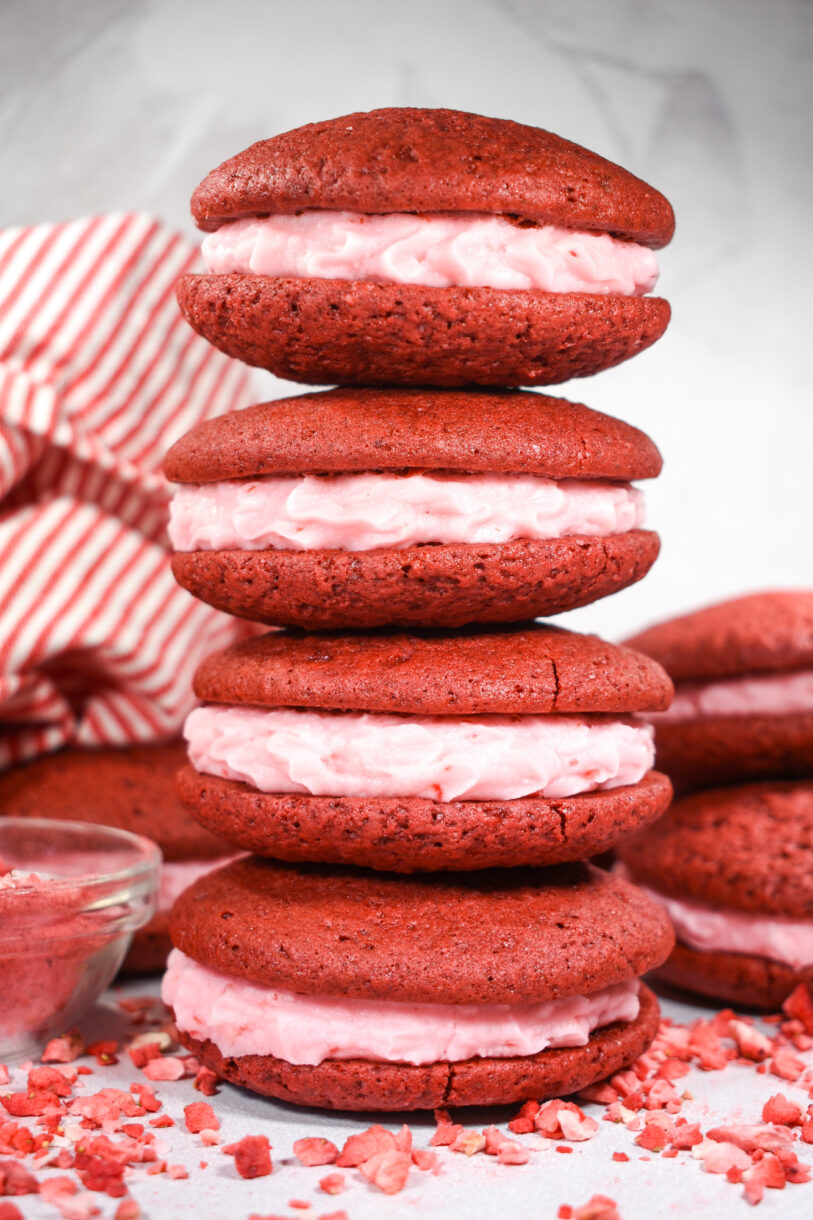
Piping the Whoopie Pies
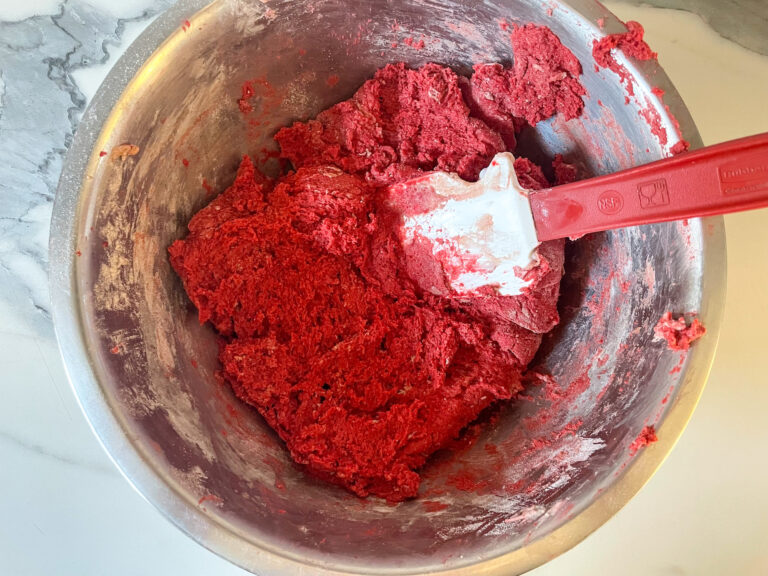
The red velvet whoopie batter will be thick and somewhat difficult to pipe. (I doubled my piping bag to prevent it from bursting at the seams!) Resist the urge to add more buttermilk. If the batter is too fluid, your pies will spread too much. (We’re aiming for fluffy, domed cakes, not thin, flat ones!)
Instead of adding all of the batter to the piping bag at once, I found it easier to divide the batter into two portions, and refill the piping bag halfway. Having some space at the top of the bag makes it much easier to manipulate. And you’ll need to pipe two trays anyway, so no point in making life more difficult than it needs to be!
If you’re feeling particularly creative when making this recipe for red velvet whoopie pies, you could pipe your pies into heart shapes for a next-level Valentine treat. And if you don’t want to mess with piping, you can use a cookie scoop, or simply spoon the batter onto your trays instead.
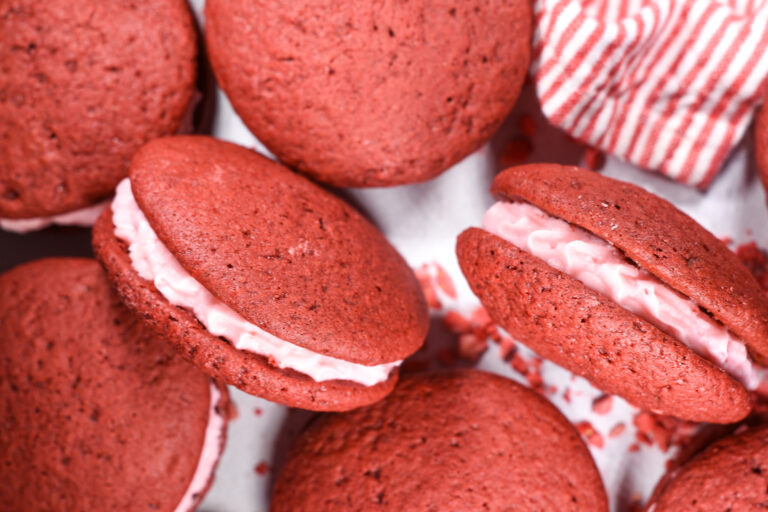
Whoopie Pie Tips & Tricks
This whoopie pie recipe is a little bit time-consuming, but aside from the piping (see my notes above) it’s fairly easy to make. I suggest making the batter on the day you plan to use it, but if desired, you can prepare the buttercream the night before and refrigerate it until ready to use; just allow it to come up to room temperature before transferring to a piping bag.
To make these Valentine-specific, I developed a bright pink strawberry buttercream to sandwich between the red cakes. If you aren’t a fan of strawberry, the same recipe will work with freeze-dried raspberries and raspberry flavoring. You can also omit the freeze-dried fruit and substitute vanilla bean paste or vanilla extract, for a pink-tinted vanilla buttercream.
I tested a version of this recipe with Valentine’s Day sprinkles on top of the cakes. Though tempting, I do not recommend this—in my tests, I found that the sugar in the sprinkles caused the cakes to spread too much. If you want to add sprinkles, roll the edges of the buttercream in sprinkles after assembly.
It’s not mandatory, but in testing, I found that allowing the batter to rest in the piping bag for a few minutes produced smoother cakes with less cracks or lines on the tops.
The red heart toothpicks are from Flying Tiger Copenhagen, but similar options can be purchased from Amazon.
Packaging and Serving Red Velvet Whoopie Pies
Red velvet whoopie pies are best enjoyed on the day they are made, because the cakes are moistest and freshest on day one. However, they will keep for 3-5 days if stored appropriately. I suggest storing your whoopie pies in an airtight container at room temperature, layered between sheets of parchment or wax paper to prevent the cakes from sticking.
In Pennsylvania, whoopie pies are often sold individually at market houses or roadside farm stands. In these scenarios, the pies are often individually wrapped in clingfilm/plastic wrap. This works, too, and will help to keep the cakes most.
Other whoopie pie recipes you might enjoy:
Watermelon Whoopie Pies
Rainbow Whoopie Pies
And if you do make these, or any of my recipes, don’t forget to tag me @bastecutfold or use the hashtag #bastecutfold on Instagram. I always love to see what you’re making!
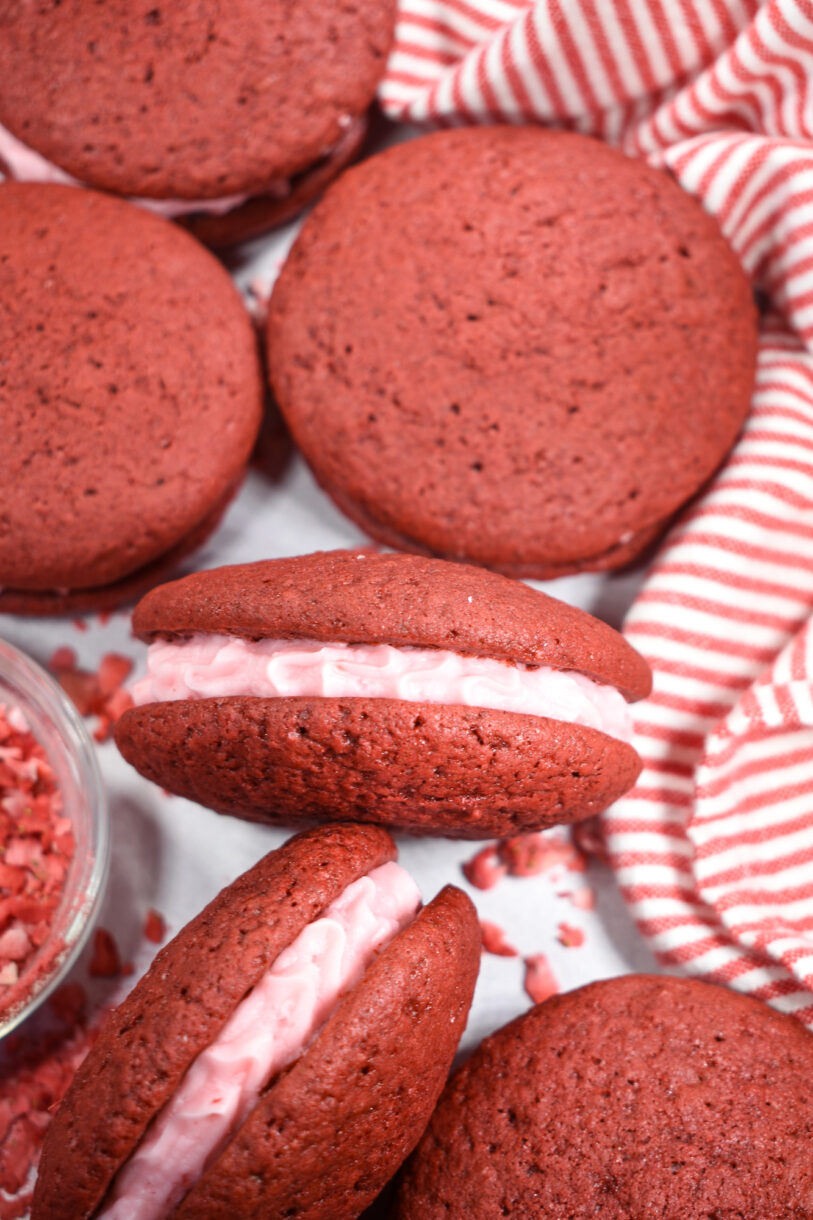

Red Velvet Whoopie Pies with Strawberry Buttercream
- Total Time: 1 hour 12 minutes
- Yield: 10-11 3-inch round whoopie pies 1x
Description
A pair of rich red velvet cakes with sweet strawberry buttercream sandwiched in between, and a pink and red palette. This recipe for red velvet whoopie pies is perfect for Valentine’s Day celebrations!
Ingredients
Red Velvet Cakes:
288 grams all-purpose flour (2 1/4 cups)
14 grams cocoa powder (2 tablespoons)
1 teaspoon baking powder
1/2 teaspoon baking soda
1/4 teaspoon kosher salt
113 grams unsalted butter, softened (1/2 cup / 1 stick)
105 grams light brown sugar, packed (1/2 cup)
85 grams granulated sugar (1/3 cup + 1 tablespoon)
1 egg
125 milliliters buttermilk (1/2 cup)
1/2 teaspoon vanilla bean paste
Red gel food coloring, as needed to achieve vibrant red color
Strawberry Buttercream:
113 grams unsalted butter, softened (1/2 cup / 1 stick)
470 grams confectioner’s sugar (about 3 1/2 cups)
3 tablespoons whole milk, plus more to adjust consistency
Strawberry flavoring
Pink gel food coloring
2 tablespoons crushed freeze-dried strawberries
Instructions
Red Velvet Cakes:
Preheat oven to 350° F / 176° C. Line a half-sheet rimmed tray with parchment, and set aside until ready to use.
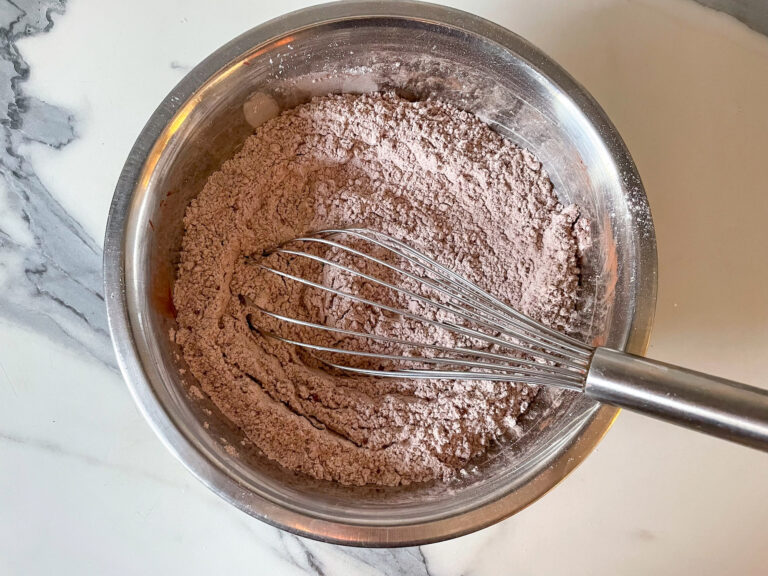
In a large bowl, whisk together flour, cocoa powder, baking powder, baking soda, and salt.
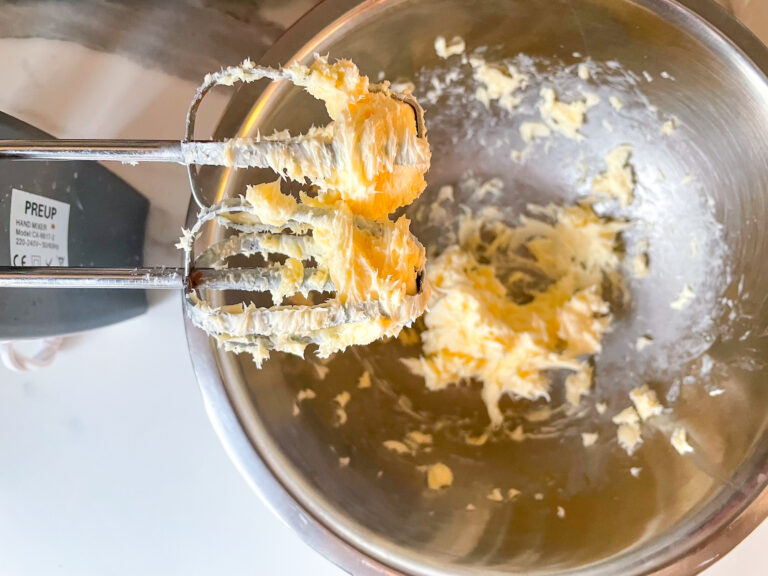
In a separate mixing bowl or the bowl of a stand mixer, whip butter until light and fluffy.
Mix in the sugars, followed the egg and vanilla extract, mixing on high speed until well combined.
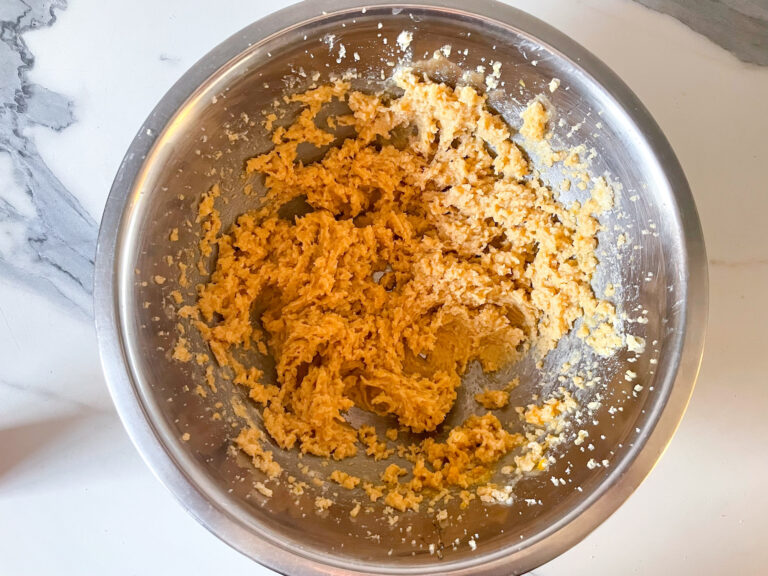
Add the red gel food coloring and mix until fully incorporated.
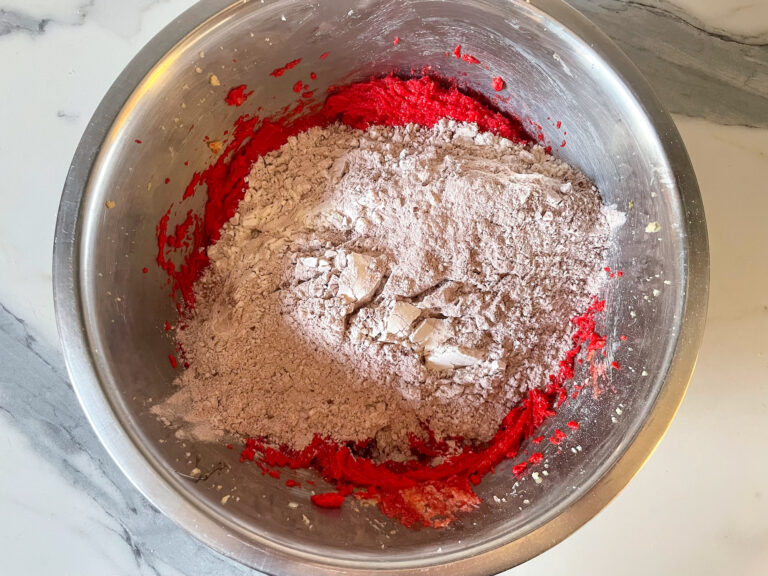
Fold dry ingredients into the batter, followed by buttermilk. Mix until just combined. Batter will seem very thick.
Transfer batter to a piping bag fitted with a 3/4-inch round tip. Pipe 1 1/2-inch rounds onto prepared tray, allowing space for the cakes to spread as they bake. With your fingertips, pat the tops of each cake to create a smooth, evenly domed surface.
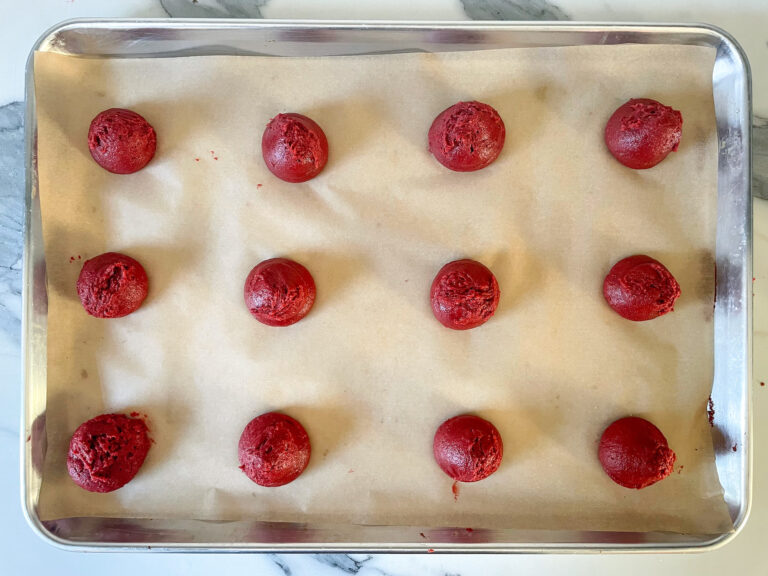
Bake in preheated oven for 12 minutes, or until cakes are nicely risen and set around the edges, and spring back lightly when touched.
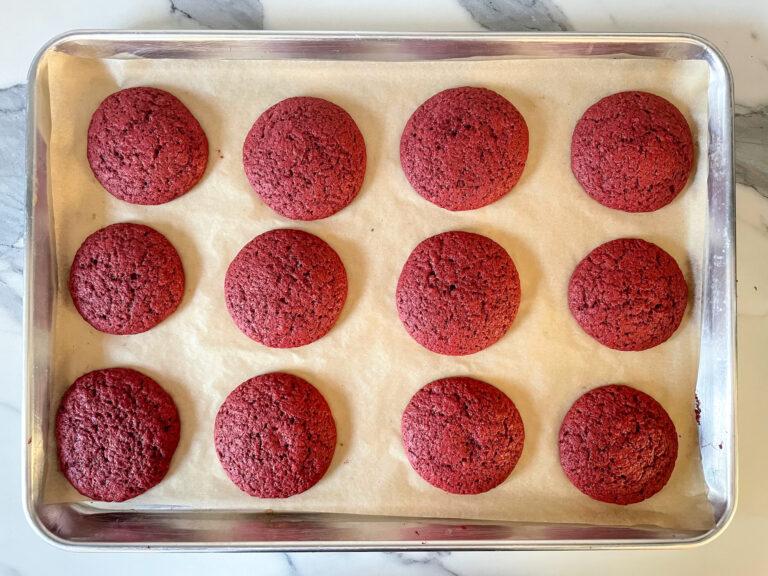
Repeat with remaining batter.
Allow whoopie pies to cool completely on the tray. Meanwhile, prepare the buttercream.
Strawberry Buttercream:
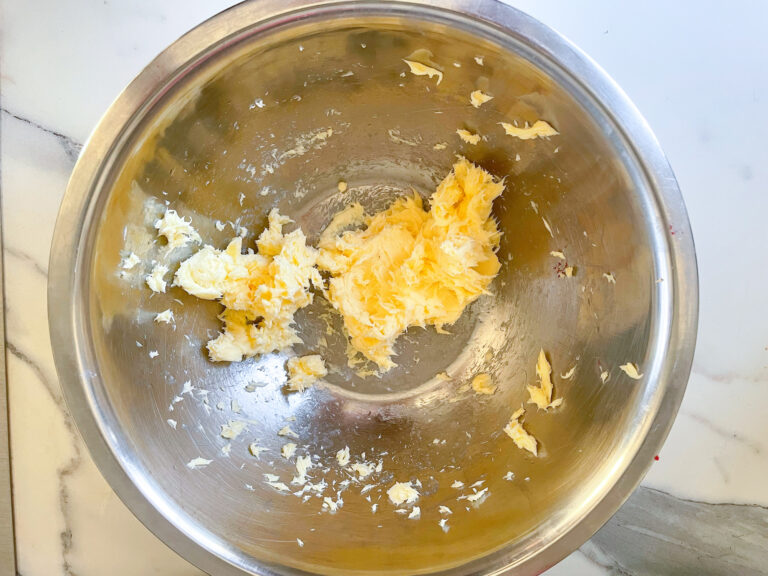
In a large bowl or the bowl of a stand mixer, whip the softened butter until light and fluffy.
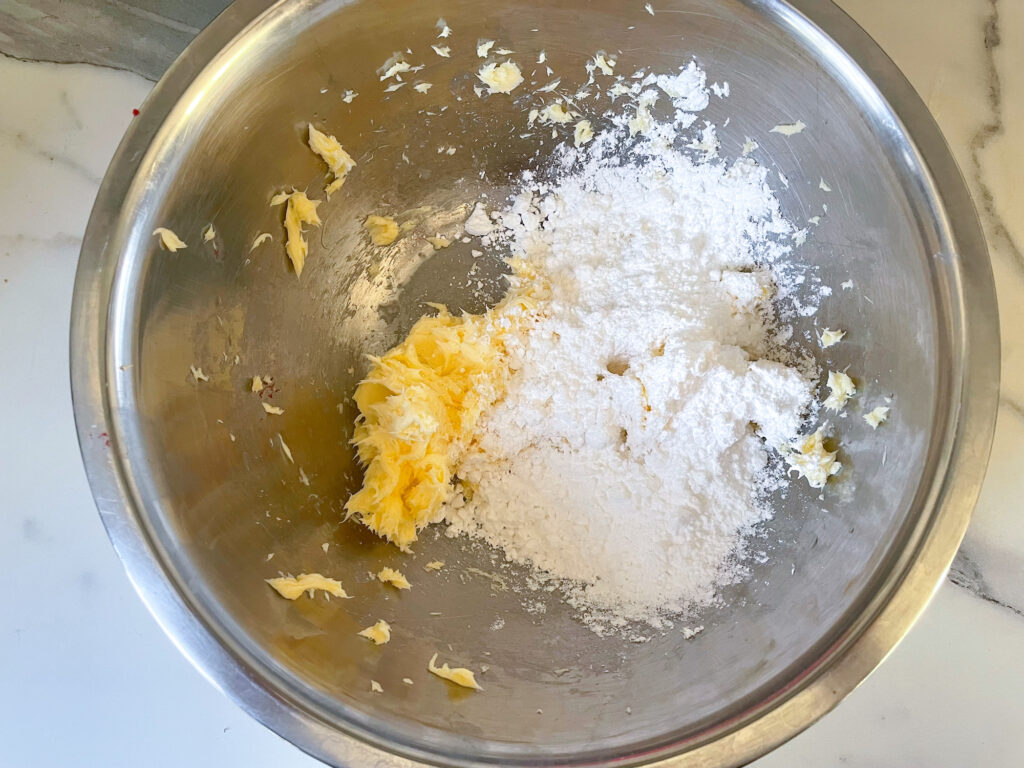
Add the confectioner’s sugar, 1/2 cup at a time, mixing well after each addition.
Mix in the whole milk. If necessary, add a bit more milk or confectioner’s sugar to adjust the consistency. (The buttercream should be thick rather than runny or watery, but still thin enough to pipe with ease.)
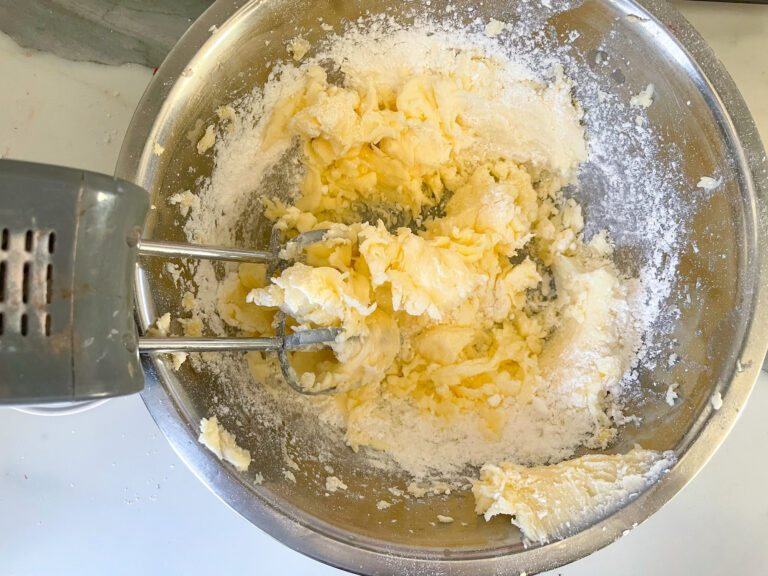
Mix in the strawberry flavoring and pink gel food coloring.
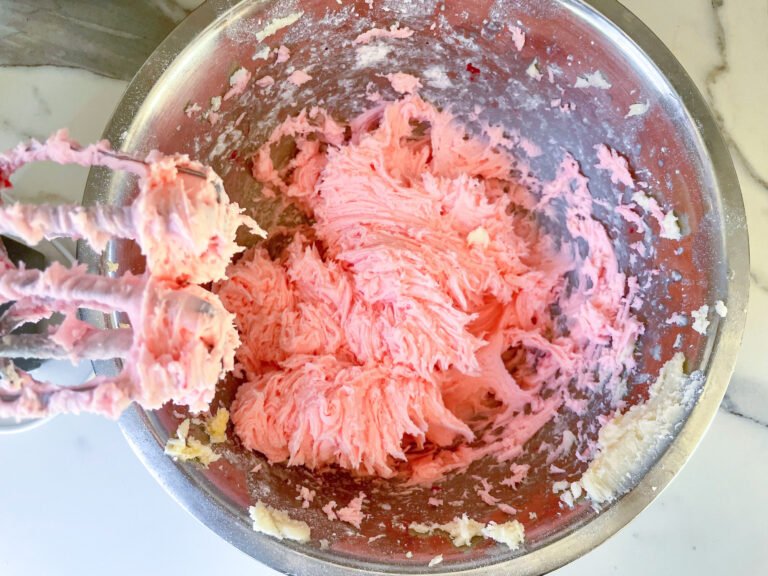
Mix in the crushed freeze-dried strawberries.
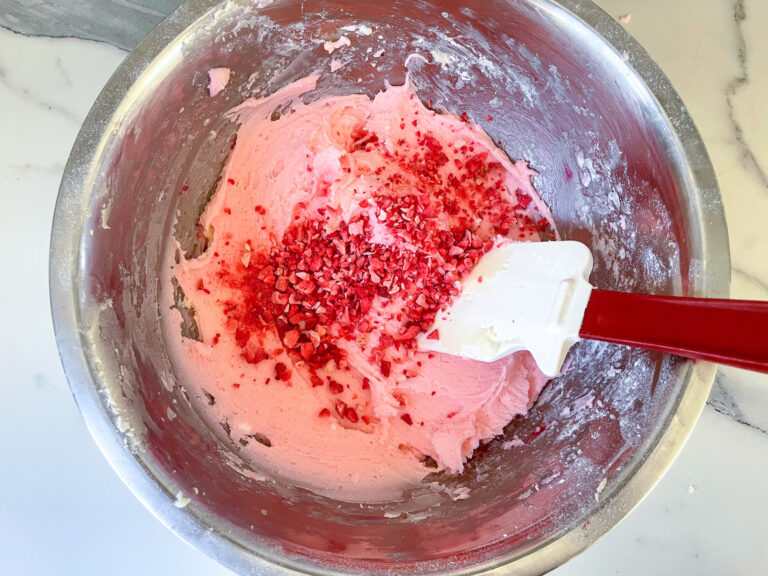
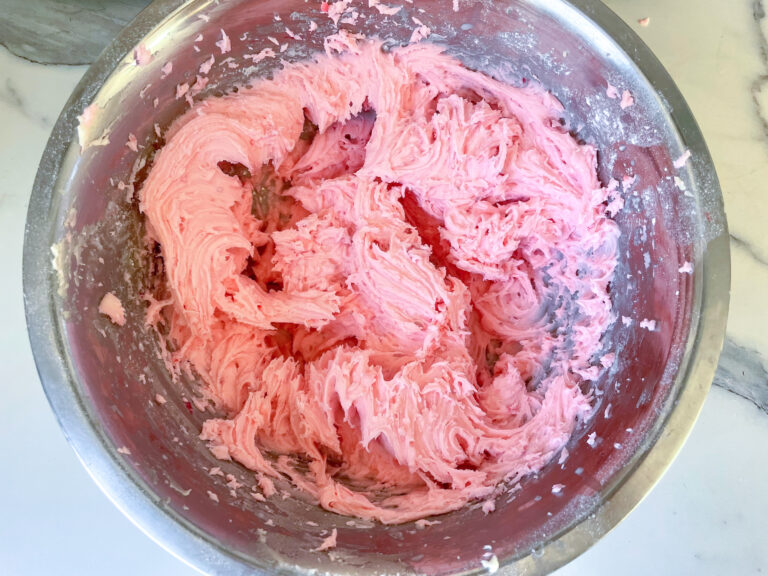
Transfer to a piping bag.
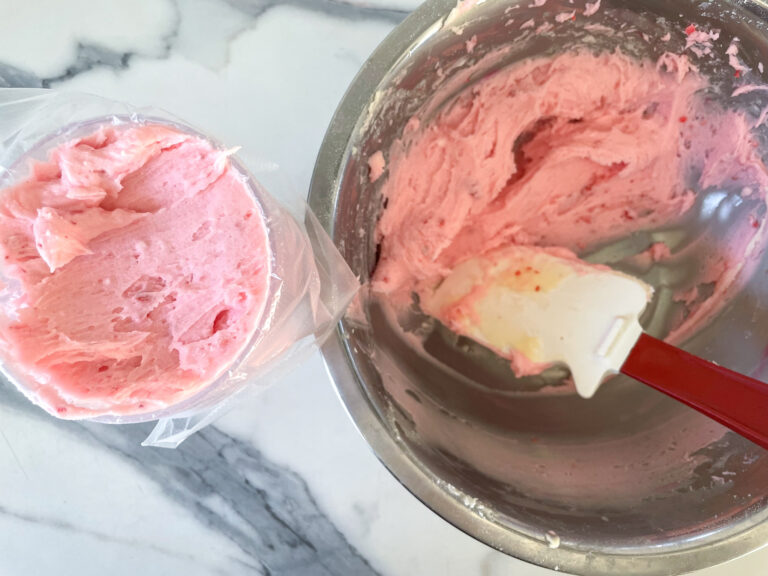
Assembly:
Divide the cakes into pairs.
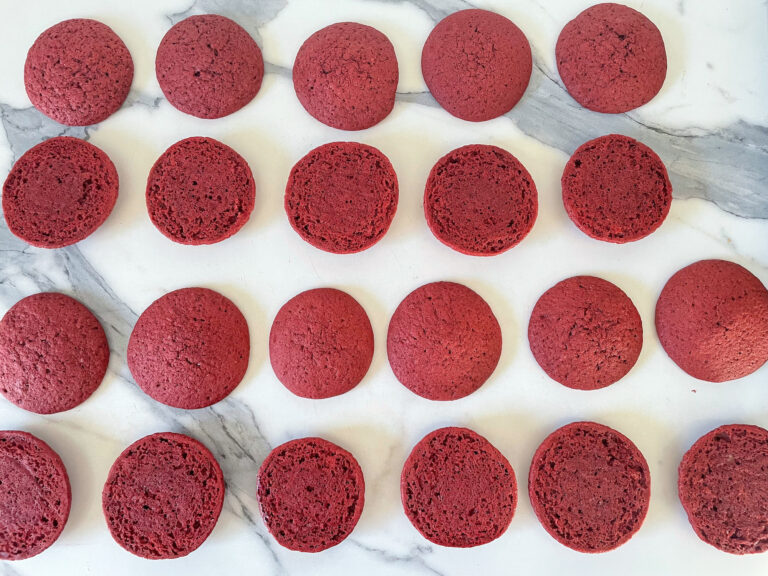
Pipe a generous blob of buttercream on the flat side of half of the cakes.
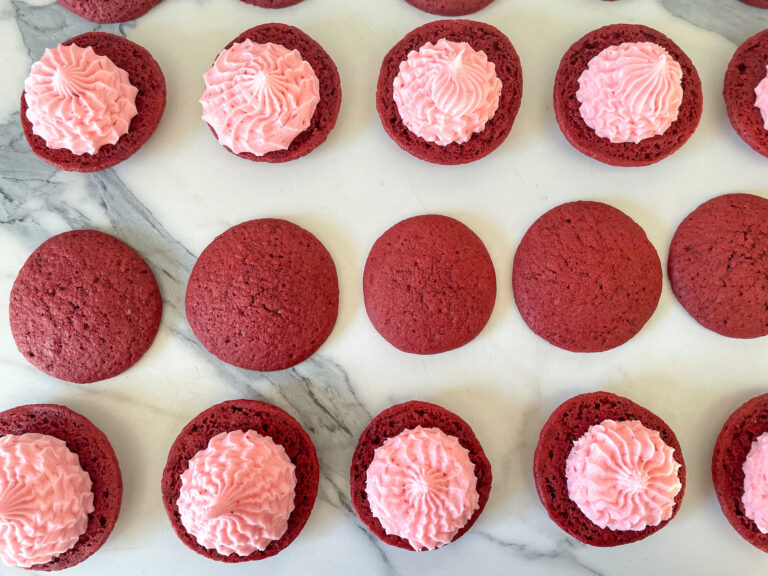
Top with the remaining cakes, using your hands to gently sandwich the two halves together.
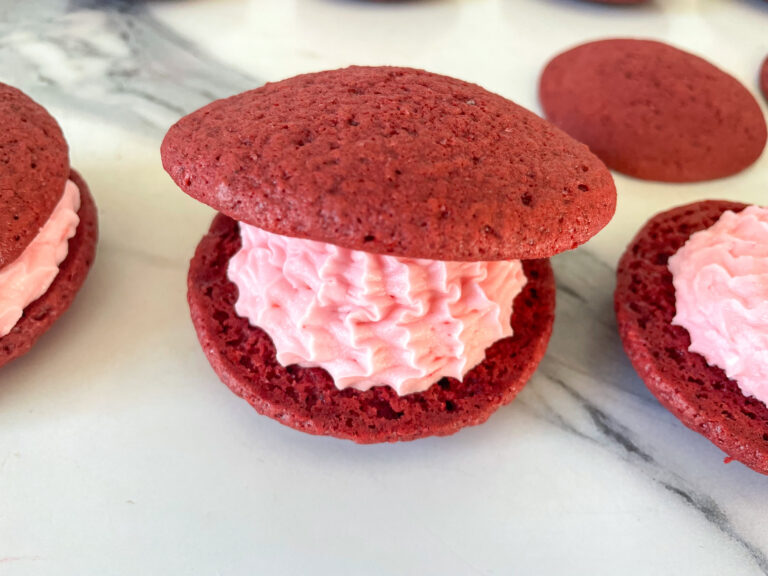
Store leftover whoopie pies in an airtight container at room temperature for up to three days. If desired, whoopie pies can also be wrapped individually in clingfilm/plastic wrap.
Notes
See my notes on piping the whoopie pie batter, above.
- Prep Time: 50 minutes
- Assembly Time: 10 minutes
- Cook Time: 12 minutes
- Category: Whoopie Pies
- Method: Oven
