Oreo Icebox Cake
This post may contain affiliate links. Please read the disclosure policy to learn more.
Thank you for supporting this blog!
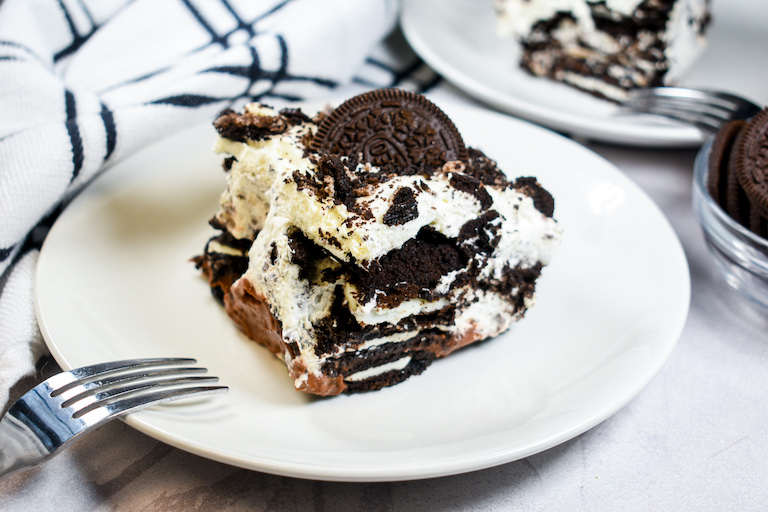
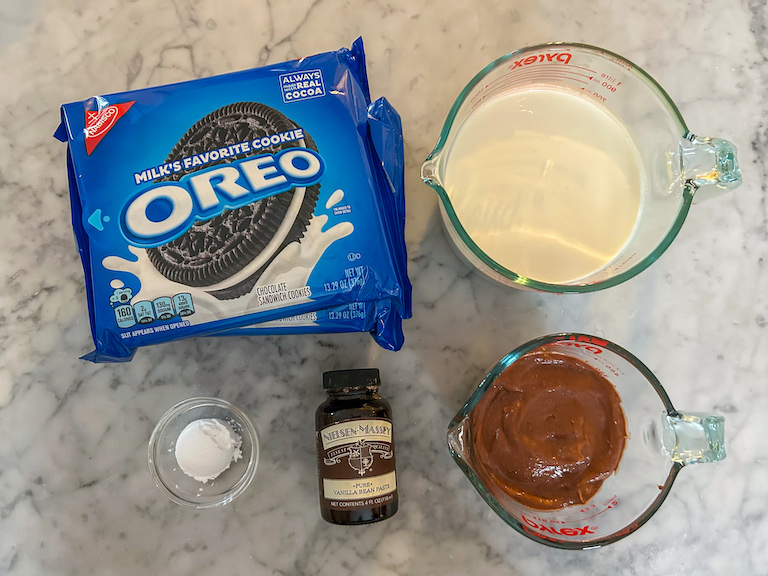
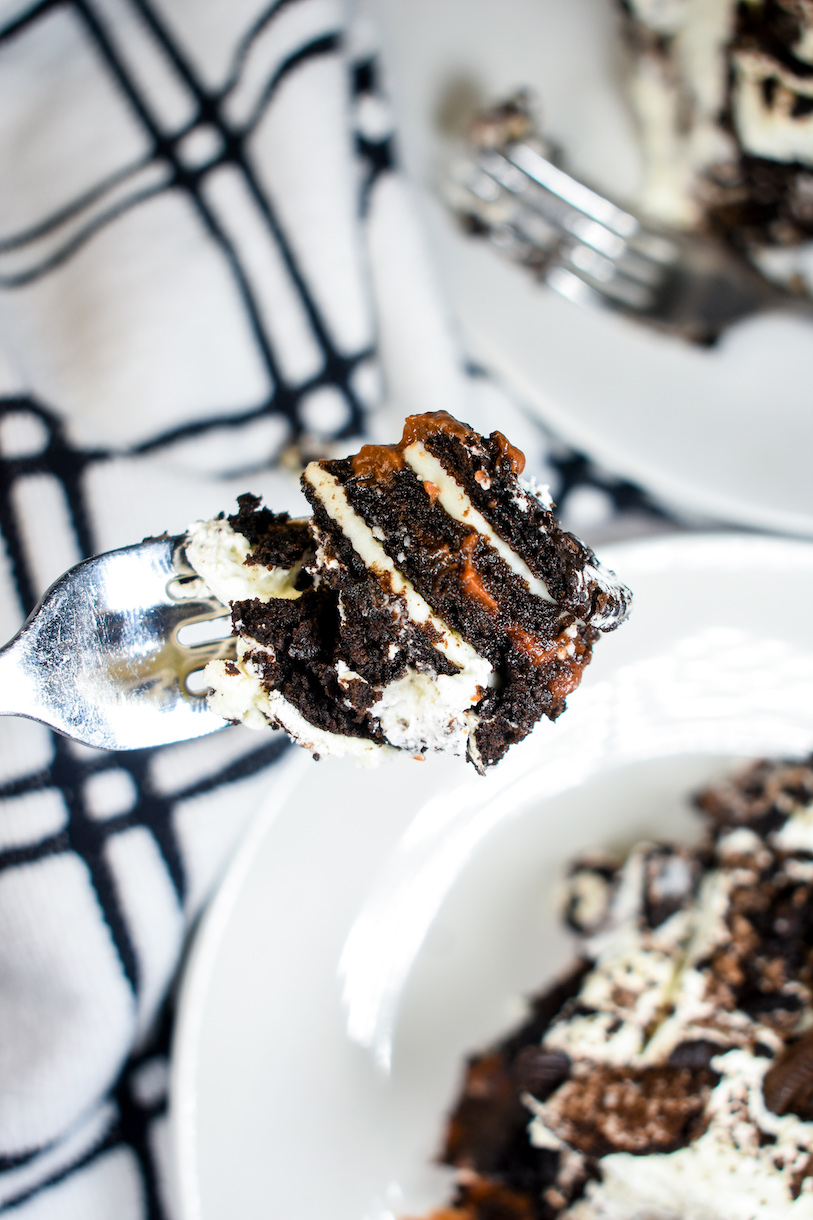
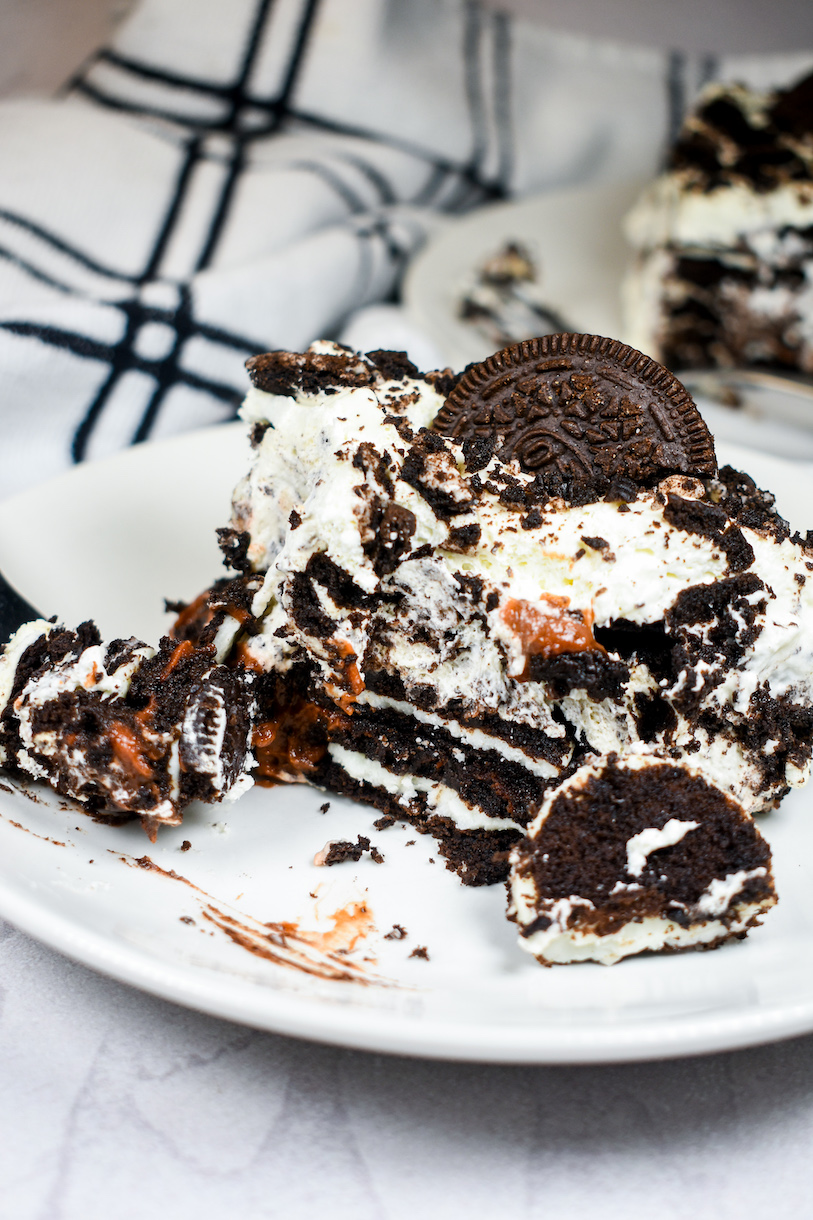
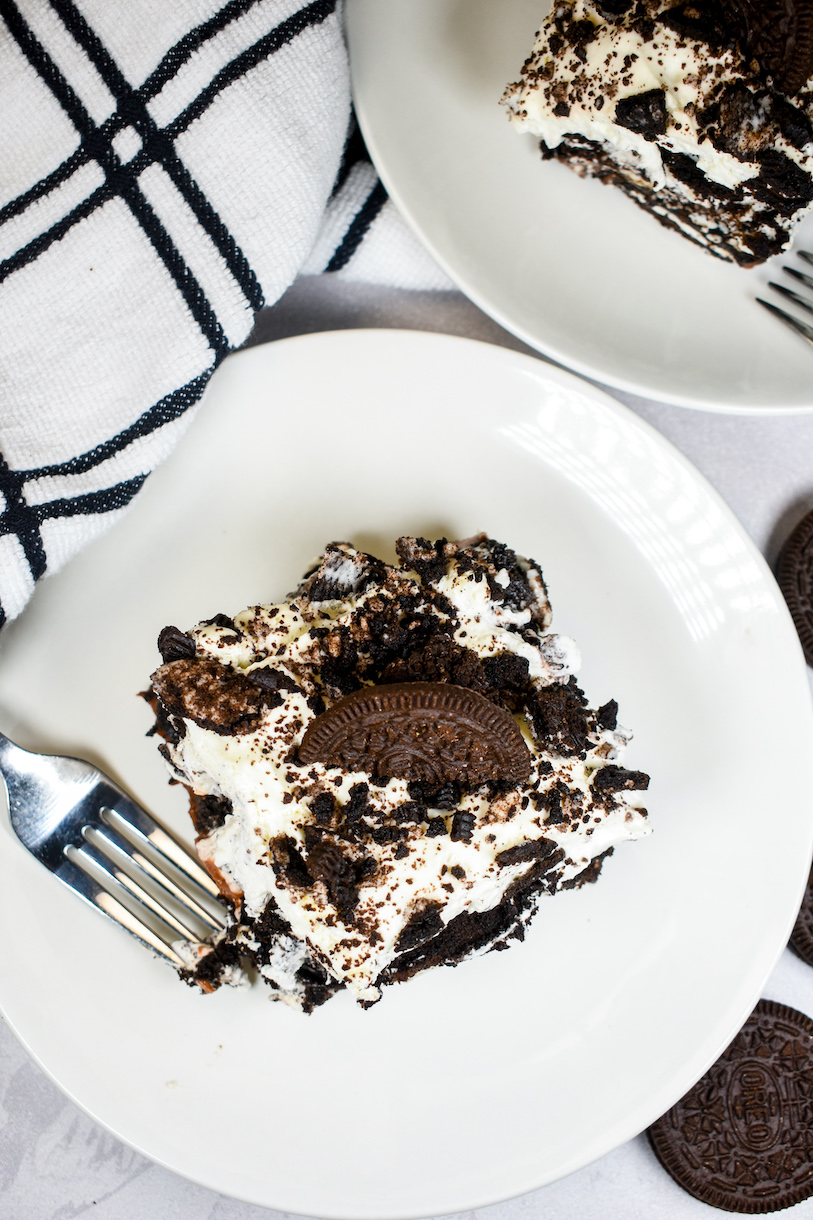
An easy Oreo icebox cake recipe featuring layers of whipped cream, Oreo cookies, and chocolate pudding. Instead of baking, this no bake Oreo cake “cooks” by spending a few hours in the fridge until the cookies soften and meld with the layers of cream, forming a soft, easily sliceable treat. And since you don’t even need to turn on the oven, this icebox cake recipe makes the perfect dessert choice for a sweltering summer day!
Oreo Icebox Cake Ingredients
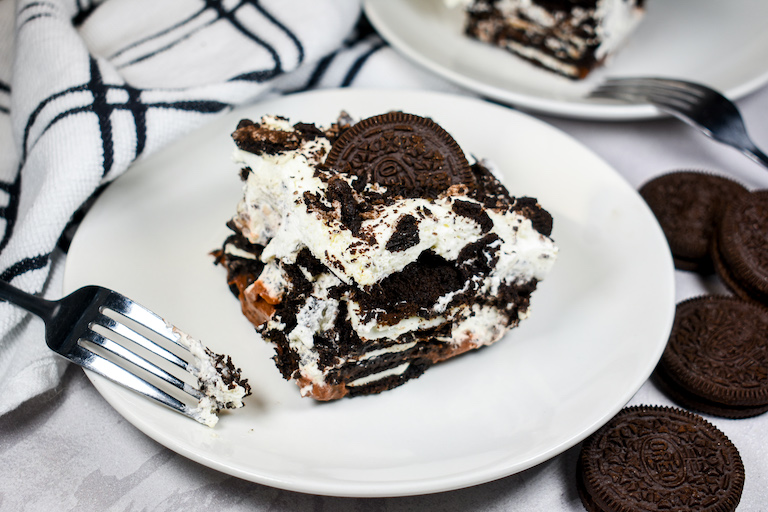
- Oreos – You’ll need 62 single-stuffed Oreos, plus more for decorating and garnishing the cake. In the US, one standard (not family size) package of Oreos contains 33 cookies. In the UK, a sleeve contains 13 cookies. You can use basic, single-stuffed Oreos, or try different types of Oreos, like mint, dark chocolate, or peanut butter.
- Chocolate Pudding – Homemade chocolate pudding, a box mix, or packaged pudding cups will all work nicely. If you want to experiment with other flavors, replace the chocolate with banana, pistachio, or vanilla pudding instead.
- Whipping Cream – Whipping cream (or heavy cream, in US stores) makes the smooth, fluffy, layers. Don’t try to substitute milk or plant milk; these don’t contain enough fat, and won’t whip properly.
- Confectioner’s Sugar – Confectioner’s sugar (icing sugar) sweetens the whipped cream. Pass the sugar through a fine mesh strainer to remove any hard bits of sugar.
- Vanilla Bean Paste – I test my recipes with Nielsen-Massey vanilla bean paste, but any good-quality brand (or the scrapings of one vanilla pod) will work. You can also substitute vanilla extract, but avoid imitation flavorings.
Preparing the Oreos
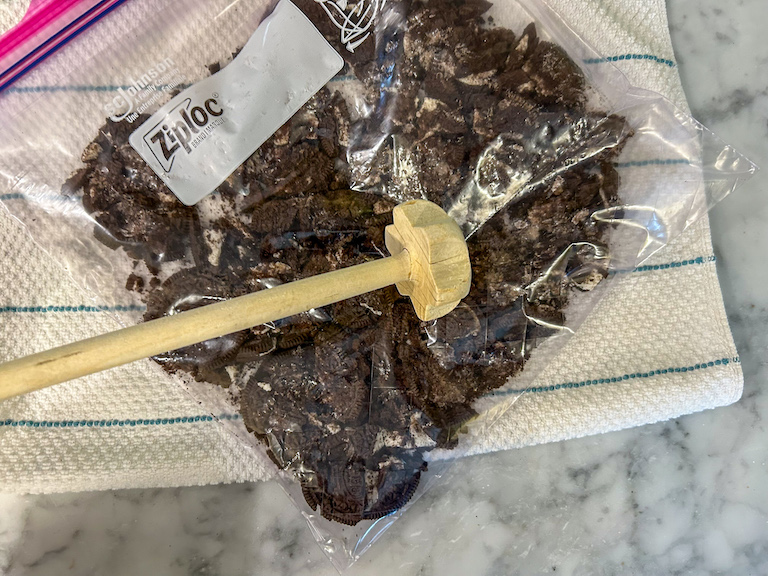
The Oreos layered inside the cake can be used as-is, with no need to chop, crush, or to separate the cookie from the cream. However, you’ll need to crush the remaining cookies, which you’ll fold into the whipped cream and scatter on top of the finished cake. To avoid making a mess, seal the Oreos in a food storage bag, place a towel underneath to avoid damaging your countertops, then crush with a kitchen mallet or the back of a metal ladle.
Lining the Tin
Lining the tin will allow you to lift the chilled cake to a chopping board for slicing. If you skip the tin-lining step, you’ll find it difficult to remove the cake in clean, even slices. Parchment works if you plan to slice and serve your icebox cake within a couple of hours. However, if refrigerating overnight, I recommend lining the tin with plastic wrap or foil instead—paper turns soggy when refrigerated for an extended period of time, causing it to tear when lifted from the tin.

Recipe Variations
- Make it vegan. Did you know that Oreos are “accidentally” vegan? To make a vegan version of this icebox cake, substitute vegan chocolate pudding and coconut whipped cream.
- Experiment with garnishes. Decorate your icebox cake with fun toppings and garnishes, such as sliced strawberries; sprigs of fresh mint; chocolate chips or shavings; crushed pretzels; or even homemade sprinkles.

Oreo Icebox Cake
- Total Time8 hours 30 minutes (including chilling time)
- Yield1 8x8-inch cake 1x
An easy Oreo icebox cake recipe featuring layers of whipped cream, Oreo cookies, and chocolate pudding.
Ingredients
62 single stuffed Oreos, divided, plus more to decorate
400 grams chocolate pudding (about 1 1/2 cups), store-bought or homemade
540 milliliters whipping cream (2 1/4 cups)
10 grams confectioner’s sugar (1 tablespoon)
1 teaspoon vanilla bean paste
Instructions
Line an 8×8-inch square tin with parchment, clingfilm/plastic wrap, or aluminum foil, allowing a 2-inch overhang on all sides. (See notes.)
Place 14 of the Oreos in a large plastic food storage bag, and use a kitchen mallet to crush. Set aside.
In a large mixing bowl or the bowl of a stand mixer, whip the cream until soft peaks form. Mix in the confectioner’s sugar and vanilla bean paste.
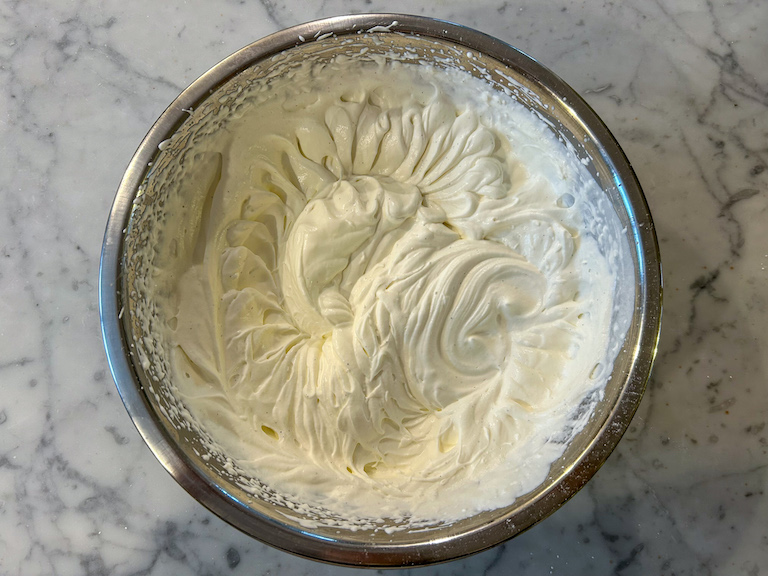
Divide whipped cream into 2 equal portions.

With a rubber spatula, fold about 2/3 of the crushed Oreos into one portion of whipped cream. Refrigerate until ready to use.

With a small stepped palette knife, spread a thin layer of the plain whipped cream across bottom of prepared tin.

Arrange a layer of Oreos on top of the cream. You should have 4 rows of 4, or 16 total.

With a small stepped palette knife or rubber spatula, spread chocolate pudding on top of the Oreos, completely covering the cookies.

Top pudding with a second layer of Oreos.

With a small stepped palette knife or rubber spatula, spread Oreo whipped cream on top of the second Oreo layer, completely covering the cookies.

Top Oreo whipped cream with a third layer of Oreos.

Spread with the remaining plain whipped cream, using a small stepped palette knife to create swirls and peaks in the cream.


Sprinkle with remaining crushed Oreos.

Cover pan loosely with foil, creating a tent shape so it does not touch the cream directly. Refrigerate at least 8 hours, or overnight.
With a sharp chef’s knife, slice icebox cake into squares. Serve accompanied by whole or halved Oreos, fresh berries, or sprigs of fresh mint.

Store leftover icebox cake in the refrigerator for up to 2 days.


Notes
One standard (not family size) US package of Oreos = 13 oz or 376 g, and contains 33 cookies. This recipe requires 62 Oreos, or about 2 packages.
If you plan to refrigerate the cake overnight (or if you intend to store the leftovers for 2-3 days) I recommend lining the tin with plastic wrap or foil instead of parchment, which turns soggy when refrigerated for an extended period of time.
- Prep Time: 30 minutes
- Chilling Time: 8 hours
- Category: Cakes and Cupcakes
- Method: Refrigerator
Make-Ahead and Storage Suggestions
After assembly, plan to refrigerate the cake for at least 6-8 hours before serving. Chilling softens the Oreos, making the cake easier to slice.
Other Oreo Recipes You Might Enjoy
Cookies and Cream Ice Cream
Oreo Brownie Ice Cream Sandwiches
Cookies and Cream Marshmallows
Toasted Coconut Oreo Truffles
Oreo Rocky Road
Bakery-Style Cookies with Oreos
And if you do make these, or any of my recipes, don’t forget to tag me @bastecutfold or use the hashtag #bastecutfold on Instagram. I always love to see what you’re making!