 becky
becky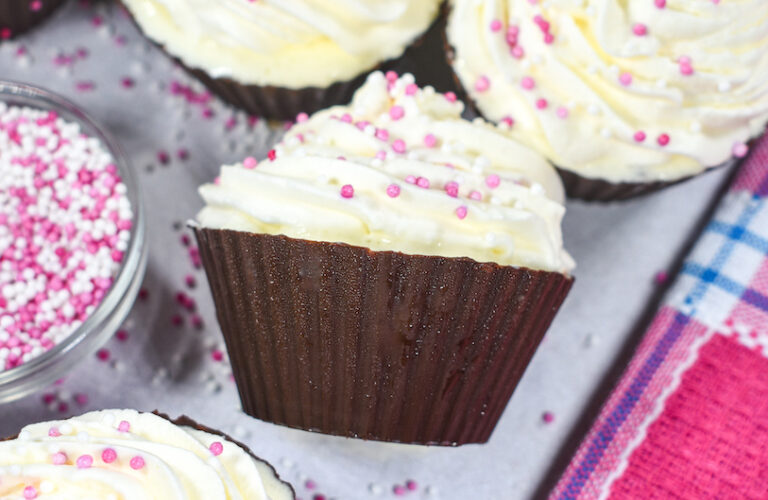
This post may contain affiliate links. Please read the disclosure policy to learn more.
Thank you for supporting this blog!
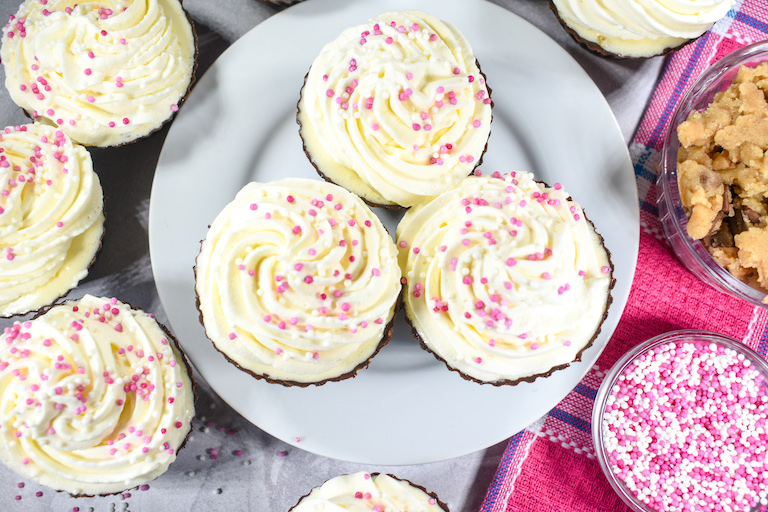
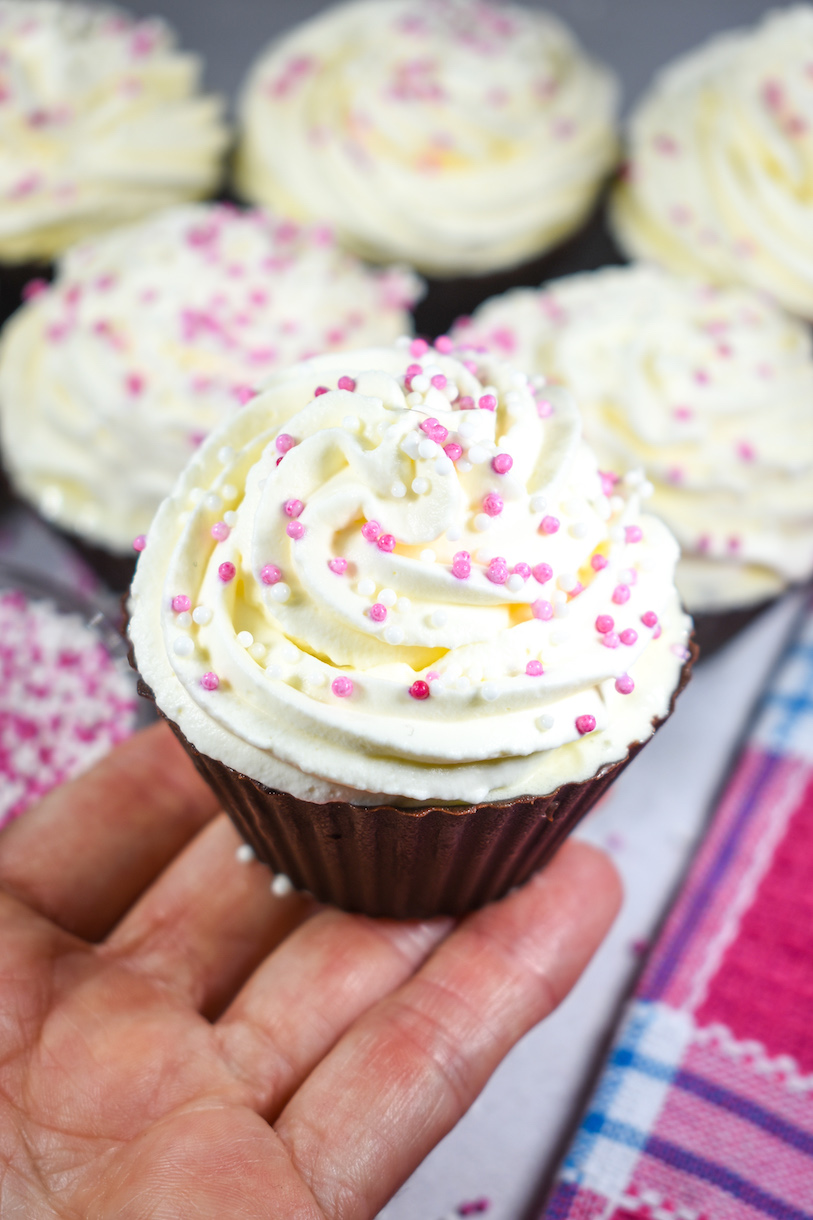
Made with creamy vanilla ice cream and homemade cookie dough, and served in edible chocolate cups, these ice cream filled cupcakes make perfect party time treats.
What are Ice Cream Cupcakes?
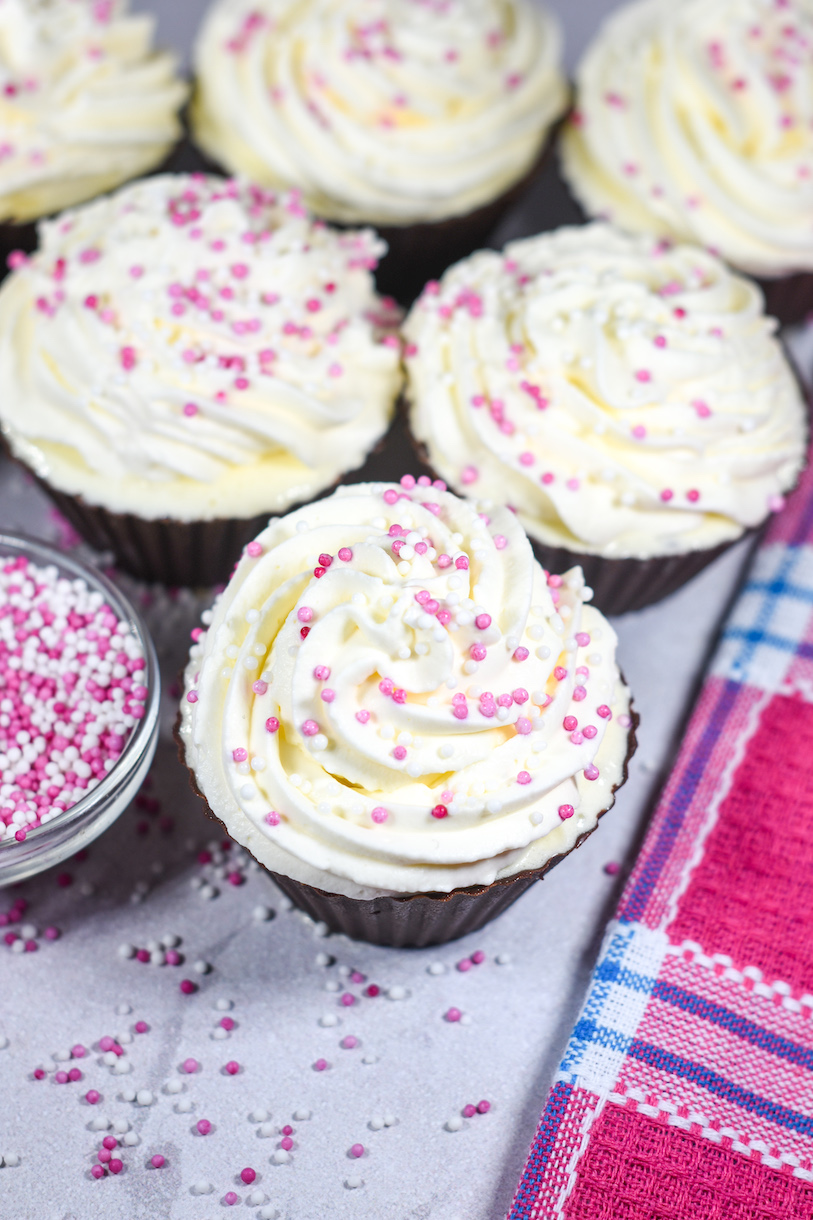
These ice cream cupcakes look just like traditional cupcakes, but they’re actually frozen treats in disguise.
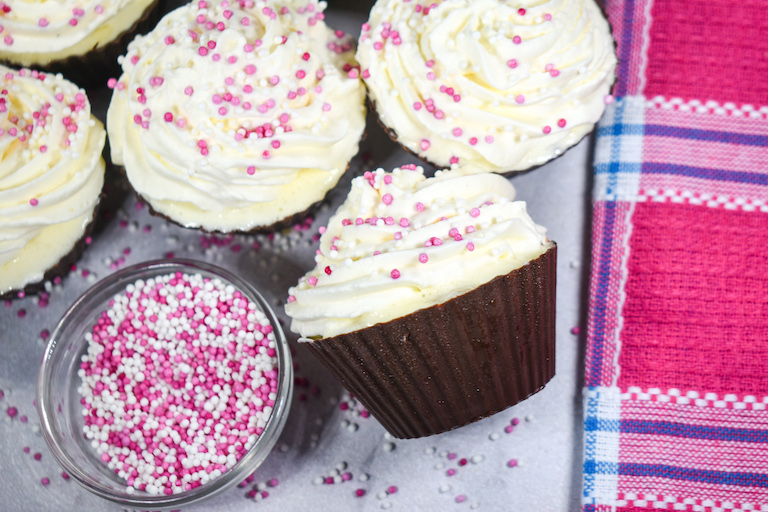
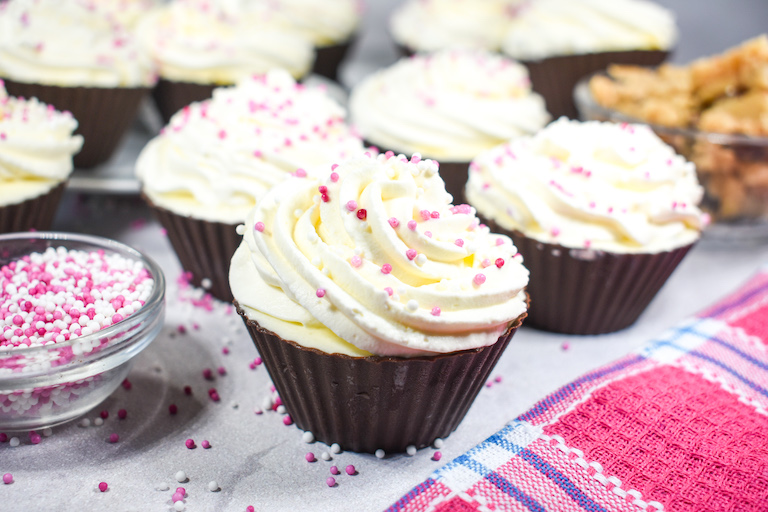
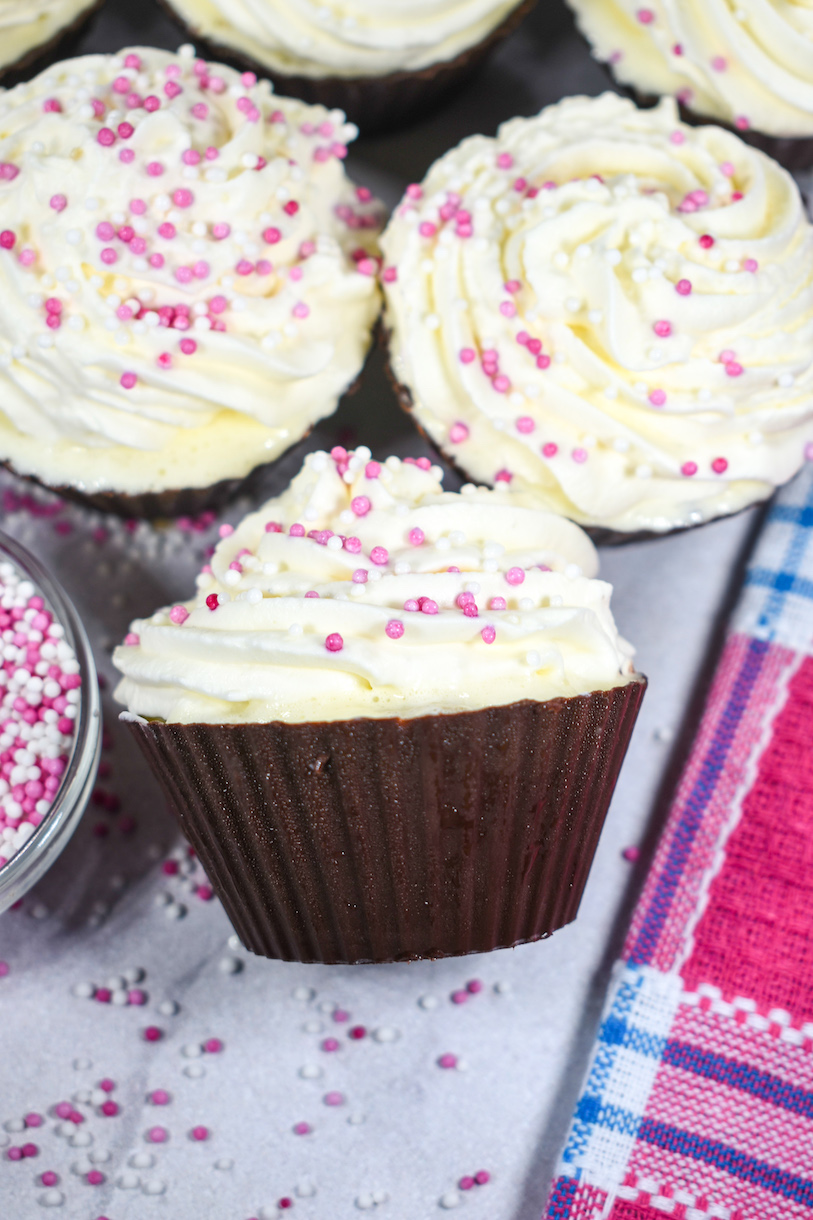
The recipe starts with edible chocolate cups, made by brushing layers of melted chocolate into silicone liners, freezing until the chocolate sets, then popping the chocolate cups from the liners to create “cupcake cups.”
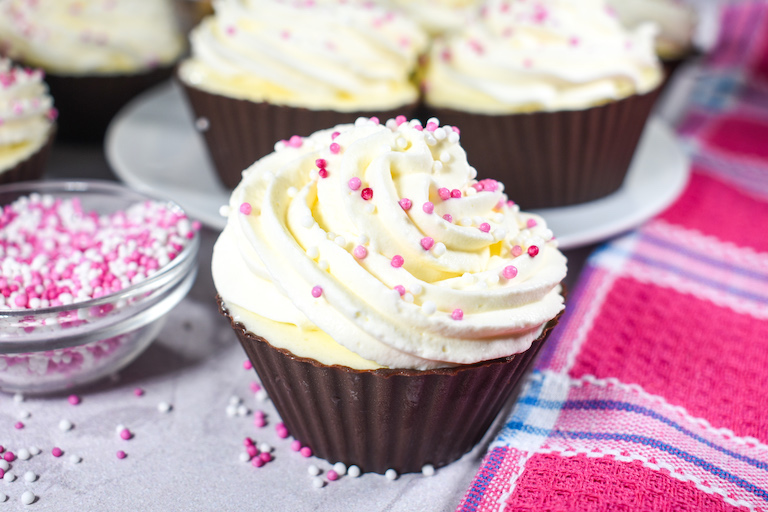
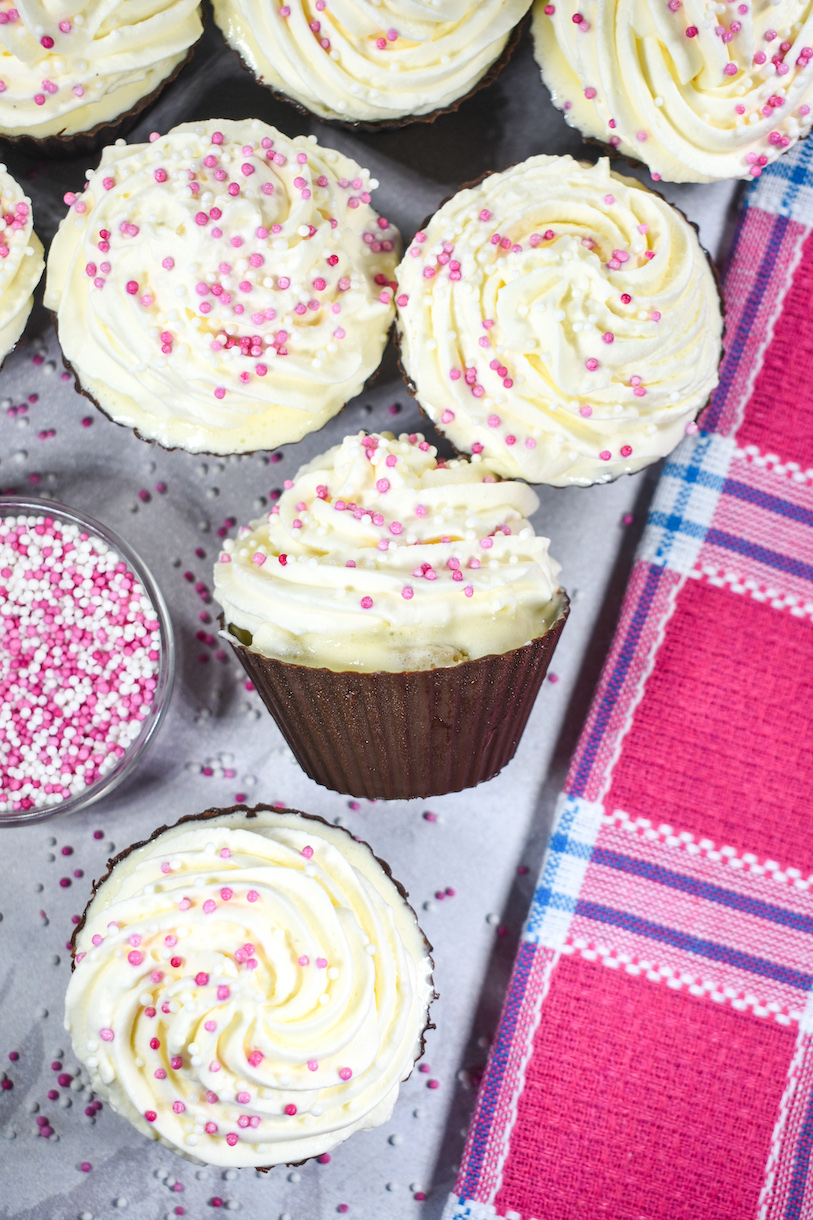
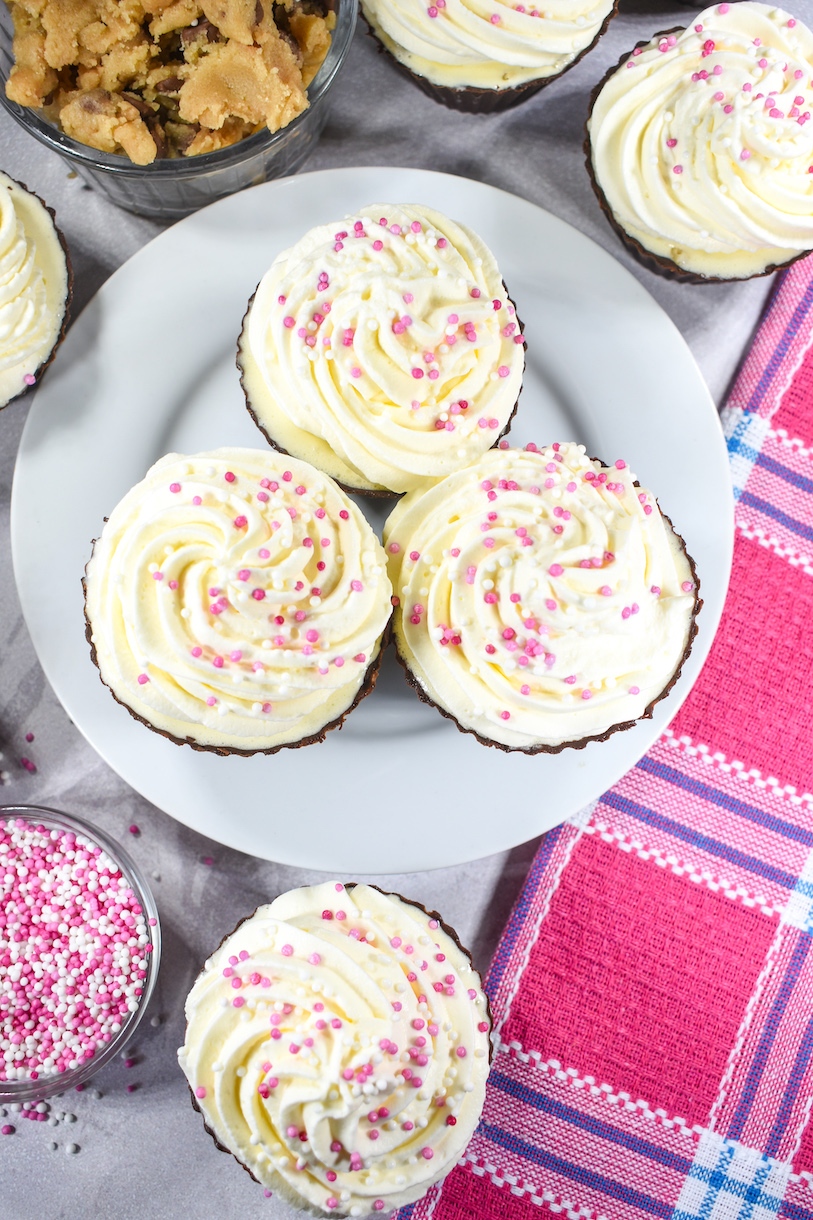
Then, the cups are filled with vanilla ice cream, a layer of homemade eggless cookie dough, more ice cream, then a swirl of whipped cream (which looks very much like buttercream frosting!) plus sprinkles or other toppings to garnish.
These ice cream cupcakes work perfectly for birthday parties and summer celebrations. Just enjoy promptly, because unlike traditional cupcakes, these cupcakes will melt!
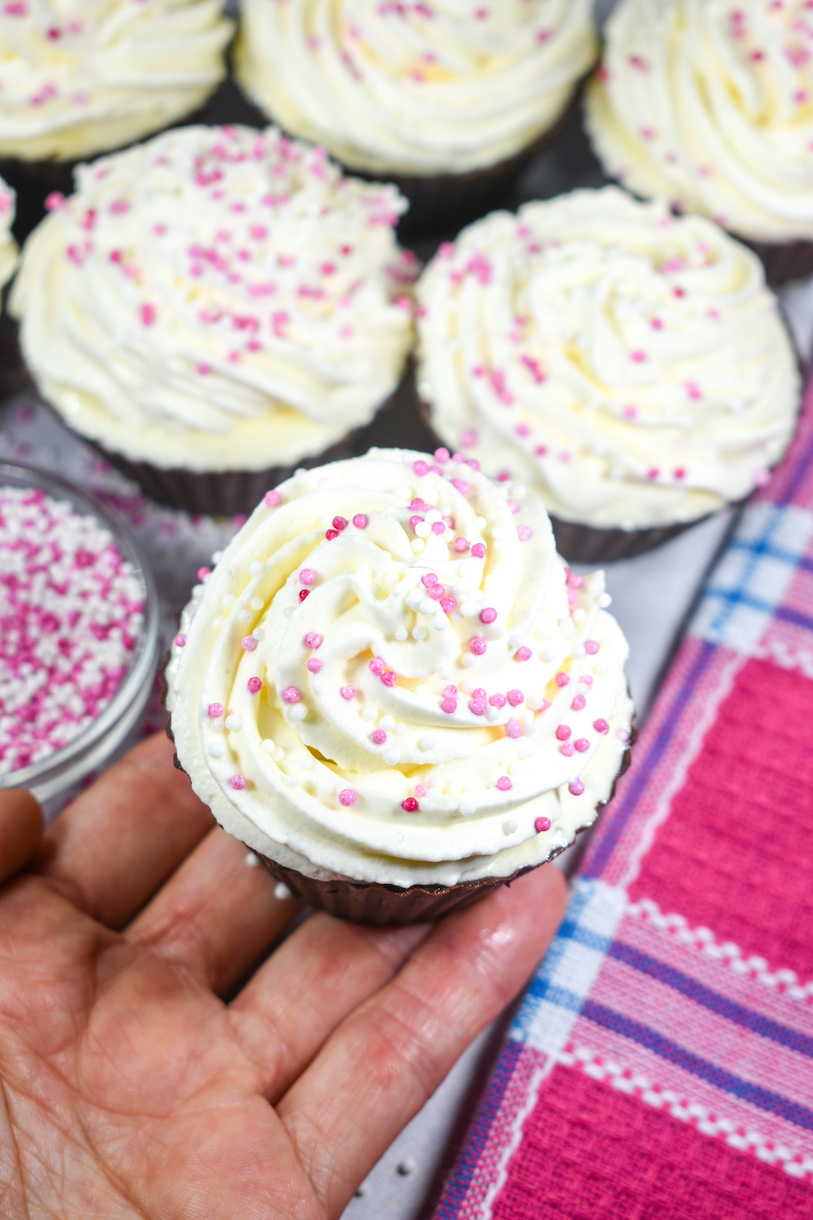
My favorite part? You can eat every last bit, right down to the cupcake cup.
Notes on Eggless Cookie Dough
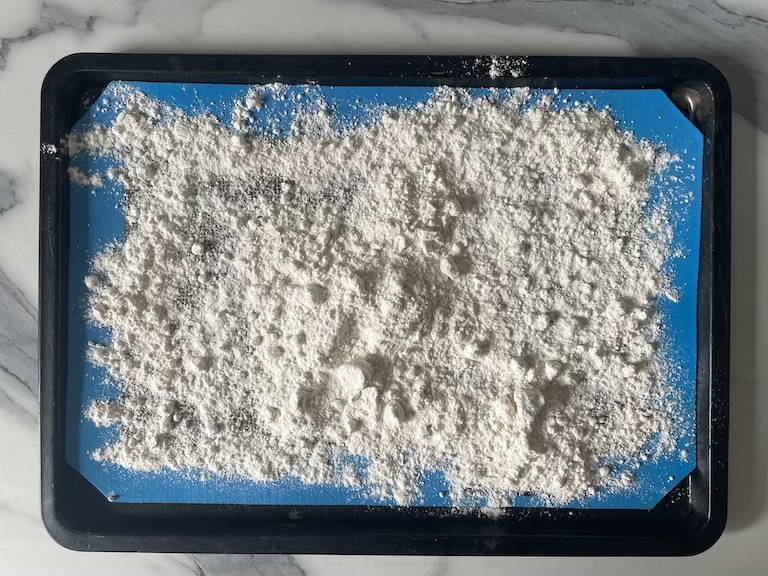
Raw flour is not safe to eat. For this reason, the recipe includes a heat treating step, baking the plain flour on a tray in the oven for about 5 minutes. This process kills bacteria and allows for safe consumption. Do not skip this step.
Allow the heat-treated flour to cool for a few minutes before combining it with the other ingredients. If the flour is still hot, it will melt the butter.
As written, this recipe will produce enough cookie dough for a generous layer of crumbles inside the cupcakes, as well as another sprinkling on top. If planning to decorate the tops of your cupcakes with sprinkles (as shown in my photos) you can halve the cookie dough recipe. Make the full batch if you want to use the cookie dough crumbles to decorate the whipped cream.
Making the Chocolate Cupcake Cups
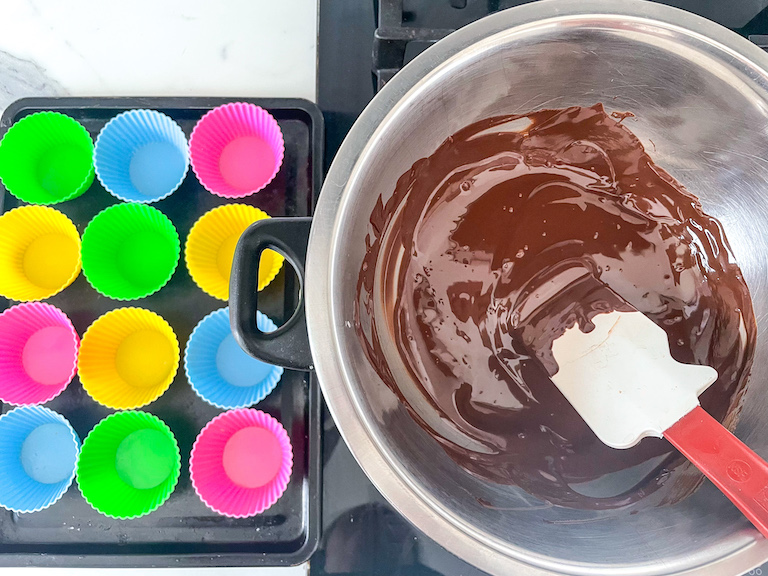
To melt the chocolate, I suggest using a bain marie or double boiler. This allows you to keep the chocolate warm while layering and freezing the chocolate cups. You can use a microwave to melt the chocolate, but will probably need to re-warm it several times throughout the process.
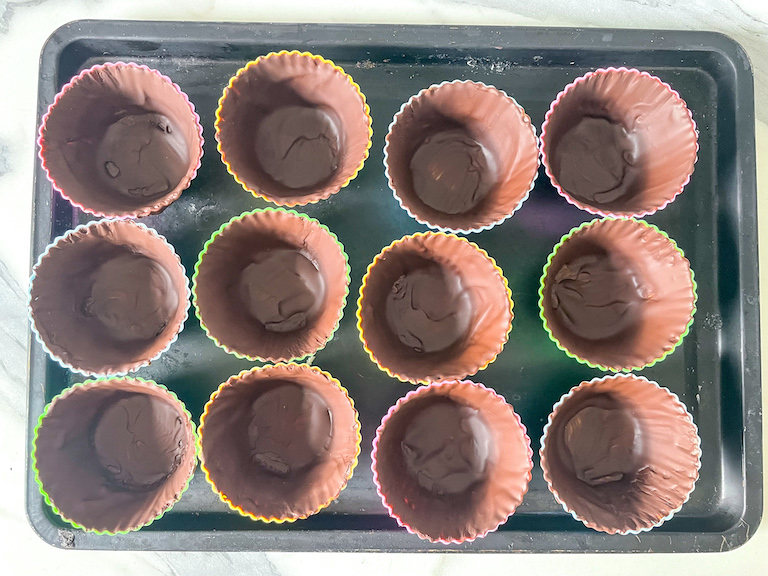
You’ll need to apply several layers of chocolate to create sturdy cupcake cups. (I used three layers.) Carefully examine the cups to make sure there are no thin spots or places you’ve missed—if the cups are too thin, they’ll crack or break when removed from the silicone liner.
Keep a small amount of melted chocolate nearby. If you notice any weak spots after removing the cupcake cups from the liners, you can use the melted chocolate and a pastry brush to “repair” your mistakes.
Special Tools for Making Ice Cream Cupcakes
You’ll need a set of silicone cupcake liners to make the chocolate cups. (I’ve written this recipe for standard-size cupcake liners, not mini cupcakes.) If you don’t already own them, silicone cupcake liners are a must-have for your kitchen! Not only are they great for making these edible chocolate cups, but they’re also awesome for lining your tins when baking traditional cupcakes and muffins.
If you don’t have silicone cupcake liners, you can also use a silicone muffin pan.
In addition, you will need a pastry brush to brush the chocolate into the cups. I suggest a natural-bristled brush (rather than silicone, which can’t quite reach into the nooks and crannies of the cups) no wider than 1 inch in size.
A small stepped palette knife or tiny rubber spatula will come in handy when spreading the ice cream. You’ll also need a disposable piping bag to pipe the ice cream into the chocolate cupcake cups.
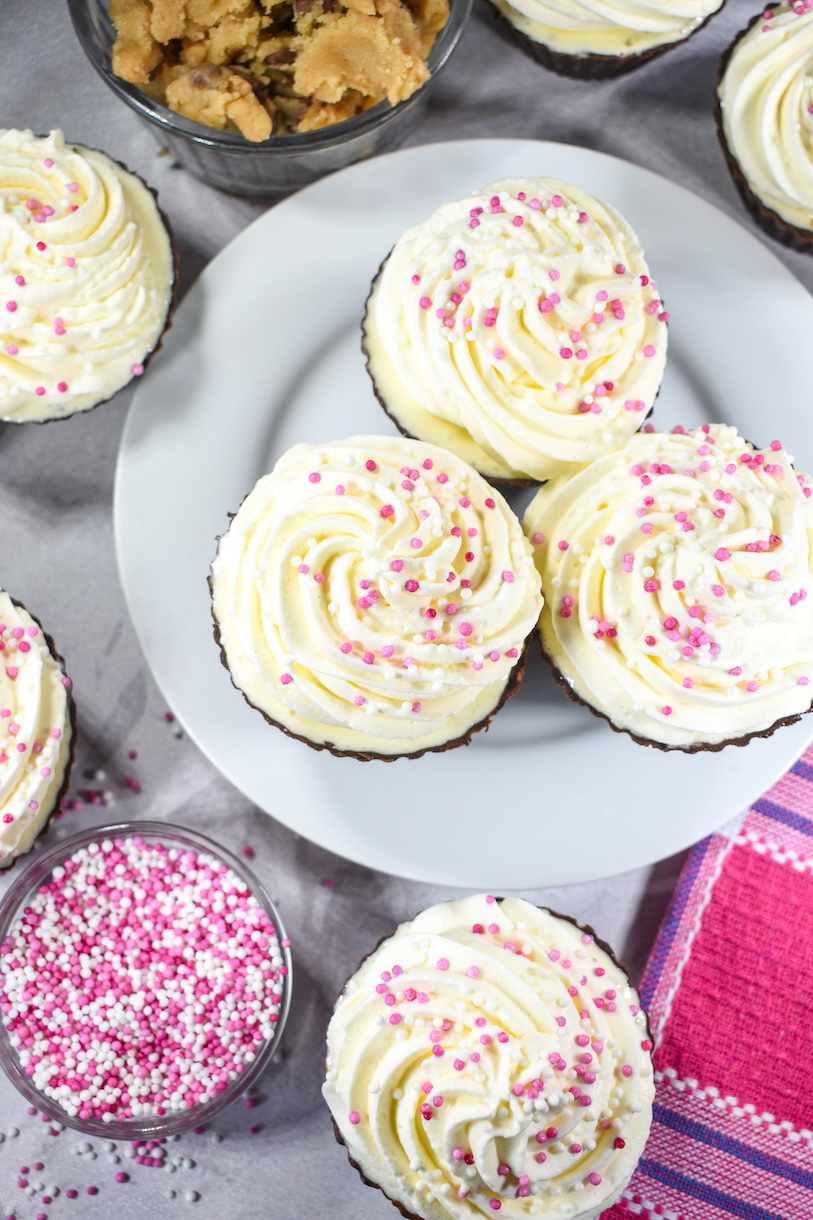
Decorating Homemade Ice Cream Filled Cupcakes
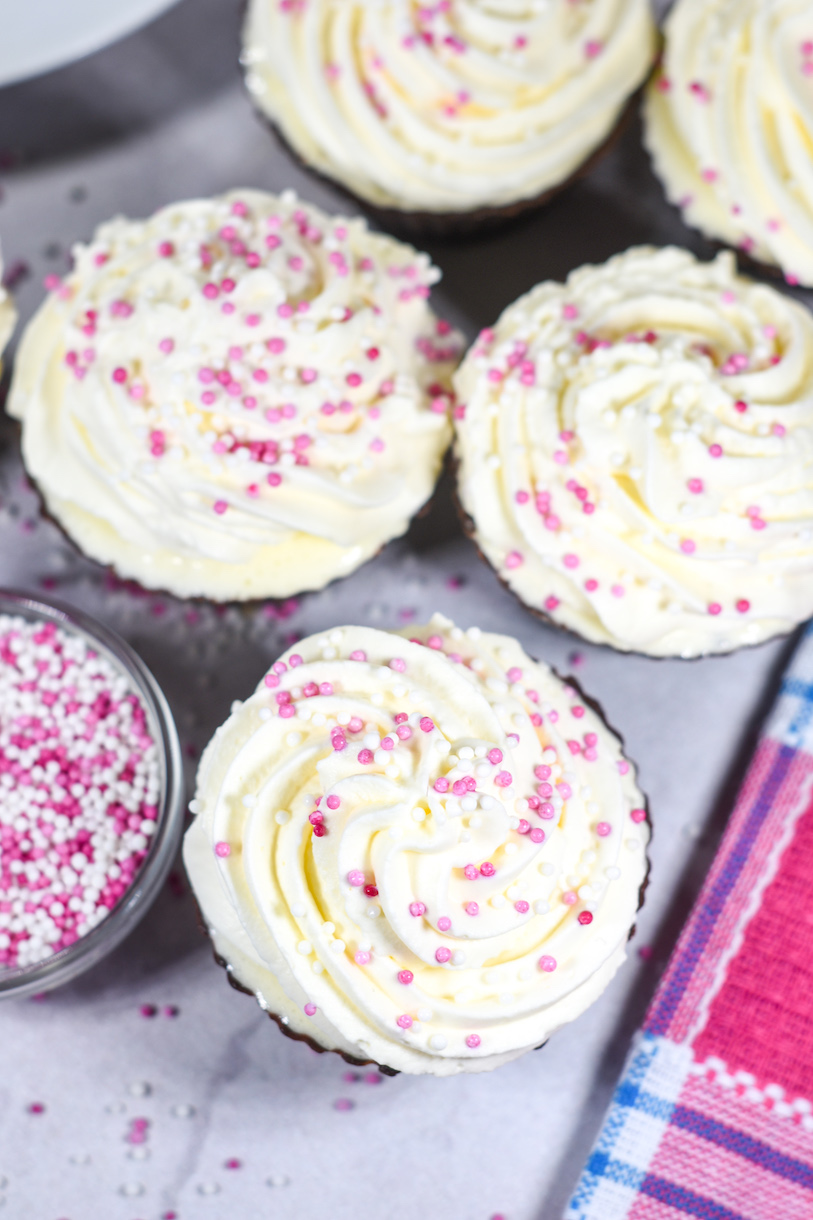
Feel free to be creative with your cupcake decorations! You can top the whipped cream with cookie dough crumbles (see notes above), nonpareils, crushed peanuts, sprinkles, edible glitter, or anything else you’d like.
For birthday parties, try adding candles to your cupcakes. You can also garnish each cupcake with a chocolate chip cookie, such as Maryland cookies or Chips Ahoy!
Notes on Whipped Cream
I decorated my ice cream cupcakes with homemade whipped cream. If making whipped cream from scratch, you will need to whip about 300 milliliters (10 1/2 fluid ounces) of cream to decorate a dozen cupcakes.
For a shortcut, you can use a can of store-bought whipped cream to decorate instead.
Make-Ahead and Storage Suggestions
You can prepare the chocolate cups up to 24 hours in advance. I suggest freezing them in the silicone liners, and keeping the liners in place until ready to assemble.
You can also assemble the cupcakes (up to the ice cream step) up to 24 hours in advance.
Add the whipped cream and other decorations just prior to serving the cupcakes.
It goes without saying, but these cupcakes melt! Assemble just prior to serving, and enjoy immediately.
Recipe Substitutions and Shortcuts
Instead of vanilla ice cream, try using cookie dough ice cream instead. You can also make these with chocolate, strawberry, or any other ice cream flavor you’d like.
If you don’t have time to make your own cookie dough, you can substitute a pre-made eggless cookie dough. Or, skip the cookie dough and add a layer of crumbled chocolate chip cookies instead.
If you want to garnish your cupcakes with chocolate chip cookies, I suggest small cookies like mini Chips Ahoy! You can definitely make your own chocolate chip cookies, but be sure to keep small or they’ll be too heavy.
Other whimsical recipes you might enjoy:
Birthday Cake Marshmallows
Rainbow Heart Cookies
Caramel Apple Lollipops
Mini Watermelon Whoopie Pies
And if you do make these, or any of my recipes, don’t forget to tag me @bastecutfold or use the hashtag #bastecutfold on Instagram. I always love to see what you’re making!
Cookie Dough Ice Cream Cupcakes

Ice cream cupcakes with homemade cookie dough, served in edible chocolate cups. These ice cream filled cupcakes are perfect for party time!
- Prep Time: 1 hour
- Freezing Time: 30 minutes
- Total Time: 1 hour 30 minutes
- Yield: 12 cupcakes 1x
- Category: Ice Cream
- Method: No Bake
- Cuisine: Dessert
Ingredients
Cookie Dough:
64 grams all purpose flour (1/2 cup)
45 grams light brown sugar (3 tablespoons, packed)
35 grams granulated sugar (3 tablespoons)
1 teaspoon vanilla extract
30 grams unsalted butter, softened (2 tablespoons)
15 milliliters whole milk (1 tablespoon)
Pinch salt
60 grams chocolate chips (13 cup)
Chocolate Cupcake Cups:
150 grams chopped dark chocolate (5 1/4 ounces, or about 1 cup chopped chocolate)
Assembly:
400 grams vanilla ice cream (14 ounces)
Whipped cream (canned or homemade)
Sprinkles
Instructions
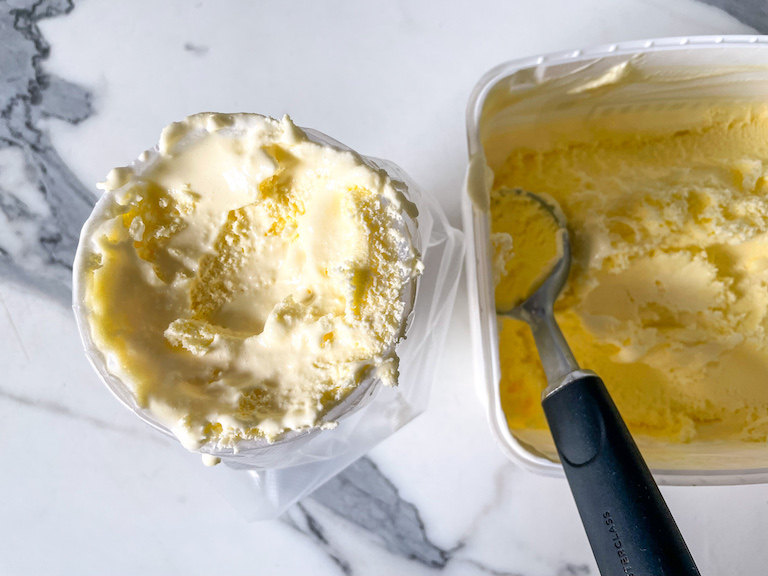
Remove ice cream from freezer and allow it to soften while you prepare the cookie dough and cupcake cups. Depending on the temperature in your kitchen, it will take 20 – 40 minutes for the ice cream to soften. It should be the consistency of very soft soft serve.
Cookie Dough:
Preheat oven to 350° F / 176° C. Line a small baking tray with parchment or a silicone mat.
Spread flour on prepared tray. Bake in preheated oven for 5 minutes, tossing periodically with a spatula. Allow to cool completely. (Note: Raw flour is not safe to eat. Heat-treating is important; this process kills bacteria and allows the flour to be consumed safely. Do not skip this step.)
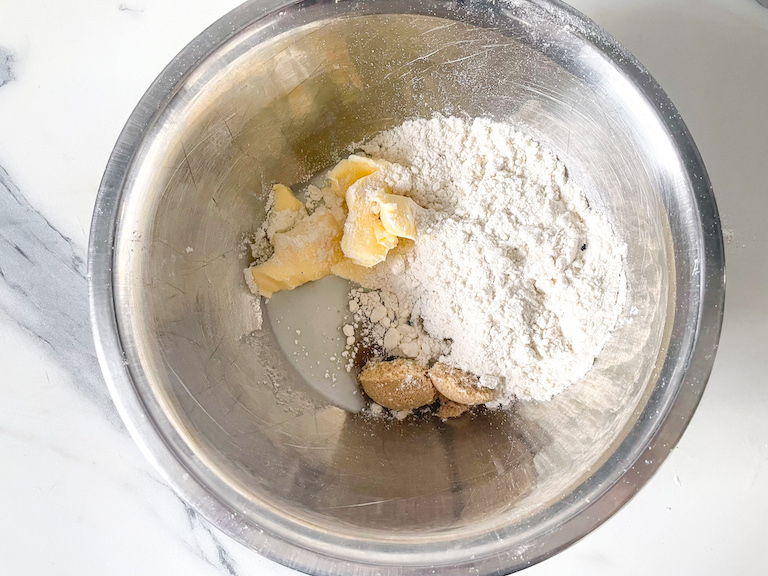
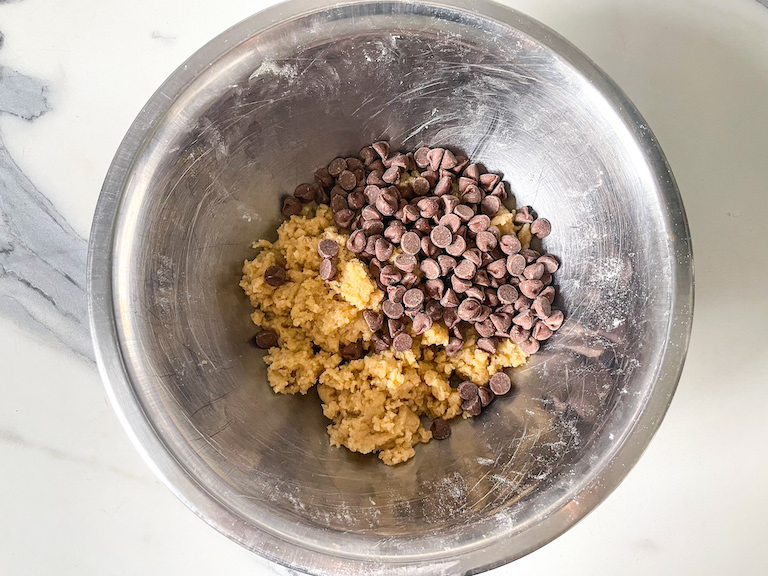
In a small bowl, combine flour, brown sugar, granulated sugar, vanilla extract, butter, milk, and salt. Use your hands to knead the ingredients together.
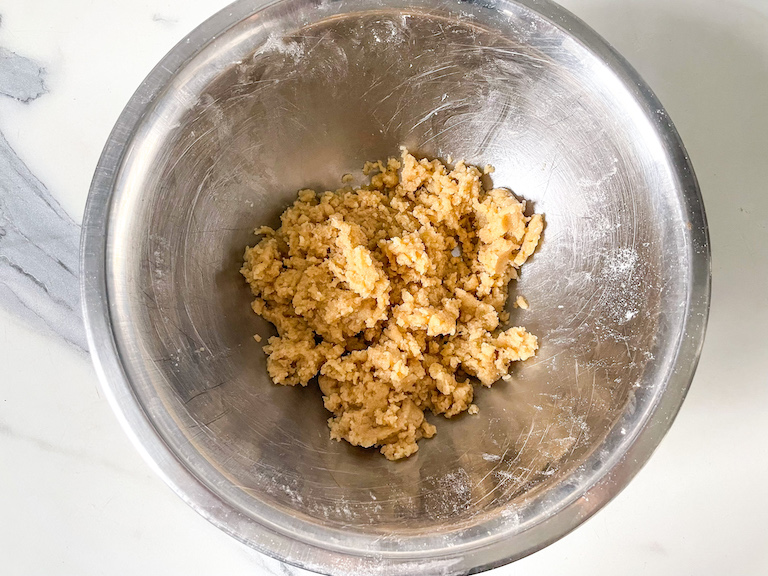
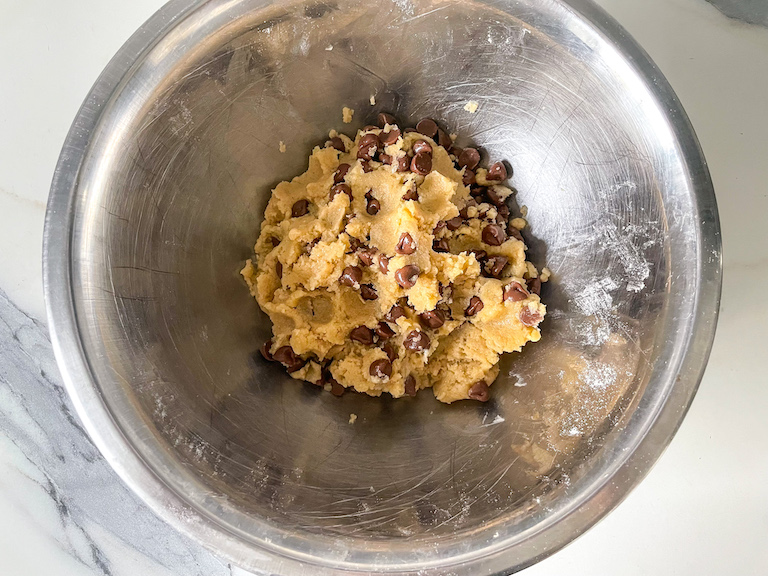
Add the chocolate chips and knead until fully incorporated.
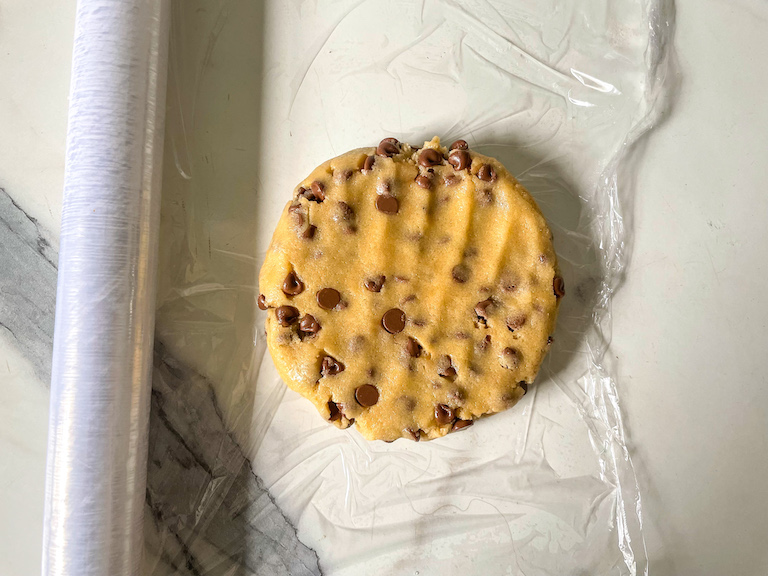
Pat cookie dough into a disc. Wrap in clingfilm/plastic wrap and place in the freezer until ready to use.
Chocolate Cups:
Arrange silicone cupcake liners on a small tray or plate. (Make sure it fits in your freezer!)
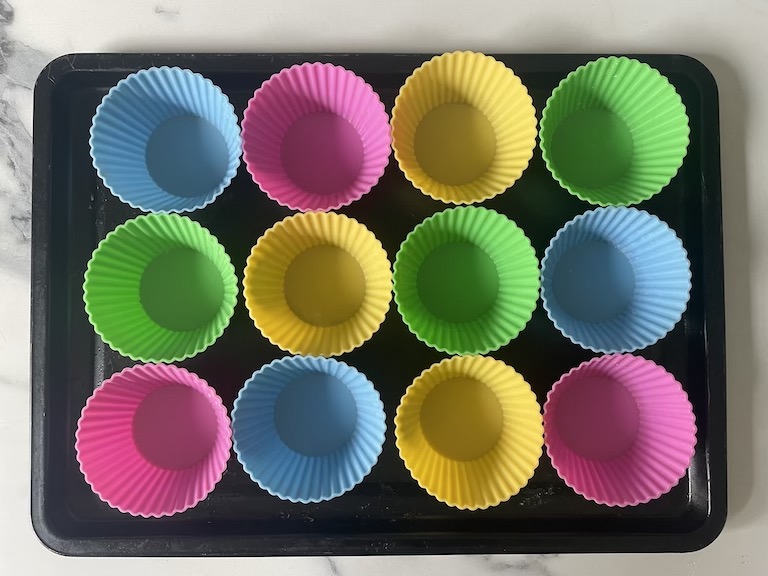
Melt dark chocolate over a bain marie or double boiler. (Alternately, you can melt the chocolate in the microwave.)
With a pastry brush, brush a thin layer of melted chocolate inside each of your silicone cupcake liners. Place liners in the freezer to chill briefly, about 3-5 minutes, or until solid.
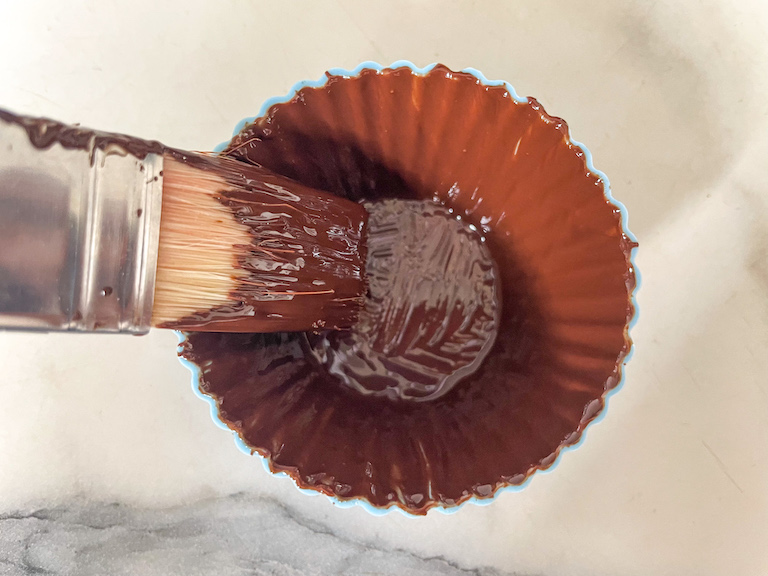
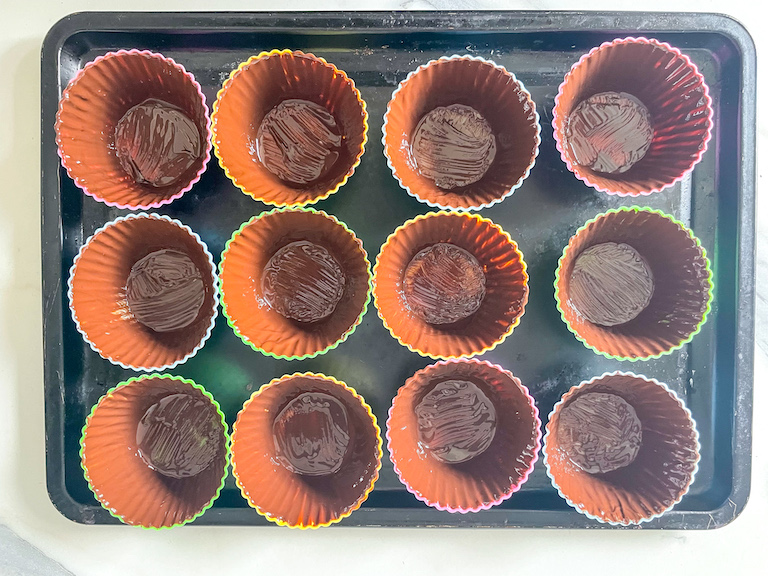

Remove liners from freezer. Brush another layer of chocolate into each liner and return to freezer. Repeat this process until your chocolate has reached the desired thickness (I used three coats of chocolate for each cup.)
Remove liners from freezer and carefully “pop” the molded chocolate cups from the liners.

Assembly:
Line a small tray with parchment or a silicone mat. Place chocolate cups on the tray.
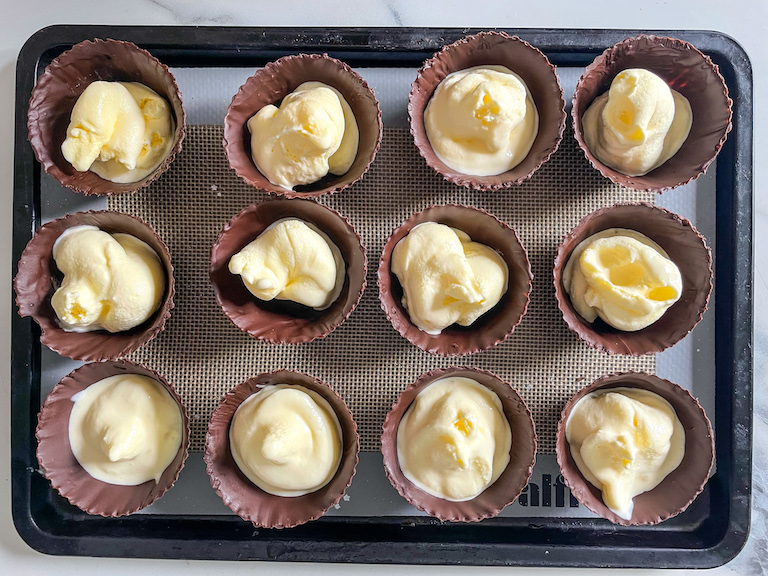
Transfer softened ice cream to a disposable piping bag.
Pipe a generous dollop inside each chocolate cup, filling the cups about halfway.
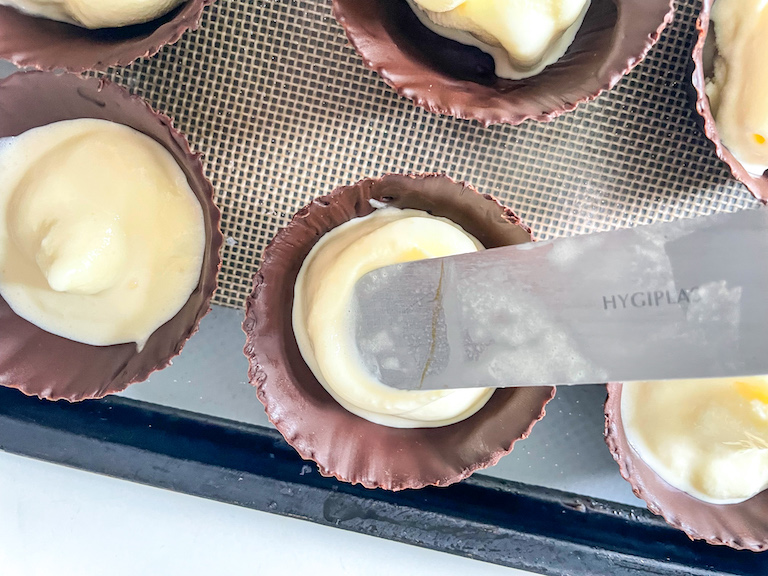
Spread with a small stepped palette knife (the back of a spoon or a tiny spatula will also work).
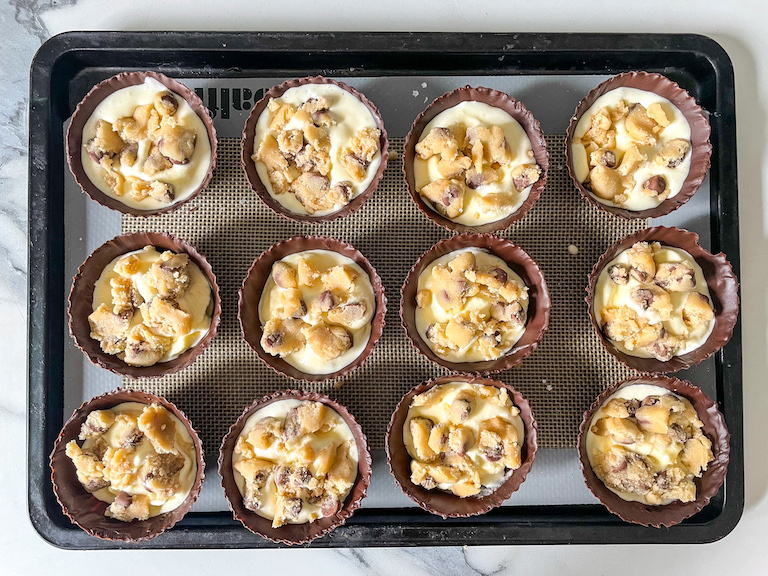
Top with a layer of crumbled cookie dough.
Pipe a second layer of vanilla ice cream on top of the cookie dough, and spread to distribute it evenly over the surface.
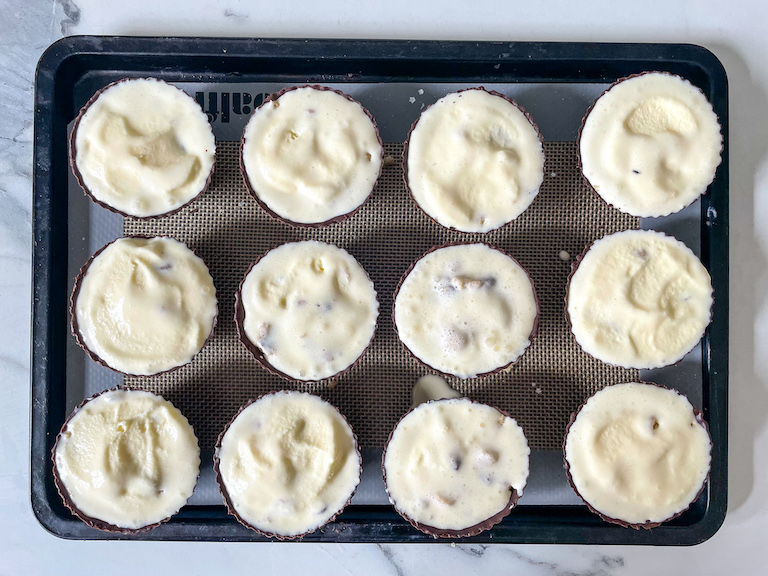
Freeze cupcakes for 30 minutes or until ready to serve.
Decoration:
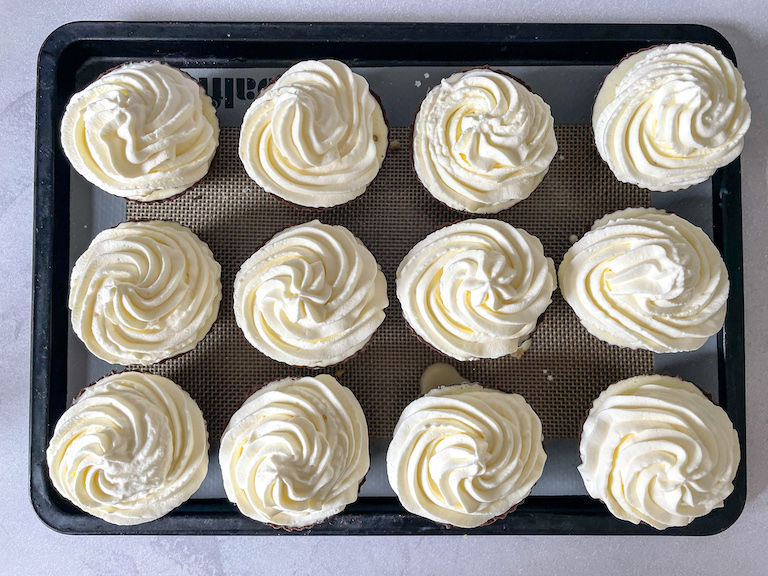
Just before serving, pipe the tops of the cupcakes with swirls of whipped cream.
Decorate with sprinkles, pieces of crumbled cookie dough, or both.
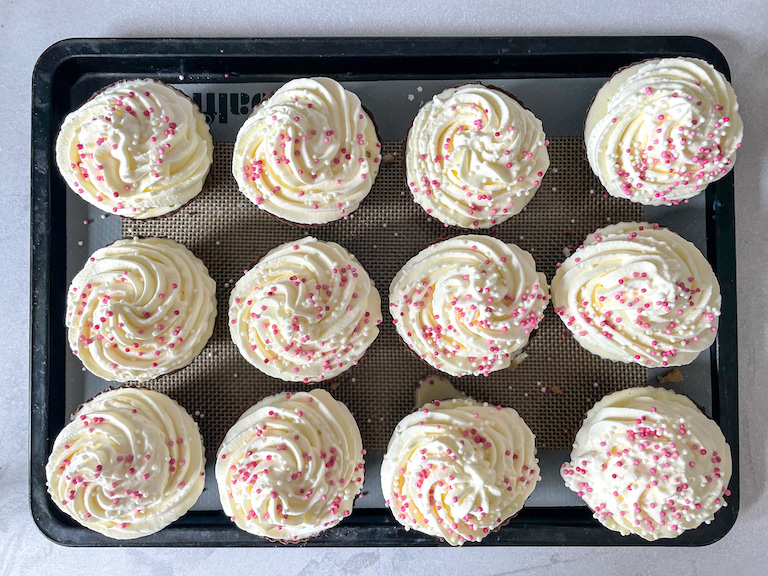
Serve immediately.


Notes
Whipped cream, sprinkles, and other toppings should be added just before you are ready to serve your cupcakes. These won’t hold up well in the freezer.