becky
becky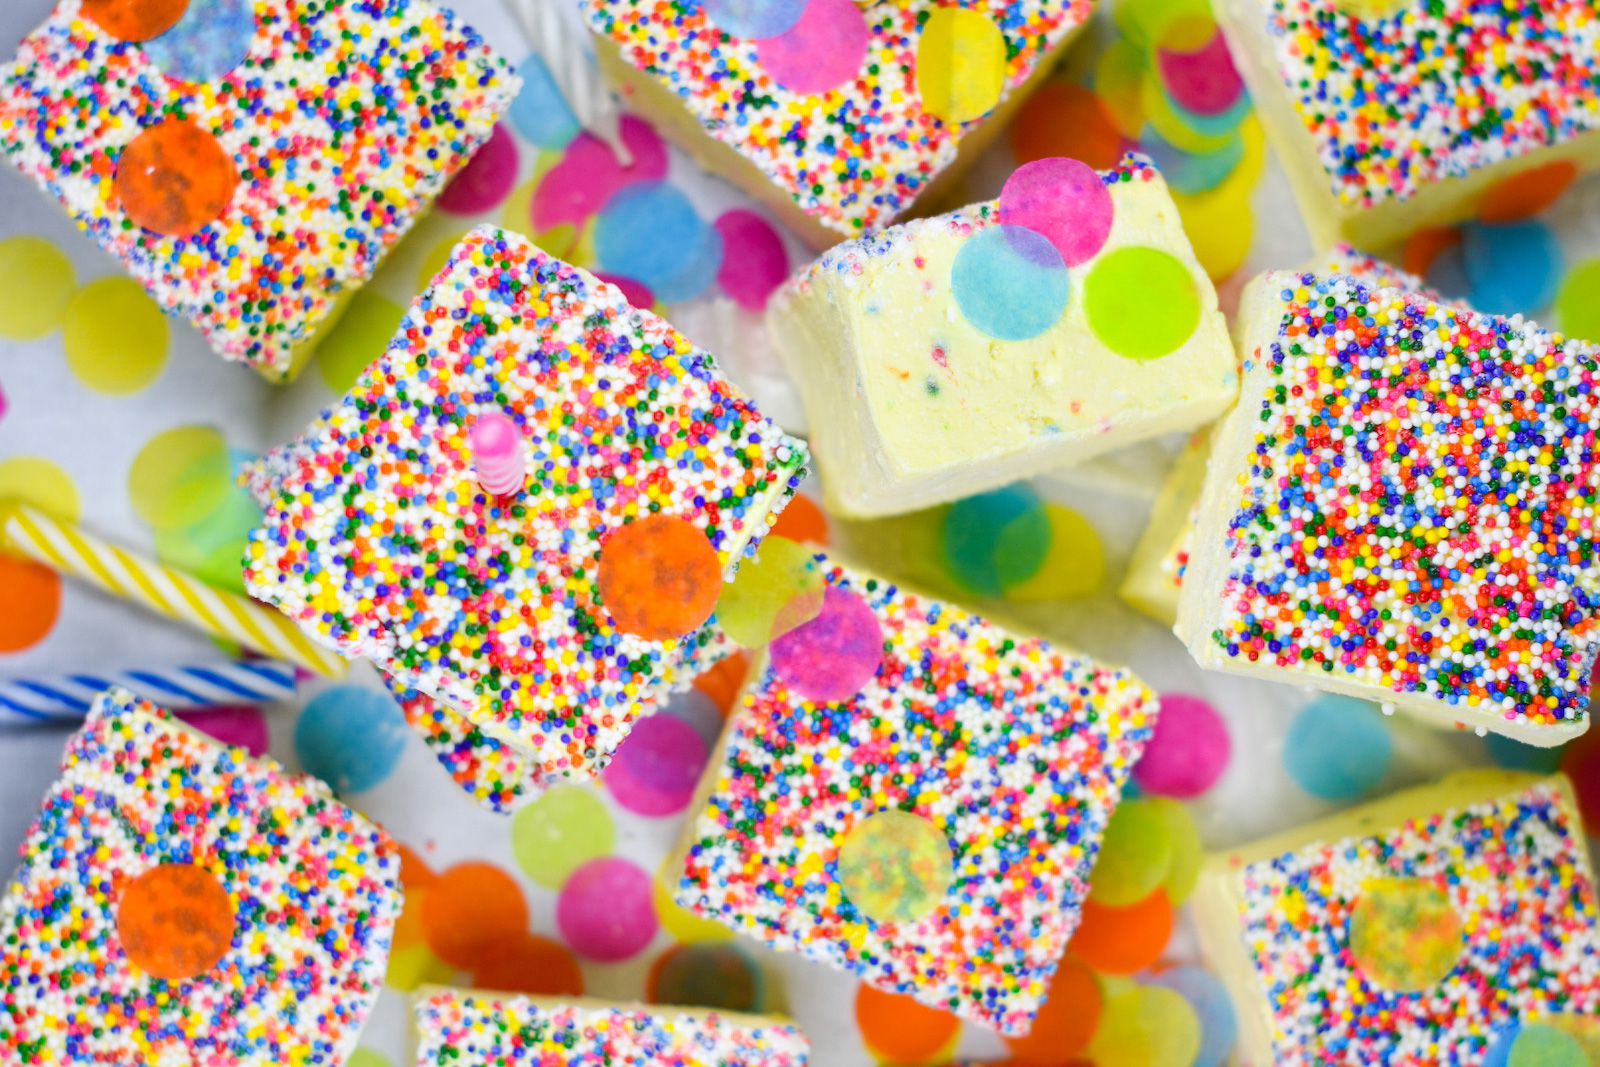
This post may contain affiliate links. Please read the disclosure policy to learn more.
Thank you for supporting this blog!
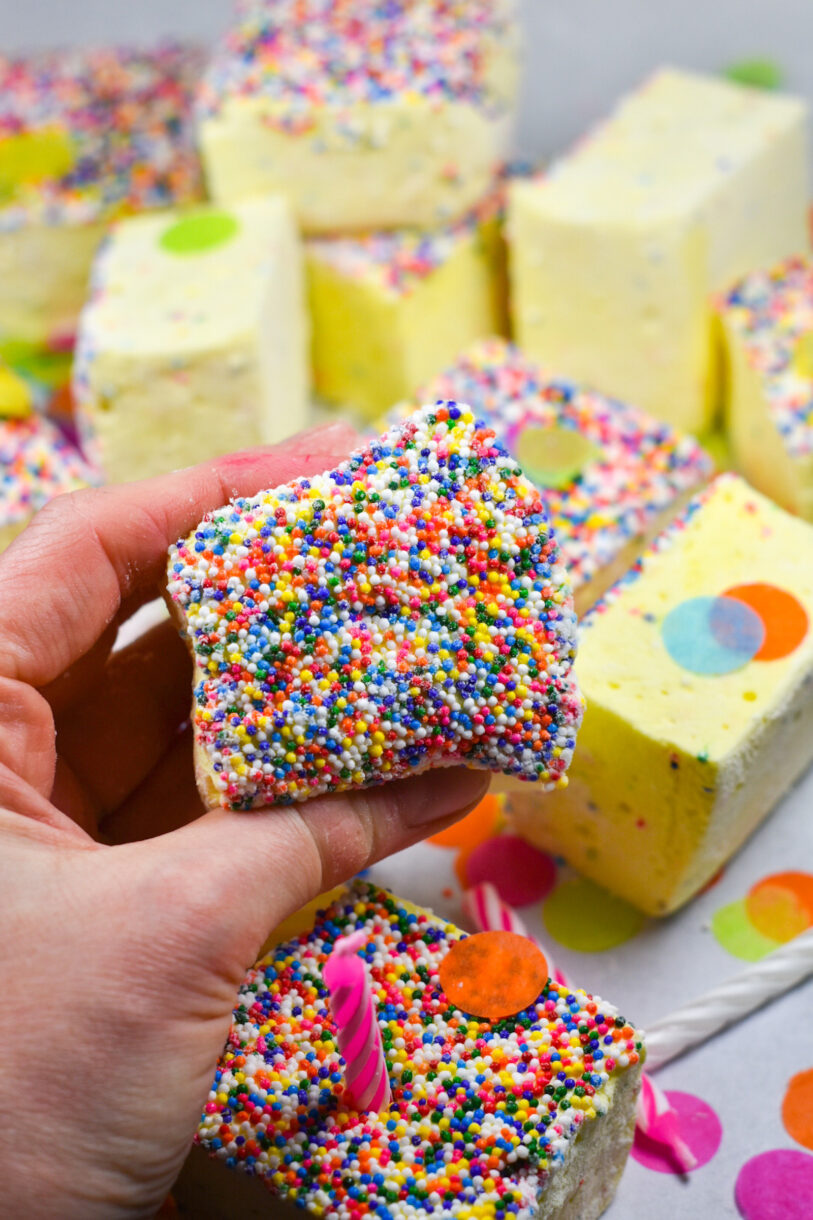
This birthday cake marshmallow recipe is one of my favorites. These homemade marshmallows taste just like birthday cake, with plenty of rainbow sprinkles, too!

What Inspired This Birthday Cake Marshmallow Recipe?
“Birthday cake” or “cake batter” desserts seem to be having a bit of a moment on social media. I’ve spotted cake batter cookies, cake batter ice cream, cake batter doughnuts, protein bites, brownies, coconut macaroons, and oh so many macarons.
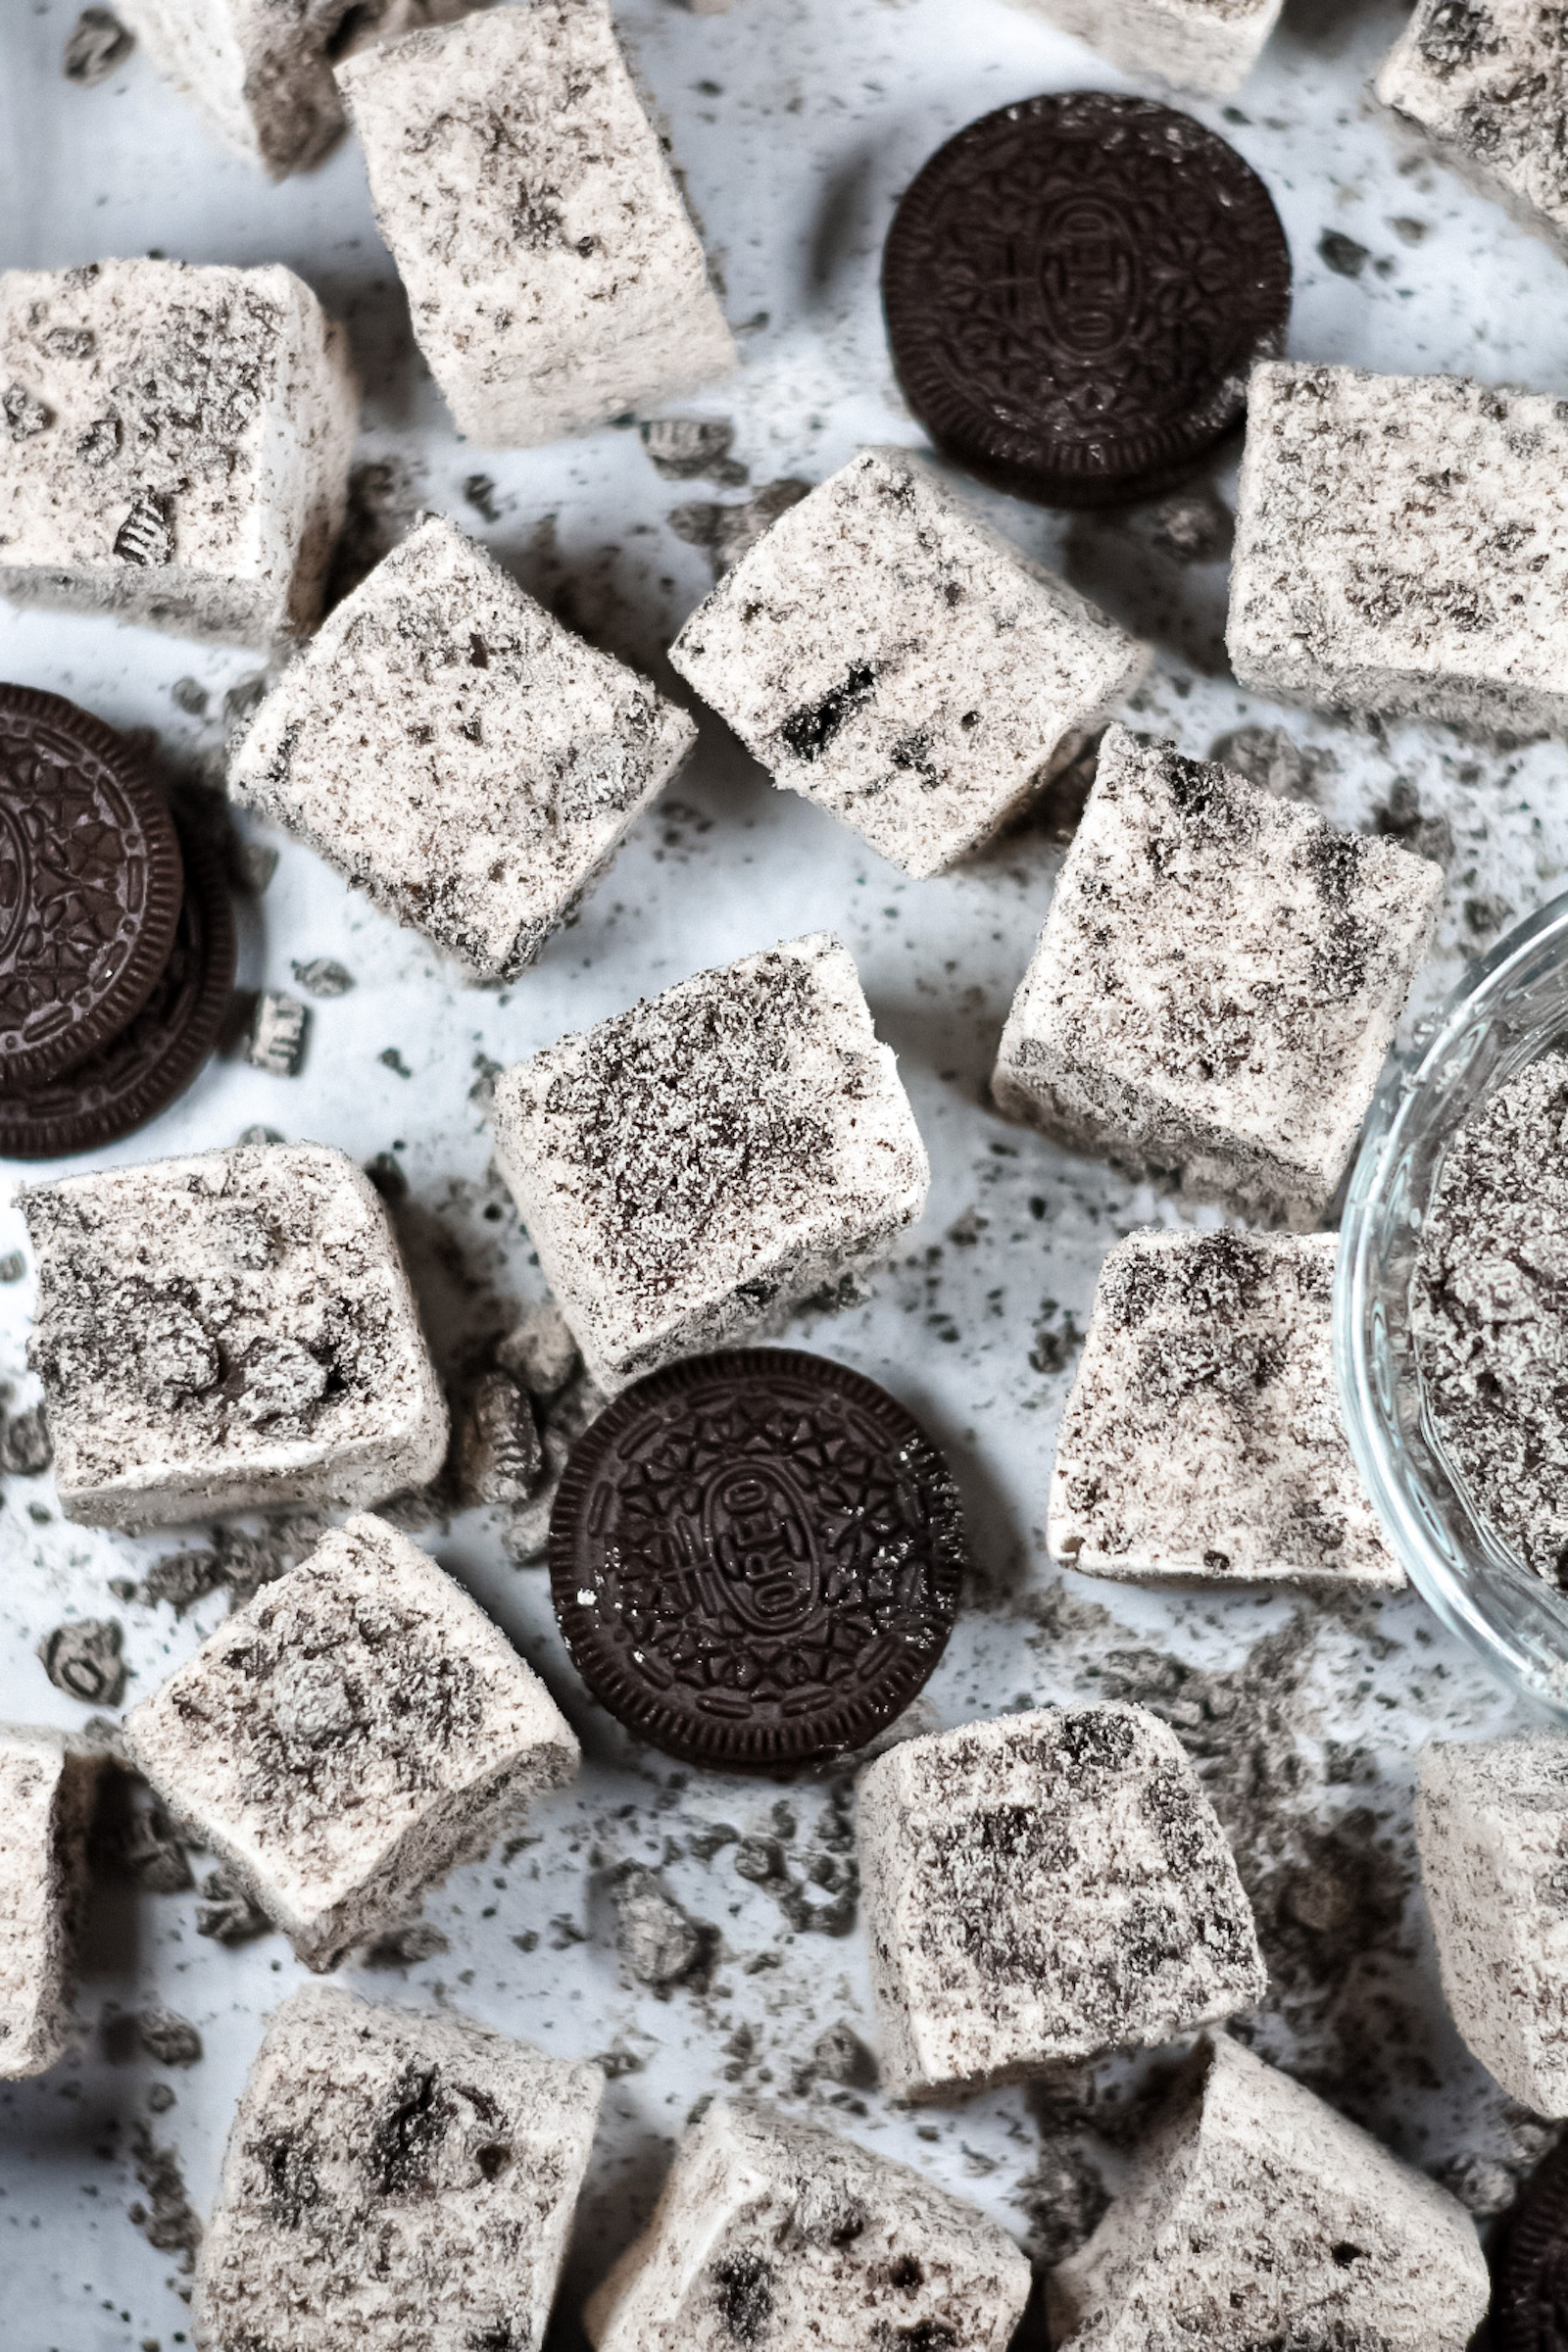
Marshmallows offer endless room for creativity. You can experiment with different flavors and colors, cut them into fun shapes, or mix add-ins like candy, crushed cookies, sprinkles, or chocolate chips into the batter. It’s fun to create a one-of-a-kind confection you’ll never find in any grocery store.
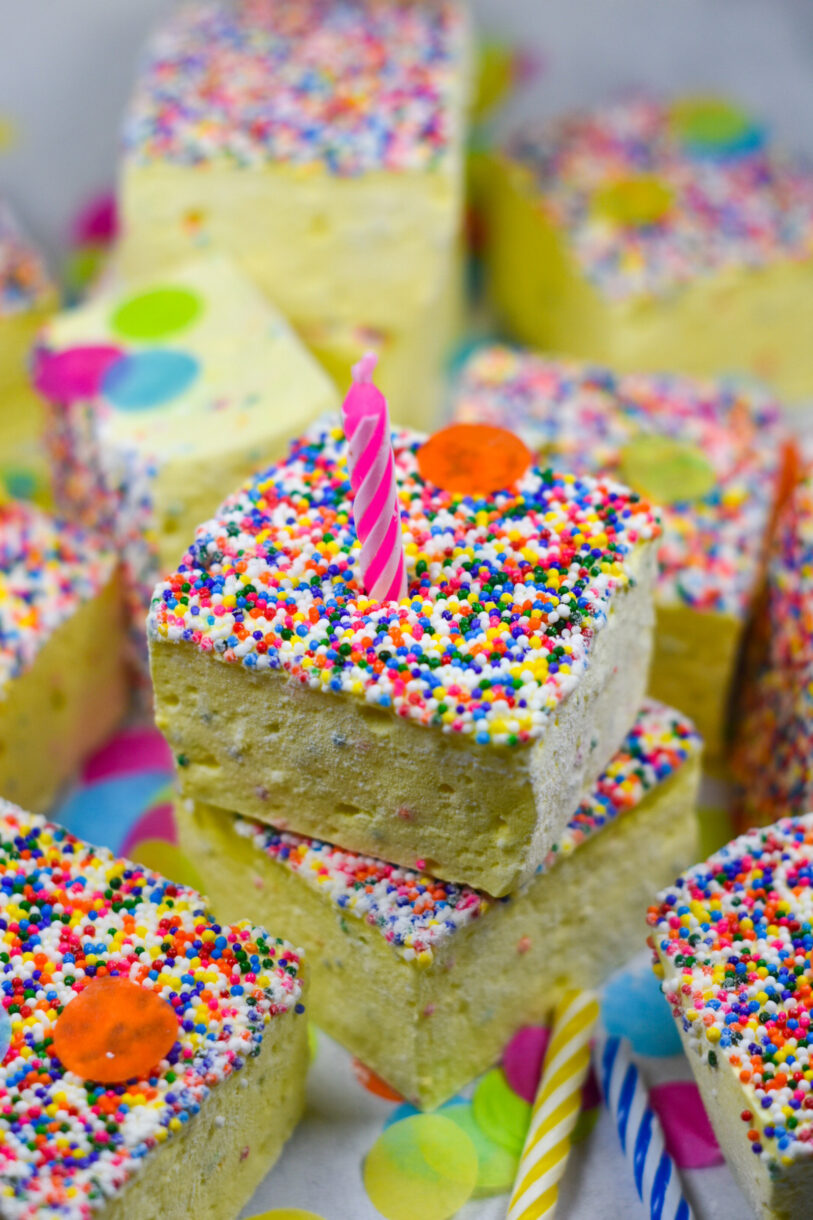
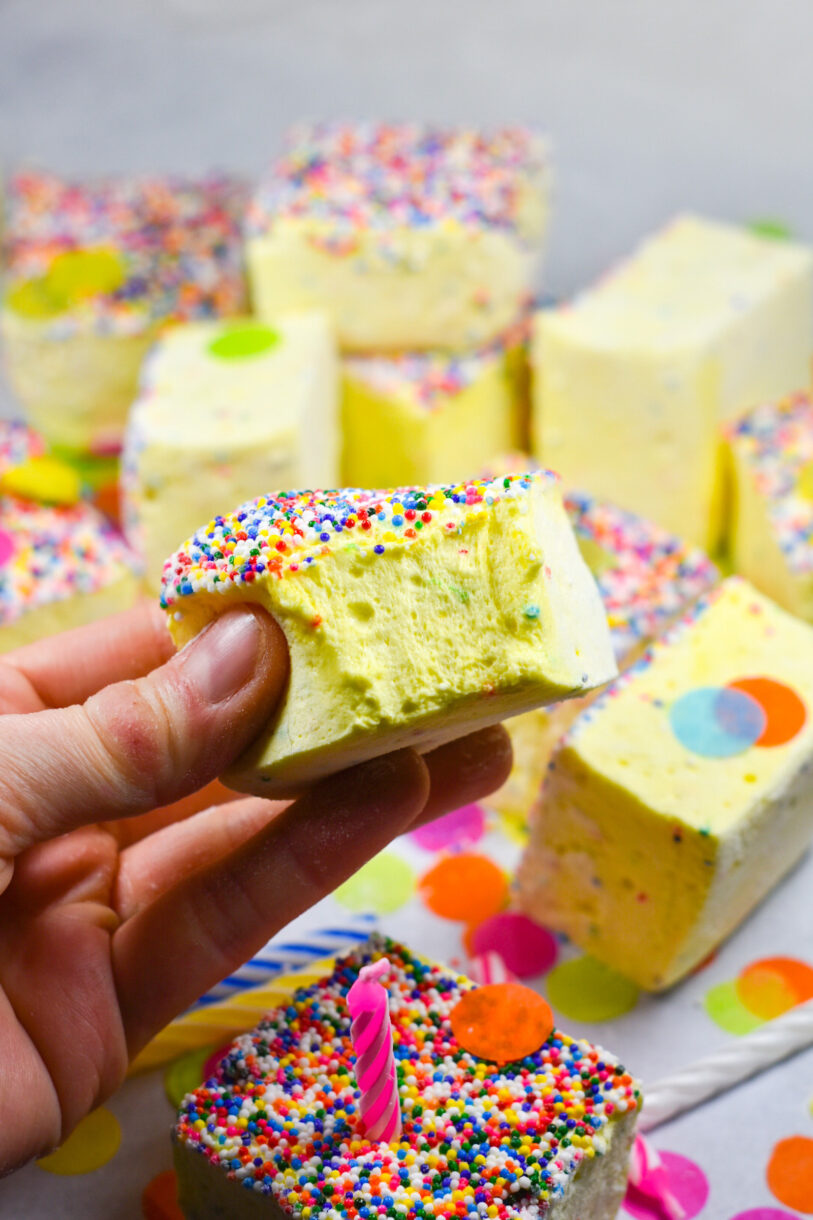
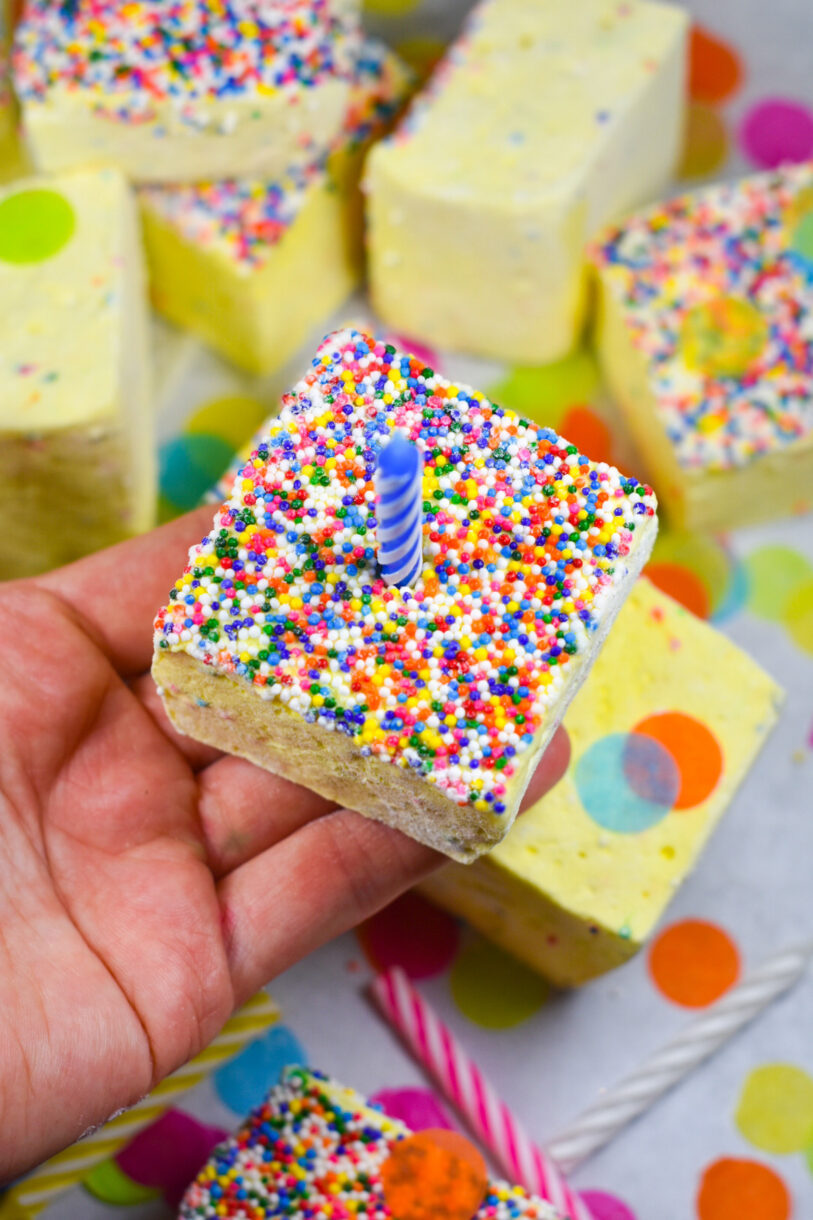
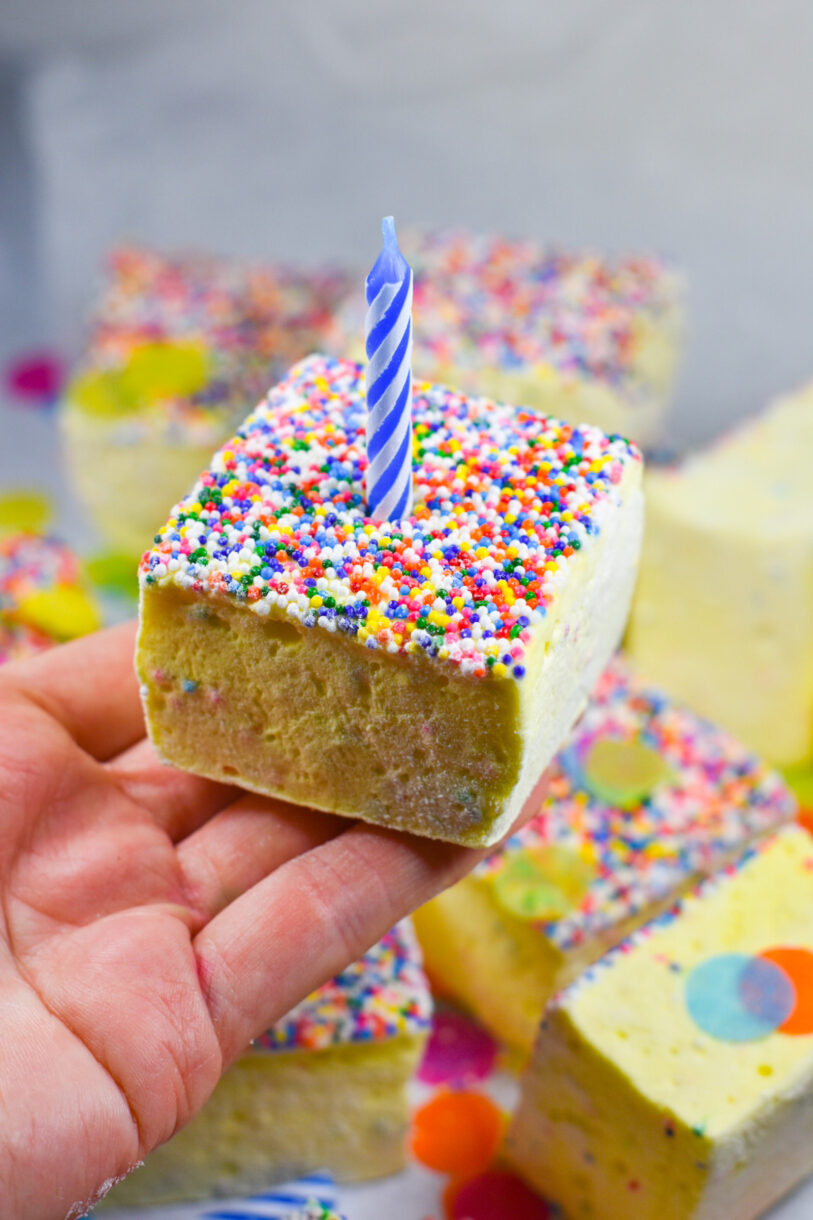
For this particular batch of marshmallows, I wanted to play around with the flavors and colors of a slice of birthday cake. With a fluffy marshmallow base, pale yellow color, cake batter flavor, and crunchy rainbow nonpareil coloring, this homemade birthday cake marshmallow recipe really does rival the real thing!
Why Make Homemade Marshmallows?
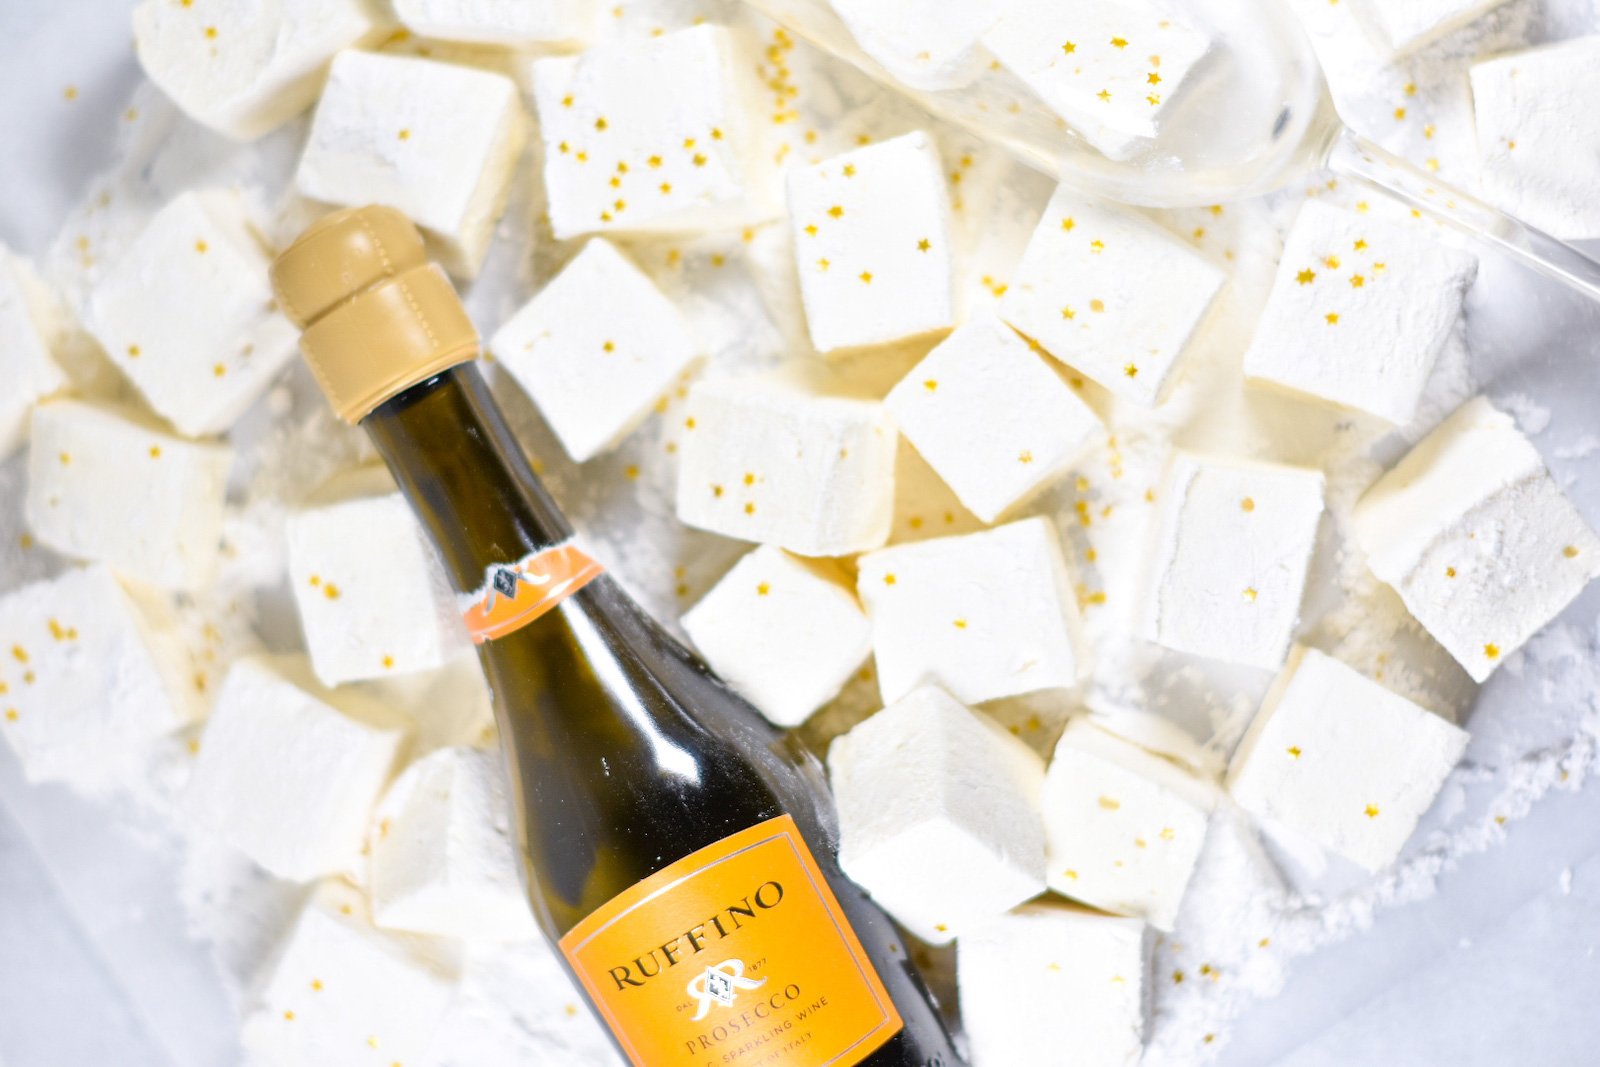
If you’ve been reading this blog or following my Instagram account for awhile now, you probably already know just how much I love to make homemade marshmallows.
The best thing about marshmallows? They’re deceptively simple to make. Boil a few ingredients in a saucepan, pour the hot syrup into some gelatin, mix on high speed until fluffy, pour into a pan. That’s it. You can whip up a batch of homemade marshmallows in about 30 minutes of active kitchen time. (Although they take a good 12+ hours from start to finish, most of that is just passive resting time as you wait for the slab to set.)
And trust me. Once you’ve made your own marshmallows, it’s hard to ever go back to the store-bought kind ever again!
Birthday Cake Marshmallow Ingredients
I purchased a bottle of cake batter flavoring from LorAnn Oils, which worked nicely in this recipe. However, there are a number of cake batter oils and extracts available on Amazon. Feel free to experiment to see which one works best for you. You could also make these with a classic vanilla flavoring, or even do a red velvet cake version!
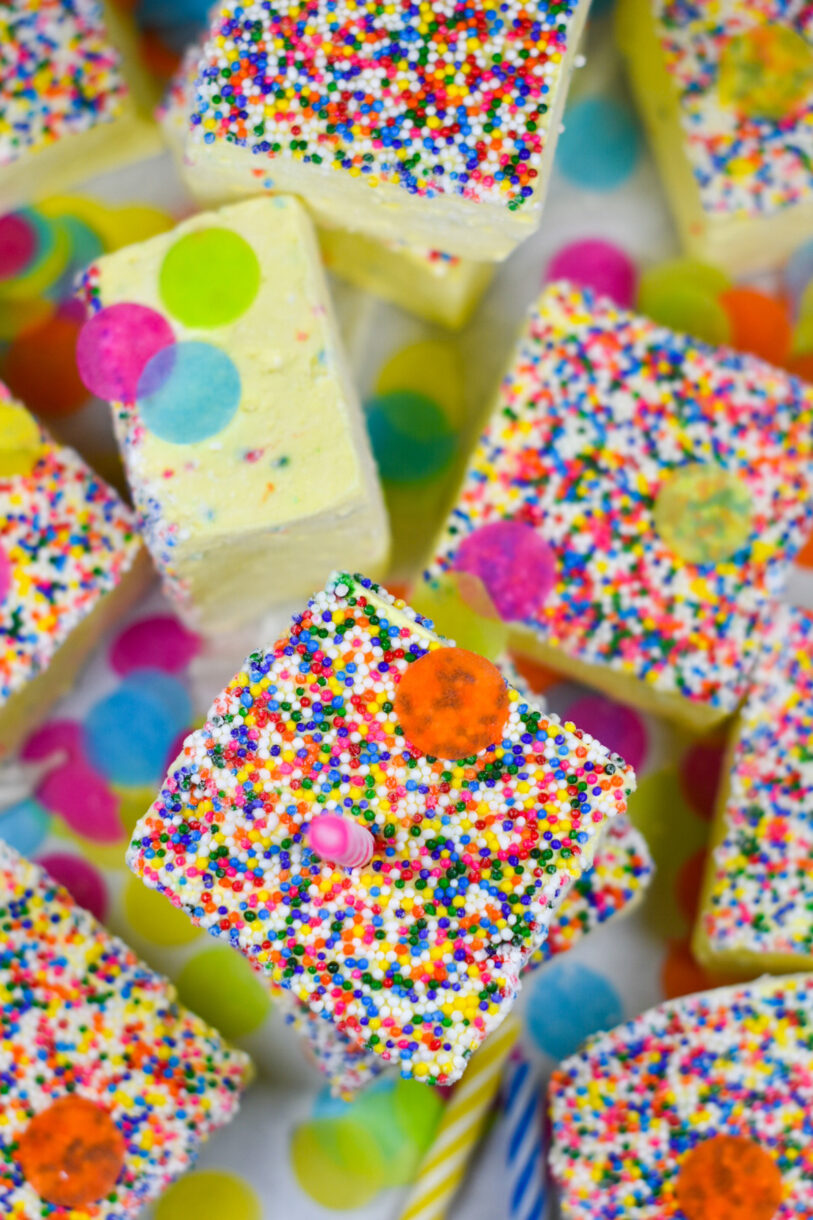
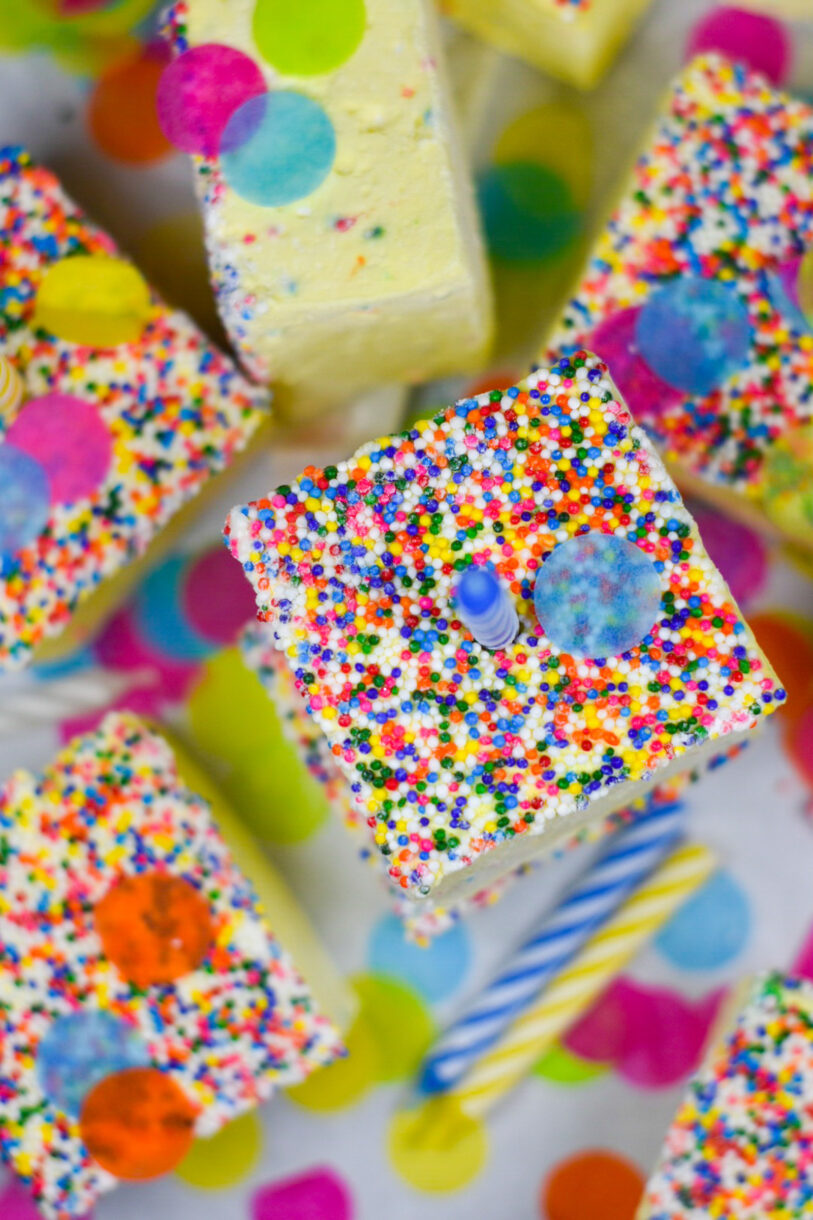
You’ll also need plenty of rainbow nonpareil sprinkles. I suggest buying your sprinkles in bulk. Grocery stores tend to only sell nonpareils and sprinkles in tiny bottles, and buying the 2-3 of them you’ll need for this recipe simply isn’t cost-effective. You can use nonpareils or traditional rainbow sprinkles.
Gelatin creates the spongy, fluffy marshmallow texture. Although this recipe calls for powdered gelatin, these marshmallows can just as easily be made with leaves as well. See this post for conversions and other helpful hints.
Finally, you’ll need pale yellow gel food coloring. I chose yellow to mimic the colors of a slice of yellow cake, but you can also tint your marshmallows pink, blue, or any color you’d like. You can also omit the food coloring if you prefer a more natural look.
Birthday Cake Marshmallow Recipe Tips & Tricks
If you want to coat one side of your marshmallow slab in sprinkles, do it before you remove your slab from the metal tin. It’s much easier (and less messy!) to pour the sprinkles on top of the marshmallow mixture while it’s still in the tin. The top of the slab will also be the stickiest, since it hasn’t been coated in oil.
You can cut your marshmallow slab in any way you’d like. Six rows of six works well if you want to make 36 average-sized marshmallows. Or, you can cut four rows of four 16 large (brownie-sized!) marshmallows, as I’ve done here. Alternately, you can use a well-oiled metal biscuit cutter to cut the slab into fun shapes. Hearts or stars would both be especially cute.
Before slicing, coat your chef’s knife in vegetable or olive oil, and keep the bottle nearby so you can reapply as necessary. Using a sharp, well-oiled knife makes slicing the sticky marshmallow slab so much easier.
Other homemade marshmallow recipes you might enjoy:
Mint Chocolate Chip Marshmallows
Cookies and Cream Marshmallows
Strawberry Marshmallows
Classic Vanilla Bean Marshmallows
And if you do make these, or any of my recipes, don’t forget to tag me @bastecutfold or use the hashtag #bastecutfold on Instagram. I always love to see what you’re making!
Birthday Cake Marshmallows

A birthday cake marshmallow recipe with plenty of rainbow sprinkles!
- Prep Time: 30-40 minutes
- Resting Time: 8 hours, or overnight
- Total Time: 0 hours
- Yield: 1 8x8 in / 20x20 cm slab 1x
- Category: Sweets
- Method: Stovetop
- Cuisine: Candy and Confectionery
Ingredients
210 milliliters water, divided (about 1 cup, divided)
20 grams powdered gelatin* (2 tablespoons)
400 grams granulated sugar (2 cups)
200 grams corn syrup (1/2 cup)
1/4 teaspoon salt
1/4 – 1/2 teaspoon cake batter flavoring
Yellow gel food coloring
3 tablespoons rainbow nonpareil sprinkles
Canola oil or nonstick cooking spray, for greasing tin and knife
Coating
50 grams potato starch* (1/3 cup)
50 grams confectioner’s sugar (1/3 cup)
Rainbow nonpareil sprinkles, for coating top (optional)
Instructions
Marshmallow Slab
Line an 8×8-inch / 20 x 20-centimeter square tin with parchment, and coat generously with oil. (See this recipe for the best lining technique!) Set aside until ready to use.
Pour 105 milliliters (1/2 cup) water into a large mixing bowl (if using a hand mixer), or the bowl of a stand mixer. Sprinkle the gelatin evenly over the water, and set bowl aside.
Combine sugar, corn syrup, remaining water, and salt in a large saucepan. Bring mixture to a boil and boil, without stirring, until syrup reaches 240° F / 116° C on a candy thermometer.
Carefully pour hot syrup into gelatin mixture. Mix on high speed for 2-3 minutes, until mixture begins to thicken. Add cake batter flavor and yellow food coloring and continue to mix on high speed until very thick, about 8-9 minutes more.
Add rainbow nonpareils and mix on low for 15-30 seconds, just long enough to incorporate the chocolate into the mixture.
Using an oiled spatula, scrape marshmallow mixture into prepared tin. Loosely cover with a well-oiled sheet of aluminum foil. Allow to set until firm, at least 4 hours or overnight.
Cutting and Coating
In a small bowl, combine potato starch and confectioner’s sugar.
Cover a large chopping board with a sheet of parchment, and dust generously with starch-sugar mixture.
If you want to coat one side of your marshmallow slab in sprinkles, do it now. It’s much easier (and less messy!) to pour the sprinkles on top of the marshmallow mixture while it’s still in the tin. The top of the slab will also be the stickiest, since it hasn’t been coated in oil.
Remove the foil covering and pour a generous amount of sprinkles on top of the slab. Use your hands to spread, making sure the marshmallow layer has been completely covered. (Note: If you’re planning to skip the sprinkle layer, you can simply proceed to the step below.)
Lift marshmallow slab out of tin. Peel away the parchment, and place onto dusted surface, sprinkle side up. (If not using sprinkles, sift top of slab with more of the starch-sugar mixture.)
Use a well-oiled knife to cut the slab into squares. You can make small squares (six rows of six works well, for 36 average-sized marshmallows) or cut 16 oversized marshmallows as I’ve done here. Or, use an oiled metal biscuit cutter to cut the slab into fun shapes–it’s really up to you!
Toss each marshmallow in additional starch-sugar mixture, making sure all sticky sides are coated.
Marshmallows will keep well for several weeks when stored in an airtight container at room temperature.


Notes
*This recipe can also be made with leaf gelatin. See this post for conversions/recipe adjustments and other helpful hints.
Pay careful attention to the way you line your tin. Not enough parchment or oil, and your marshmallow slab will stick to the tin.