This post may contain affiliate links. Please read the disclosure policy to learn more.
Thank you for supporting this blog!
Original post published October 30th, 2017. Post last updated on February 10th, 2024.
I originally wrote this post on how to make homemade candy corn way back in 2017. Needless to say, a lot has changed since then (a little trip to pastry school and a culinary masters degree, among other things!) So I wanted to give this recipe a major update, along with a fresh set of photos.
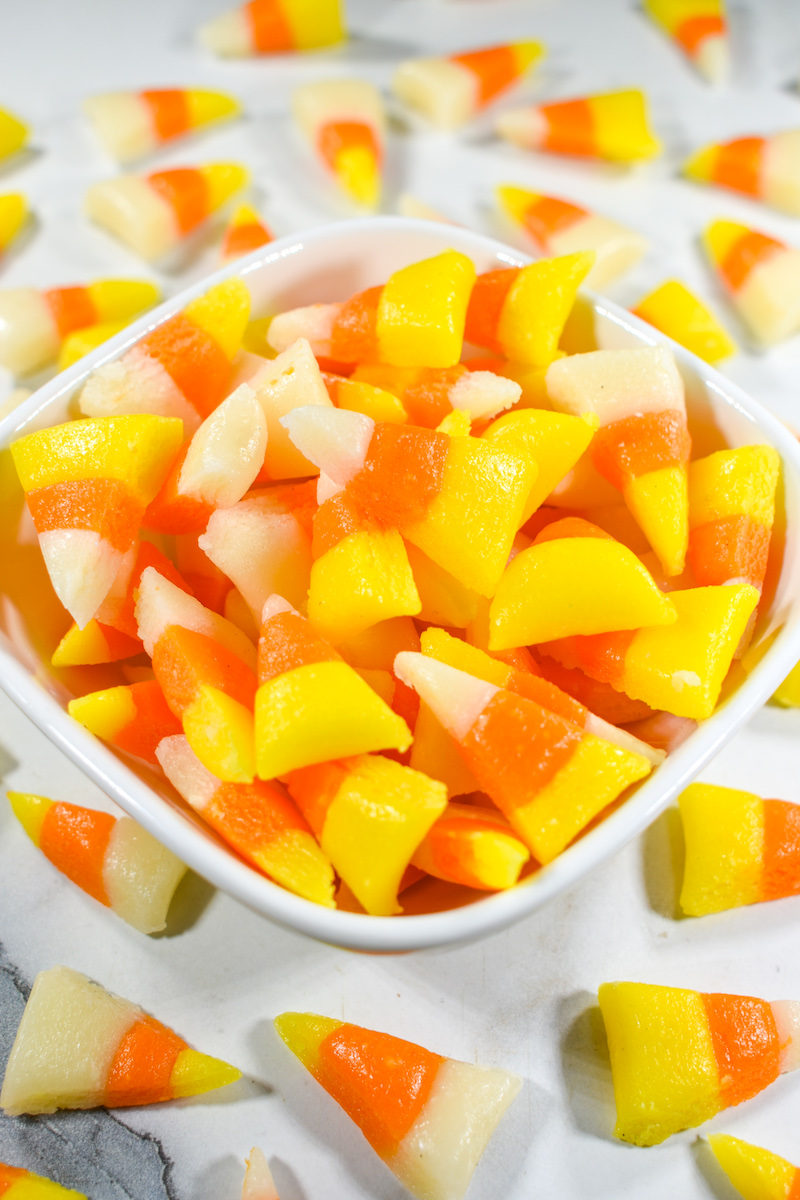
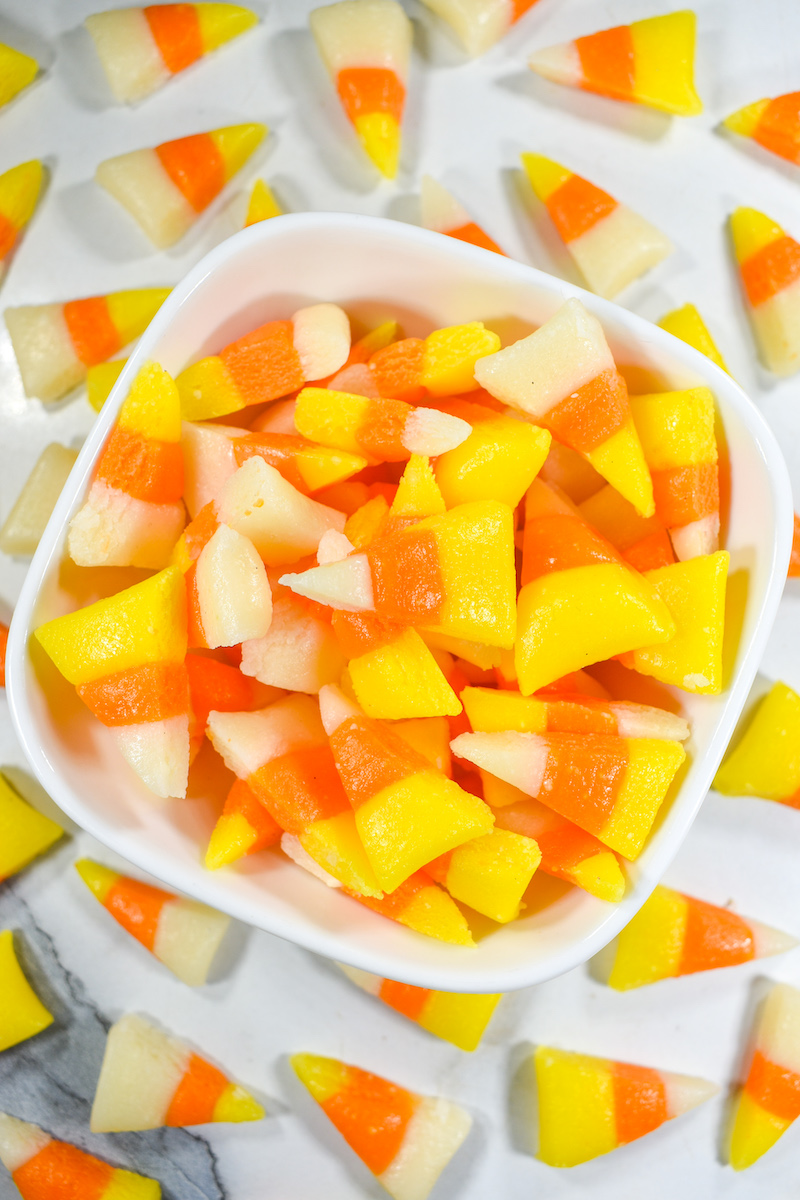
Keep reading to learn how to make your own Halloween candy corn.
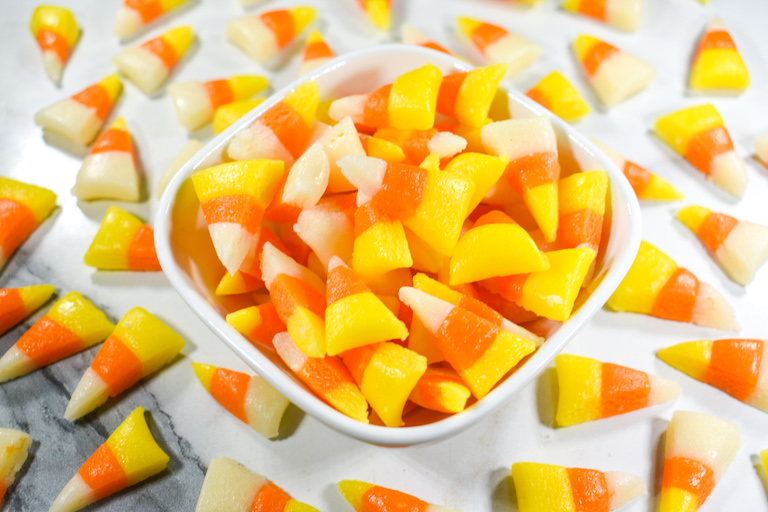
Why Learn How to Make Homemade Candy Corn?
Candy corn often falls into the “love it or hate it” category, along with foods like cilantro, anchovies, olives, blue cheese, and Marmite. (These are all “love its” for me, by the way…) I’m firmly in the “love it” camp, and look forward to candy corn appearing on grocery store shelves every autumn.
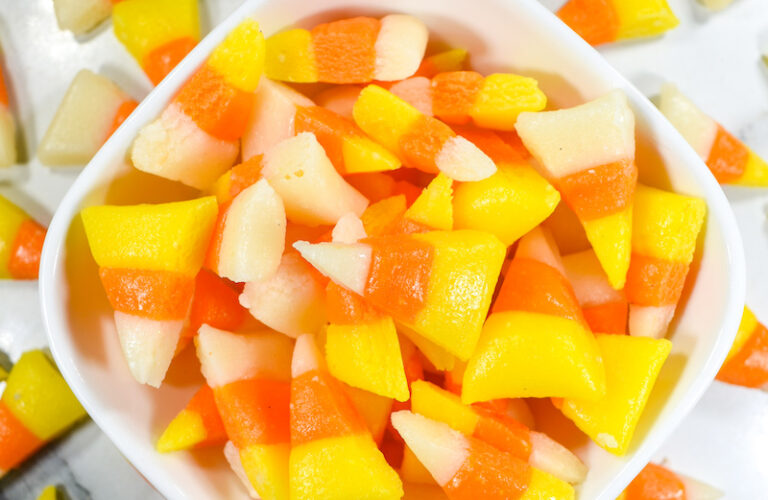
If candy corn is a “hate it” for you, I still suggest giving this recipe a chance. In my experience, even people who don’t care for candy corn enjoy the homemade version. Unlike the store-bought stuff (which always has that weird-slightly-unplaceable-highly-artificial flavor), this homemade candy corn tastes just like vanilla.
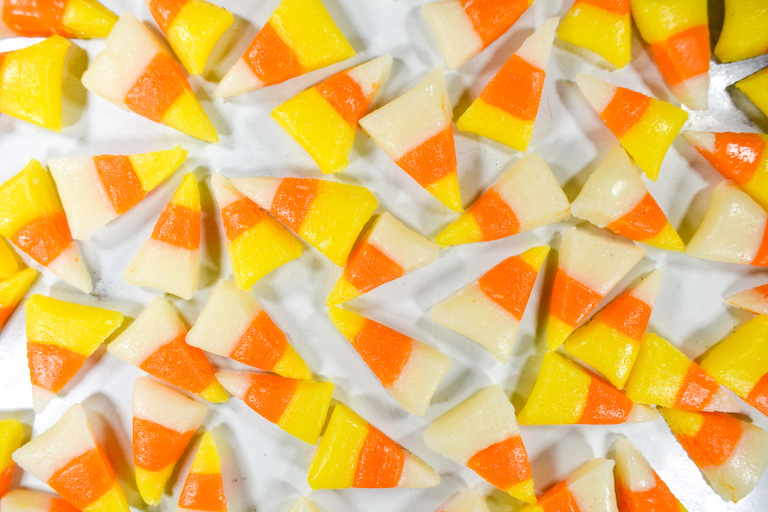
How to Make Candy Corn from Scratch
Although learning how to make candy corn from scratch might seem daunting, this easy candy corn recipe is actually pretty straightforward, and you certainly don’t need to be a master confectioner to whip up a batch. (If some of the steps sound a bit confusing, don’t worry. I’ve included step-by-step process photos in the recipe below.) And with the exception of the dry milk powder, this homemade candy corn mostly contains ingredients you already have in the kitchen cabinet—things like sugar, salt, butter, food coloring, and vanilla extract.
To make candy corn from scratch, you’ll begin by stirring together granulated sugar, butter, and liquid glucose (or light corn syrup) and cooking it to soft ball stage, then stirring in a mixture of dry milk and powdered sugar to create a soft dough. Then you’ll pour the mixture out onto a silicone mat, allow it to cool ever-so-slightly, and tint it with gel food coloring.
After that, it’s basically like playing with Play-Doh! (Note: Because the sugar mixture is extremely hot, making candy corn is not a suitable project for very young children, but older kids and teens can definitely help with the shaping.) Just use your hands to roll the candy corn dough into long ropes, smush the ropes together, cut them into triangles, and voila! Homemade candy corn.
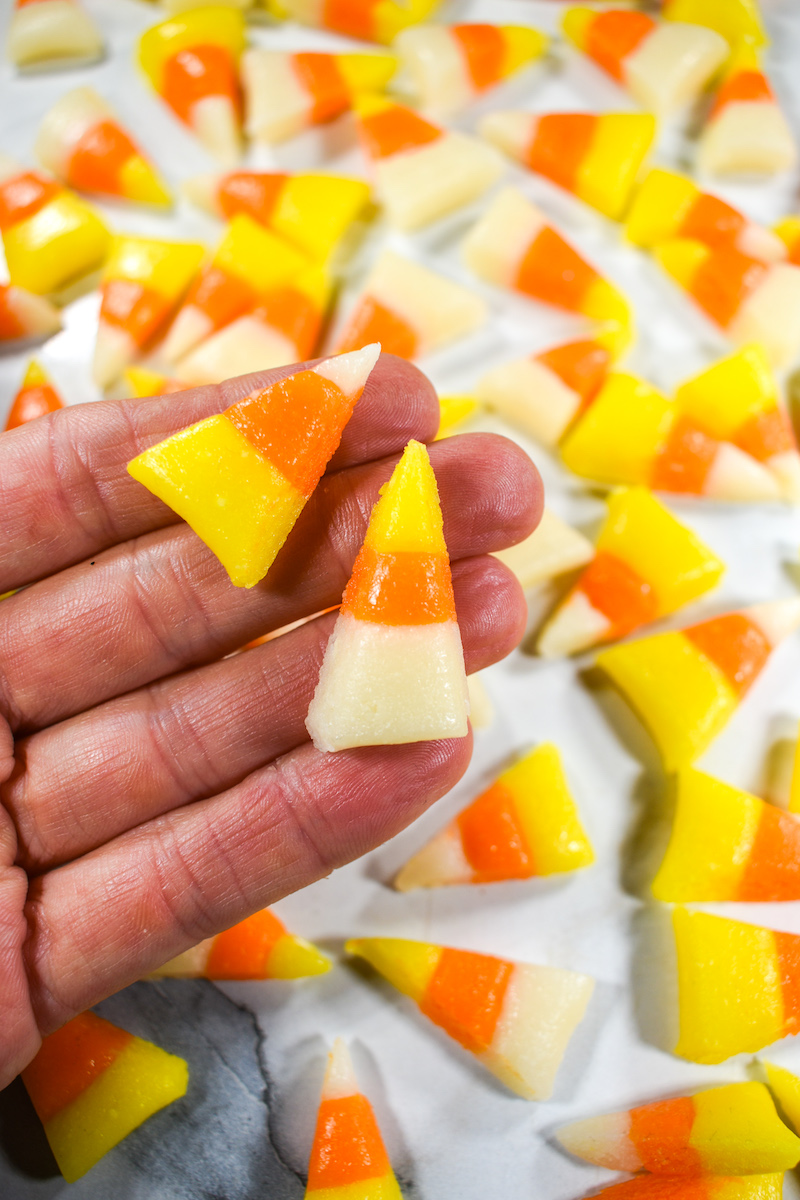
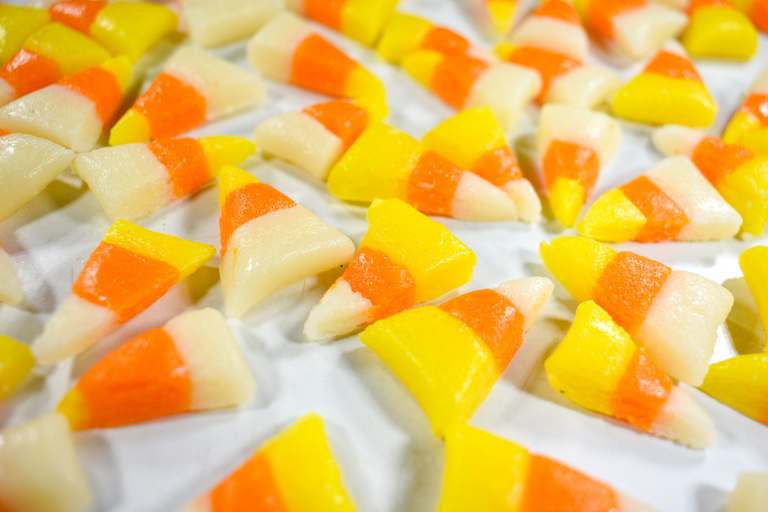
Candy Corn Assembly Tips
When working with hot sugar, I suggest donning a pair of soft cotton gloves, then layering a pair of rubber gloves over top. This combo protects your hands from heat, food coloring, and sticky substances.
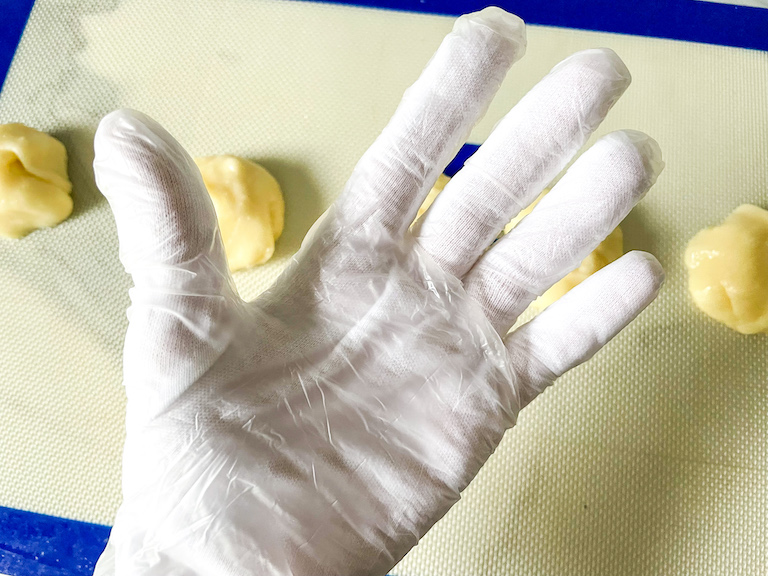
I highly suggest using this “double glove” method when making candy corn. You’ll be able to work with the dough while it is still hot, which also means it is more pliable—candy corn dough will stiffen as it cools, making rolling and shaping more difficult.
In the step-by-step instructions below, I suggest cutting the homemade candy corn with a bench scraper. If desired, you can also use a paring knife, but you’ll first need to move the ropes of candy corn dough to a cutting board. You should never cut directly on a silicone mat, as it can cause fibers from the mat to leech into your candy.
How to Store and Gift Homemade Candy Corn
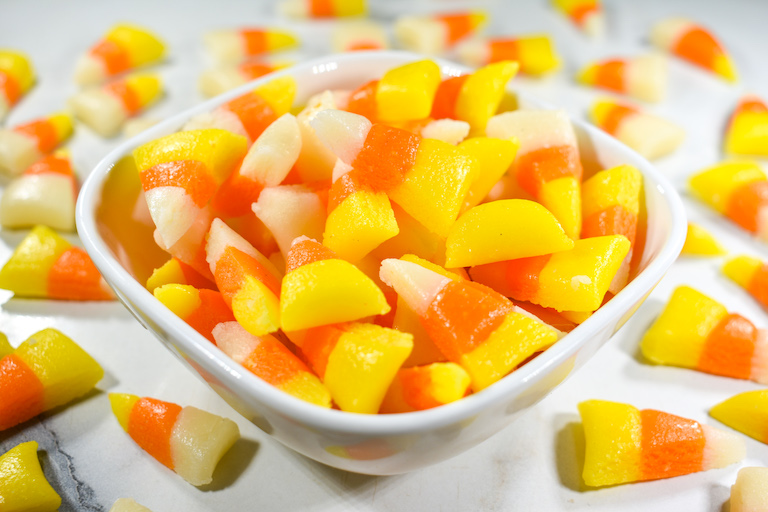
This candy corn recipe ships well (in the past, I’ve successfully mailed batches to nieces and nephews in various parts of the country) and will stay fresh for a few weeks when kept at room temperature in an airtight container. I suggest storing homemade candy corn between layers of wax paper or baking parchment to prevent the pieces from sticking together.
Tips for Making Candy Corn from Scratch
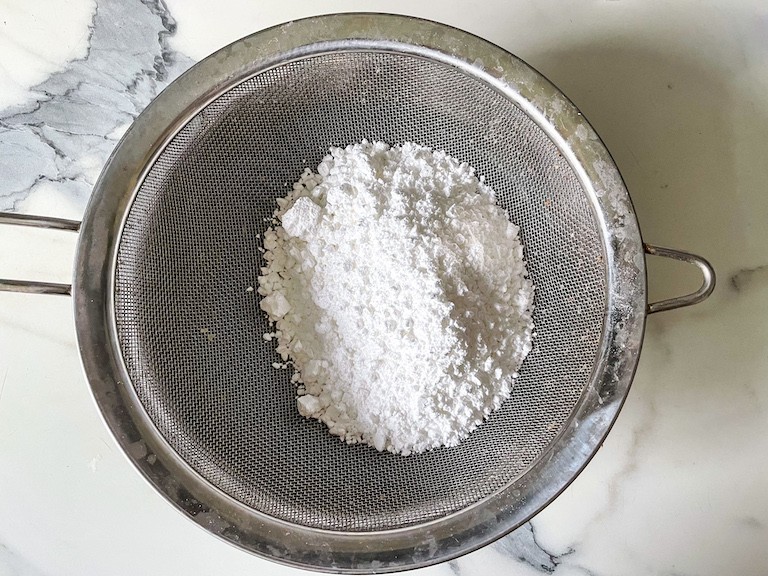
When preparing your homemade candy corn ingredients, do not skip the sugar sifting step! Using a mesh sieve to sift the confectioner’s sugar is very important. If there are lumps in your sugar, you’ll have lumps in your candy corn, too.
When cooking the hot sugar mixture, stop stirring as soon as the sugar has dissolved. If you continue stirring, you risk causing the mixture to crystallize, leading to gritty candy corn. As a side note, the sugar will reach soft ball temperature fairly quickly (about 2 minutes) so don’t step away from the stove.
Tools and Ingredients for Making Homemade Candy Corn
Bench Scraper
For cutting the strips of candy corn dough into triangles. (If you don’t have a bench scraper you can use a sharp knife, but you’ll need to transfer the ropes of dough to a cutting board. See my notes above.)
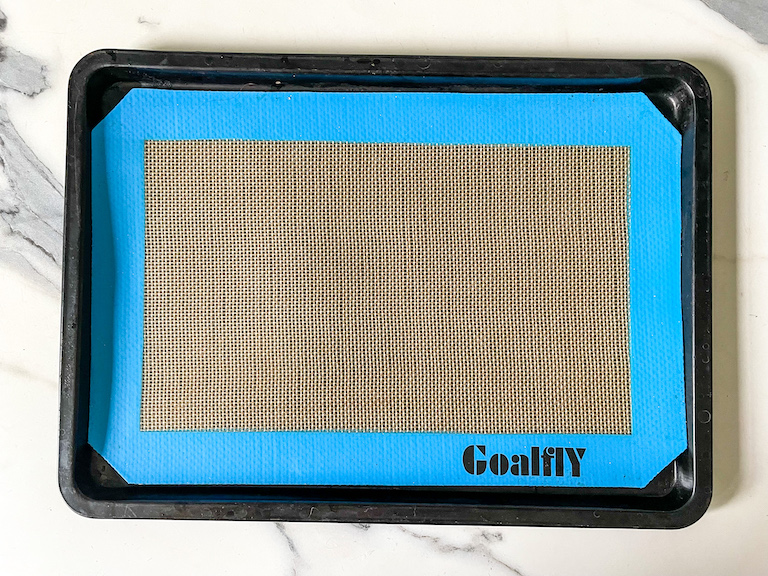
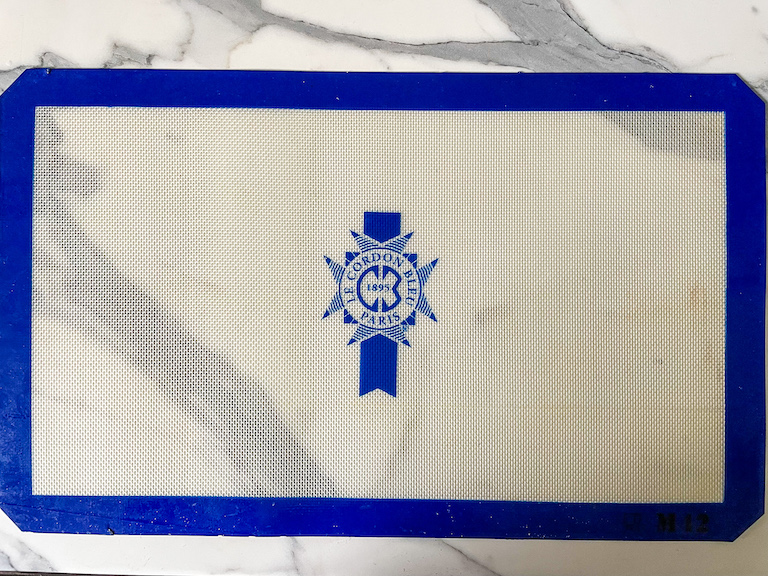
Silicone Mats
You’ll need two: One mat for pouring and rolling the hot sugar mixture, and a second mat for cooling the finished candy corn.
Candy Thermometer
The temperature is very important in this candy corn recipe (too hot and you’ll make hard candy or caramel, rather than soft, chewy candy corn) so don’t guess. If you don’t have a thermometer, my go-to is this Taylor digital thermometer.
Food Coloring
For tinting the candy corn dough. (Be sure to use gel—I don’t recommend using water-based grocery store food coloring for this recipe.) I used Chefmaster‘s Lemon Yellow and Neon Brite Orange for the batch of candy corn in the photos.
Powdered Milk
This ingredient gives your homemade candy corn its distinctive taste and texture. You can find this in most grocery stores (in mine, it’s located in the aisle with tea and coffee), or puchase it from Amazon.
Flavor and Color Suggestions
As written, my homemade candy corn recipe calls for vanilla extract, but one of the benefits of making candy corn from scratch is that you can choose any flavor you’d like! You could try a flavor like marshmallow or almond, or make an autumn-inspired batch with pumpkin, cinnamon, or maple flavoring.
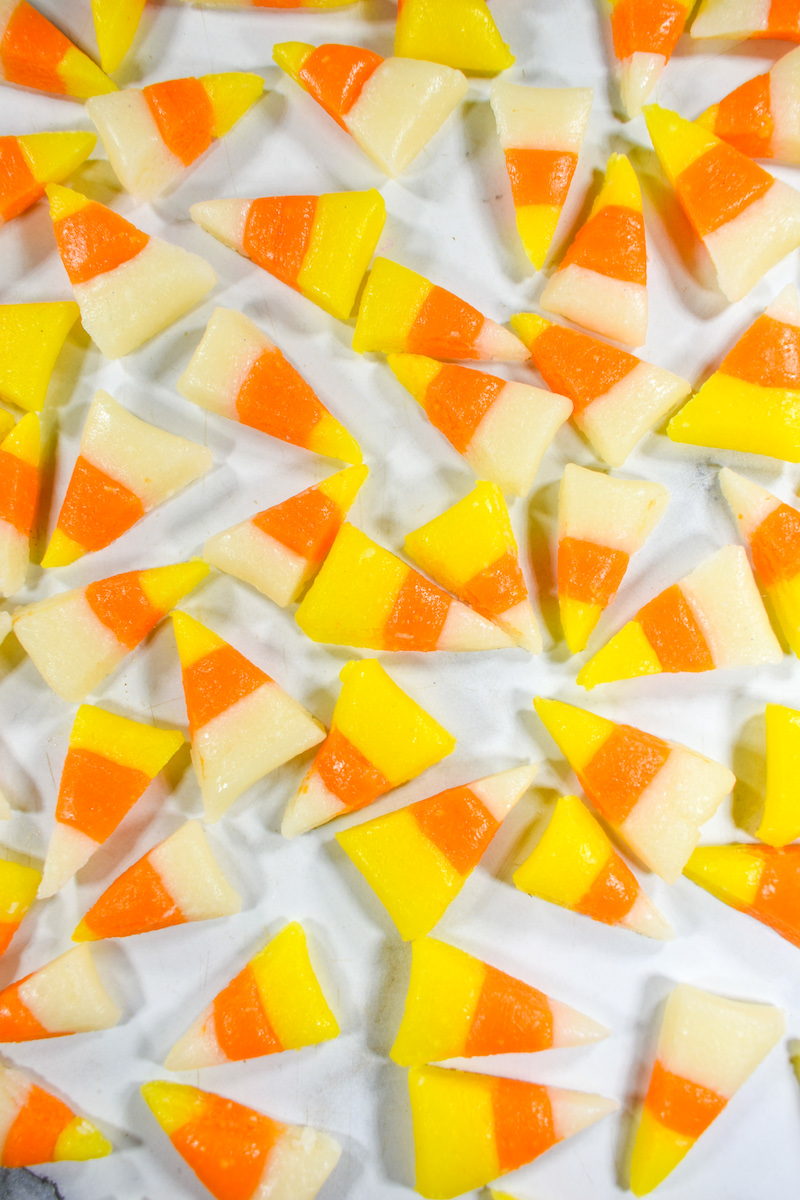
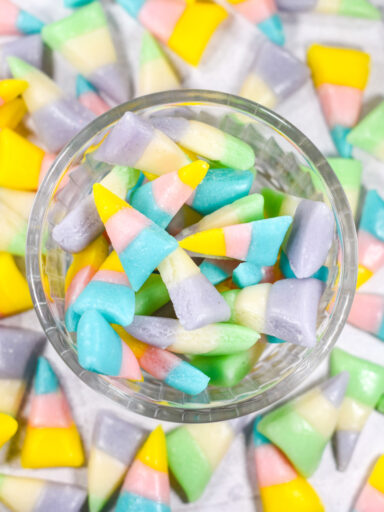
Similarly, you can choose any colors you’d like! I stuck with the traditional “Halloween” color palette of yellow, orange, and white, but you could also make harvest corn, which includes a row of brown, chocolate-flavored dough. You can also make green and orange dough and shape the mixture into pumpkins.
You can also customize this easy candy corn recipe for other holidays. Try green and white for Saint Patrick’s Day; pink and red for Valentine’s Day; red, white, and blue for July 4th; or pastel colors for Easter or spring.

Other autumn candy recipes you might enjoy:
Sea Salt Apple Cider Caramels
Spiced Pumpkin Seed Brittle
Caramel Apple Lollipops
And if you do make these, or if you make any of my recipes, don’t forget to tag me @bastecutfold or use the hashtag #bastecutfold on Instagram. I always love to see what you’re making!
Print
How to Make Homemade Candy Corn
- Total Time: 1 hour 45 minutes
- Yield: About 100 - 115 pieces homemade candy corn 1x
Description
Learn how to make homemade candy corn! An easy recipe for homemade candy corn in traditional Halloween (or Thanksgiving) colors. Once you learn how to make candy corn from scratch, you’ll never go back to the store-bought stuff.
Ingredients
120 grams confectioner’s sugar (1 cup)
14 grams dry milk powder (2 tablespoons)
1/8 teaspoon kosher salt
105 grams granulated sugar (1/2 cup)
100 grams liquid glucose, or light corn syrup (1/3 cup)
30 grams unsalted butter (2 tablespoons)
1 teaspoon vanilla extract
Yellow gel food coloring
Orange gel food coloring
Instructions
Line a tray with a silicone baking mat.
Place a second large silicone mat on the countertop.
Sieve the confectioner’s sugar to remove any lumps.*
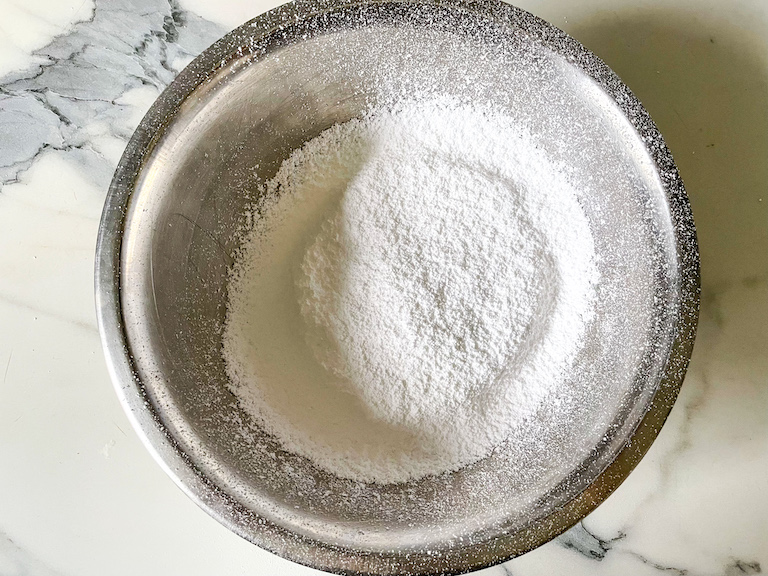
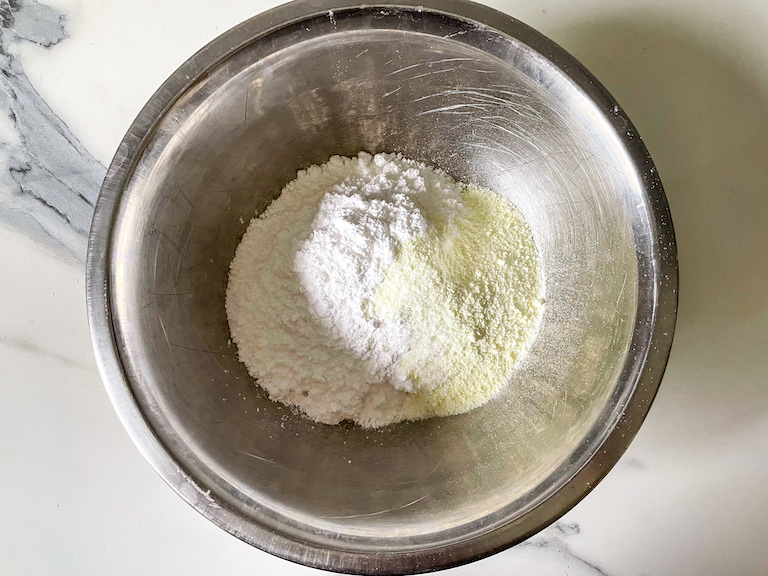
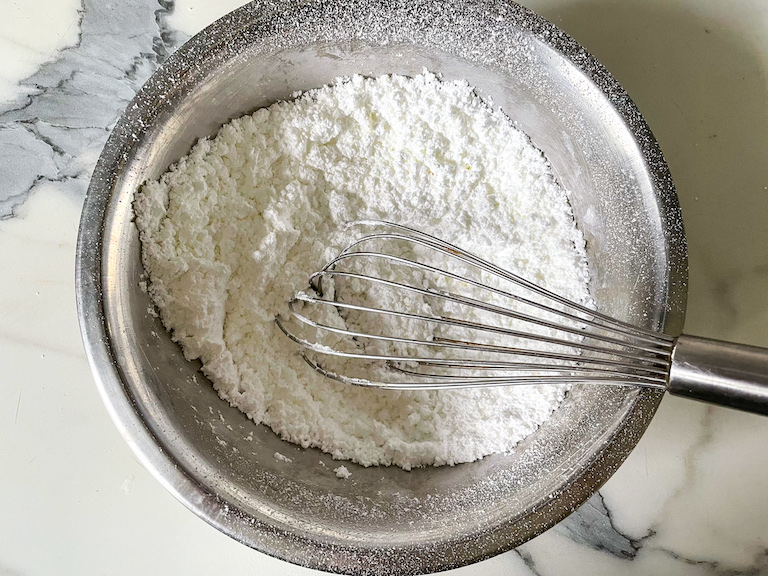
In a mixing bowl, whisk together the confectioner’s sugar, milk powder, and salt. Set aside.
In a large saucepan or stock pot, combine the granulated sugar, liquid glucose, and butter.
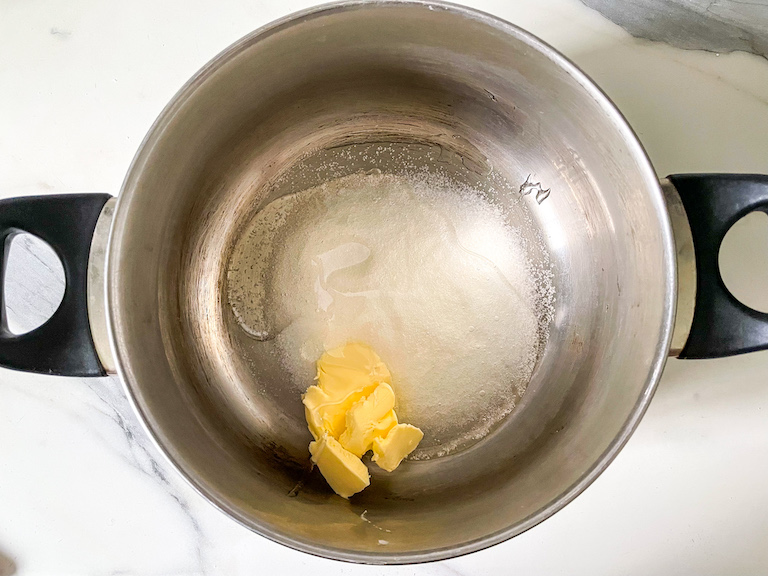
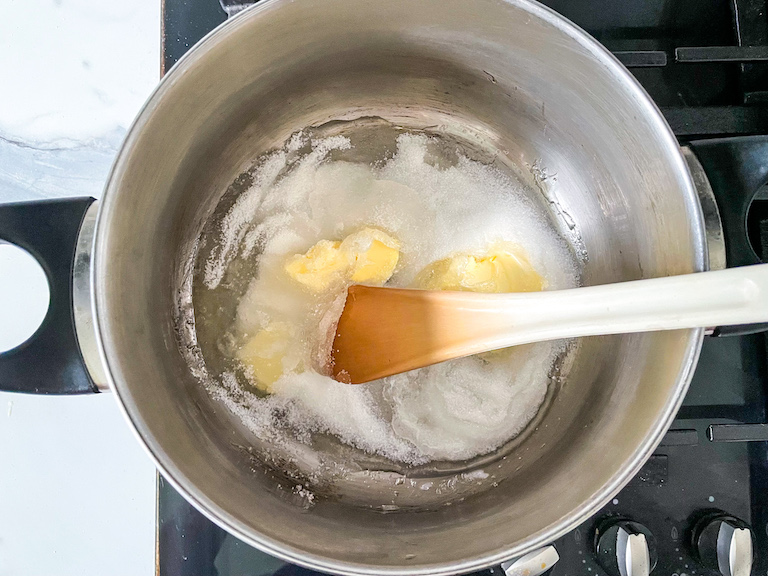
Stir until sugar dissolves and the butter melts, then stop stirring. Cook over medium heat, without stirring, until mixture reaches 245° F / 118° C on a candy thermometer, about 2 minutes.
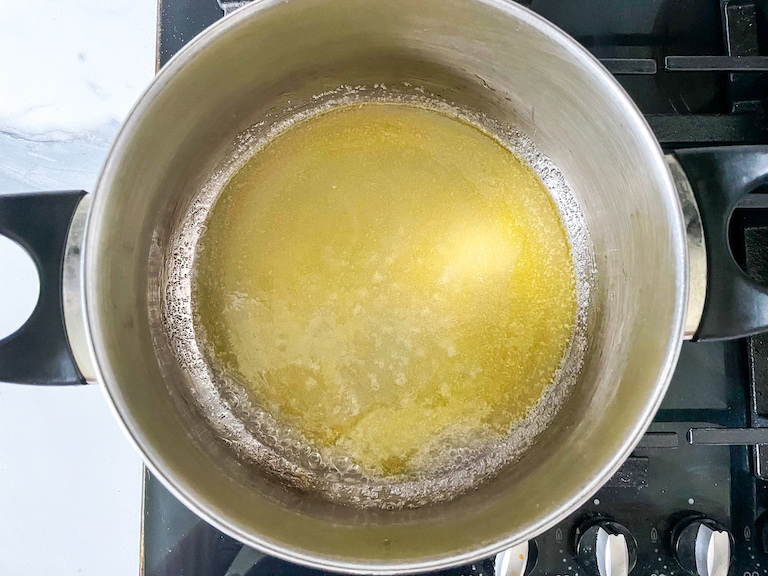
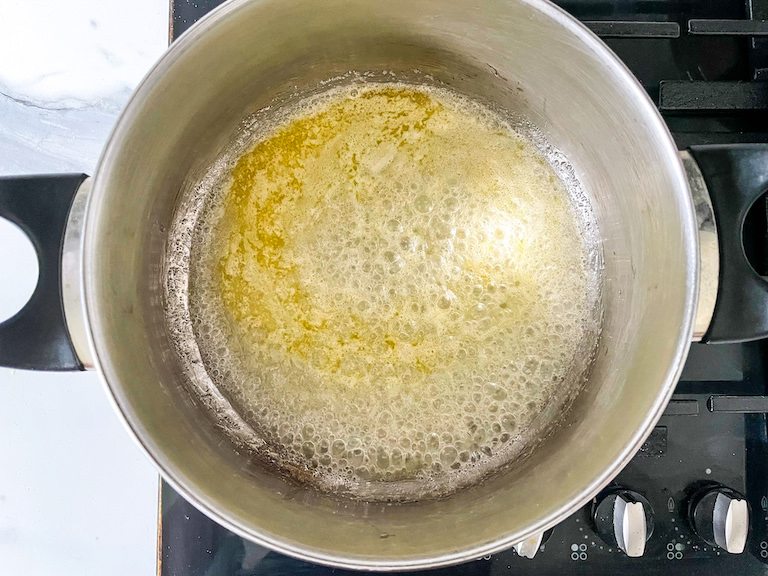
Remove from heat and stir in the vanilla extract.
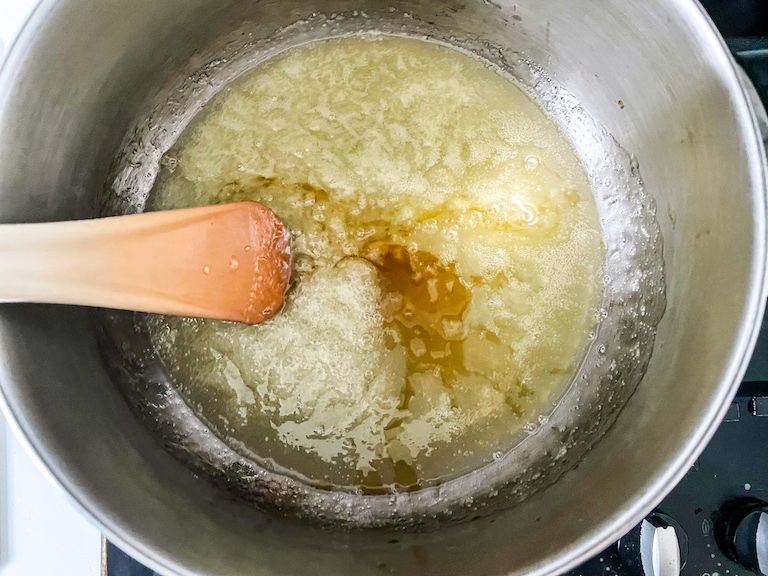
With a heat-proof spoon or spatula, stir in the dry ingredients until fully incorporated.
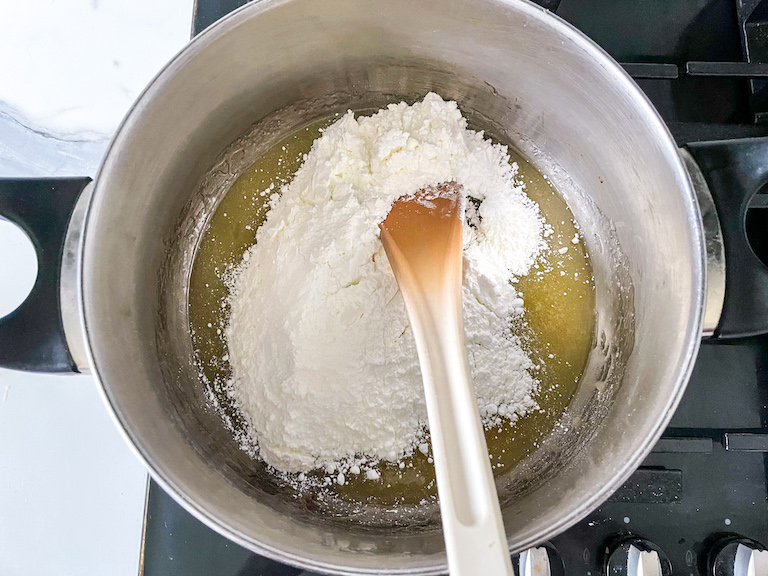
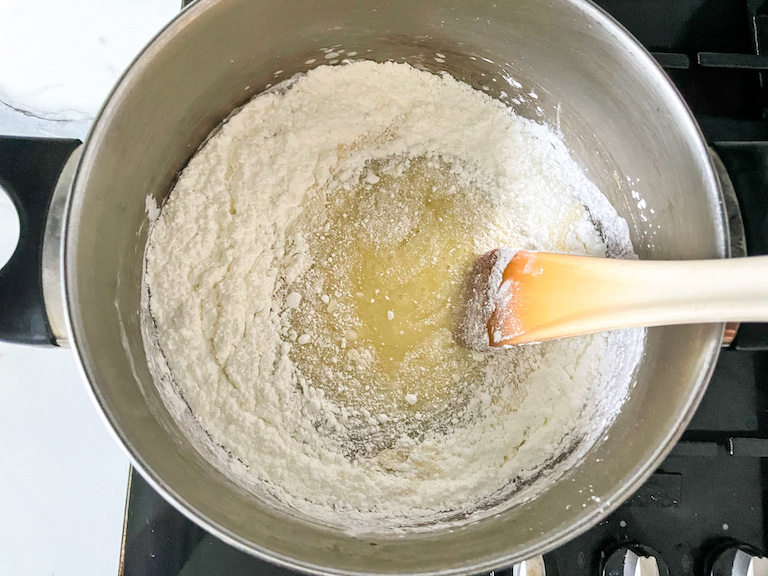
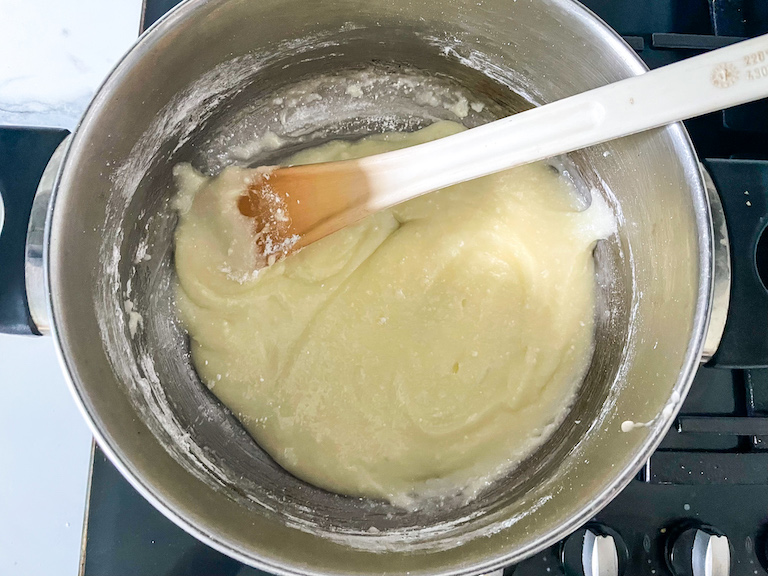
Pour mixture out onto prepared silicone mat.

Allow to cool for 3-5 minutes, or until just cool enough to handle.
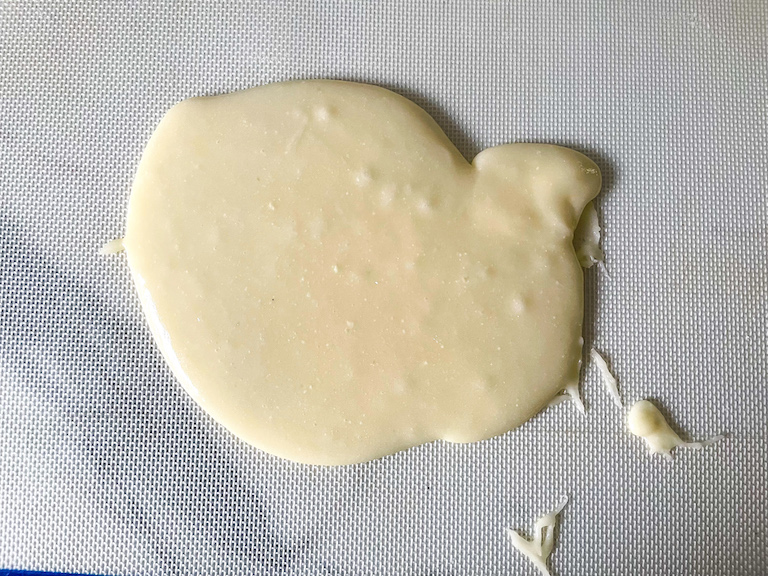
While waiting for the batter to cool, put on your cotton gloves, with rubber gloves over top.
Divide the mixture into 6 portions. Tint two with the orange and yellow gel food coloring, and knead until the color is evenly distributed throughout the dough.
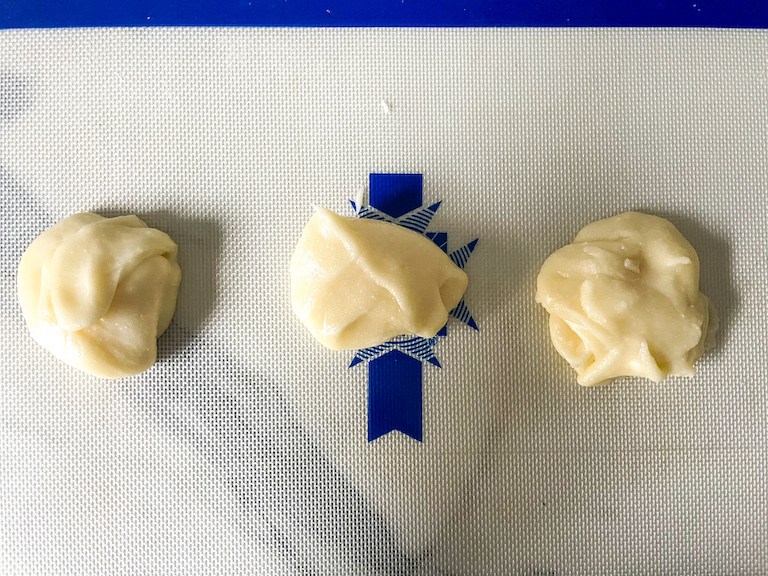
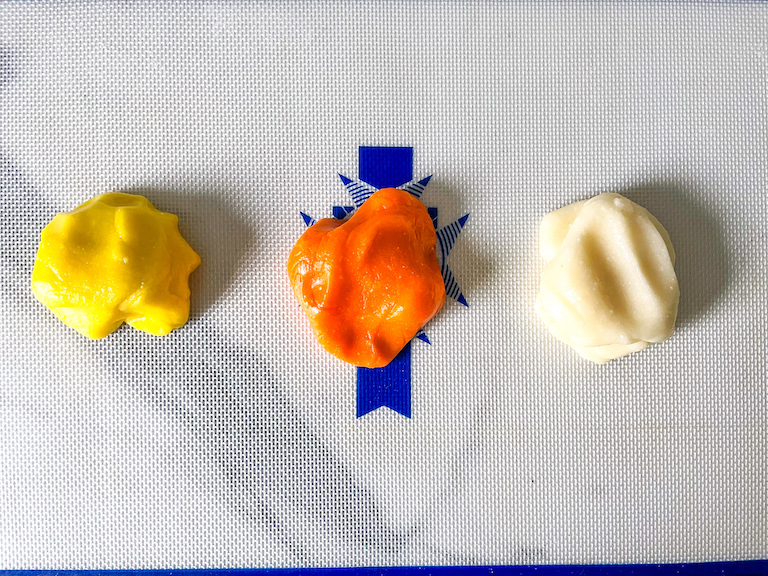
Working in small batches, roll two ropes of each color. Each rope should be about 1/2-inch wide and 16-18 inches long.
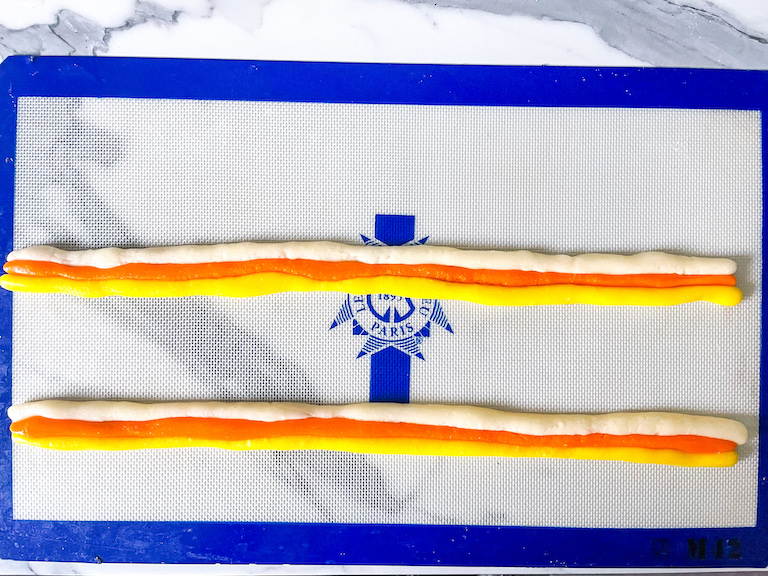
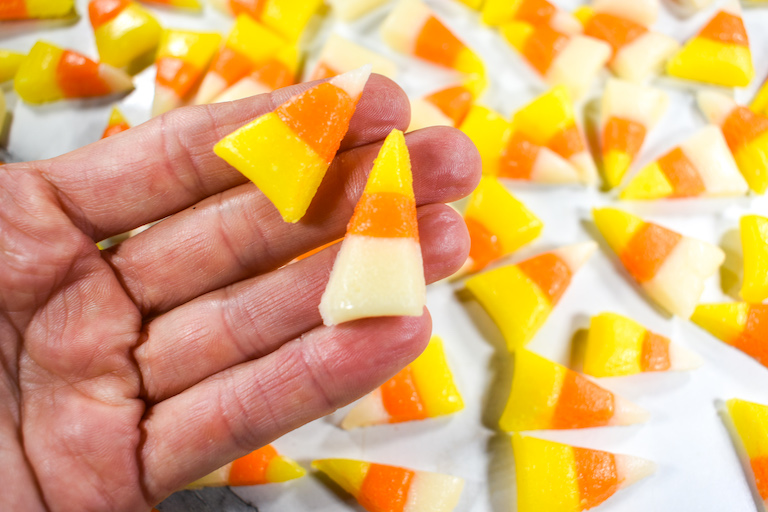
With your fingers, push the ropes together. Use your fingertips to smooth the tops of the ropes, then flip them over and se a bench scraper to cut the ropes into triangles, each about 1/2 inch at the widest part.
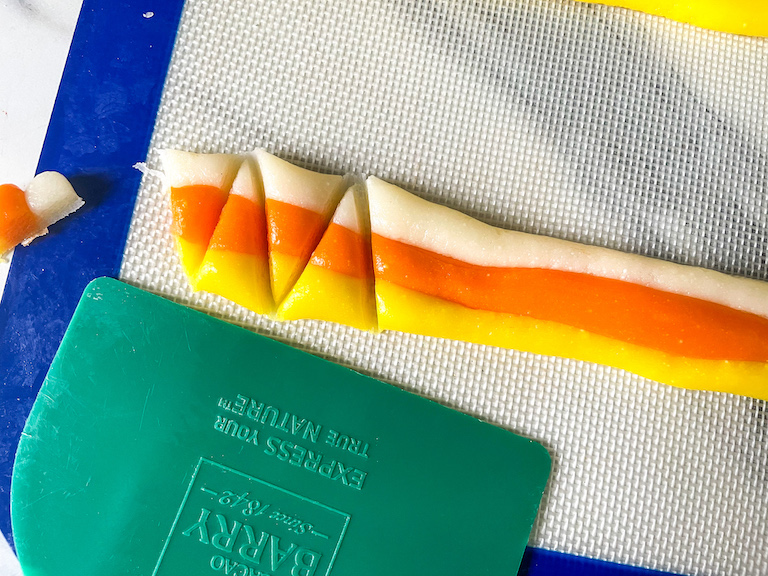
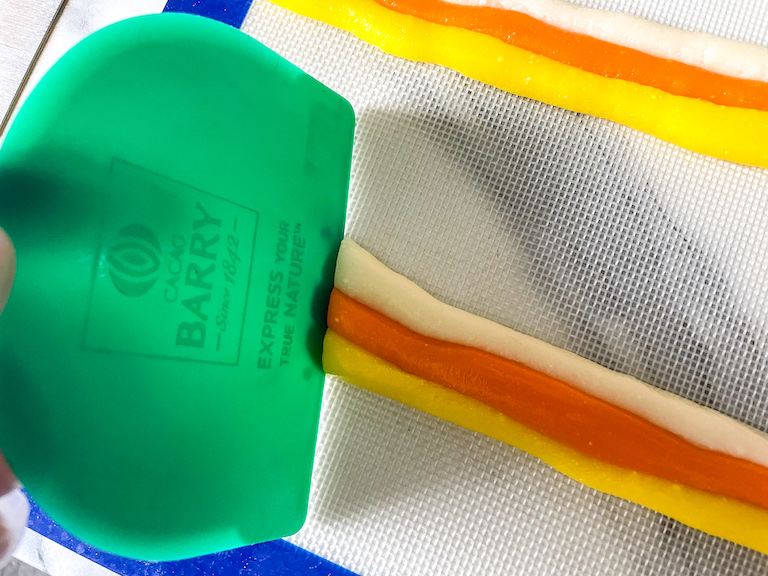
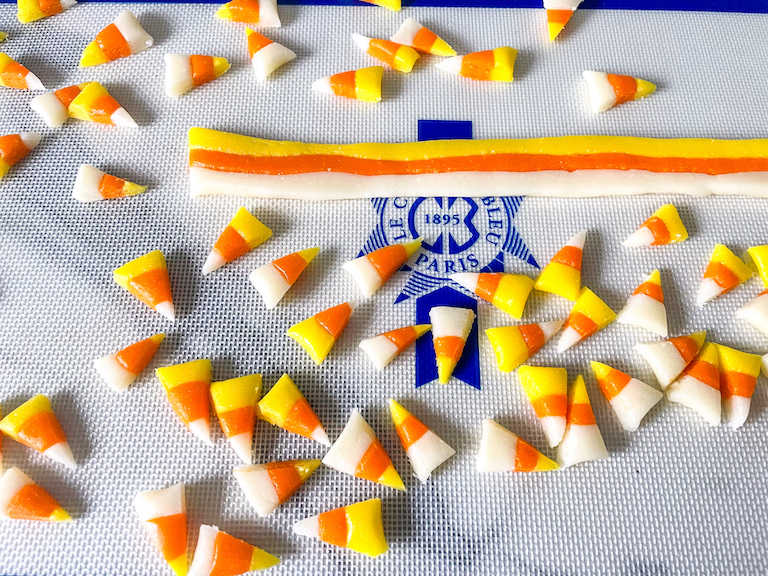
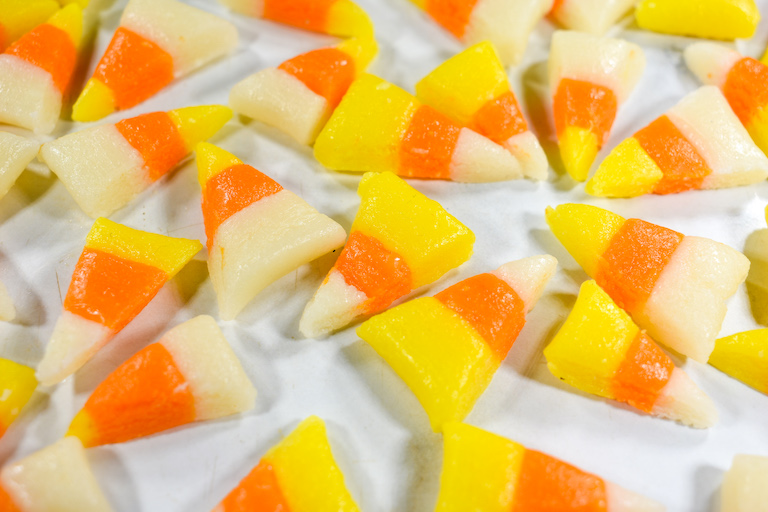
Transfer candy corn pieces to prepared tray and allow to dry, uncovered, for 1 hour.
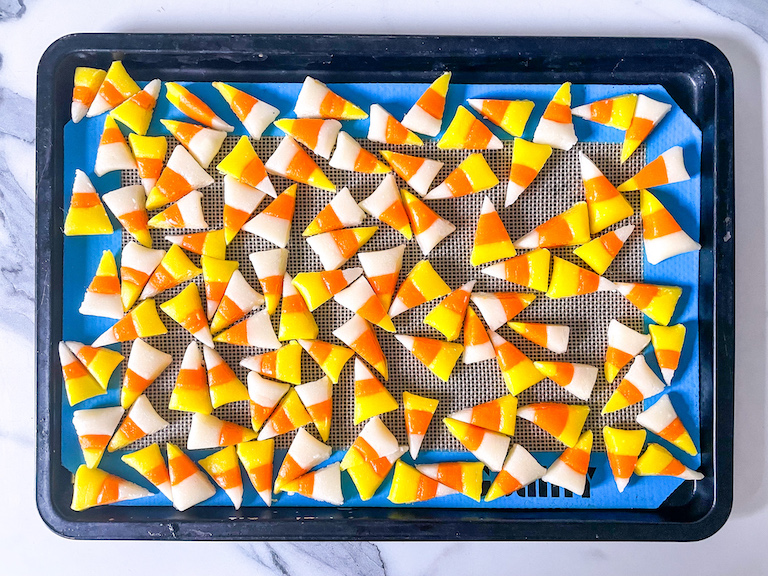
Store homemade candy corn in an airtight container, layered between sheets of parchment or wax paper, for up to two weeks.
Notes
*Sifting is important to prevent lumpy candy corn. Do not skip this step!
- Prep Time: 45 minutes
- Cooling Time: 1 hour
- Category: Candy and Confectionery
- Method: Stovetop
- Cuisine: Sweets
