This post may contain affiliate links. Please read the disclosure policy to learn more.
Thank you for supporting this blog!
Original post published September 10th, 2020. Post last updated on May 23rd, 2024.
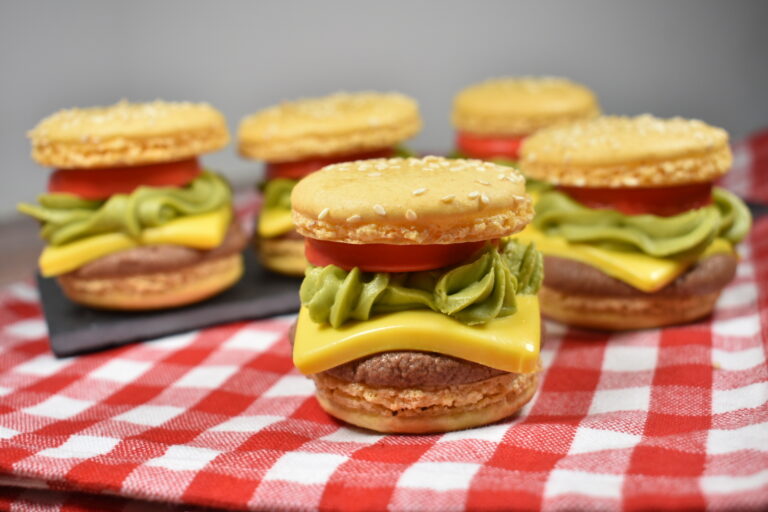
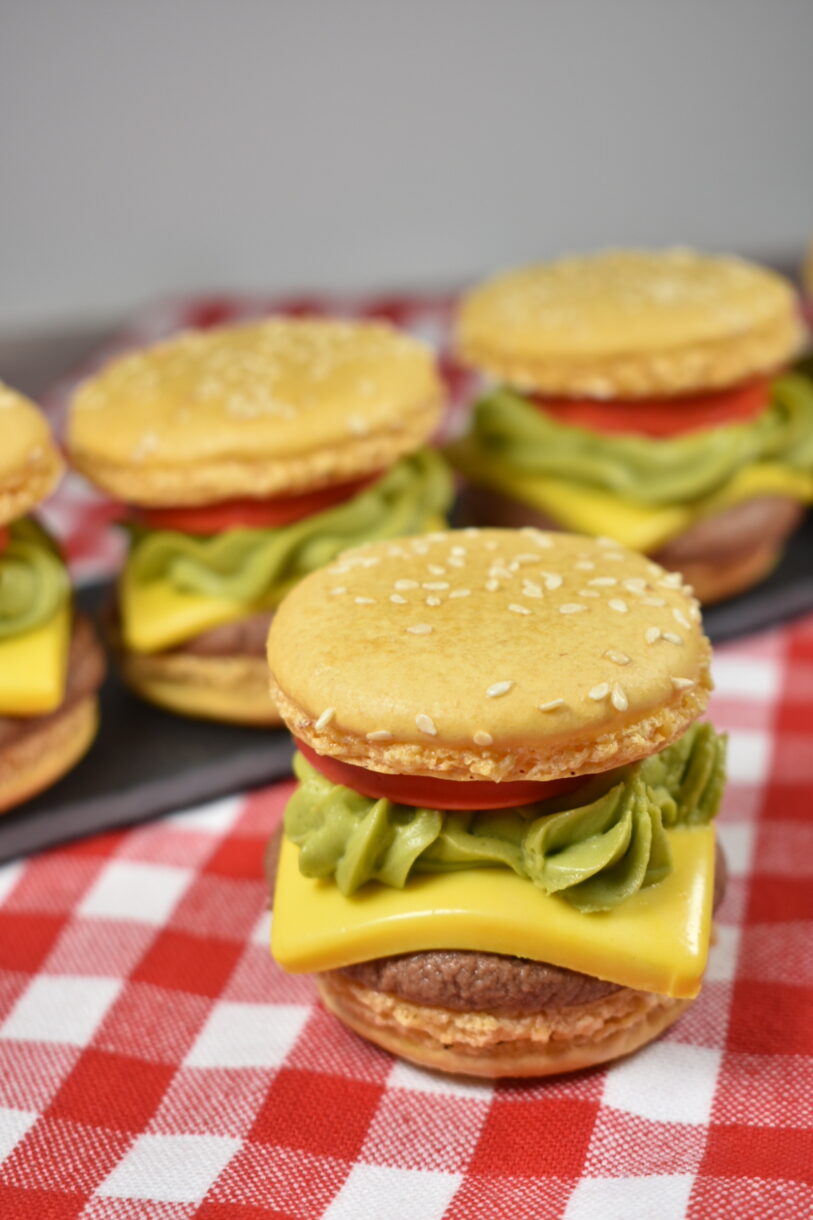
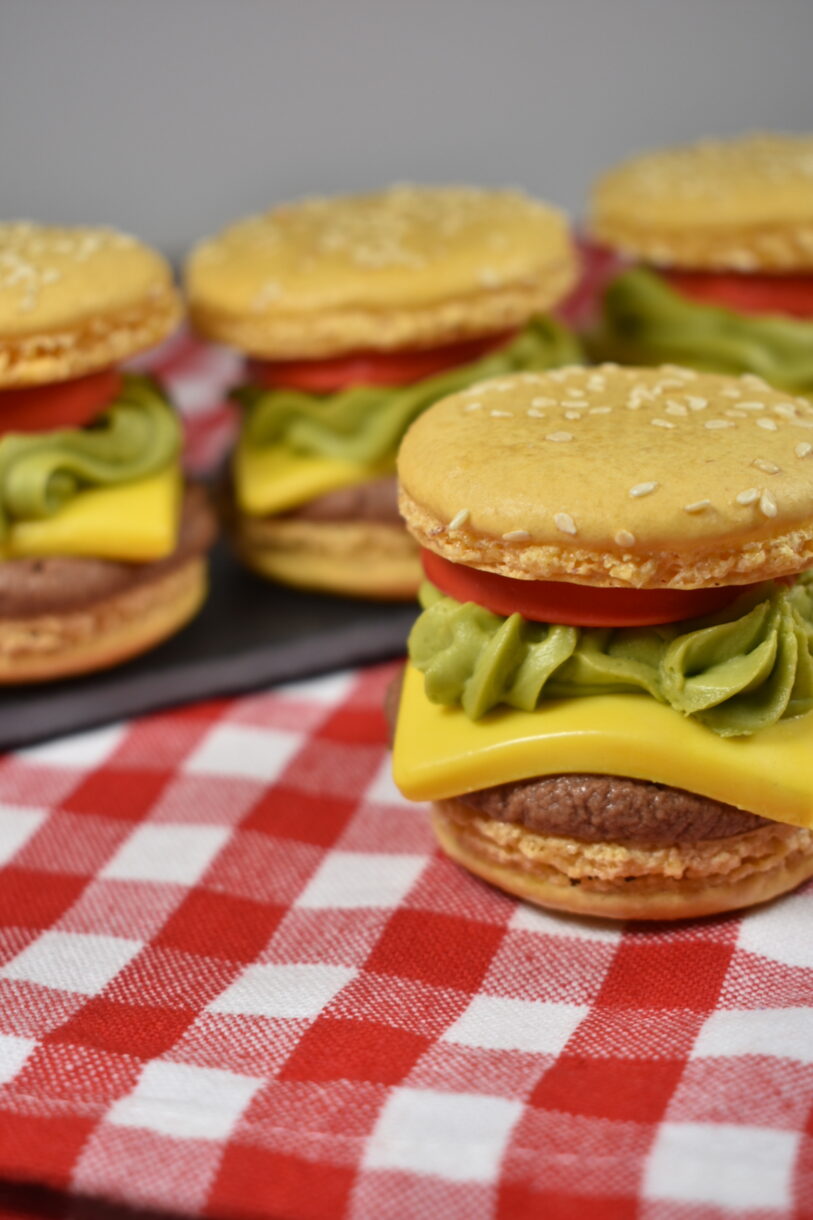
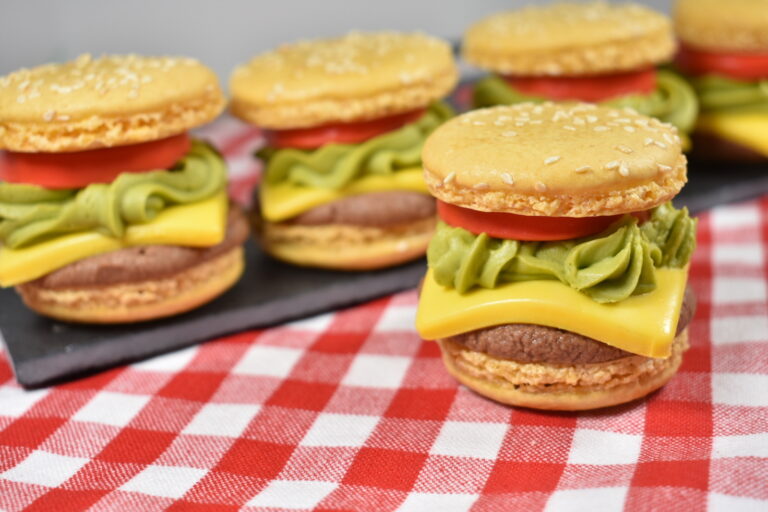
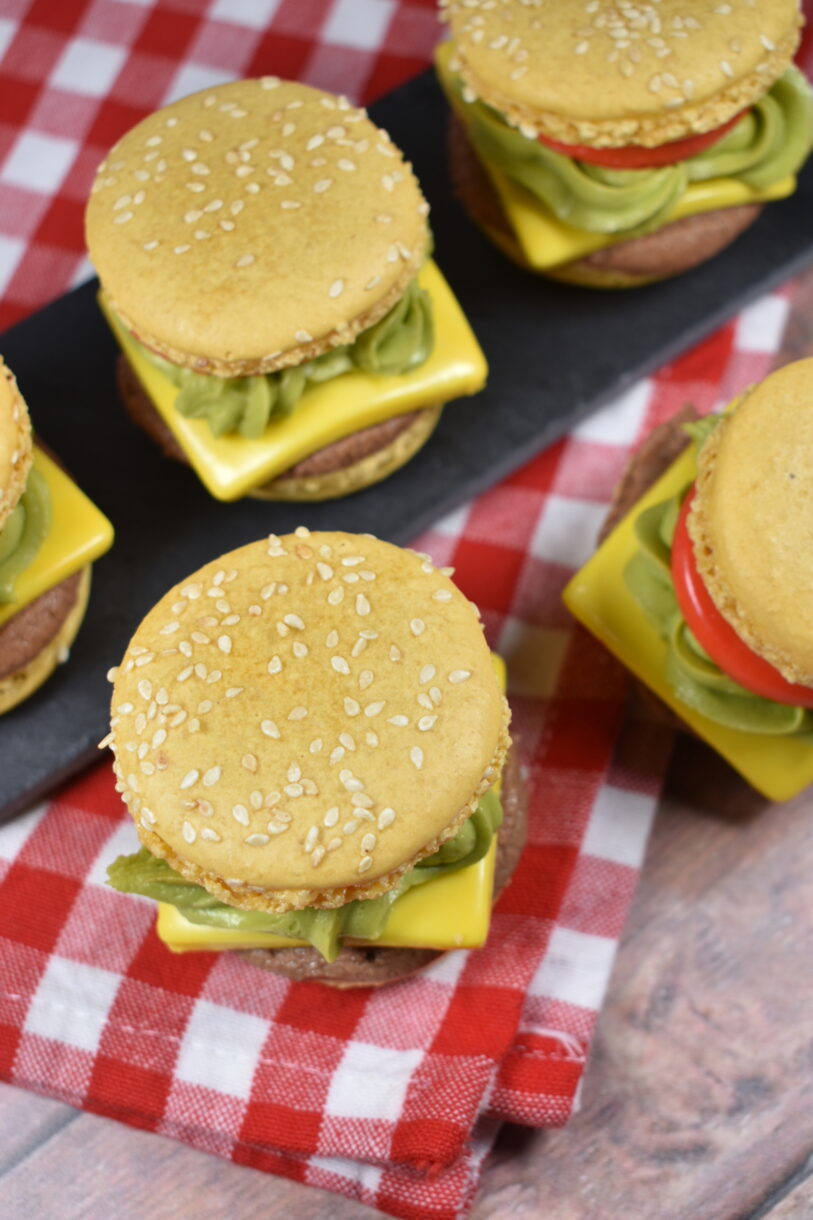
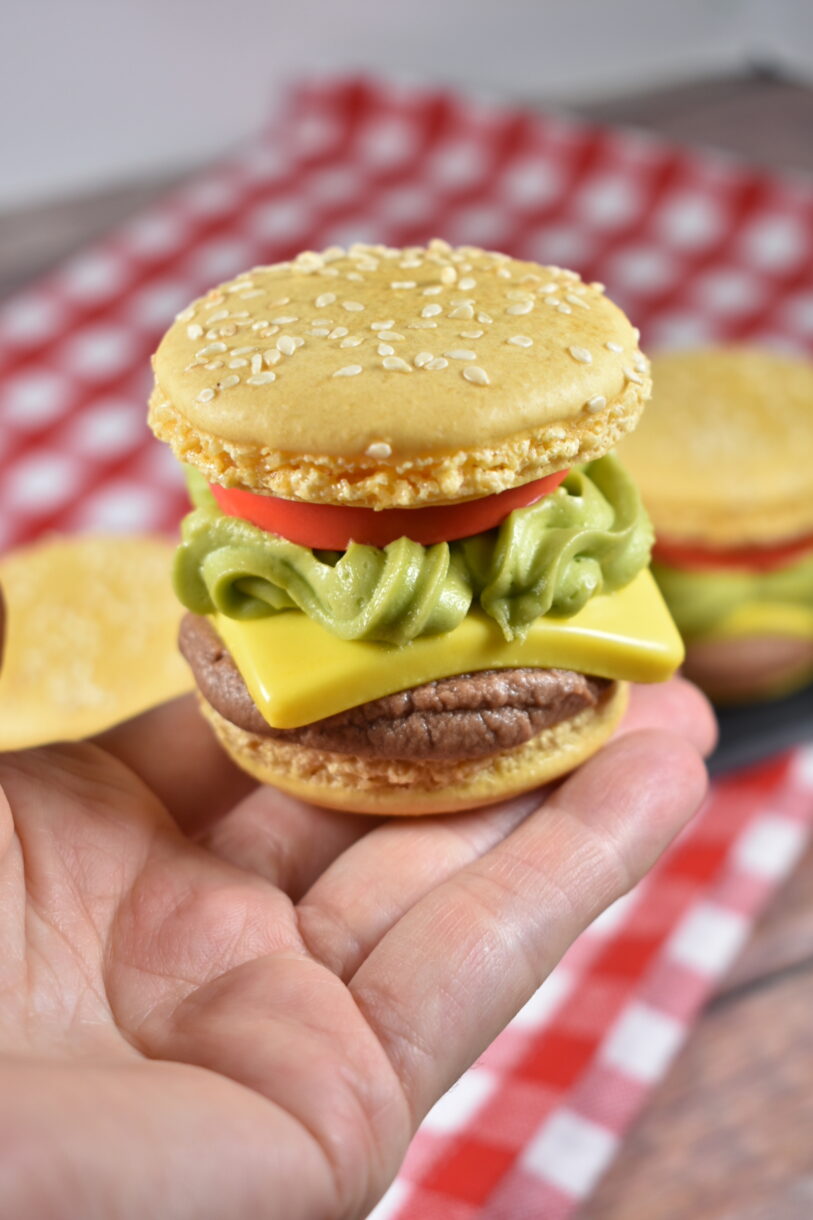
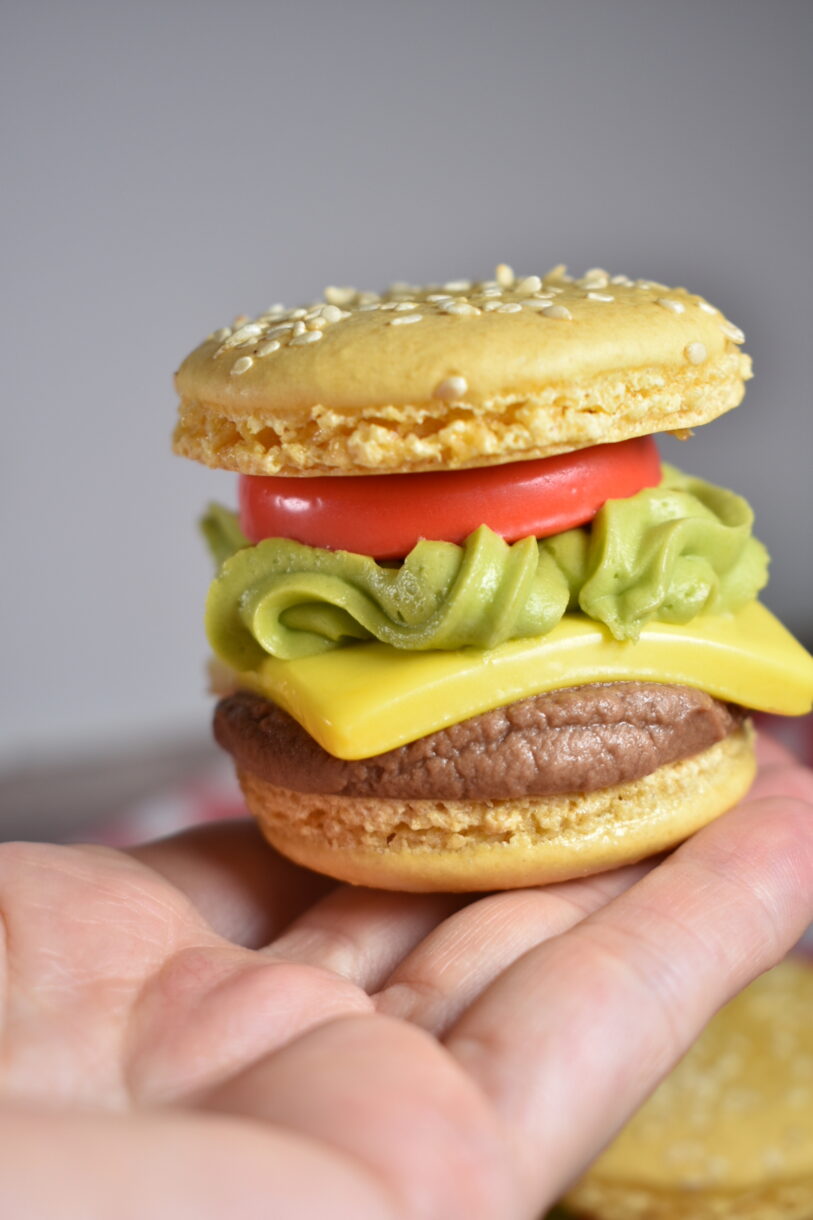
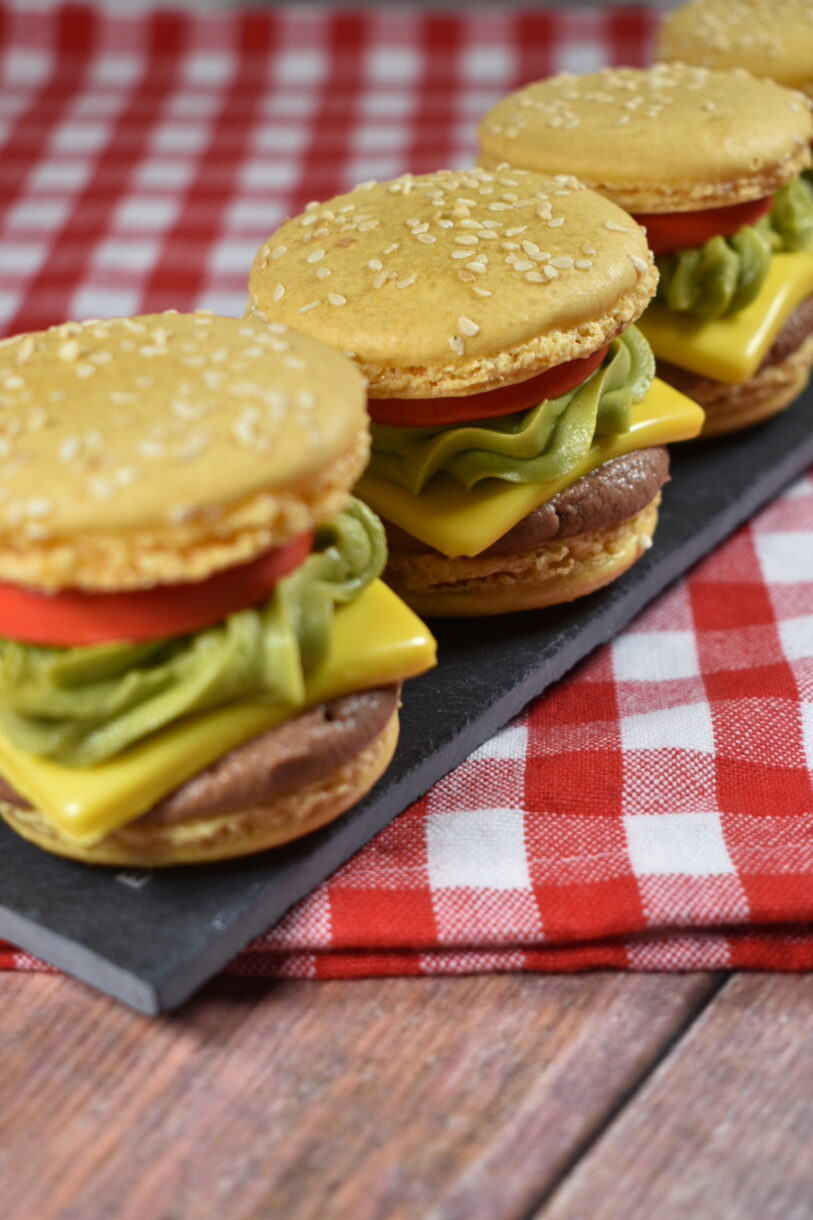
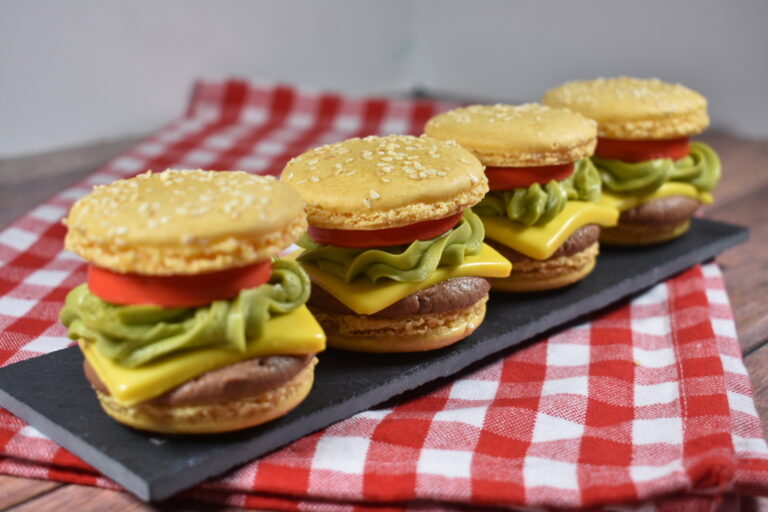
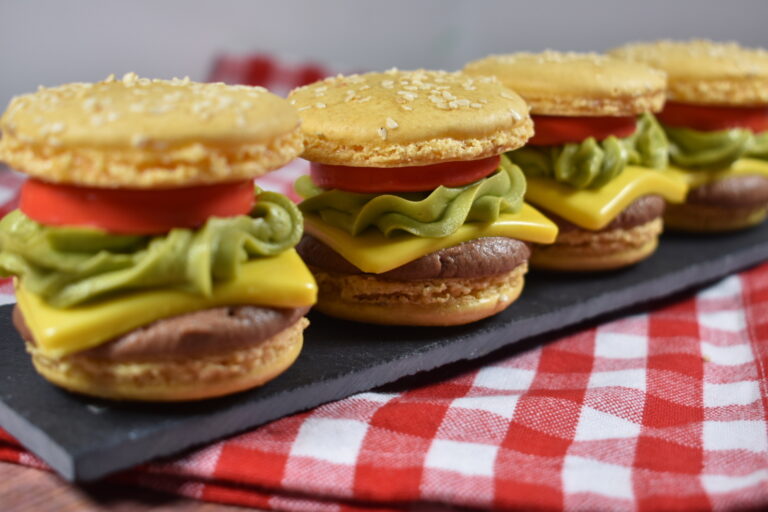
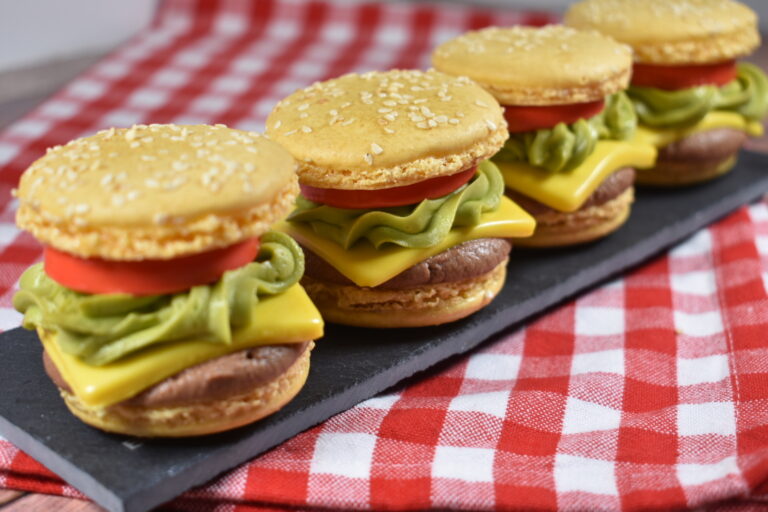
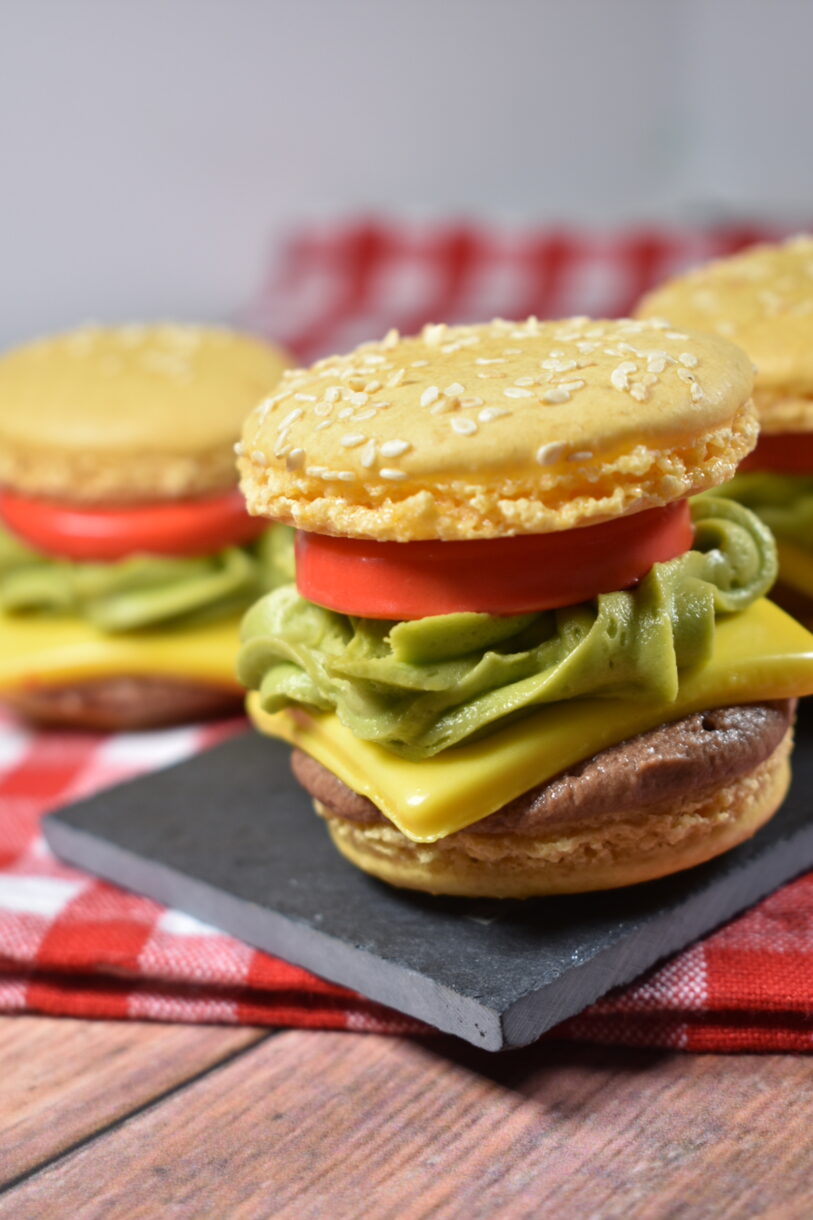
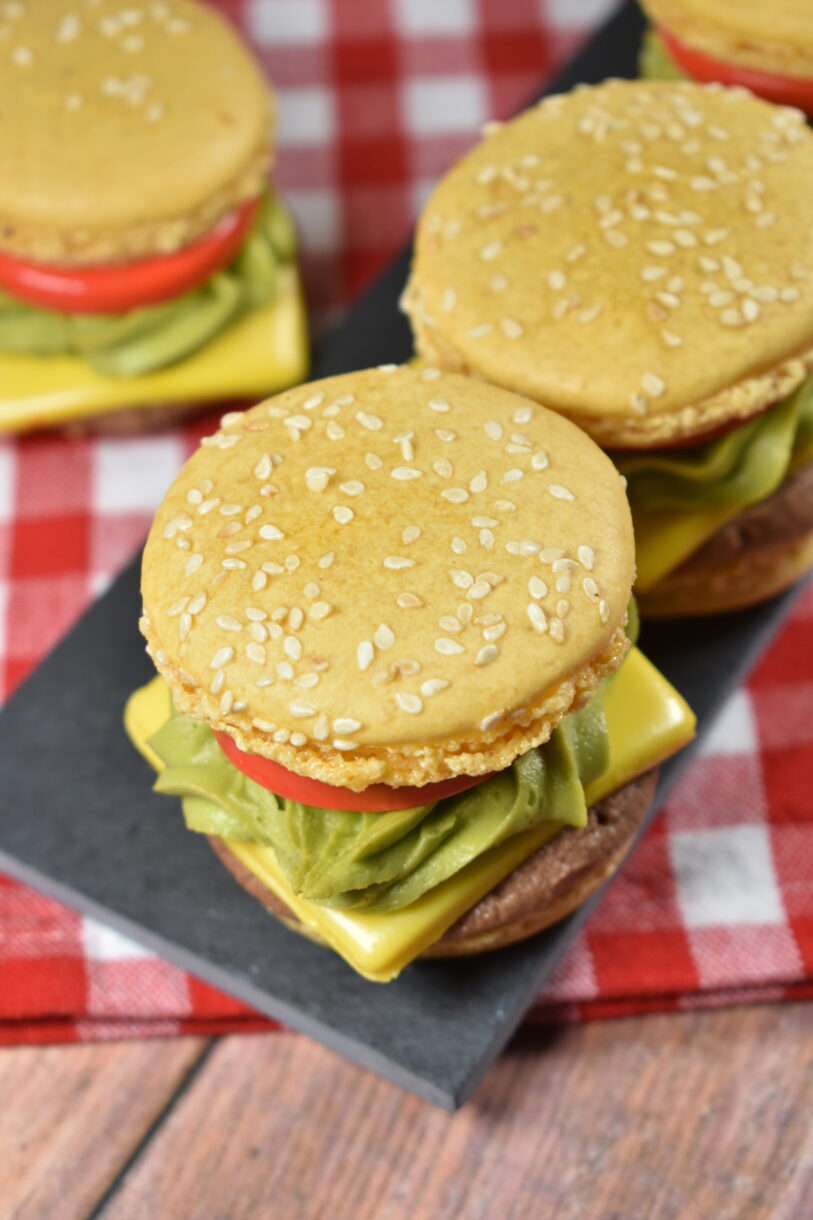
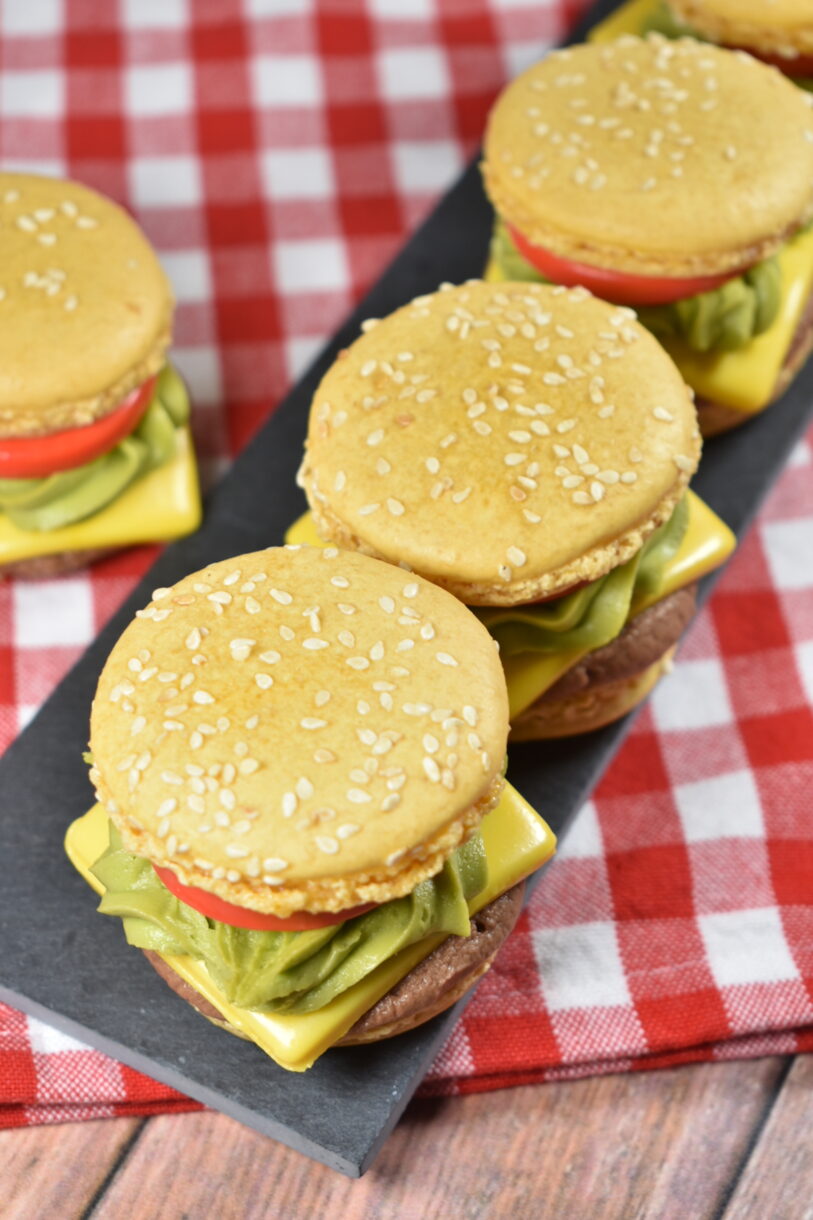
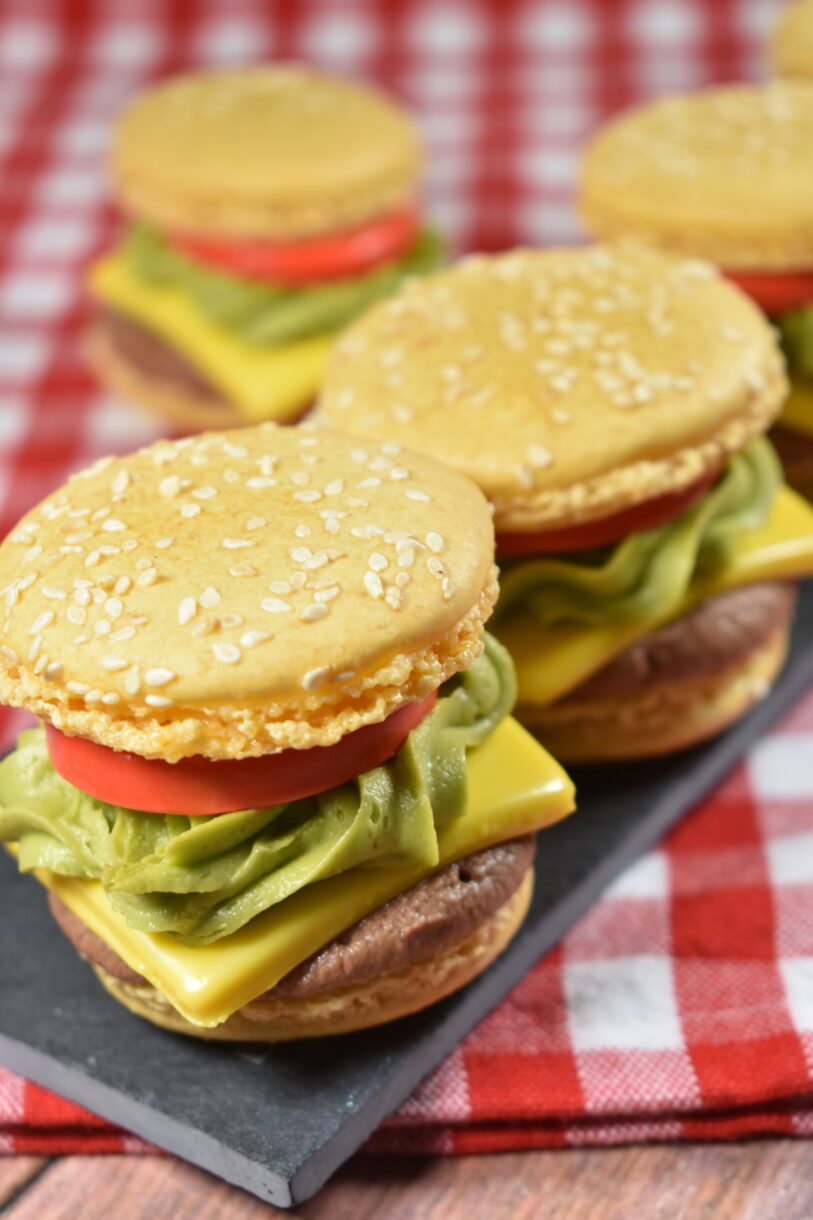
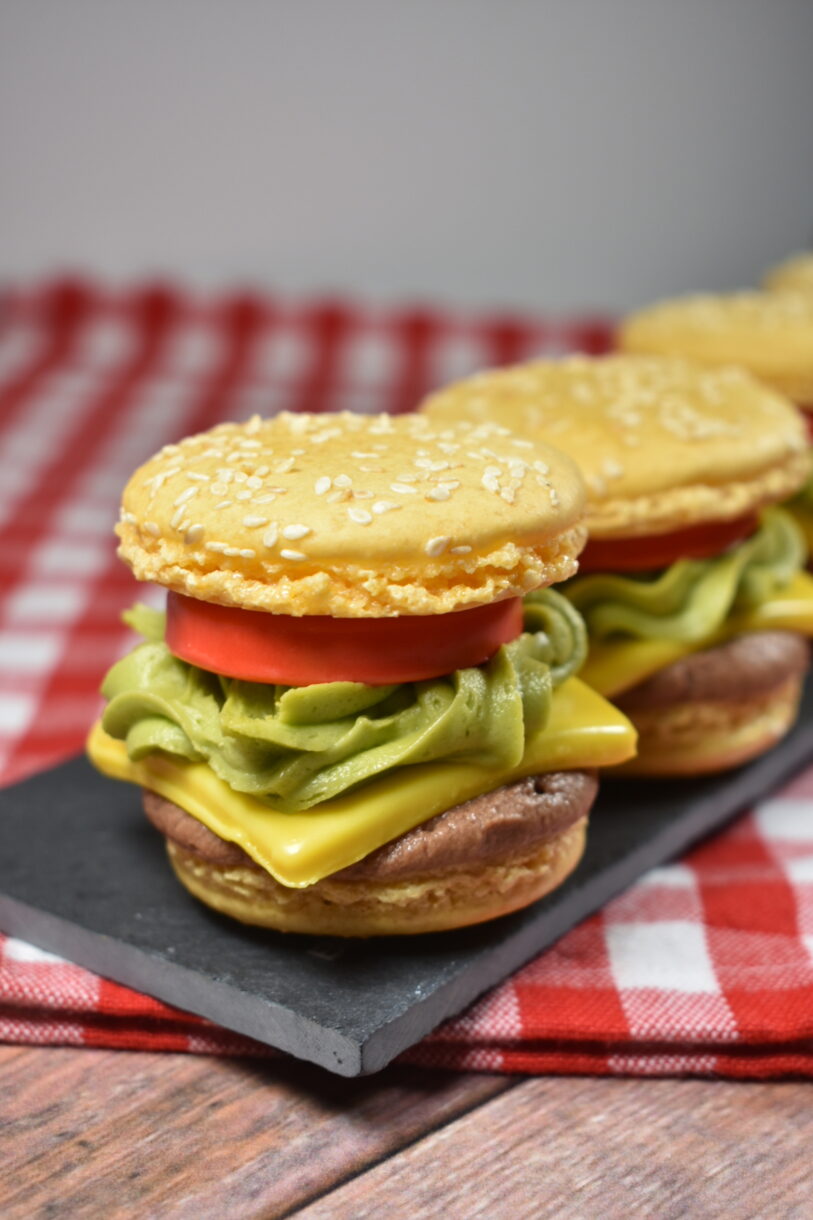
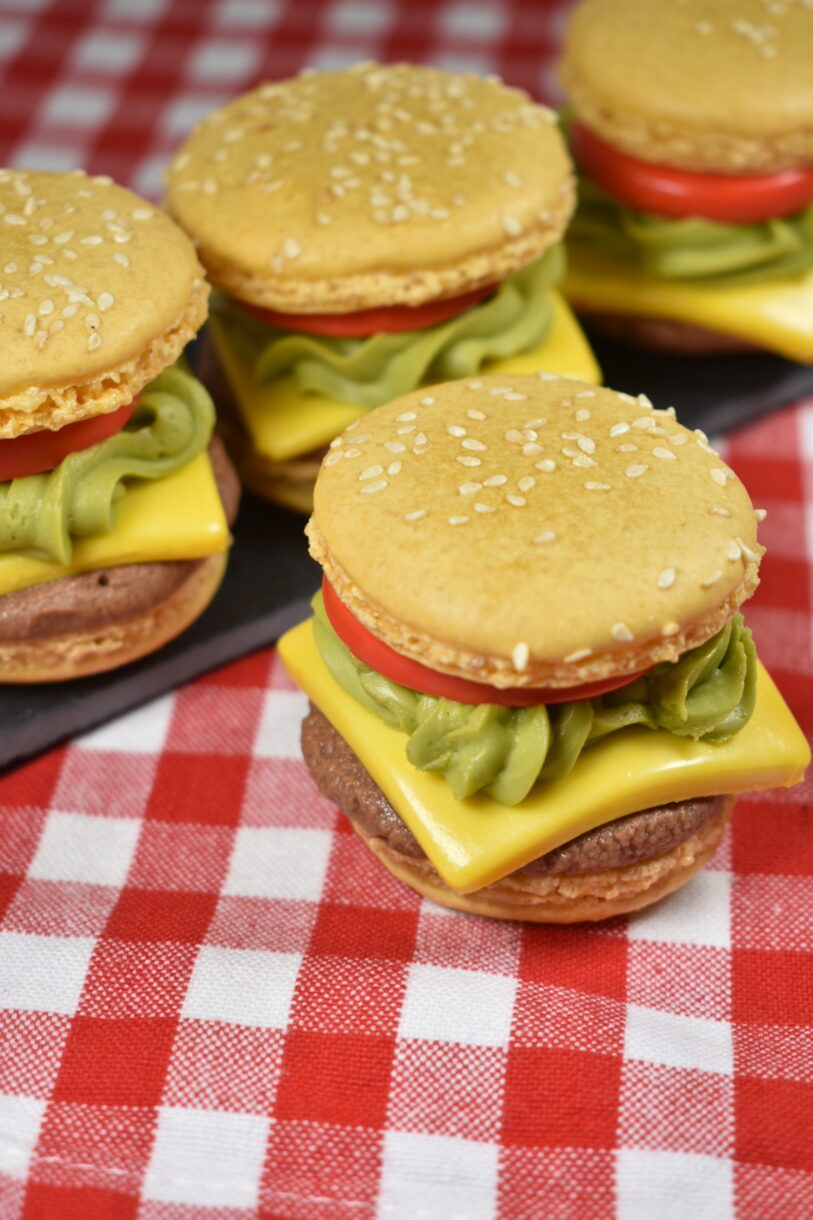
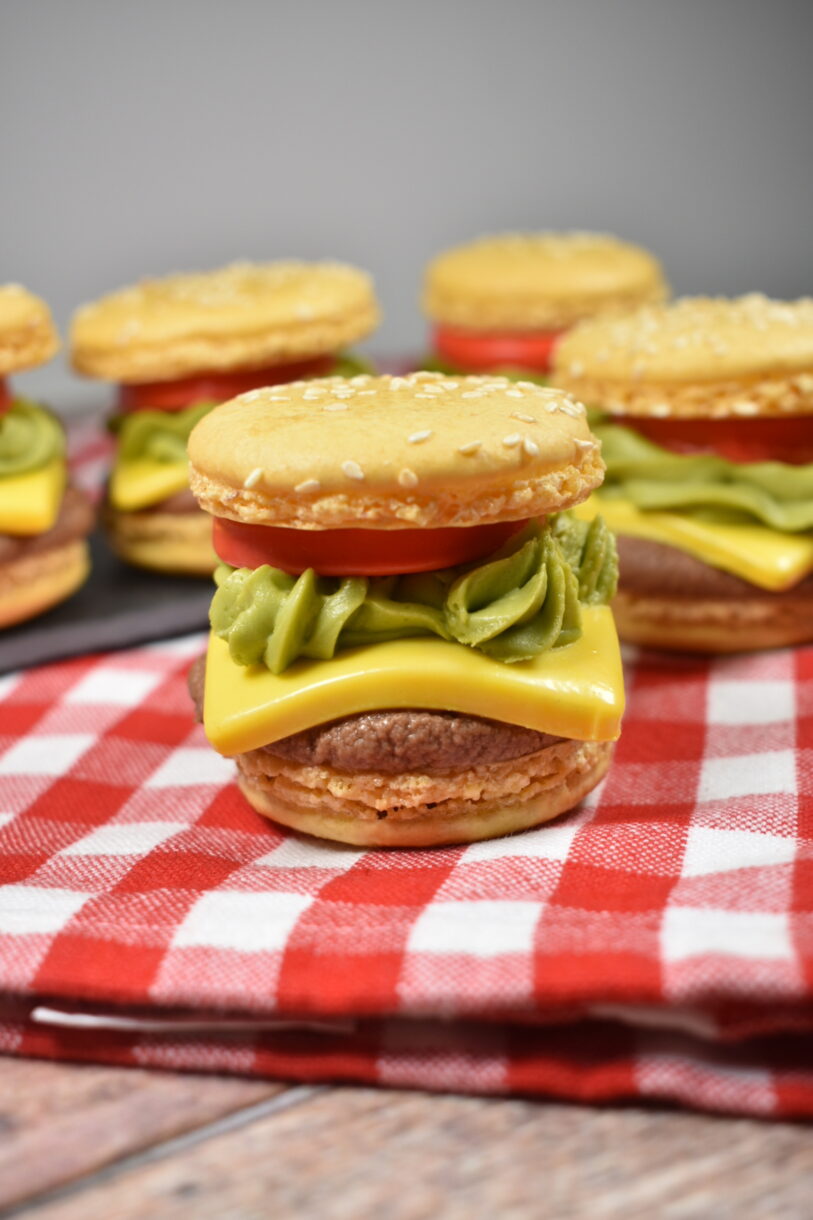
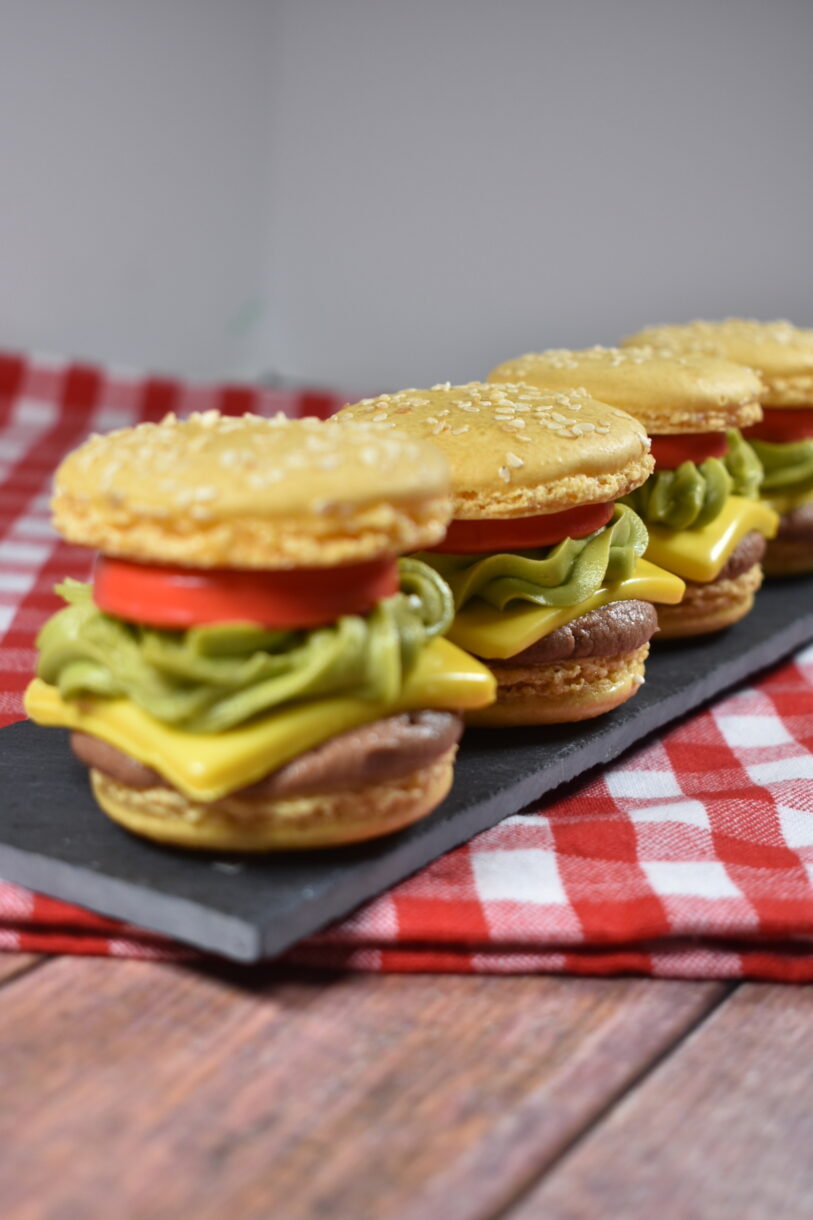
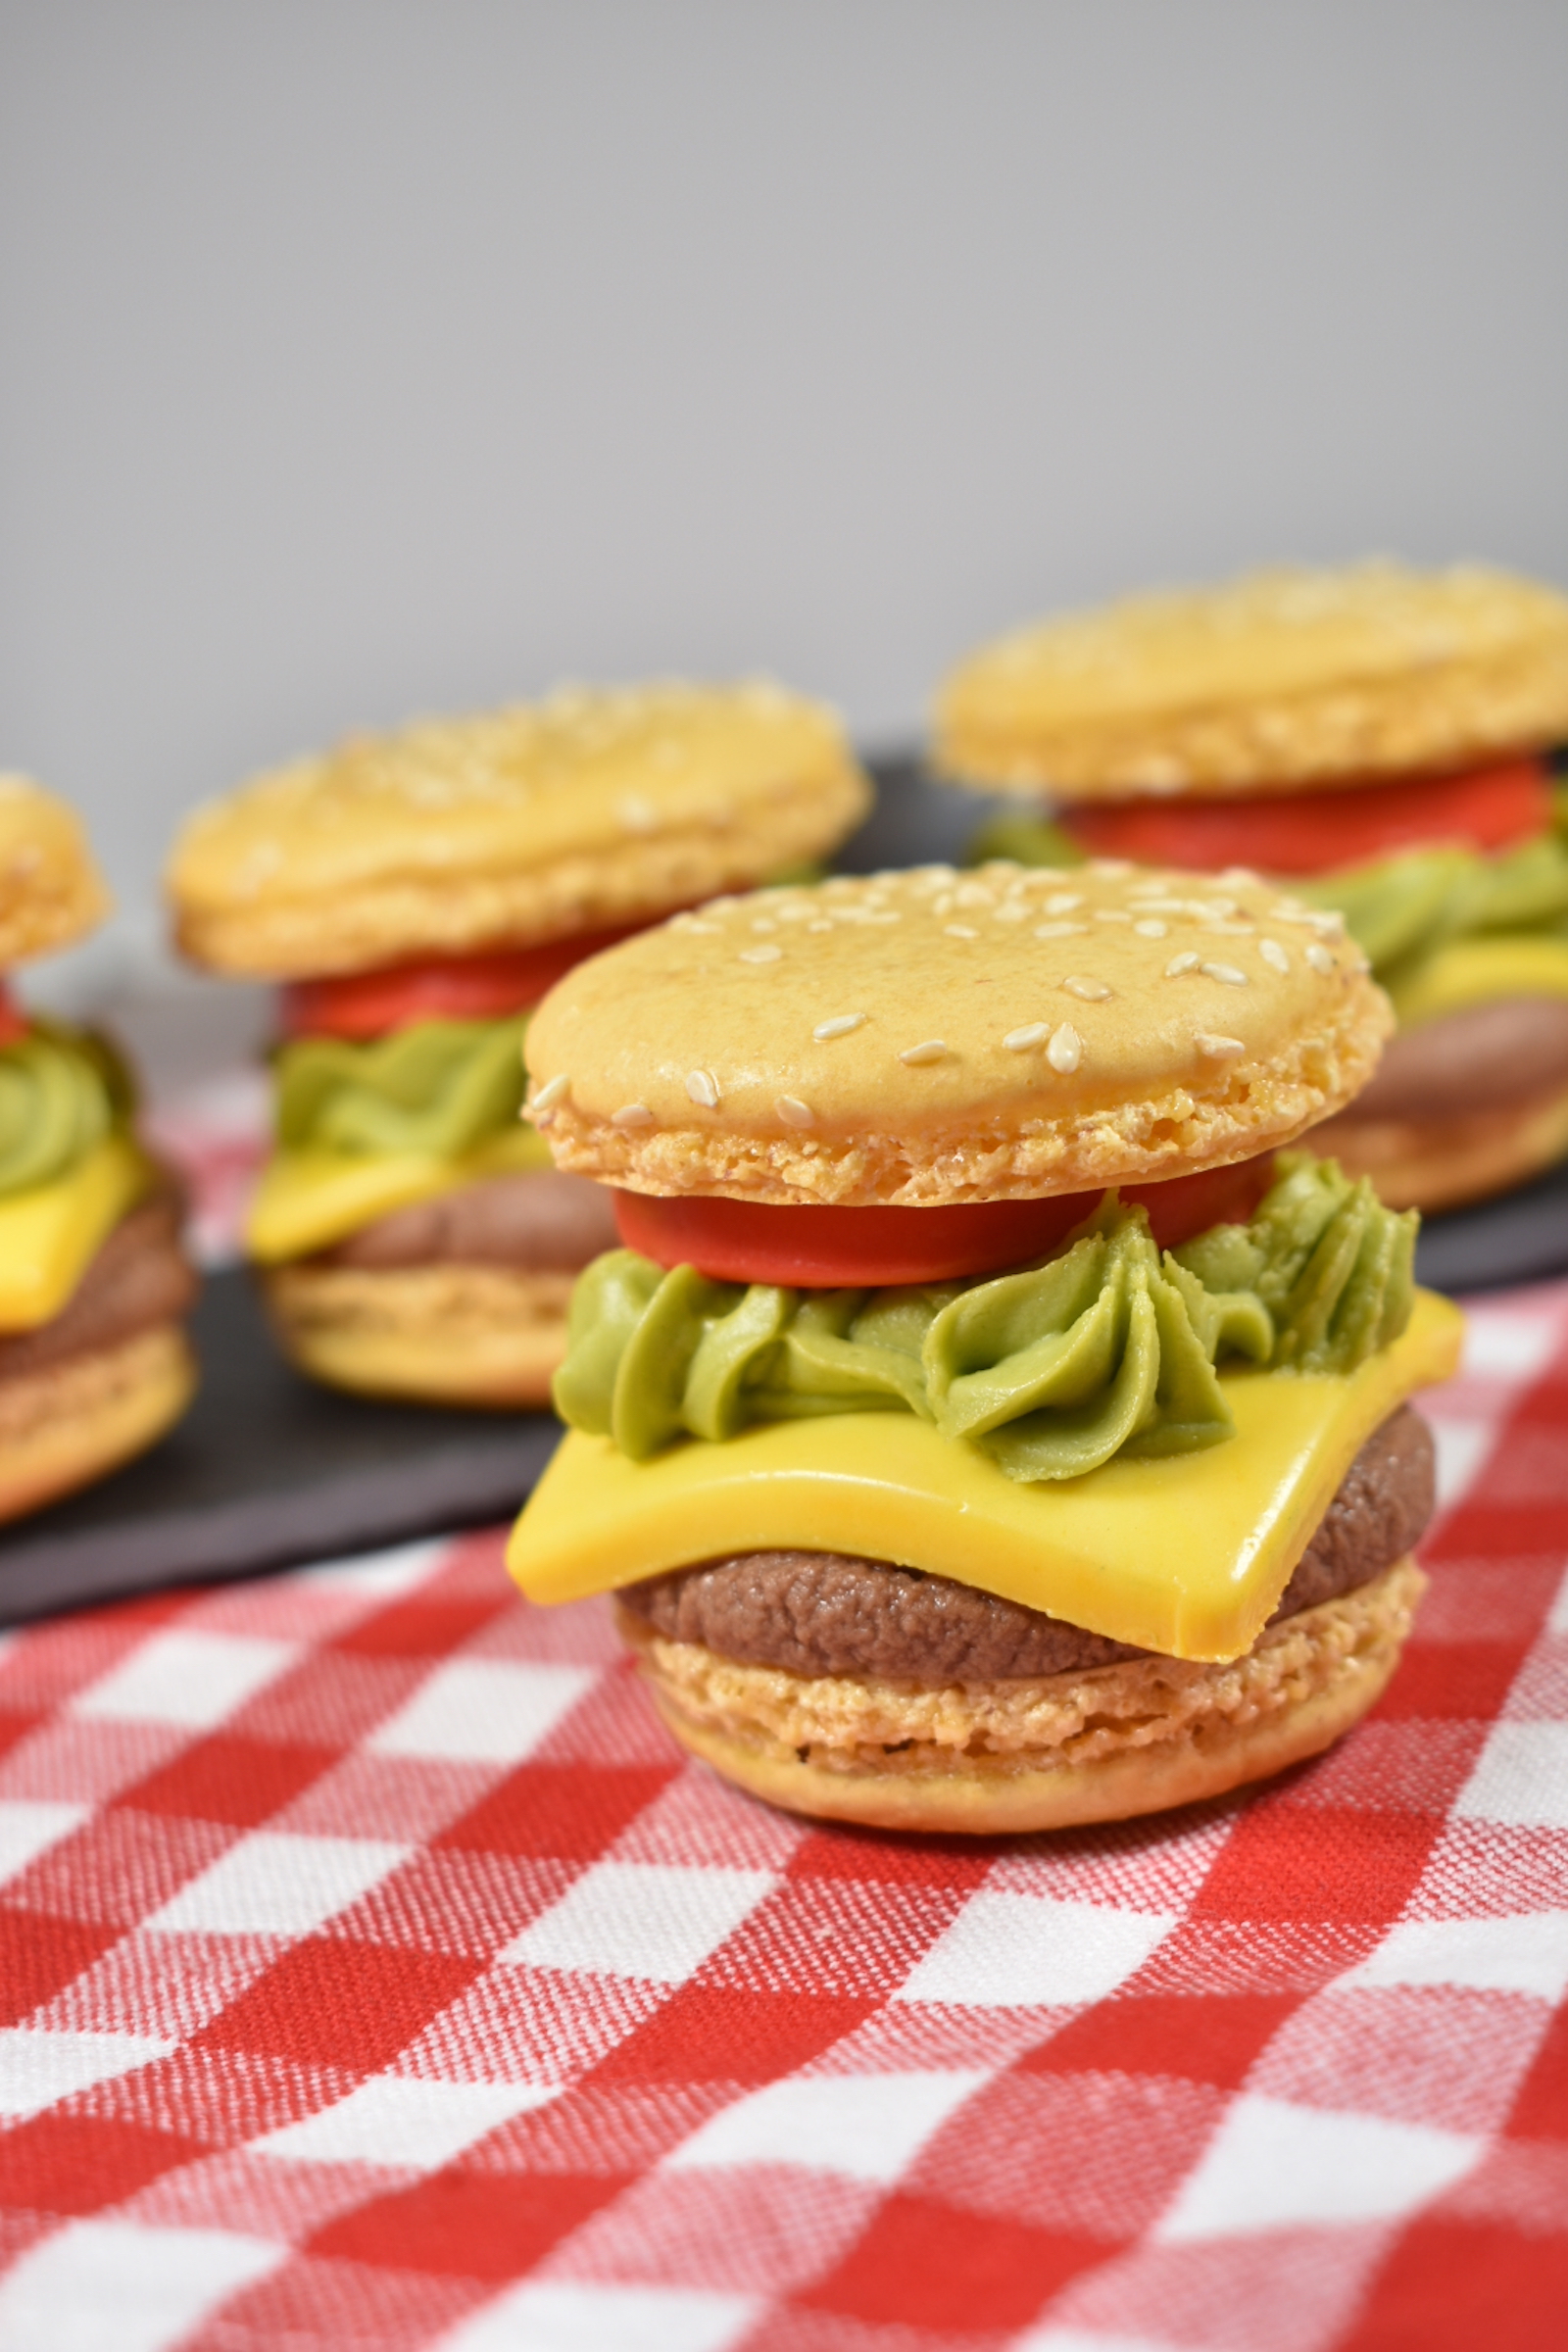
Featuring a chocolate ganache burger, fondant cheese and tomato, buttercream lettuce, and a sesame seed macaron shell bun, these homemade burger macarons look just like real cheeseburgers!
Why Do I Love These Burger Macarons?
I love foods that look like other foods. (Case in point: These white chocolate deviled eggs, or these buttercream sushi cookies, or, my “macaron cake” from the celebration cakes workshop at Le Cordon Bleu London!) I’ve made burger macarons a few times in the past, so I thought I’d update this post. I’ve included a recipe (and step-by-step instructions) for readers who’d like to make their own big “macs” at home.
These cheeseburger macarons feature a dark chocolate gananche burger patty, buttercream lettuce, and fondant fixins’, all piled high atop a sesame seed French macaron “bun!”
Cheeseburger Macaron Ingredients
These burger macarons aren’t difficult to put together, especially if you’ve made macarons in the past. However, they do include four separate components: macaron shells, chocolate ganache, buttercream, and fondant decorations. You’ll also need a few special ingredients.
In addition to baking staples like eggs, sugar, and milk, you’ll need to gather the following:
- Almond flour – The key component in macaron shells. Opt for finely ground almond flour, not coarse almond meal or ground almonds. And try to choose a brand that isn’t overly oily. (I’ve had good luck with Blue Diamond in the US). If you haven’t made macaron shells before, it might take buying a few different brands to settle on the one that works best for you.
- Sesame seeds – For decorating the burger “buns.” I suggest sprinkling the seeds on all of the piped shells, rather than half. That way, you can choose the best ones for the tops of the burgers. Also, sesame seeds are an allergen, so omit these from the recipe if baking for someone with a sesame allergy.
- Gel food coloring – You’ll need gel colors for the macaron shells, the fondant toppings, and the buttercream. I used Chefmaster’s Gold gel food coloring for the buns, Neon Brite Green for the buttercream, and Lemon Yellow and Christmas Red for the cheese and tomato.
- Dark chocolate – To make the ganache “burger” patties. For best results, choose a good-quality dark chocolate, rather than cheap chocolate chips.
- Fondant – You’ll need a block of white fondant to make the toppings. You can also use red and yellow fondant if you happen to have these on hand. And feel free to add your own fondant fixings, like mushrooms, onions, or pickles.
Tools for Making Burger Macarons
To make cheeseburger macarons, you’ll also need a few special tools. If you don’t have all of these things, I’ve included some alternate options, but a few are non-negotiable (don’t try to make macarons without a scale!)
The following tools will make assembling these burger cookies much easier, and the results will look more polished:
- Disposable piping bags – You’ll need one bag for the macaron shells, a second one for the ganache, and a third for the buttercream. I prefer to use disposable bags for easy cleanup, but you can use a reusable bag if preferred. (If you go this route, reserve a separate bag for macarons only; if you use it for ganache or buttercream, residual oils left in the bag can wreak havoc on your next batch of macaron shells.)
- Piping tips – I used a 5/8-inch round tip to pipe the macaron shells (you can go slightly bigger or smaller if desired) and an open star to pipe the buttercream lettuce. For the ganache, I simply clipped the end of the piping bag, but you can also pipe the burgers with a round tip if you’d like!
- Mesh sieve – For sifting the confectioner’s sugar and the almond flour. This is one of the non-negotiables mentioned above. Sifting helps to remove clumps, lumps, coarse pieces of almond, or bits of shell. You really cannot skip this step.
- Kitchen scale – The other non-negotiable! For more on why it’s important to use a kitchen scale to make macaron shells, see my notes below.
- Fondant tool set – A set of cheap plastic fondant tools comes in handy for shaping the fondant toppings, or correcting small mistakes or errant drops of ganache or buttercream.
- Round metal cutters – I used a 1 1/2-inch round cutter (from my set of round metal cutters) to cut the fondant tomatoes. You can use any cookie cutter, or even a similarly-sized lid or drinking glass.
- Square cutters – I cut my fondant “cheese” squares with a 1 3/4-inch square cutter. If you don’t have a square cutter, you can use a ruler and a sharp chef’s knife instead.
- Small stepped palette knife – This little tool makes it easier to transfer the macaron shells from one spot to another, and to gently place the fondant cheese and tomato on top of the burger patty.
- Hand or stand mixer – Also a non-negotiable. You’ll need an electric mixer to whip the egg whites and sugar into meringue for the macaron shells.
Macaron Shell Tips and Troubleshooting
First and foremost, do not attempt this recipe without a kitchen scale. I know there are macaron recipes available online which use cup measurements. And while I develop all of my recipes by weight, I do usually provide volume as a secondary measurement. For this one, I’ve opted not to do so. “Tante pour tante” (equal parts almond flour and powdered sugar) is key to successful macaron shells; you simply cannot measure these ingredients precisely enough with a measuring cup.
You can use silicone mats or baking parchment to line your trays. Do not grease the trays or pipe directly on an unlined tray—it won’t work! And, I suggest using light colored trays for best results.
I suggest piping the macaron batter into 1 1/2-inch rounds. Allow a few inches of space in between each piped shell.
After piping, tap the tray firmly on the countertop to remove any air bubbles. (I once took a macaron class where the chef dropped the tray on the floor from waist-height, so don’t worry about tapping too hard!) The shells will spread slightly, hence the reason for allowing space in between. And if you still see bubbles, pop them gently with a toothpick/cocktail stick.
I prefer to add color to macaron shells after making the meringue, but before adding the dry ingredients, as shown in the instructions below. I used gold gel food coloring to tint my macaron shells, but you can also use yellow for more of a “cartoon” looking burger, or just leave the shells natural—once baked, they’ll be sort of a light tan or cream color.
The resting and baking times indicated in the recipe will vary depending on your oven, your trays, and the temperature in your kitchen. If you already have “tried and true” macaron temps and timings that you know will work for your setup, definitely go with those. Otherwise, you can use mine as a starting point. But if you haven’t made macaron shells before, don’t get too discouraged if they don’t come out right on the first try. I’m working in a new kitchen, I always need to do a test batch (or three) until I get them just right. Macarons are finicky!
As written, this recipe will make 8-10 “burgers,” but feel free to double everything if serving a crowd! If all of your macaron shells do not fit on a single tray, be sure to bake the trays one at a time—don’t put two trays in the oven at once.
Make-Ahead and Storage Suggestions
It’s hard to give a definite prep time for the macaron shells, because the amount of time required to dry the shells will vary greatly based on the temperature and humidity in your kitchen. (Even the weather makes a difference—I tend to have less luck making macs on rainy days!) I allowed my piped shells to rest for two hours before baking.
For this reason, I suggest baking the shells the night before. Simply layer between sheets of parchment and store in an airtight container until the next morning. You can also make the shells further in advance and freeze them in an airtight container for up to one month.
The buttercream can also be prepared up to two days in advance, transferred to a piping bag, and refrigerated until ready to use. I recommend making the ganache and the fondant toppings on the day you plan to assemble the burgers.
Store finished cheeseburger macarons in an airtight container in the refrigerator for up to three days.
More About Macarons
If you want to learn more about the macaron-making process, there are plenty of fantastic books on the topic. These include:
Les Petit Macarons by Kathryn Gordon
Macaron School by Camila Hurst
French Macarons for Beginners by Natalie Wong
Macarons by Pierre Hermé
If you’re in London, Le Cordon Bleu also offers a hands-on macaron making course.
Other whimsical recipes you might enjoy:
Frosted Animal Cookies
Watermelon Whoopie Pies
Easter Candy Corn
Sushi Cookies
White Chocolate Deviled Eggs
And if you do make these, or any of my recipes, don’t forget to tag me @bastecutfold or use the hashtag #bastecutfold on Instagram. I always love to see what you’re making!
PrintCheese Burger Macarons
- Total Time: See notes
- Yield: 8-10 cheeseburger macarons 1x
Description
A recipe for homemade cheeseburger macarons. These delightful little burger cookies feature a chocolate ganache burger, fondant cheese and tomato, buttercream lettuce, and a sesame seed macaron shell bun.
Ingredients
Macaron Shells:*
65 grams almond flour
65 grams confectioner’s sugar
50 grams egg whites
45 grams caster sugar
Gold gel food coloring
Sesame seeds, to decorate
Chocolate Ganache:
75 grams chopped dark chocolate (1/2 cup)
60 milliliters whipping cream (1/4 cup)
Buttercream:
30 grams unsalted butter, softened (2 tablespoons)
200 grams confectioner’s sugar (1 1/2 cups)
1–2 tablespoons whole milk
Pinch salt
Neon Brite green gel food coloring
Toppings:
White fondant
Red gel food coloring
Yellow gel food coloring
Instructions
Macaron Shells:
Line a half-sheet rimmed baking tray with parchment or a silicone mat.
Sift the confectioner’s sugar into a medium bowl, using a bench scraper to help push the sugar through the sieve. Discard any clumps or hard bits of sugar.
Sift the almond flour into the same bowl. Discard any large clumps or pieces.
Add the egg whites to a large mixing bowl or the bowl of a stand mixer. Mix on high speed until soft peaks form.
Gradually add sugar, continuing to mix on medium-high speed until the mixture is thick and glossy, and stiff peaks form.
Mix in the gold gel food coloring.
Add the sugar-almond flour mixture to the bowl. (No need to be delicate—dump it in in one go!)
With a rubber spatula, fold the dry ingredients into the meringue. At first, the batter will feel very thick and dry.
Continue folding, gradually deflating air from the mixture, until the batter flows from the spatula like lava. To test whether the batter is ready to pipe, I like to make a figure ‘8’ shape with the batter—it should take about 8-10 seconds to sink back into the bowl. If it takes longer than this, it’s too thick. Test frequently to avoid overmixing the batter. (If the ‘8’ disappears quickly, you’ve overmixed!)
Transfer the batter to a piping bag fitted with a 5/8-inch round piping tip.
Pipe 1 1/2-inch rounds onto prepared tray, allowing a few inches of space between the rounds. Firmly tap the tray on a table or countertop to remove the air bubbles. (If any bubbles remain, gently pop them with a toothpick/cocktail stick.)
Sprinkle with sesame seeds.
Set aside and allow the macaron shells to rest, uncovered, at room temperature until dry to the touch. Depending on the temperature and humidity in your kitchen, this can happen in as little as 30 minutes, or it might take a few hours. I allowed this batch to rest for two hours.
Once dry, preheat the oven to 140° C / 285° F. Bake in preheated oven for approximately 20-25 minutes, or until the shells no longer “dance” on their feet (jiggle slightly) when touched. (Note: These are the temperatures and timings that work best for me, but all ovens are different. If you have a “tried and true” temperature and bake time for making macarons, definitely use that instead! If not, try mine and adjust as necessary. I suggest checking the macarons every few minutes, beginning at the 15-minute mark.)
Buttercream:
In a large mixing bowl or the bowl of a stand mixer, whip the softened butter on high speed until light and fluffy. Gradually add the confectioner’s sugar, alternating with the milk and mixing well after each addition.
Add the green gel food coloring and mix until smooth and creamy, about 3-5 minutes. If necessary, add more confectioner’s sugar or milk to adjust the consistency.
Transfer to a piping bag fitted with a star tip.
Chocolate Ganache:
Melt the chopped dark chocolate over a double boiler or bain marie.
Meanwhile, add the whipping cream to a small saucepan and warm gently over medium-low heat. (Do not boil.)
Gently whisk the warm cream into the melted chocolate. Remove from heat.
Whisk ganache until smooth and creamy.
Transfer to a piping bag.
Toppings:
To a tennis ball-sized ball of white fondant, add a few drops of red gel food coloring. Use your hands to knead, incorporating the color evenly into the fondant. Repeat with a second ball of fondant and the yellow gel food coloring.
With a rolling pin, roll the red fondant to approximately 1/8-inch thick.
With a 1 1/2-inch round cutter, cut the fondant into discs. (You should have one for each burger.) Re-roll the scraps and repeat with remaining fondant.
With a rolling pin, roll the yellow fondant to approximately 1/8-inch thickness. Use a 1 3/4-inch square cutter to cut the fondant into squares. (You should have one for each burger.) Re-roll scraps and repeat with remaining fondant.
Assembly:
Pair the macaron shells according to size. You should have 8-10 pairs total.
Pipe the underside of half of the shells with a dollop of chocolate ganache.
Top the ganache with a fondant “cheese” square.
Top each square with a fondant “tomato” slice.
Pipe buttercream on top of the tomatoes. I added a few zigzags and pointy bits, to resemble shredded lettuce.
Top the buttercream with a second macaron shell.
Notes
*While I provide volume measurements for most of my recipes, I’ve opted not to do that here. You really need a kitchen scale to make macarons. If you don’t own a scale, now is a great time to buy one! They’re readily available on Amazon, with plenty of reliable options under $10.
The temperatures and timings listed here are the ones that work best for my oven. However, all ovens are different. If you have a “tried and true” temperature and bake time for making macarons, definitely use that instead! If not, try mine and adjust as necessary. (Don’t worry if it takes a practice batch or two—it probably will!) When baking, I suggest checking the macarons every few minutes, beginning at the 15-minute mark.
- Prep Time: 2 hours
- Drying Time: Approximately 1-4 hours
- Cook Time: 20-25 minutes
- Category: Biscuits and Cookies
- Method: Oven + stovetop
- Cuisine: Desserts