Cherry Apple Hand Pies
This post may contain affiliate links. Please read the disclosure policy to learn more.
Thank you for supporting this blog!
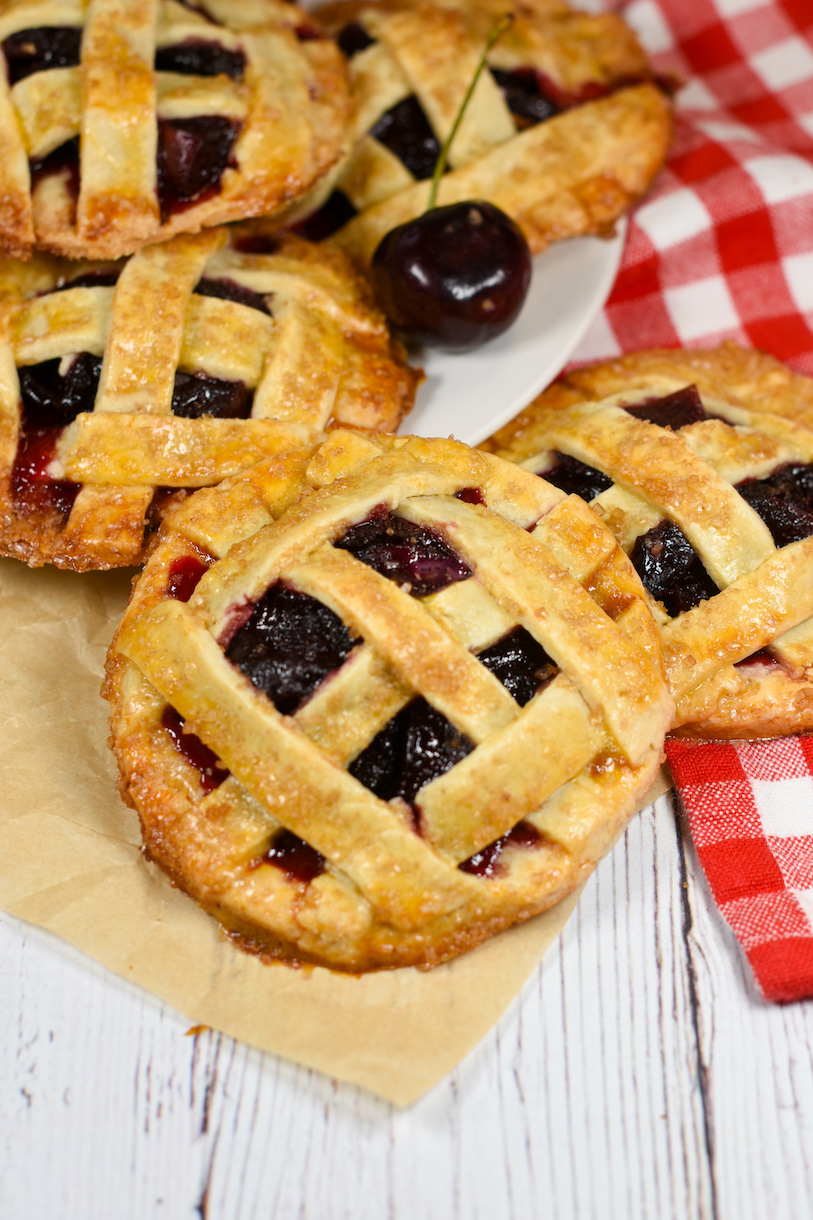
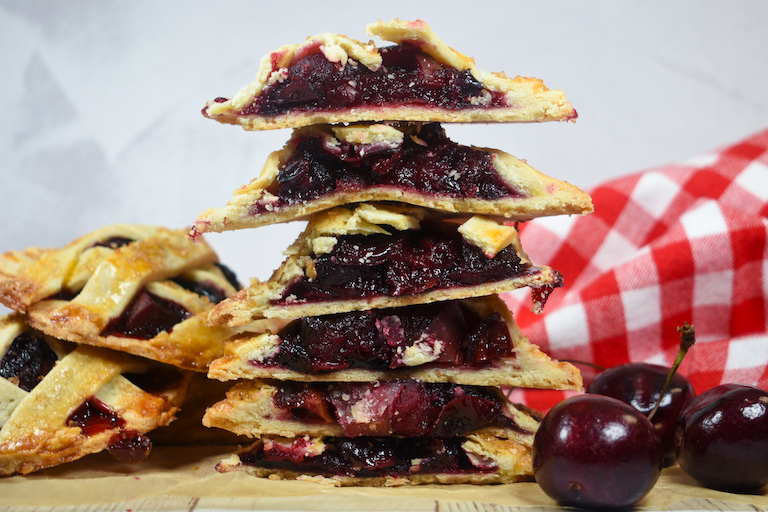
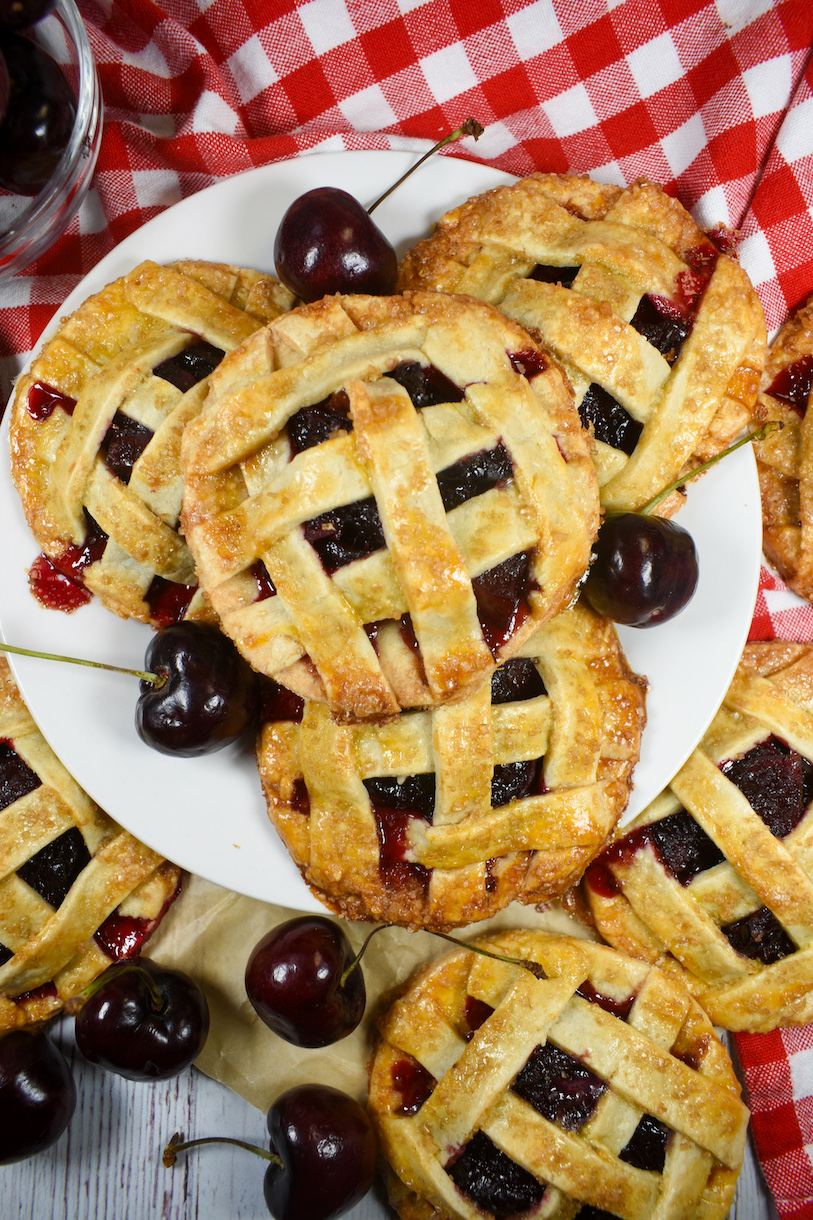
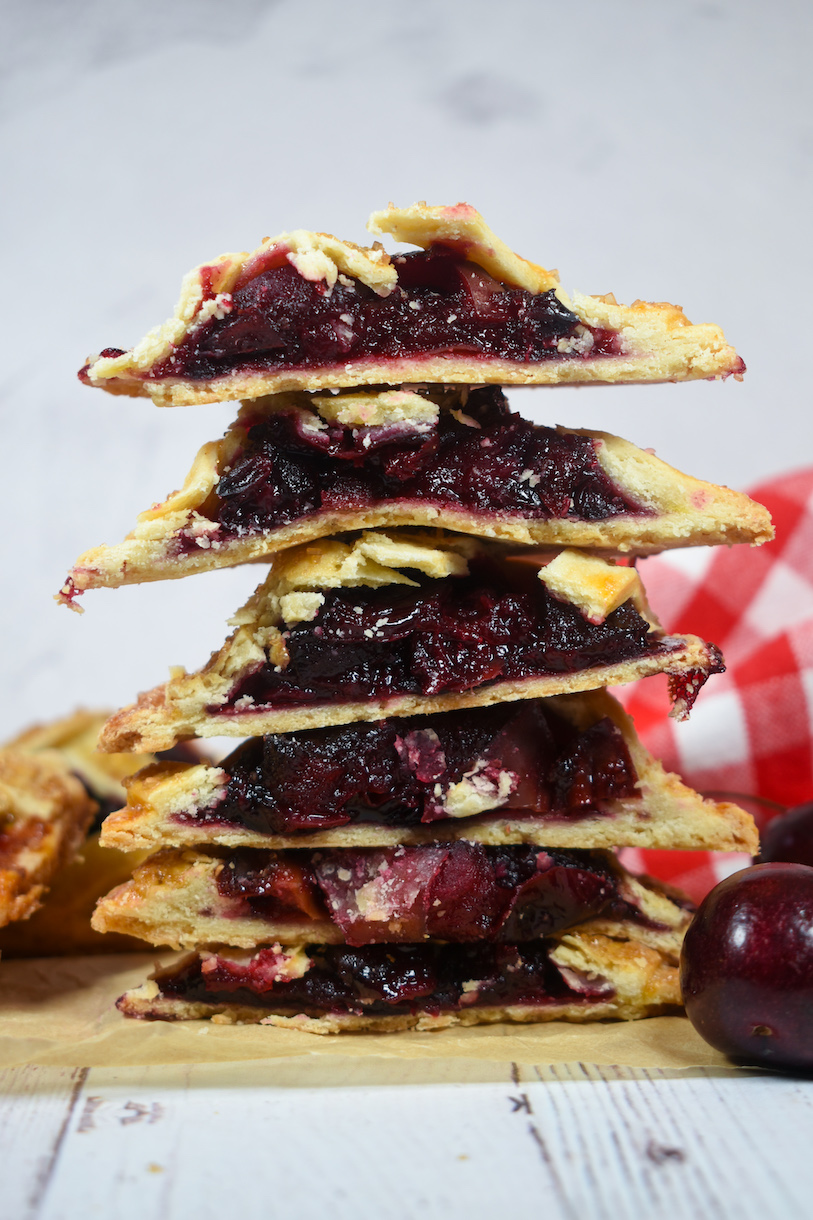
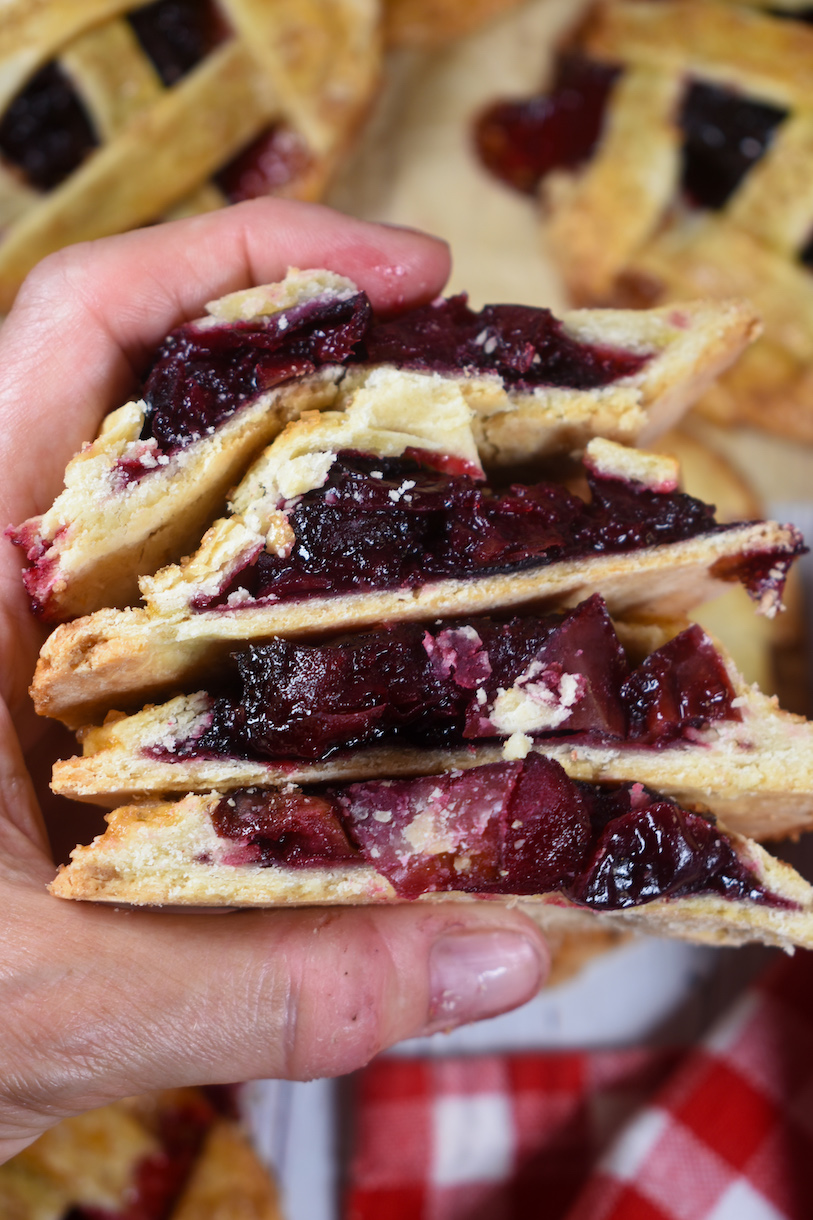
Although I usually make my hand pies with store-bought puff pastry, these cherry apple hand pies start with a scratch-made sweet pastry dough. I’ve filled it with a homemade cherry-apple compote, topped it with a lattice crust, and sprinkled each pie with Demerara sugar for a crunchy finishing touch. I love these individually-sized cherry pies because they work for breakfast or brunch, or paired with a big scoop of vanilla ice cream for dessert!
Key Ingredients
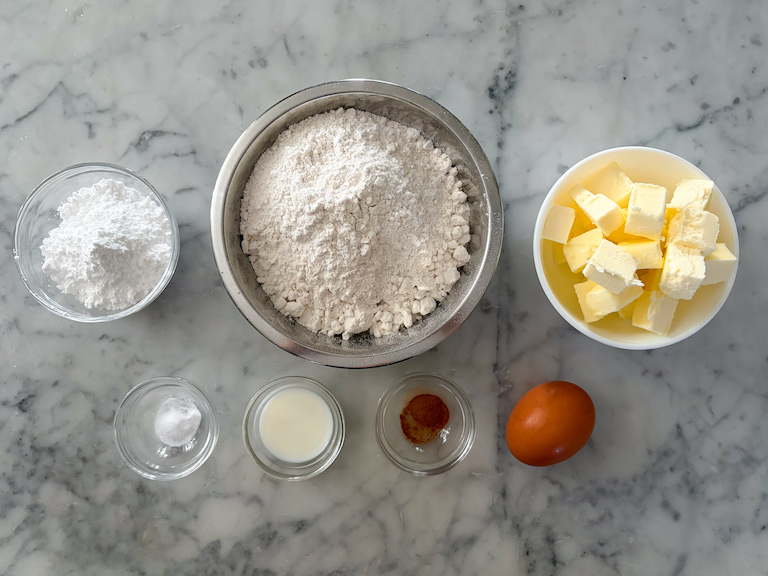
- Sugars – I’ve added confectioner’s sugar to the pastry, because the powdery texture makes it easier and smoother to blend with the dry ingredients. Granulated sugar sweetens the cherry compote, while a sprinkling of Demerara sugar adds texture, sweetness, and sparkle. If you can’t find Demerara sugar, other coarse sugars will also work.
- Butter – For this recipe, start with cold and cubed butter. (I tested with unsalted butter, but you can replace it with salted without much noticeable difference in the finished product.) You’ll incorporate the butter into the dry ingredients by using your hands to “rub” everything together, as though you’re making British scones or shortcakes. If the butter is too warm it won’t disperse evenly throughout the dry ingredients, and your pastry will lack that flaky, tender texture that makes homemade pastry worth the extra effort.
- Flour – A medium-protein, plain or all-purpose flour works best for making the homemade pastry. Don’t use bread flour; the higher protein promotes gluten development, which can make the pastry heavy and tough.
- Apple – You can use any variety of apple you’d like, but I recommend a green apple like Granny Smith, because it retains a sharp ‘bite’ after baking, rather than turning to mush. Feel free to peel or not peel. It’s up to you!
- Cherries – You’ll need 275 grams (about 2 cups) of pitted cherries. Fresh and frozen are both fine, but I highly recommend using sweet, fresh cherries if making these during the summer months. (If you have some left over, you can save them to make homemade cherry ice cream or cherry cola granita.) And take the time to double-check for stems and pits; biting into a cherry pit is no fun at all.
Tips, Tricks, and Shortcuts
- Replace the berries. If you can’t find cherries, you can substitute berries, such as blueberries, raspberries, or blackberries. (Or, wait for cherry season and make my blueberry hand pies in the meantime!)
- Use store-bought pastry. While I highly recommend making your own pastry for this recipe (it has a buttery flavor and flaky texture that is simply a cut above the store-bought stuff) pre-made pie crust or shortcrust pastry will definitely work in a pinch. If using frozen pastry, allow time for it to thaw according to the manufacturer’s instructions.
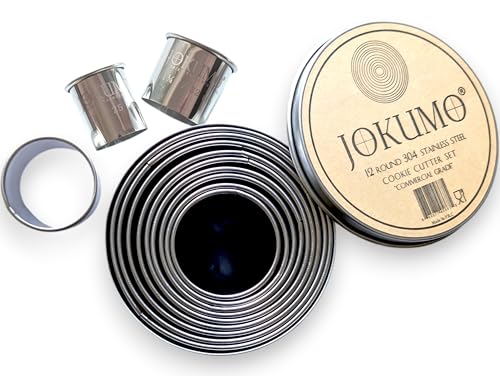
- Use a cutter. You’ll need a large round disc cutter for this recipe. If you don’t have a cutter, you can make square-shaped pies instead. Cut them freehand with a ruler and a knife, or fold the dough over to make a triangular shape.
- Skip the lattice. I latticed the tops of my pies for visual effect, but it does require an extra time commitment. If you’re short on time you can top the filling with a second round disc (cut a small vent in the top of the dough to allow steam to escape, as I’ve done with these peach hand pies) or use one larger disc of pastry, fold it over, then fork-crimp the edges to seal in the filling, as though you’re making fruit turnovers. You can also experiment with a lattice cutter.
Cherry-Apple Hand Pies
- Total TimeAbout 2 hours, plus chilling time
- Yield9-10 4-inch round pies 1x
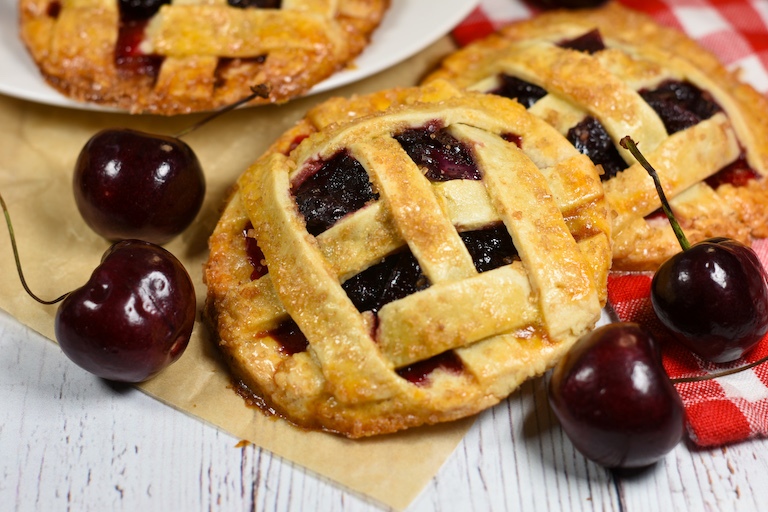
Apple and cherry hand pies made with a cherry-apple fruit compote, homemade pastry, and a sprinkling of Demerara sugar on top.
Ingredients
Pastry:
256 grams all-purpose flour (2 cups)
35 grams confectioner’s sugar (1/4 cup)
1/8 teaspoon ground cinnamon
Pinch fine sea salt
128 grams unsalted butter, cold and cubed (1 stick + 1 tablespoon; 4 1/2 ounces)
2 teaspoons whole milk, very cold
1 large egg
Cherry Apple Compote:
1 Granny Smith apple, cored and diced (about 175 grams diced apple)
225 grams pitted cherries (1 1/2 cups; 8 ounces)
50 grams granulated sugar (1/4 cup)
Pinch ground cinnamon
Juice and zest of 1 lemon
Assembly:
1 egg, lightly beaten
Demerara sugar, for sprinkling
Instructions
Pastry:
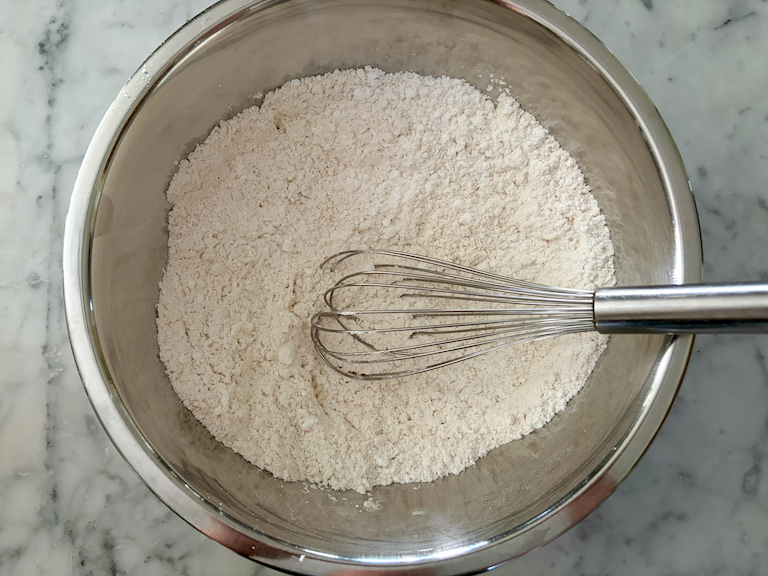
In a large mixing bowl, whisk flour, confectioner’s sugar and ground cinnamon. Add the butter, and use your hands to rub it into the dry ingredients until mixture resembles coarse breadcrumbs.
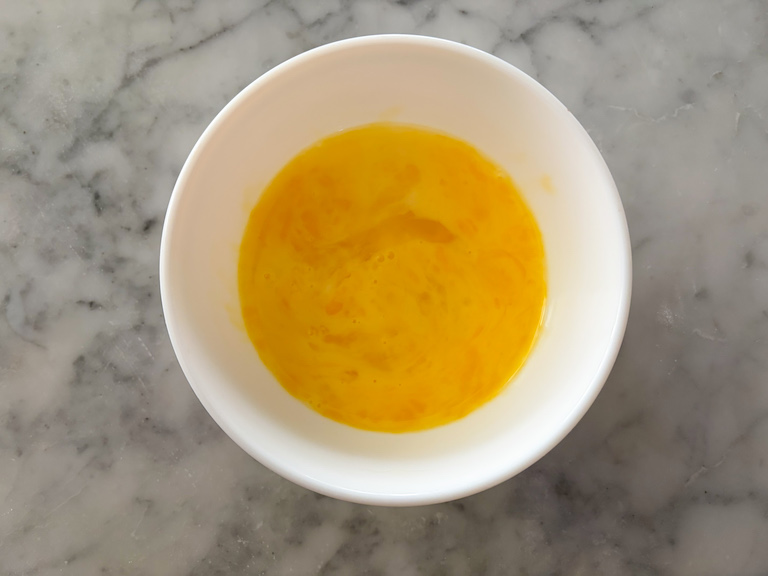
In a small bowl, whisk together milk and egg.
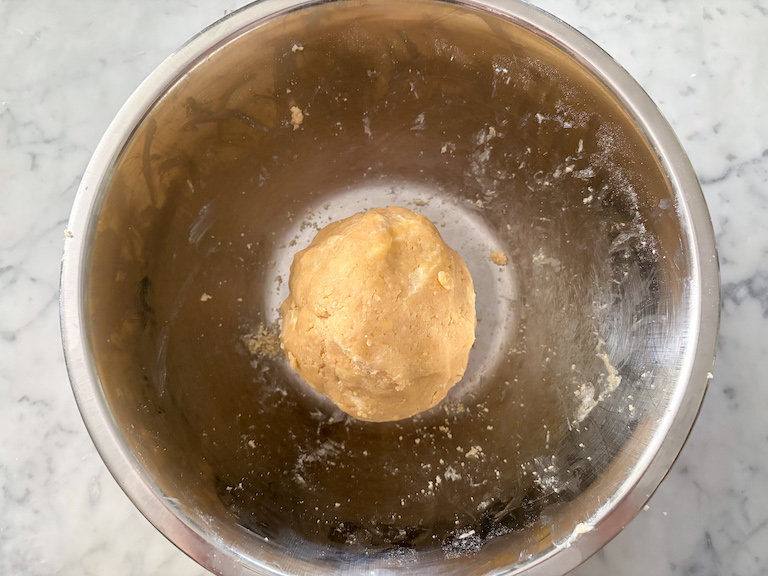
Make a well in the dry ingredients and pour liquid into the well. With your hands or a plastic bench scraper, work ingredients together until a soft dough forms.
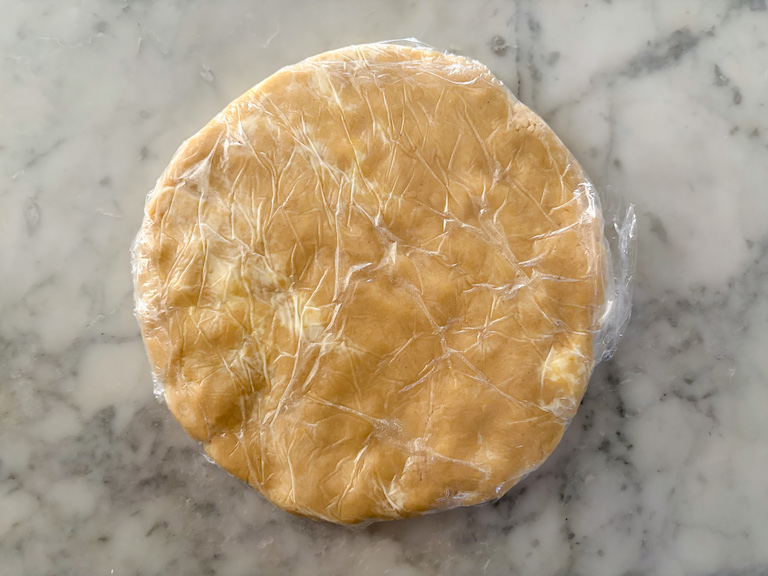
Pat into a disc. Wrap in clingfilm/plastic wrap. Refrigerate until firm, at least 1 hour, or overnight.
Apple-Cherry Compote:
In a medium saucepan, stir together apples, cherries, granulated sugar, and ground cinnamon.
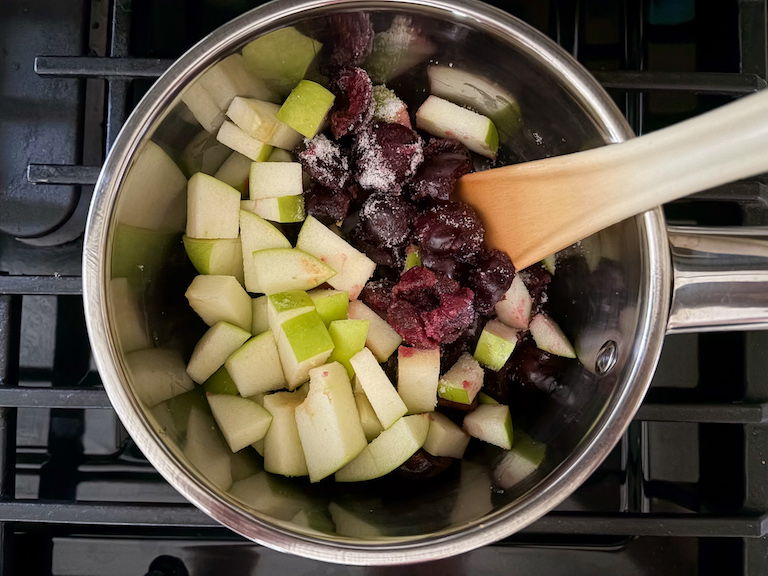
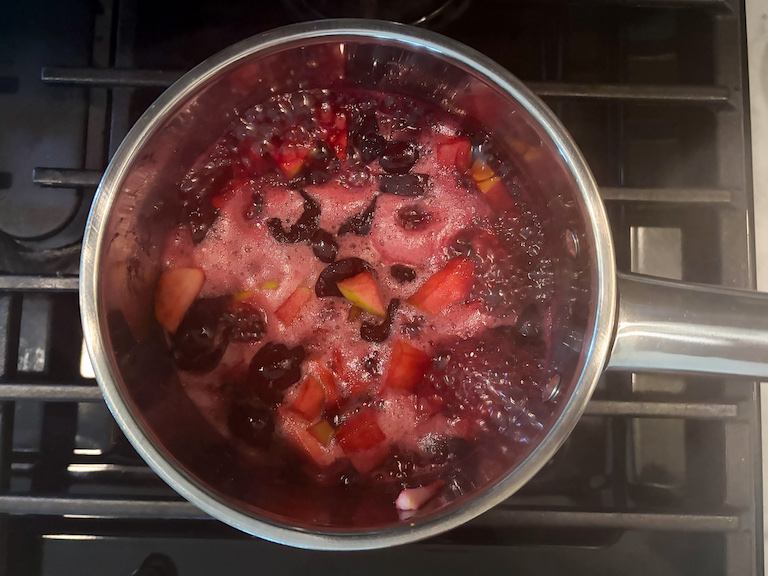
Simmer over medium heat, uncovered, until fruit softens and sauce thickens, about 30 minutes.
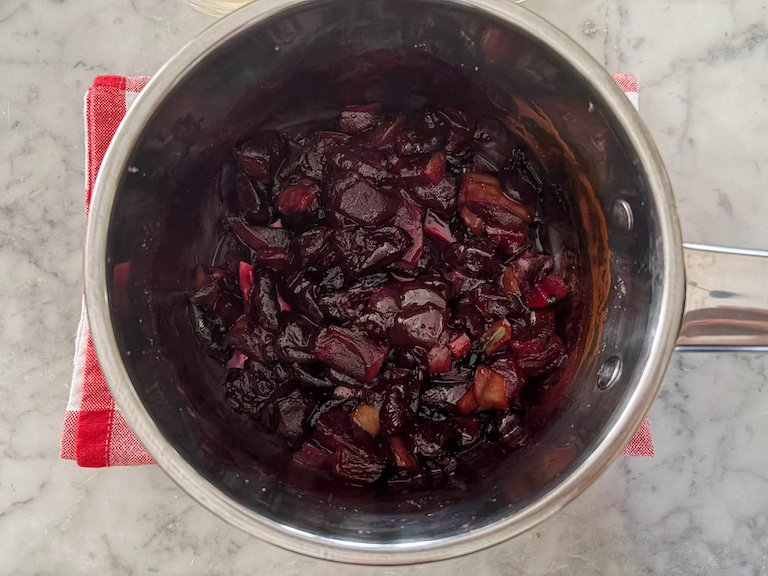
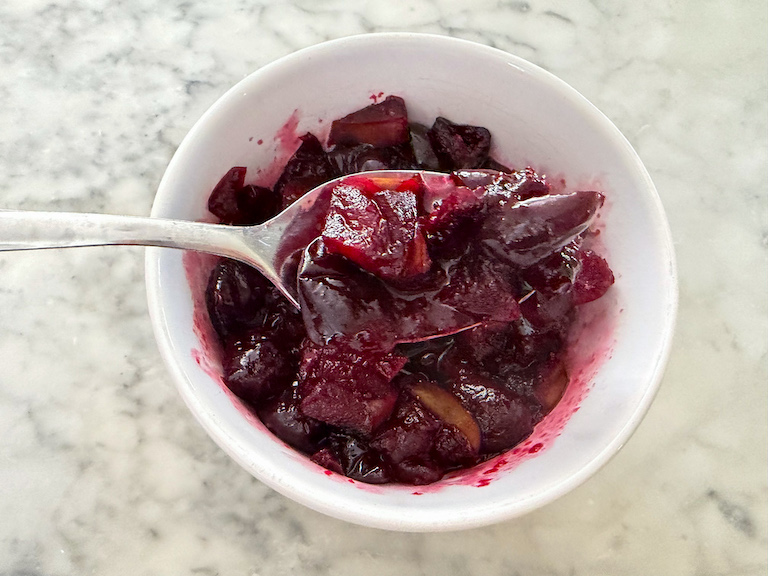
Scoop into a bowl. Stir in the lemon juice and lemon zest. Set aside to cool.
Assembly:
Preheat oven to 375° F (190° C). Line a half sheet rimmed baking tray with parchment on a silicone mat.
Remove plastic wrap and allow dough to rest briefly at room temperature, about 5 minutes. On a lightly floured countertop, roll to approximately 1/8-inch thickness.* With a 4-inch round cutter, cut 9 or 10 discs**
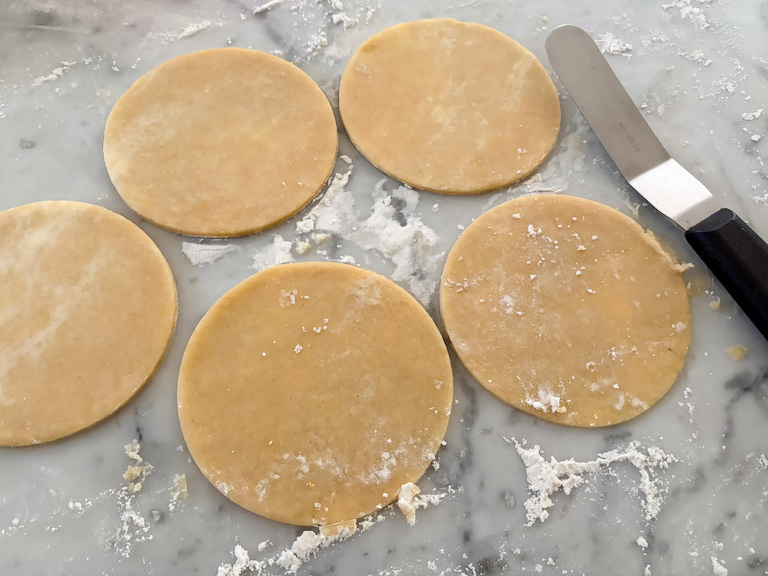
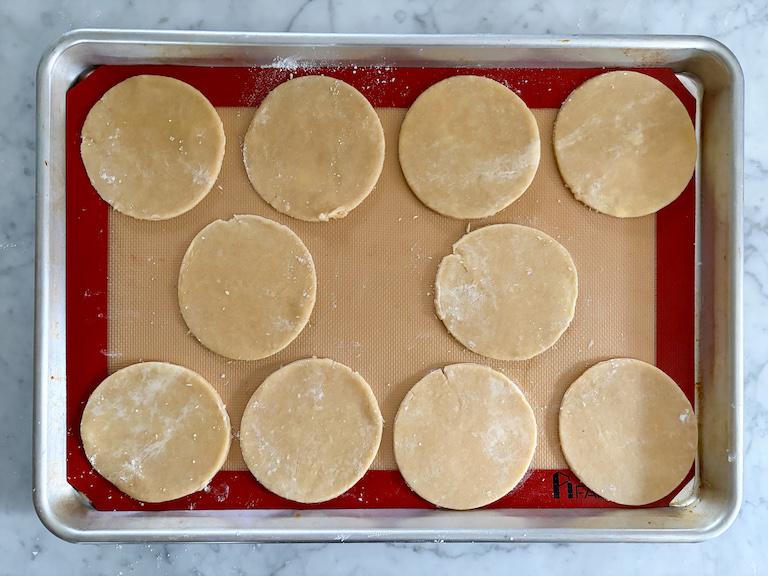
Arrange on prepared tray.
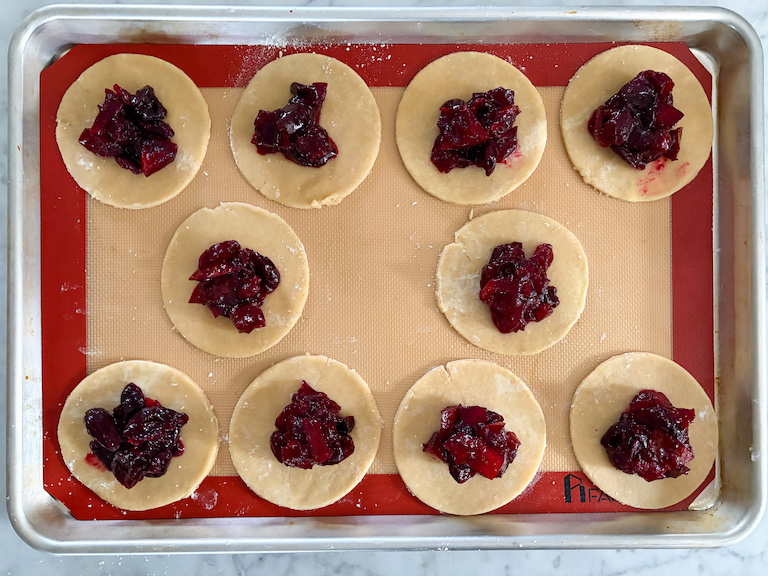
Spoon cherry apple compote in the middle of each disc, dividing it equally between the discs and allowing a 1/2-inch border around the outer edge.
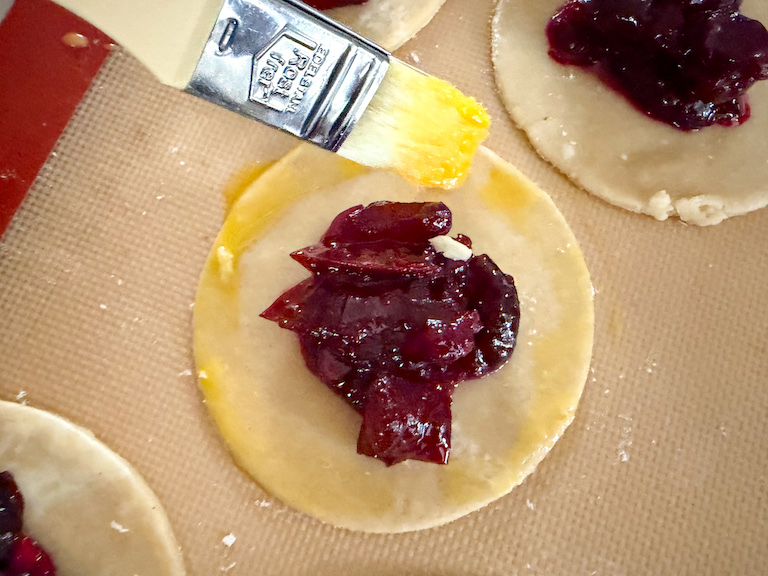
With a pastry brush egg wash around the edges of each disc.
Re-roll remaining dough** to 1/8-inch thickness. With a sharp knife, cut strips, each about 1/2-inch thick.
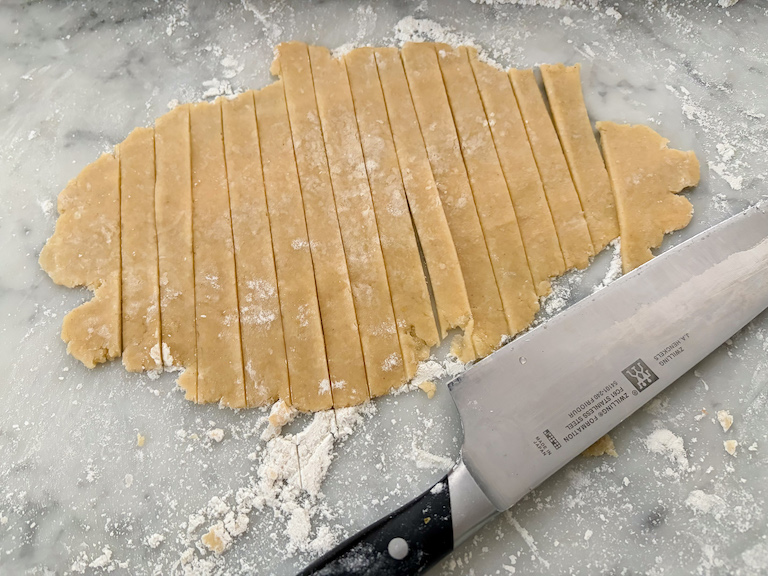
Lattice strips over compote, re-rolling scraps as you go to create more strips. Don’t worry about making the lattice “perfect,” as these pies are designed to have a rustic look.
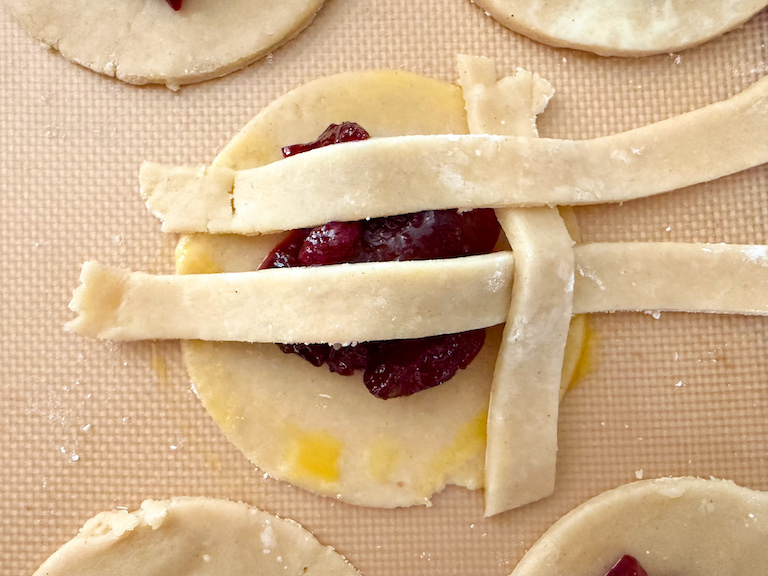
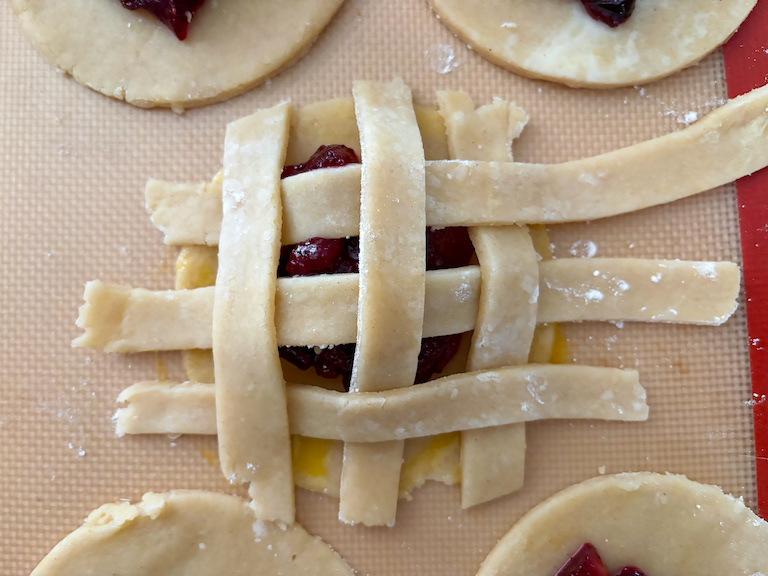
Trim edges with a sharp knife.
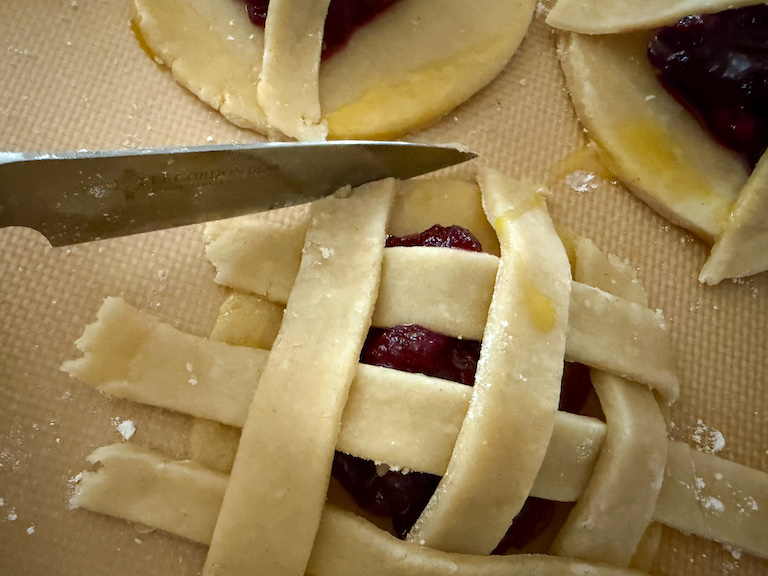
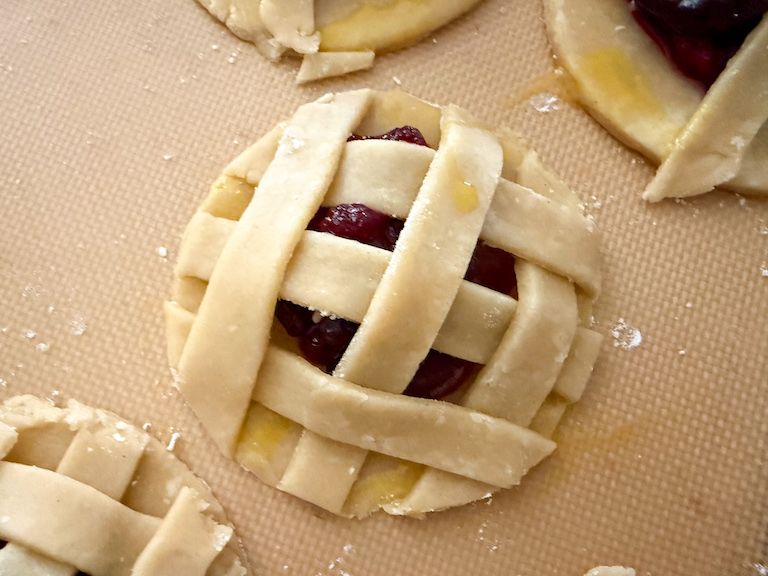
With your fingertips, firmly press down the edges of each pie to seal in the filling. If desired, you can crimp with a fork to create a decorative edge.
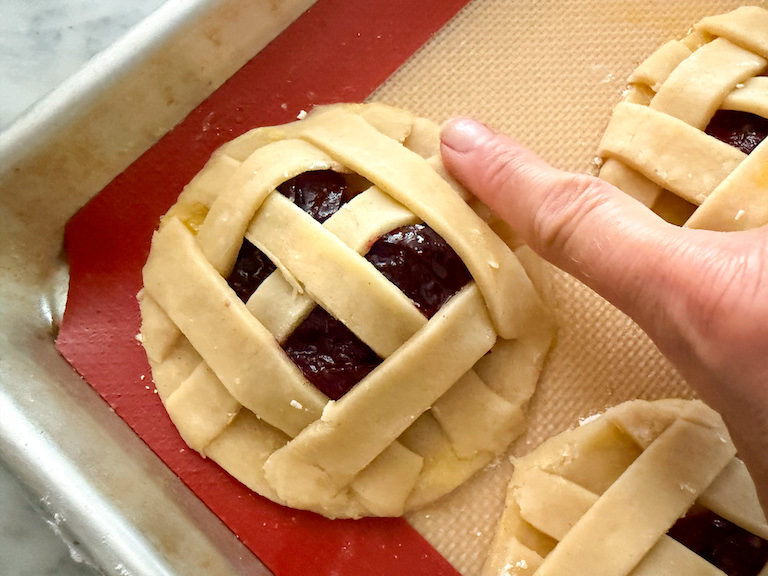
Freeze tray 10 minutes.
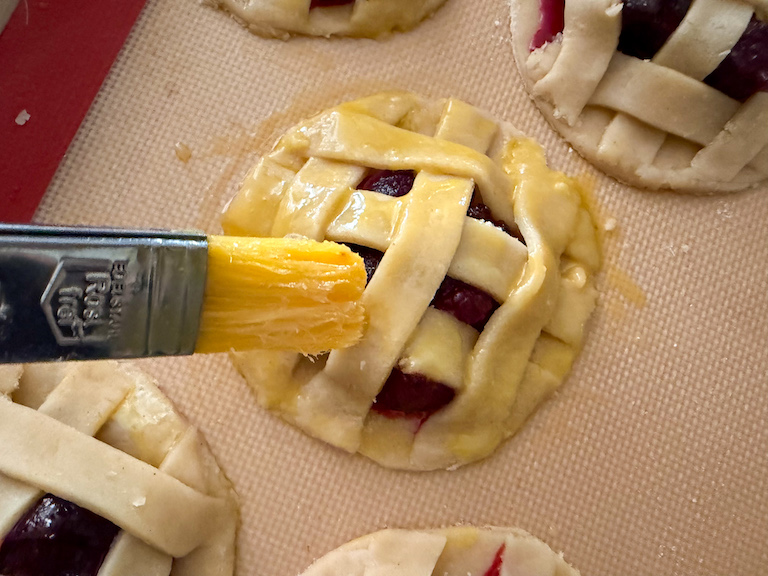
With a pastry brush, lightly brush the lattice tops with egg wash. Sprinkle with Demerara sugar.
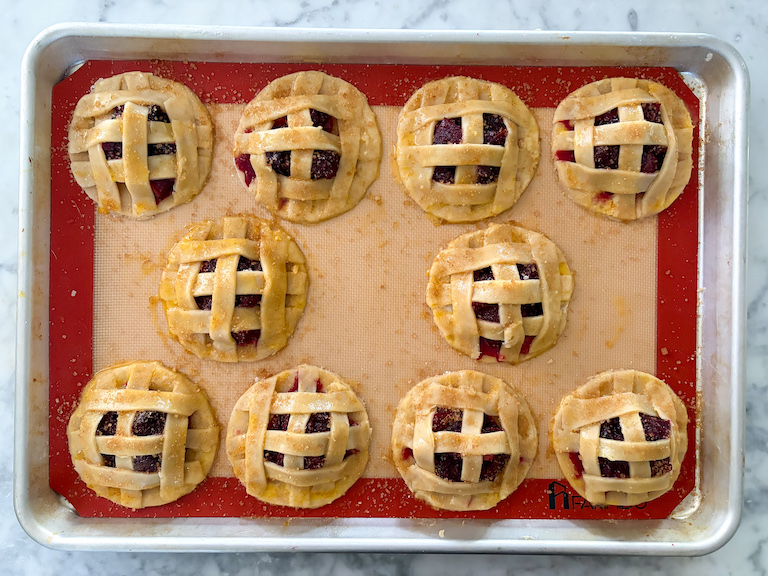
Bake in preheated oven for 25-30 minutes, or until deeply golden brown with fruit bubbling at the edges.
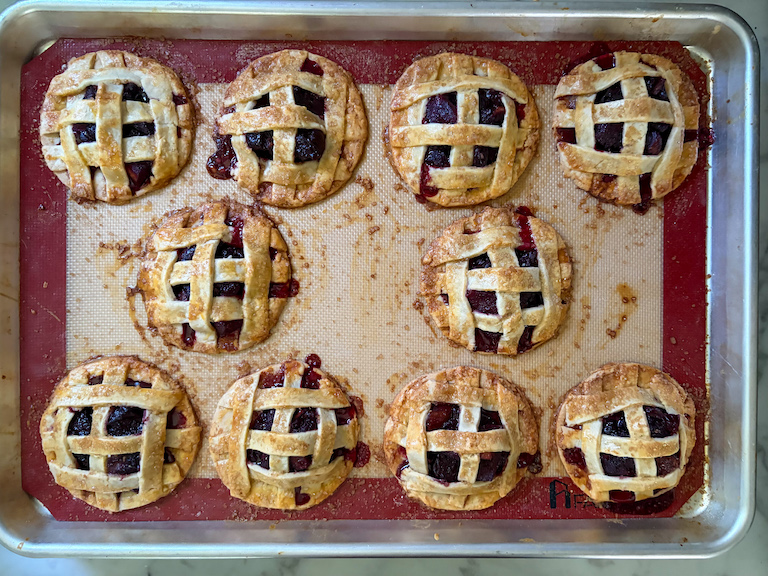
Cool on a wire rack.
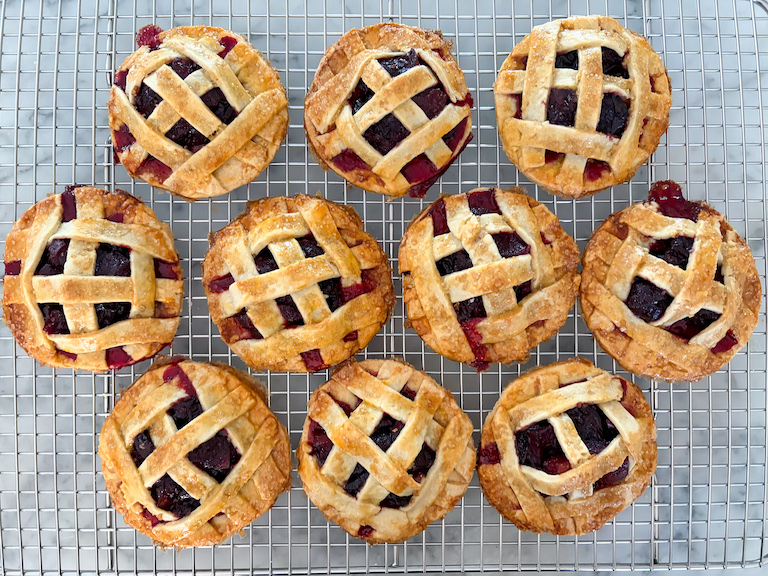
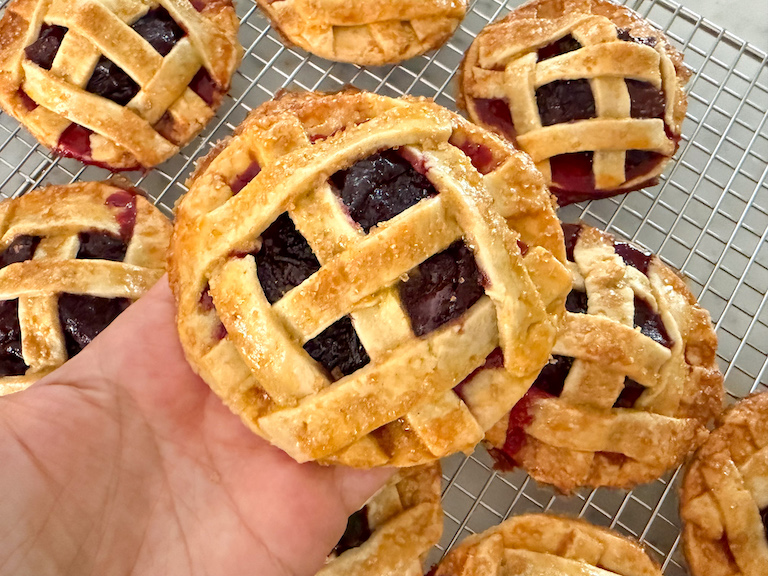
Store leftover cherry apple hand pies in an airtight container at room temperature for up to 3 days.


Notes
*Keep the dough very thin. If too thick, you won’t have enough pastry for the lattice tops, and your finished hand pies will have a dense, heavy texture.
**You can get 10 pies out of one batch of pastry, but you’ll need every scrap of dough. If you’re less confident in your ability to roll the dough very thinly, make pastries instead.
***If at any point the dough feels too warm, soft, or sticky, pop it in the fridge or freezer for a few minutes to firm.
- Prep Time: 1 1/2 hours
- Chilling Time: 1 hour 10 minutes
- Cook Time: 30 minutes
- Category: Hand Pies and Turnovers
- Method: Oven
- Cuisine: Dessert
Make-Ahead and Storage Suggestions
To make ahead: You can prepare the cherry apple filling up to 24 hours in advance. Refrigerate until ready to use.
To freeze: Layer hand pies in an airtight container between layers of baking parchment. Thaw at room temperature prior to serving, or warm briefly in the microwave or for 5-10 minutes in a 350° F oven.
Other Hand Pie Recipes You Might Enjoy
Peach, Blueberry, and Walnut Hand Pies
Peach and Ginger Hand Pies
Mixed Berry Breakfast Pastries
Blueberry Hand Pies
And if you do make these, or any of my recipes, don’t forget to tag me @bastecutfold or use the hashtag #bastecutfold on Instagram. I always love to see what you’re making!